

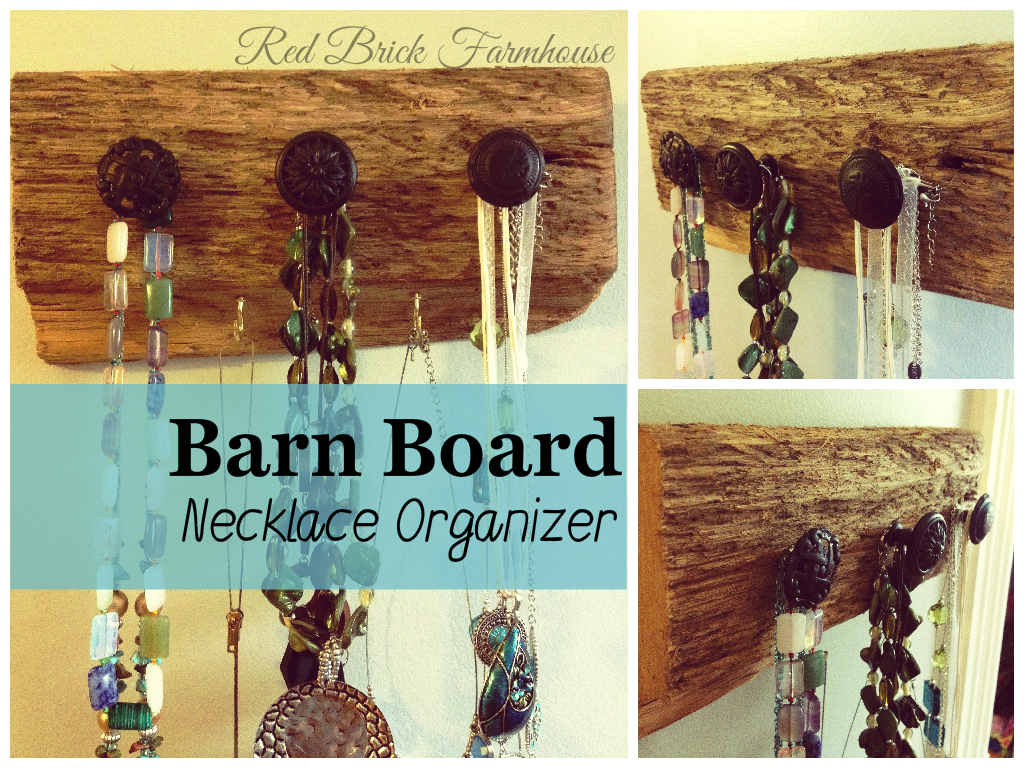
Recently I purchased a good bunch of second hand costume jewelry (necklaces). I've never really been one to wear necklaces so I didn't have a spot for them (it was time for a change, and I wanted to start dressing pretty I guess). I scoured Pinterest and found a way to hang necklaces that I liked and was sooooooo close to stopping into a Homesense and buying one like it because I've seen them in the store before. So literally I was on my way out to town, and stopped at the barn to check the live trap (we have a raccoon problem) and happened to spot some small pieces of barn board laying in the pile of longer boards. I had totally forgot we had repaired a board a few years ago, so there was lots of little pieces left that we just kept. So a quick look in my odds and ends bucket, and I found some of the drawer pulls I removed from the bathroom cabinets to replace with new ones when we moved into the farm house. For some reason, they were all different designs and for some reason I kept them all. Here's my reason for keeping them I guess!
Barn Board Necklace Organizer:
What you need:
1. A space you can safely work with power tools and spray paint.
2. A piece of barn board cut to the size you need. Scrub it and wash it if required.

3. Doorknobs or drawer pulls in a design you like:
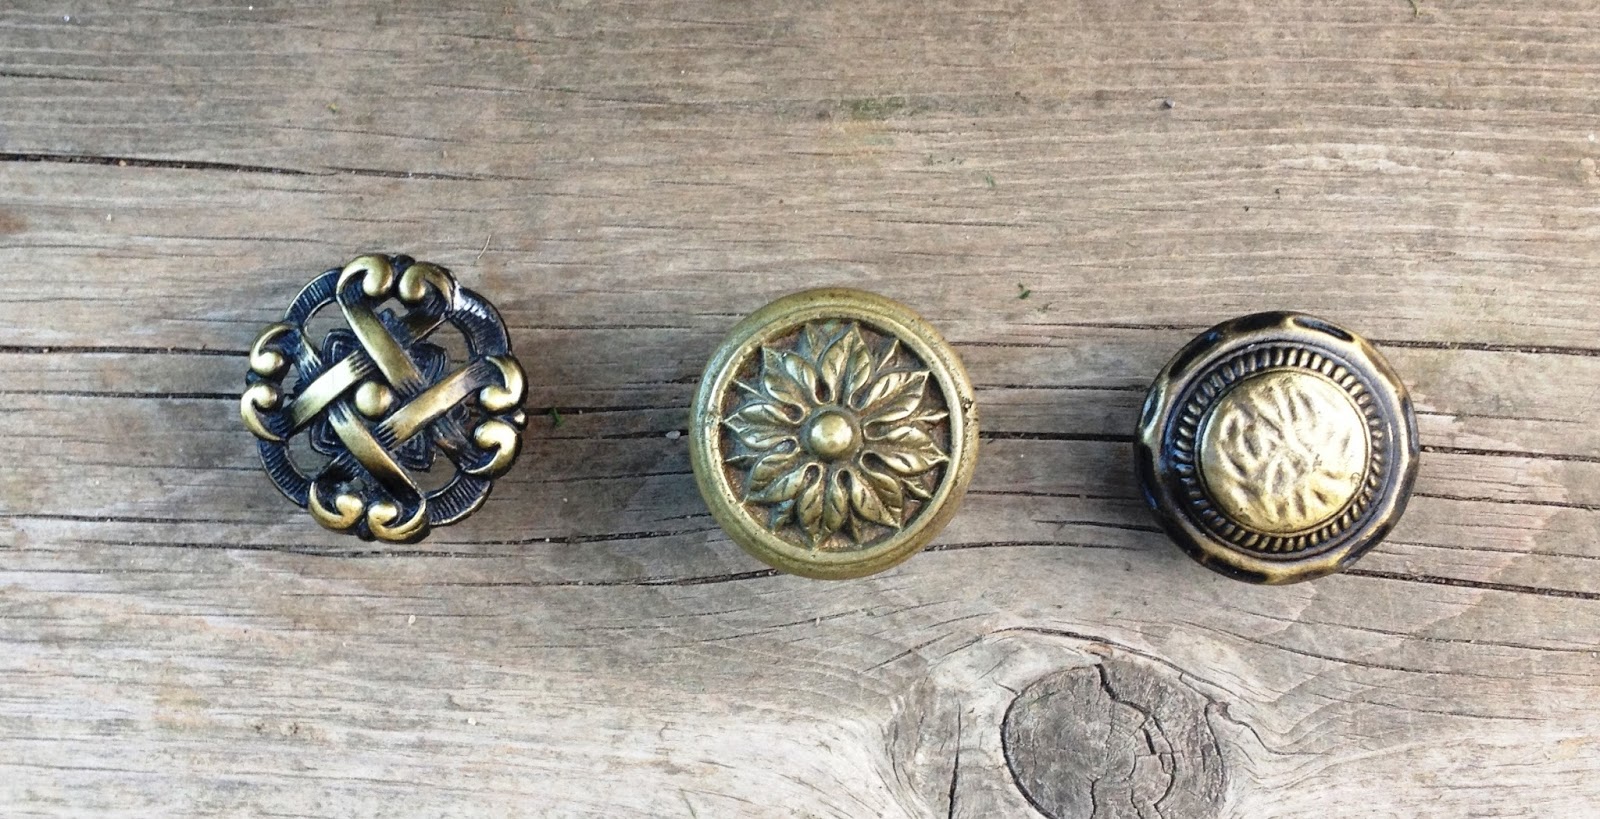
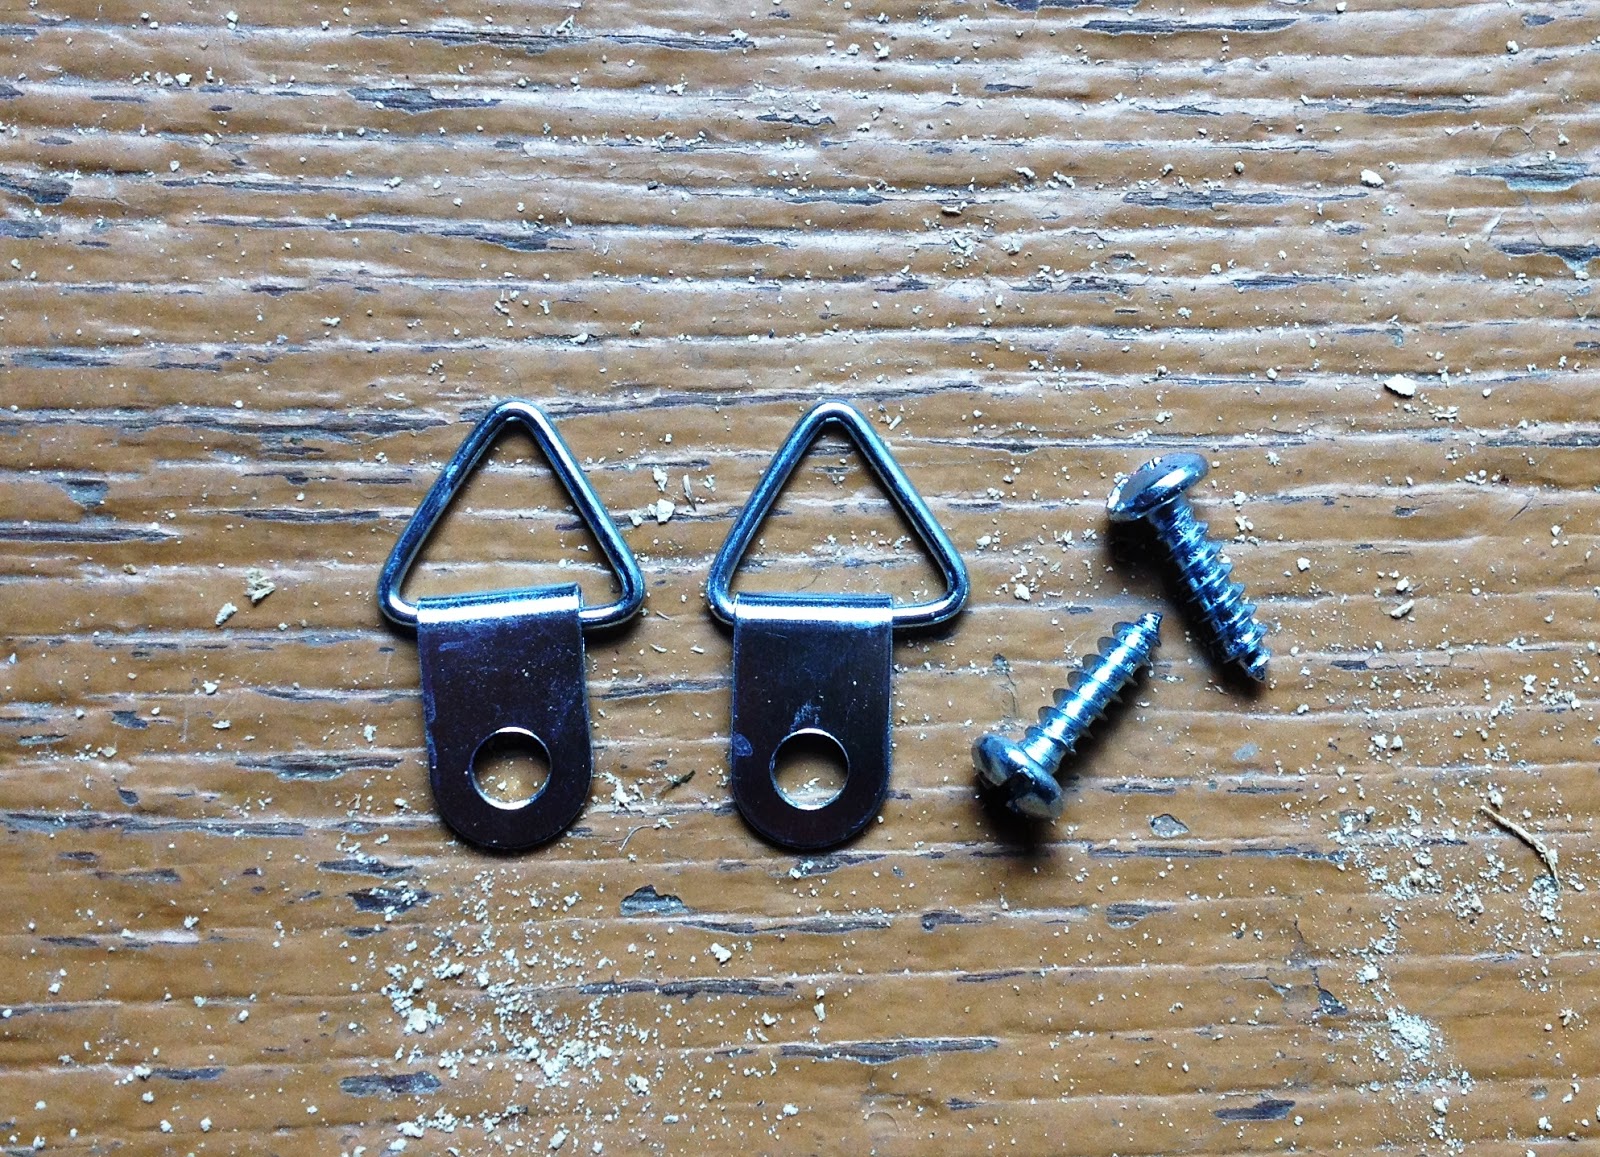
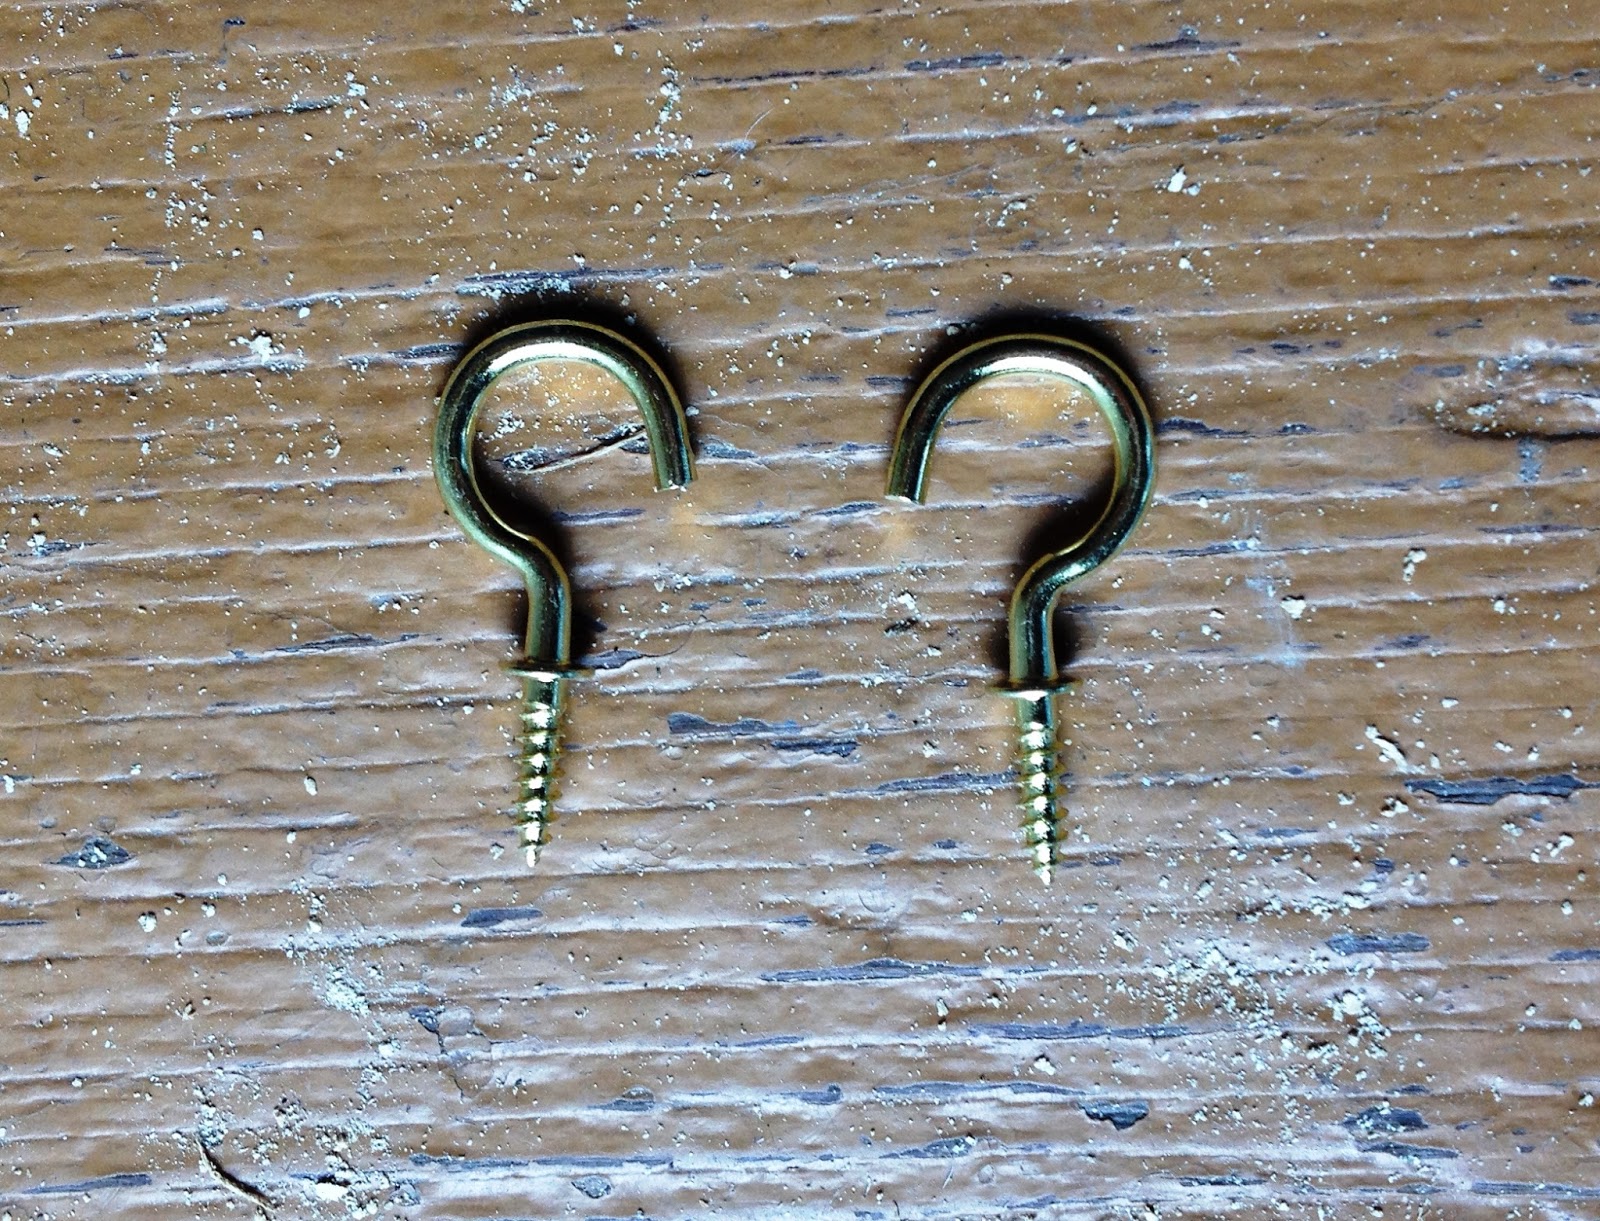
4. Flat ended screws in the length to fit thickness of wood and size to fit in knobs; cup hooks (optional); eyelet hangers (or another method to hang as required) - more on these below.

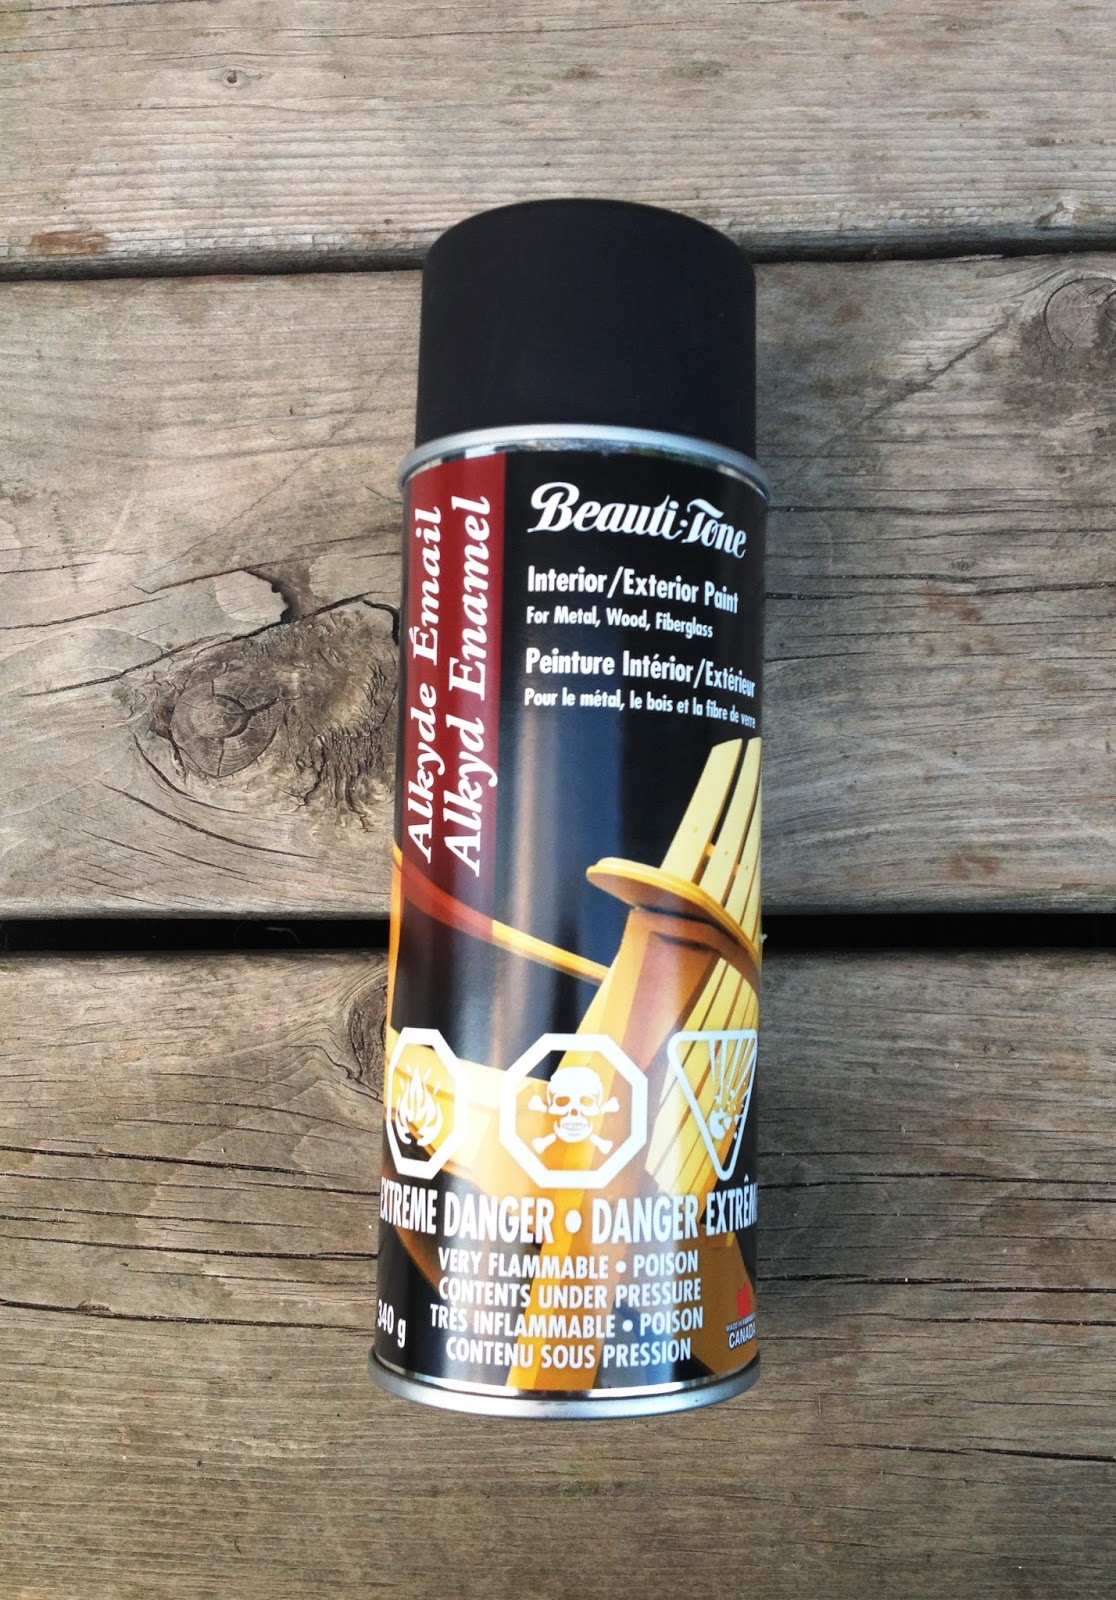
5. Spray paint (optional). I found this enamel paint by Beauti-Tone I thought would stand up to wear and tear pretty good.
6. Power drill and wood drill bits in the same or similar size to the screws.

7. (Optional) Multi-tip screwdriver.

The Steps:
1. Start by spray painting the knobs if that's the route your choosing to go, and allow to dry as per recommendations on the can before moving on to the next step.
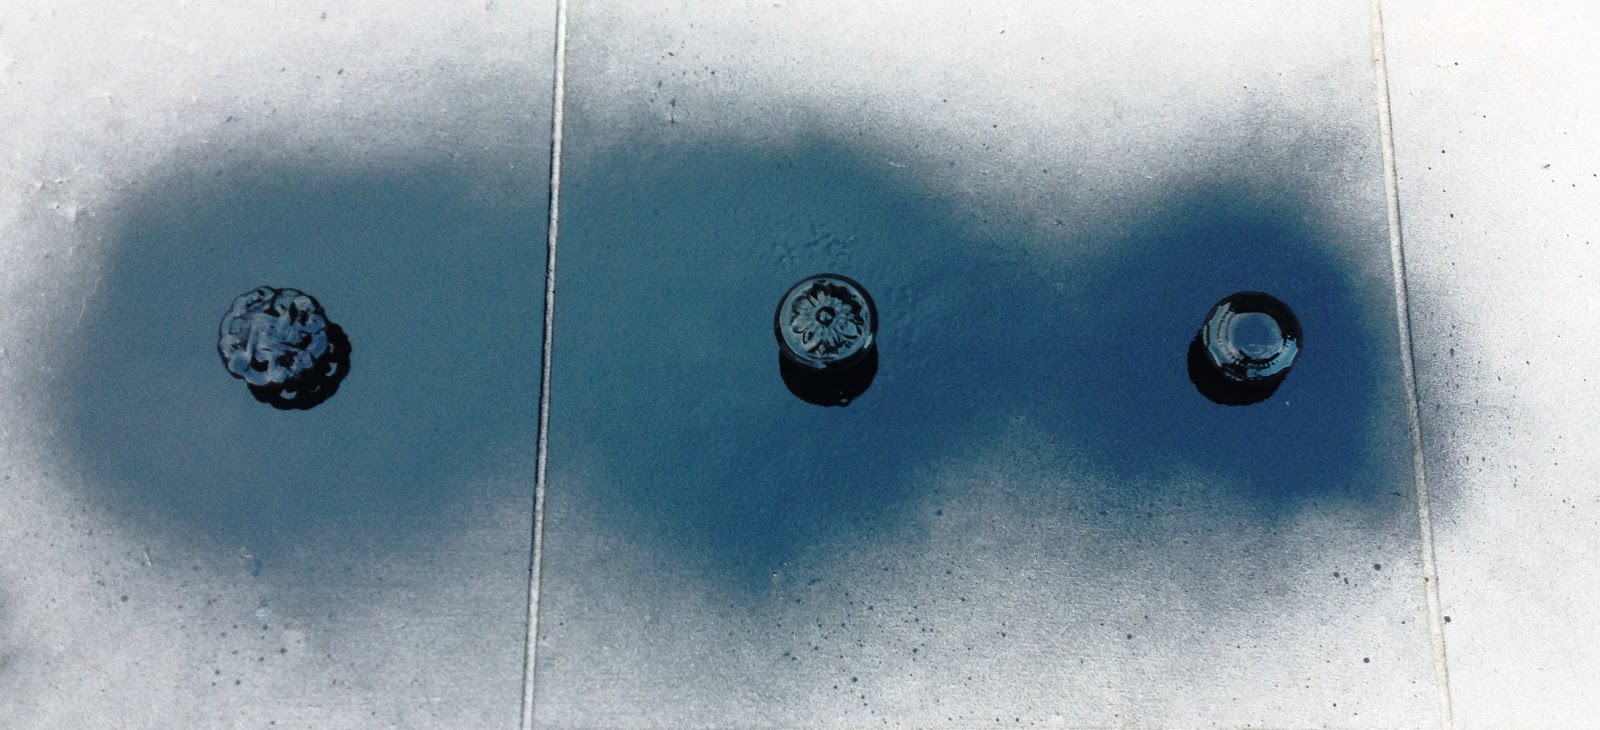
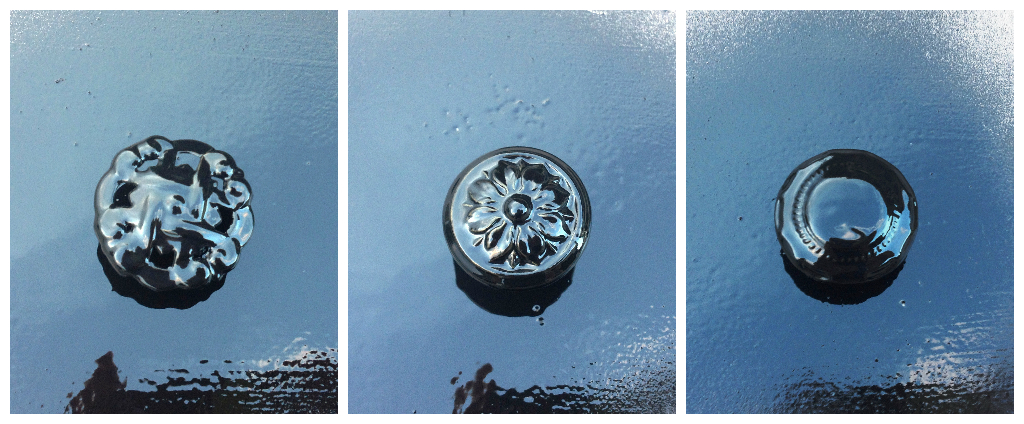
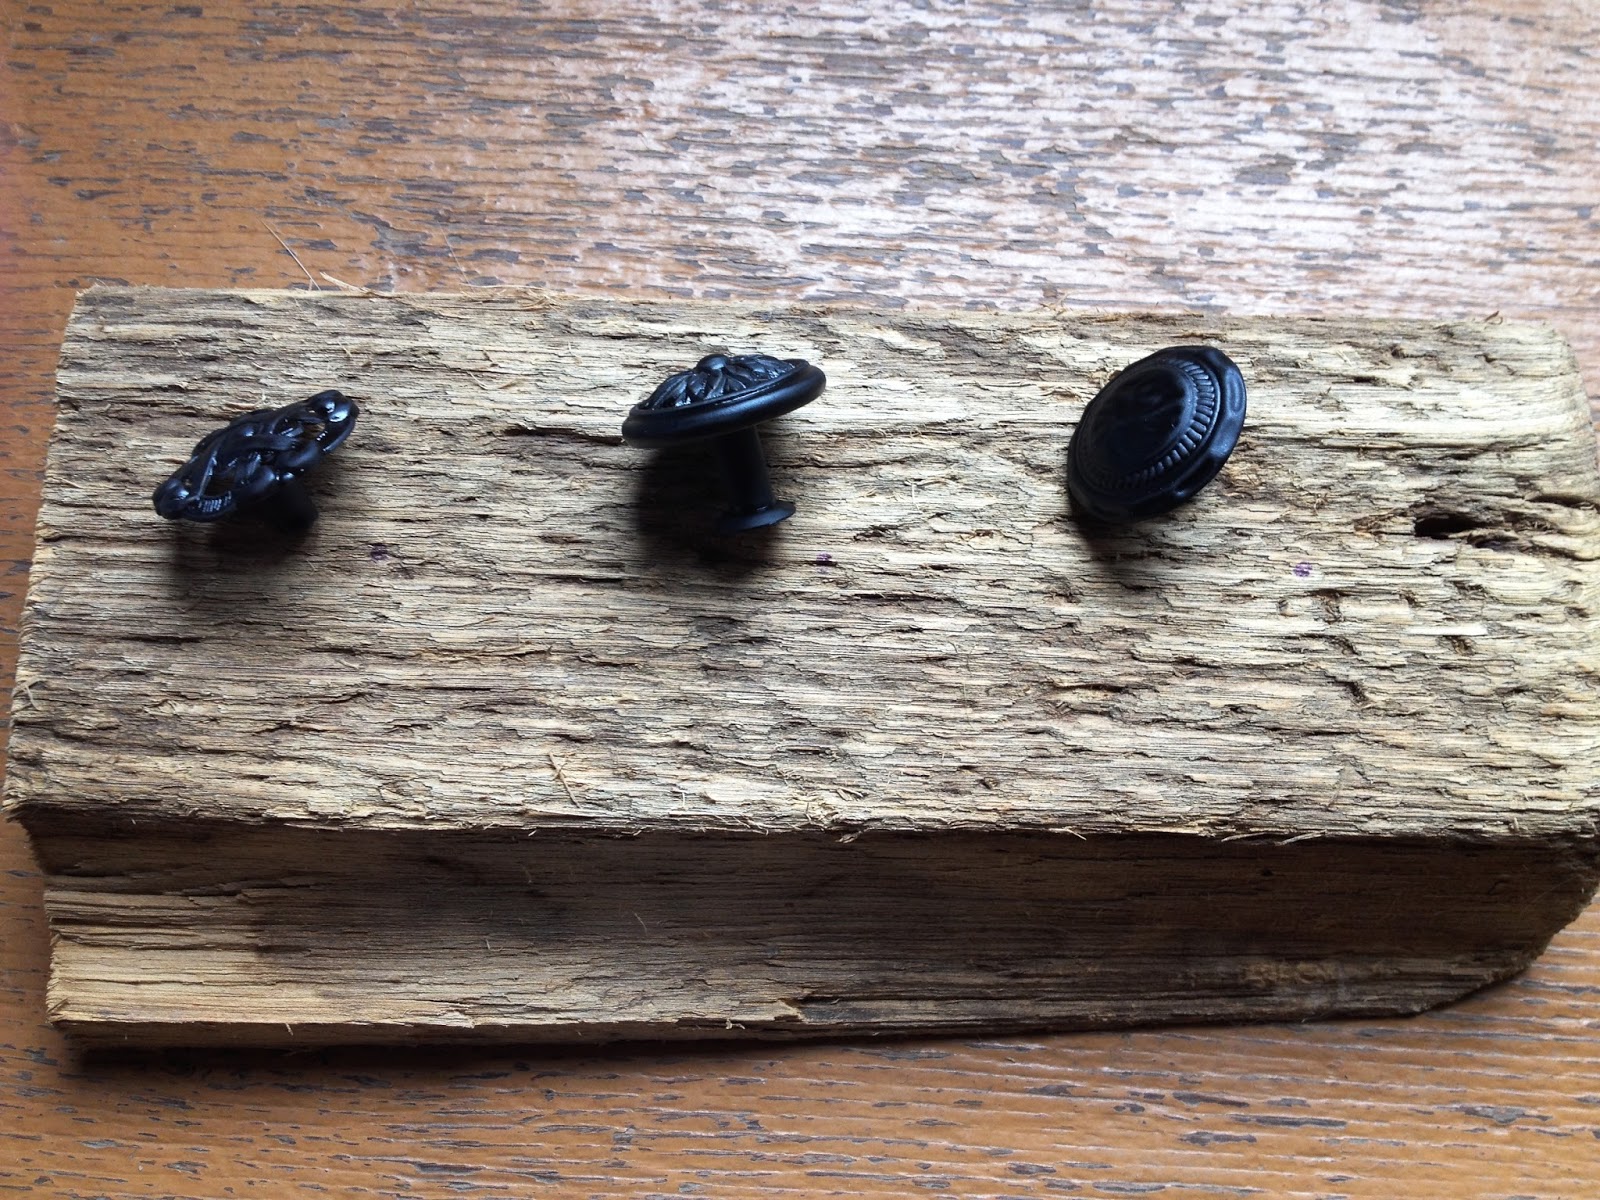
This paint went on really thick and covered well. It also dried amazingly and the knobs turned out really neat.

2. Place the knobs where you want them to go and mark with pen. Then drill your holes with the power drill. Barn board can be hard and it may take some time to get through it depending on thickness of the board,
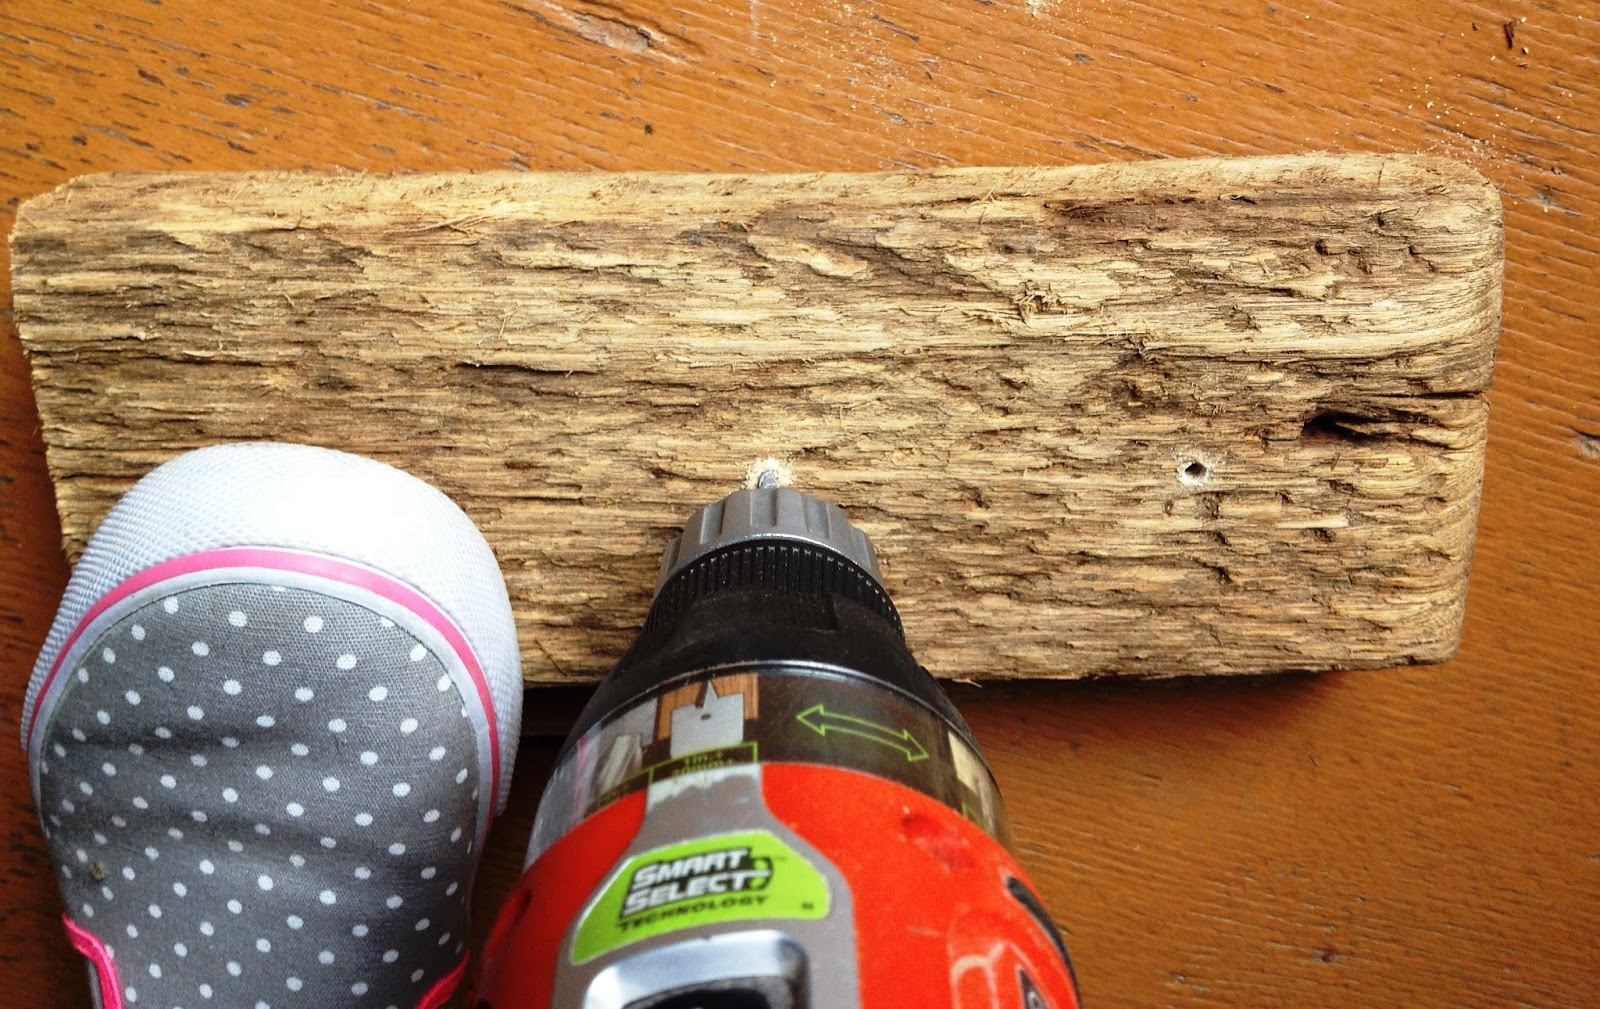

3. Mark and install the eyelet hangers (or your choice of hanger). You should measure so they are even to each other. I hardly ever measure - I eyeball it and hope for the best.

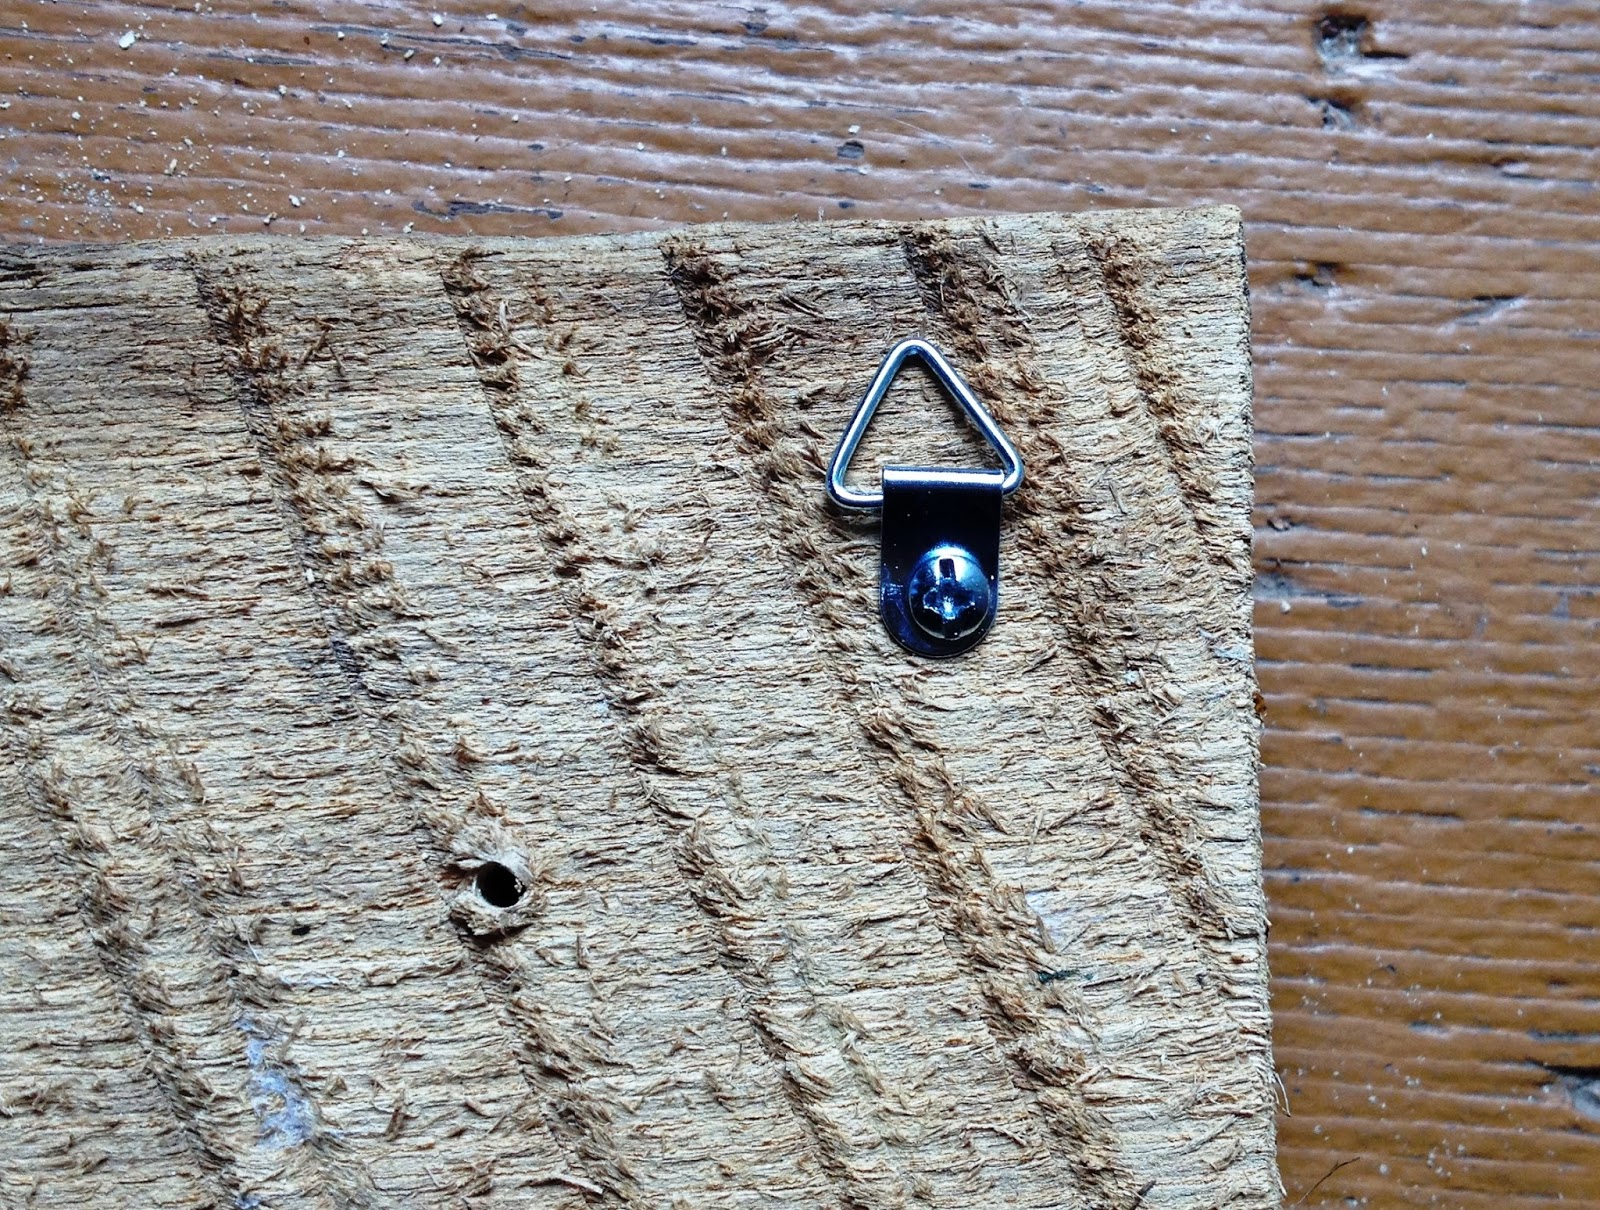
The kits come with a hanger and screw to install it. You can use your multi-tip screwdriver to drive the screws in.
4. Attach the knobs. You may need to use the power drill to drive the screws through the holes if you've used thick barn board like I did. Or else you'll have tired wrists after turning with a screwdriver.

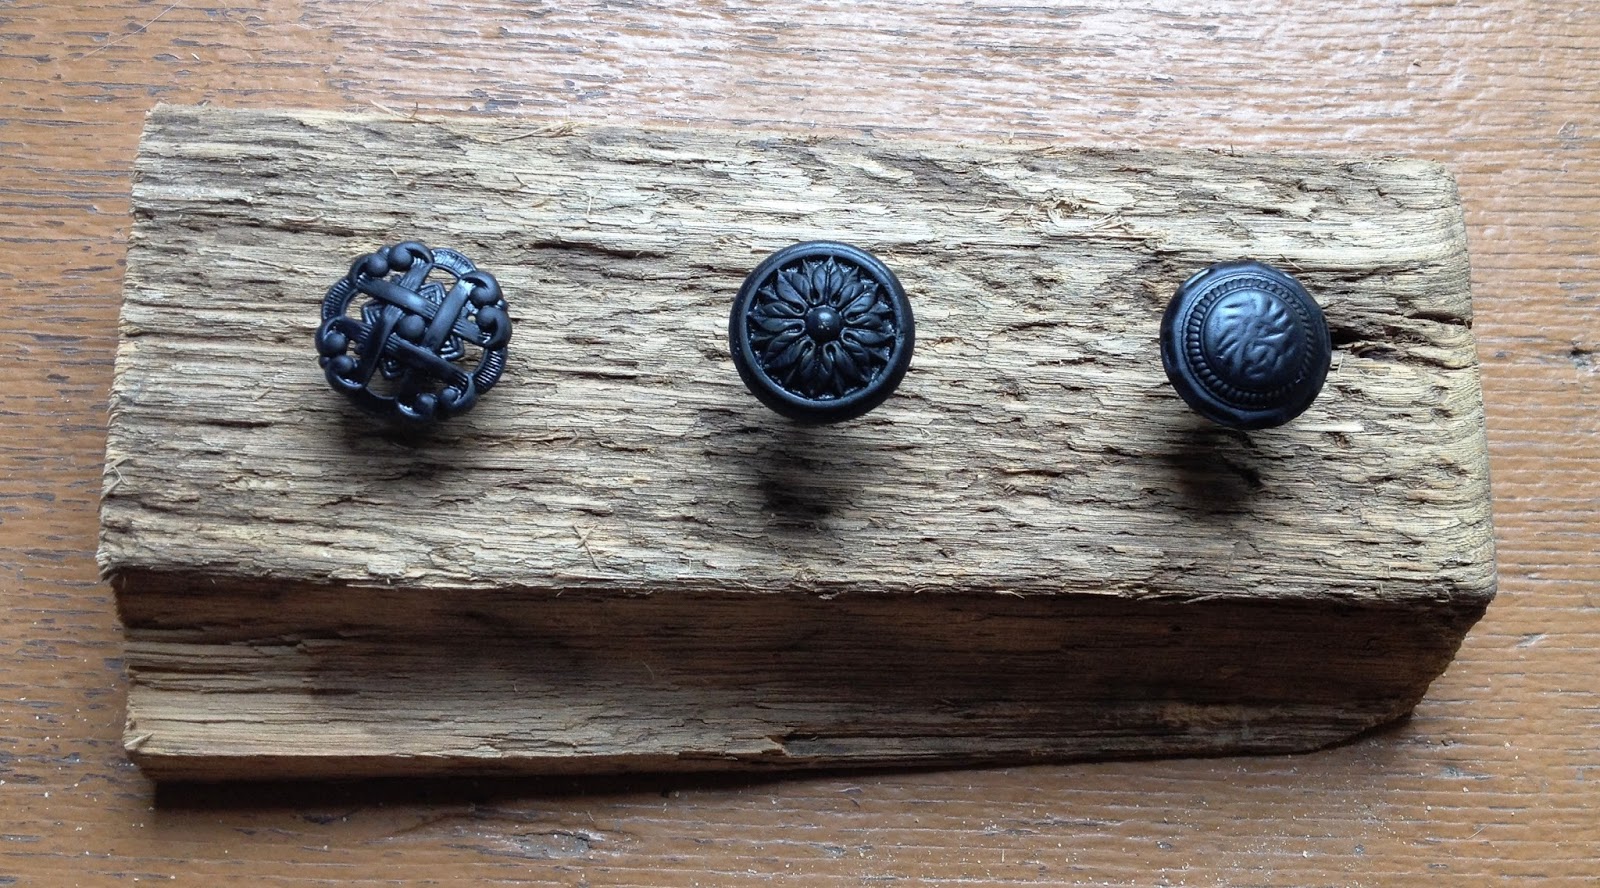
The screws I found have a flat end so the screw can go all the way into the knob. The kit also came with some nuts and you can use these if the screws don't fit all the way into the knobs (each of my knobs had different depths and you can see some exposed metal from the screw - this is hidden however when the necklaces are put on them).

5. (Optional) Eyelet hangers are installed by twisting them into the wood. I wanted to use a few of these for the more delicate necklaces.
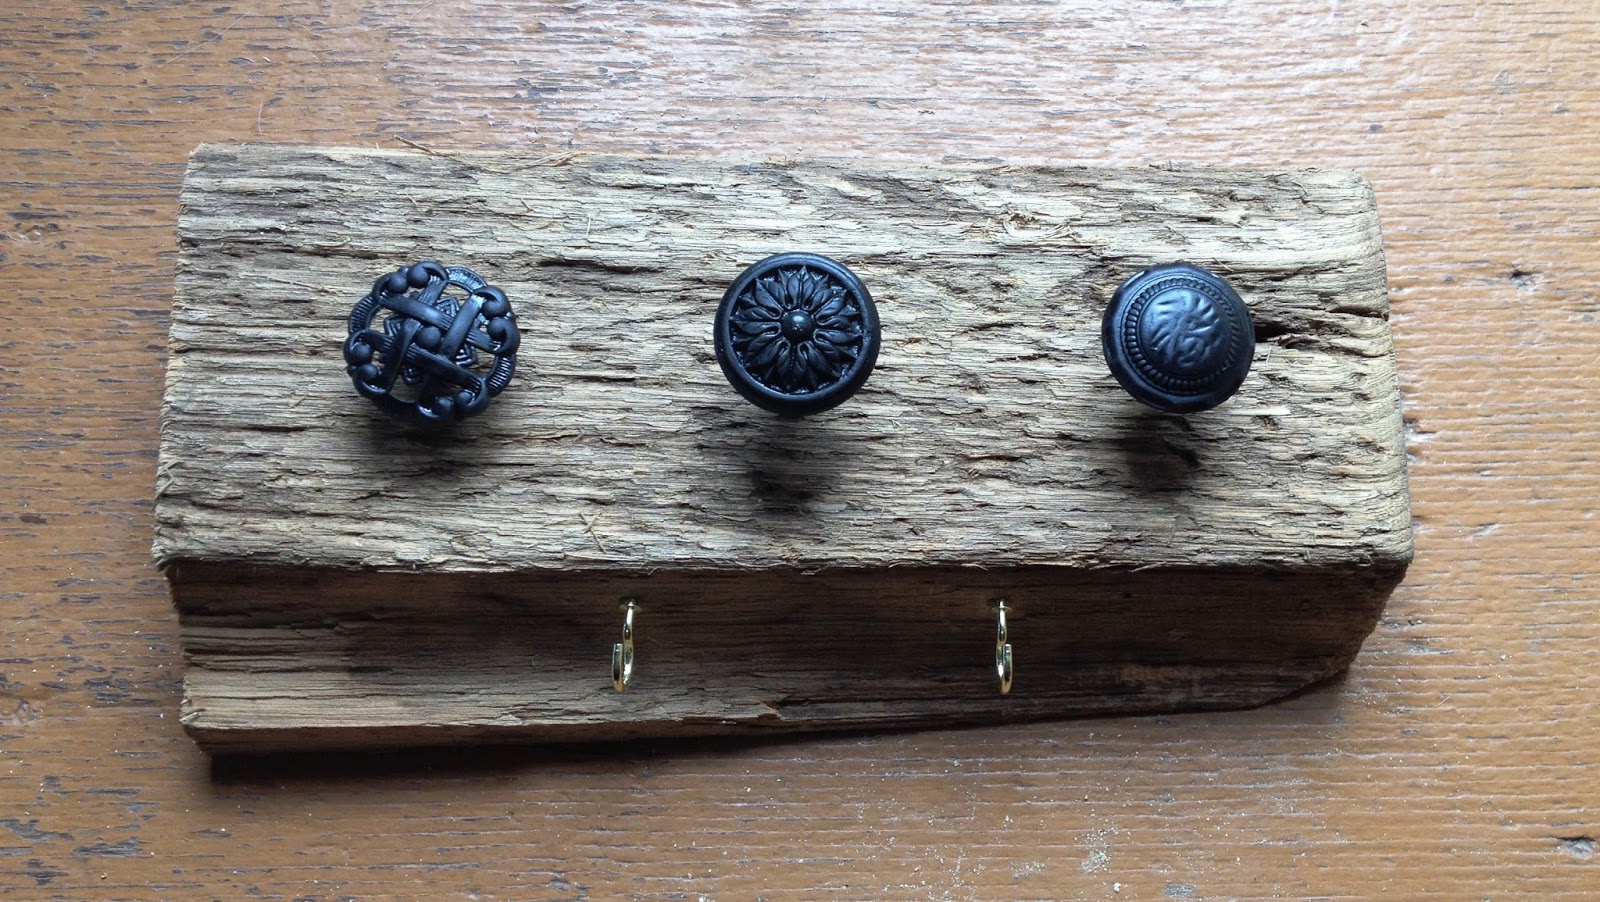
And that's it. Not including the drying time for the knobs, this whole thing took me about 20 minutes.
Now hang it on your wall and use away!
Now hang it on your wall and use away!