Farming Life by the Farmer's Wife

Showing posts with label house. Show all posts

Wednesday, January 18, 2017

I feel like I accomplished something.......some cleaning and general tips

So I was stuck in the house yesterday with the kids all day thanks to freezing rain and bus cancellations. I figured it would be pointless to attempt any sort of paperwork because, kids, (and actually my littlest did lay down and have a bit of a nap and I was able to get through a big chunk of paperwork!) But don't even get me started on how it's easy to feel guilty when nothing gets accomplished in the house. I have days like those and I decided today would not be one of those days.


They were both getting along pretty good for most of the morning so I decided to tackle some of the cleaning jobs that don't get done on a regular basis. Here's some quick cleaning tips that are chemical-free, all natural, and use ingredients you have around the house. My hope is it will help you to remember to clean these things before they get forgotten because they are definitely not a big priority on the daily list of chores.
My main cleaning ingredient is fresh lemon, and you may want to use dish gloves to protect your skin. It stings! (Thanks winter dry skin)

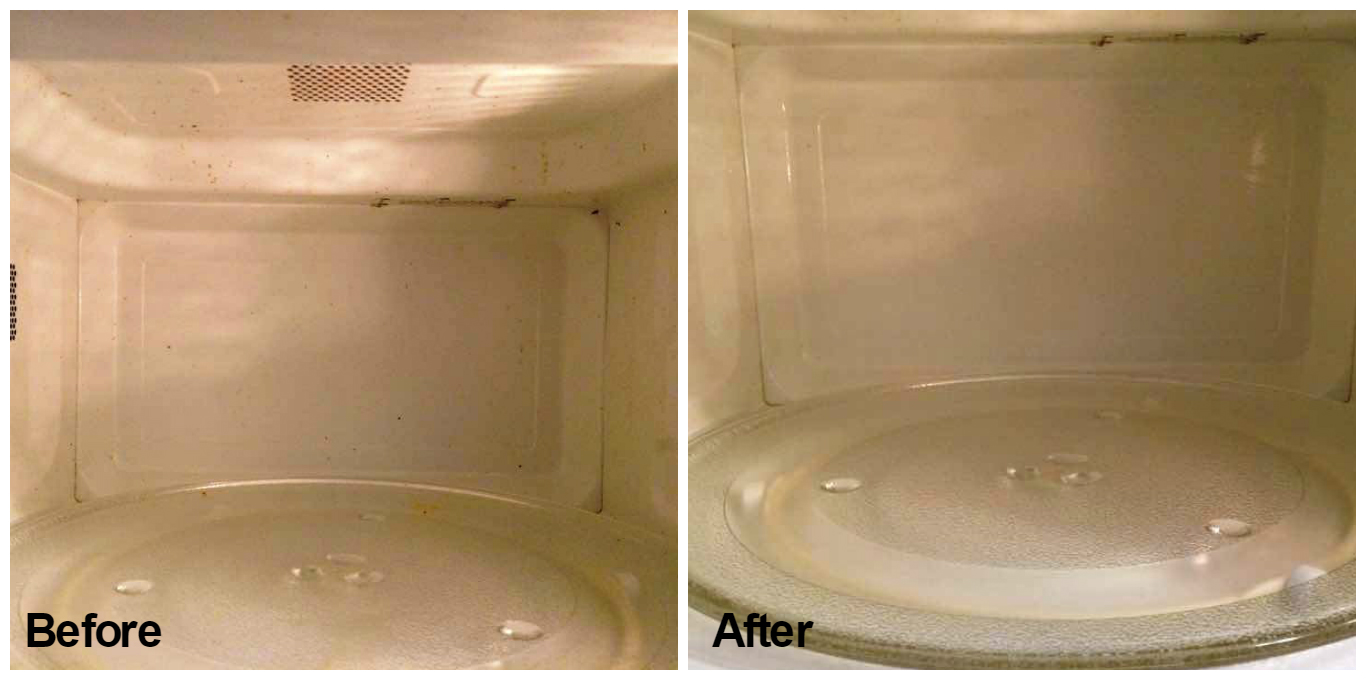
First I started with the microwave. Not too dirty at this point, but doesn't hurt to give it a clean to keep it from smelling bad.
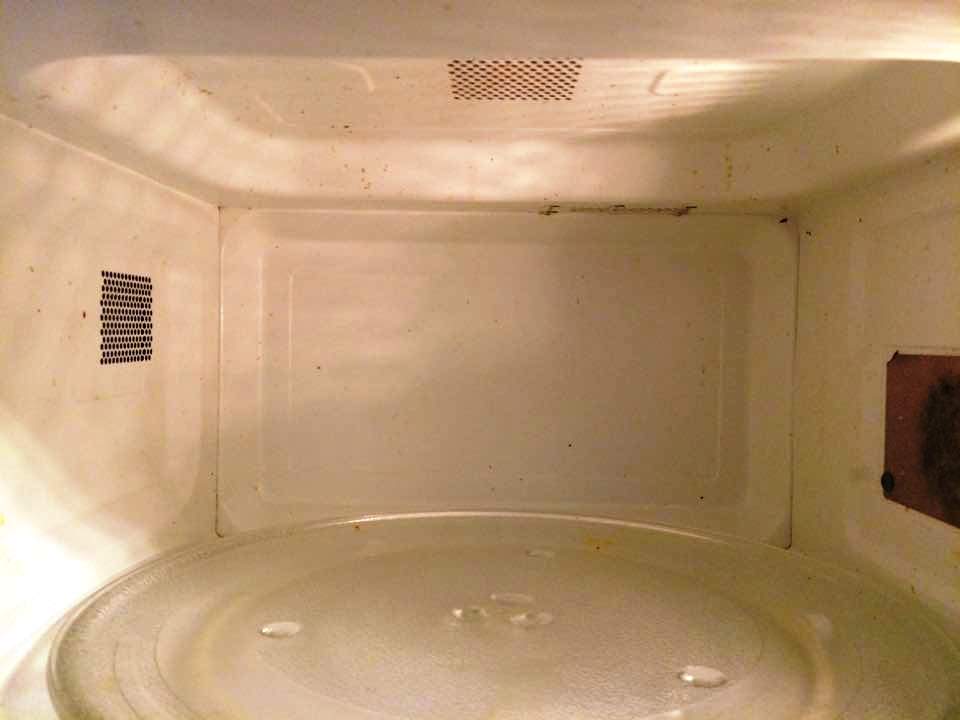
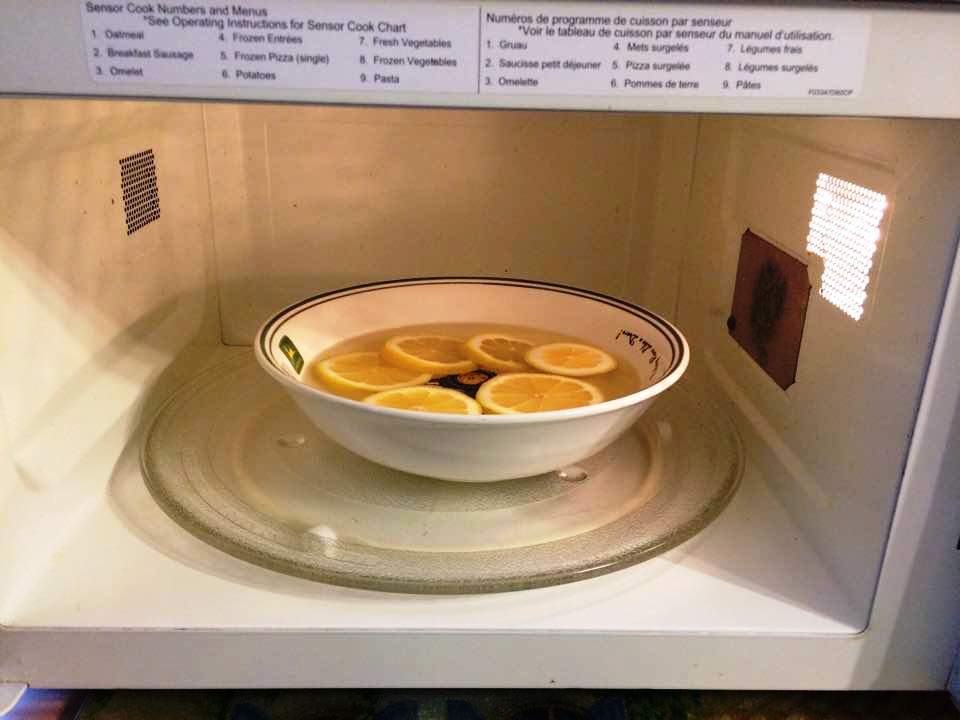
Slice up a lemon and throw it into a shallow dish with 1-2" of water. Microwave for about 3 minutes and let it sit for about 10 minutes. The steam will break up any cooked on food. After 10 minutes, wipe everything down with a warm washcloth and leave door open to air dry. I did use a scrub sponge on the tough spots.
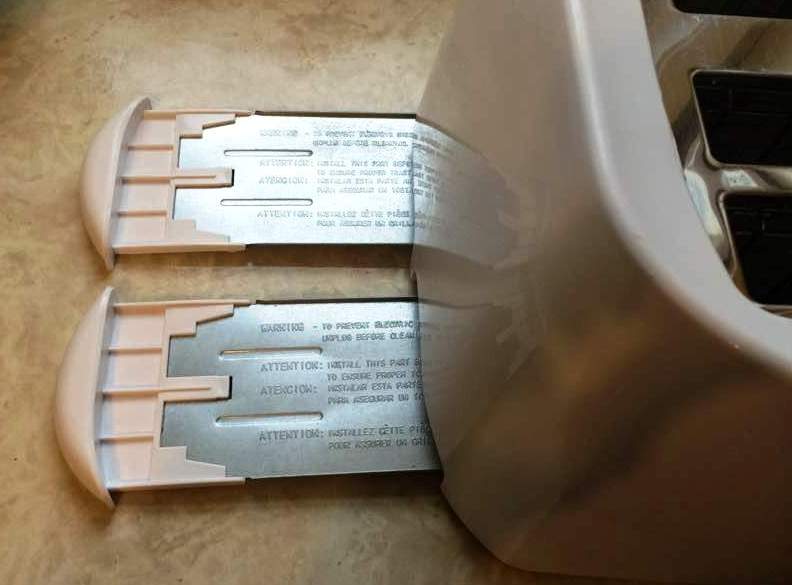
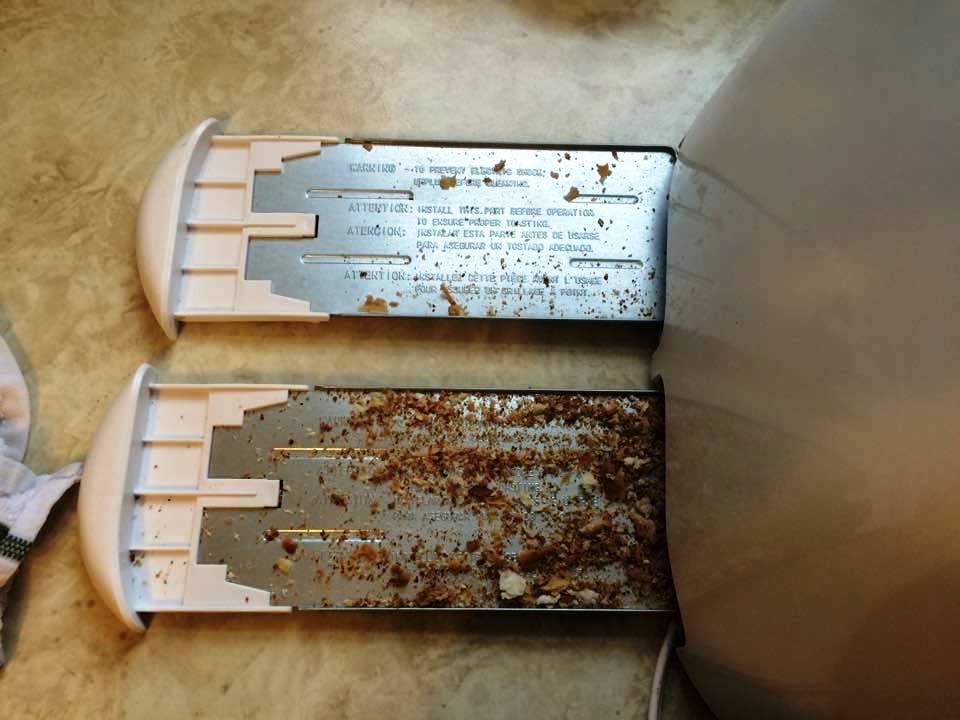
While I was waiting for the 10 minute mark, I did a complete clean out of the toaster. Our poor old girl has been neglected the last while (she's melted on the top and in a bit of rough shape, but we love her!) It's so easy to forget the crumb trays underneath. This is a potential fire hazard if it gets built up too much.
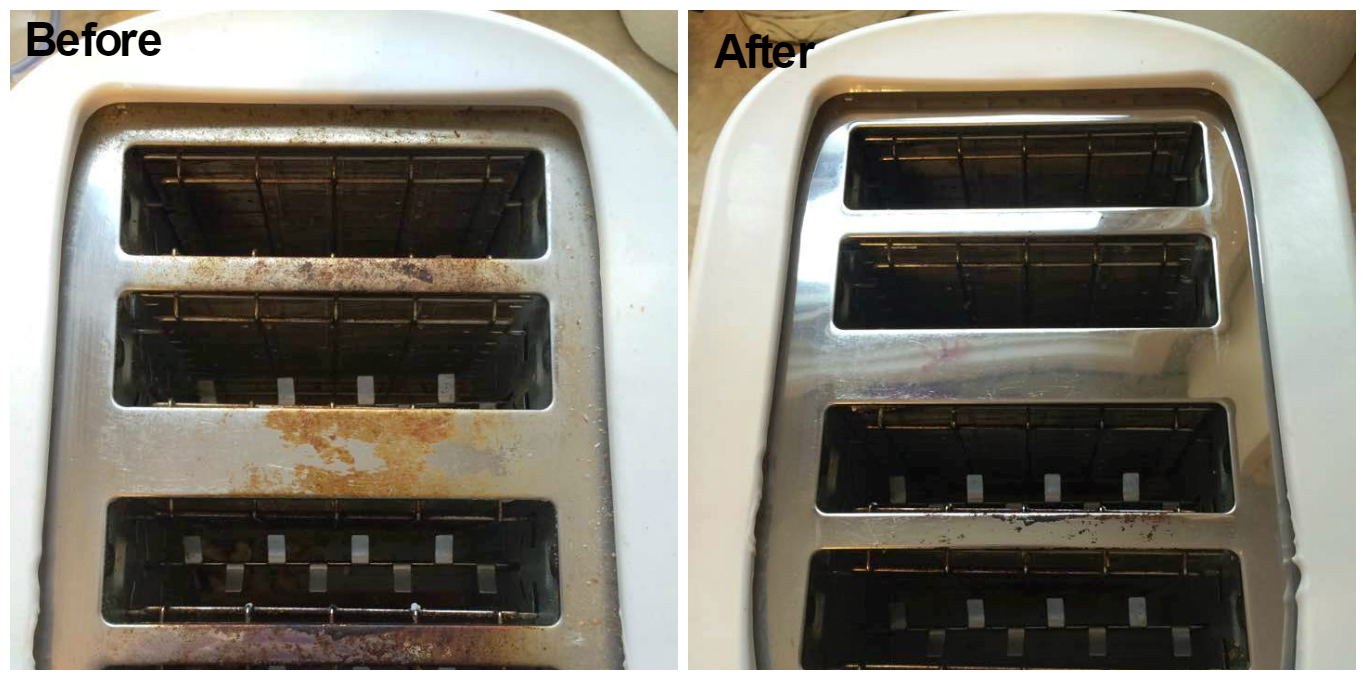
And I thought I'd give a shot at the burnt areas on the top of the toaster. I actually grabbed a slice of lemon from the microwave and squeezed a bit onto a paper towel, dabbed that in some baking soda and rubbed it all over the burnt areas until completely covered. I let it sit for awhile and then using my scrub sponge was able to get it mostly all off. I did the same with the outside plastic areas. Make sure you let it sit to dry completely before using it and give it a good shake to get any additional particles out. And don't forget to unplug it before even attempting to clean!!

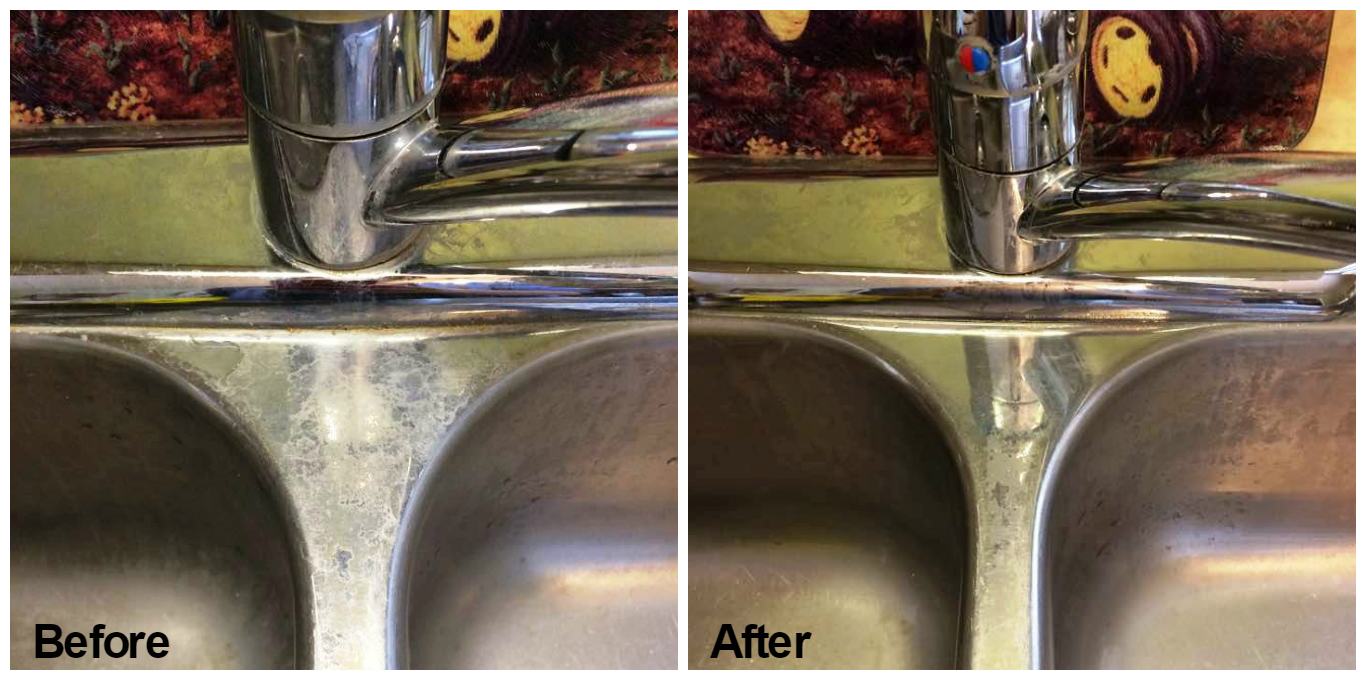
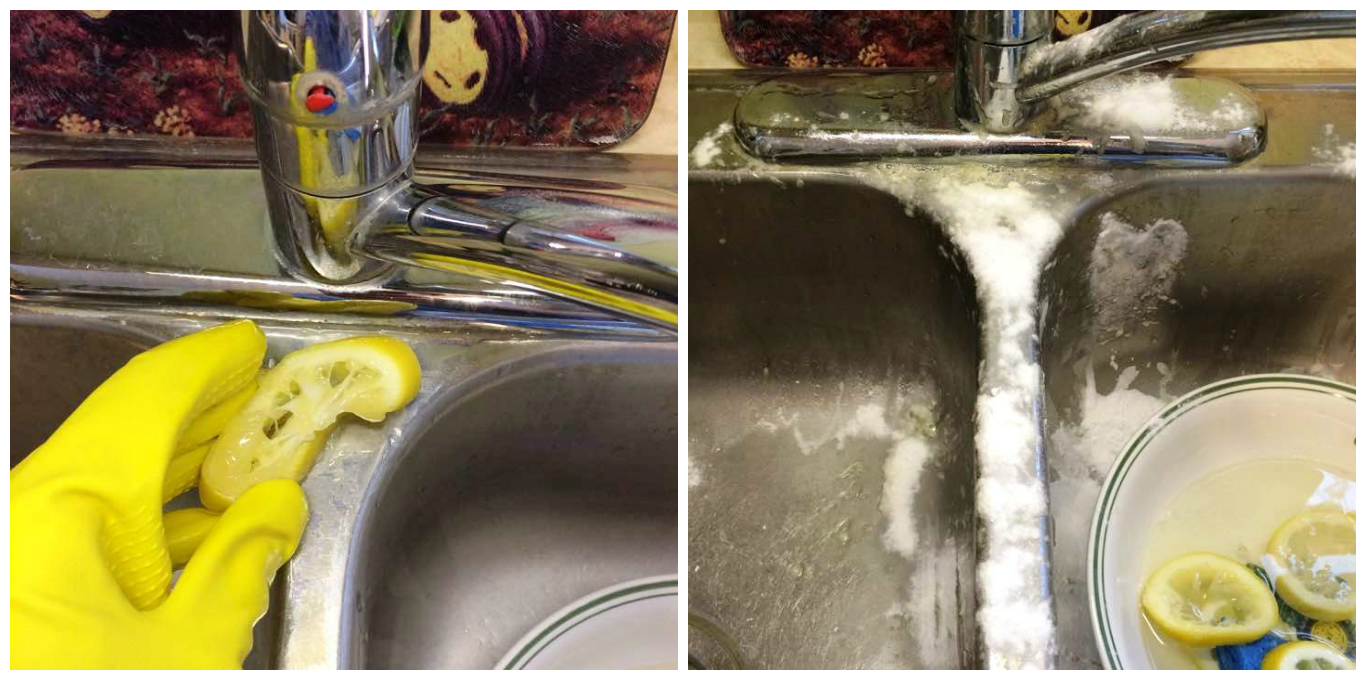
Save those lemons! I used them to clean hard water stains off the kitchen sink tap. Rub the lemon all over the hard water stains and sprinkle baking soda over it all. Using a paper towel, gently rub mixture all over and let sit for 5 minutes. Using a scrub brush or sponge, scrub the areas until polished and wipe with a warm cloth.
It didn't get it completely clean but definitely looks a lot better.
While all this was going on I was also doing some laundry. Don't forget to check and empty the lint trap on a regular basis. I emptied mine today. It's a potential fire hazard if the lint trap is left full and the dryer will run more efficiently if you clean it regularly.

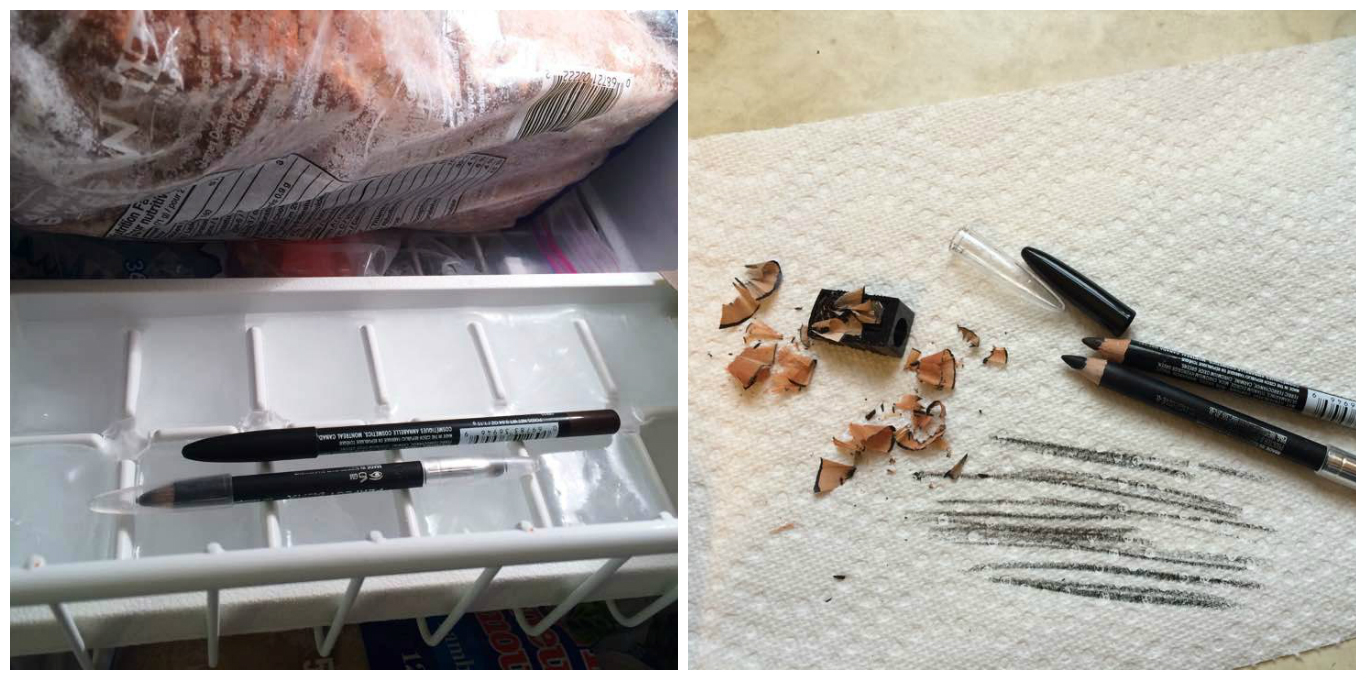
Finally, some of my eyeliner pencils needed sharpening. Because the lead is so soft, It's easier to sharpen them after they have been frozen for a few hours. After sharpening, draw on an angle across a paper towel and the tip sharpens just that much more, and you're all set.
So that's what I got accomplished yesterday. And that's what one of my quiet days looks like! I hope you can find some of these tips useful.

Monday, May 16, 2016

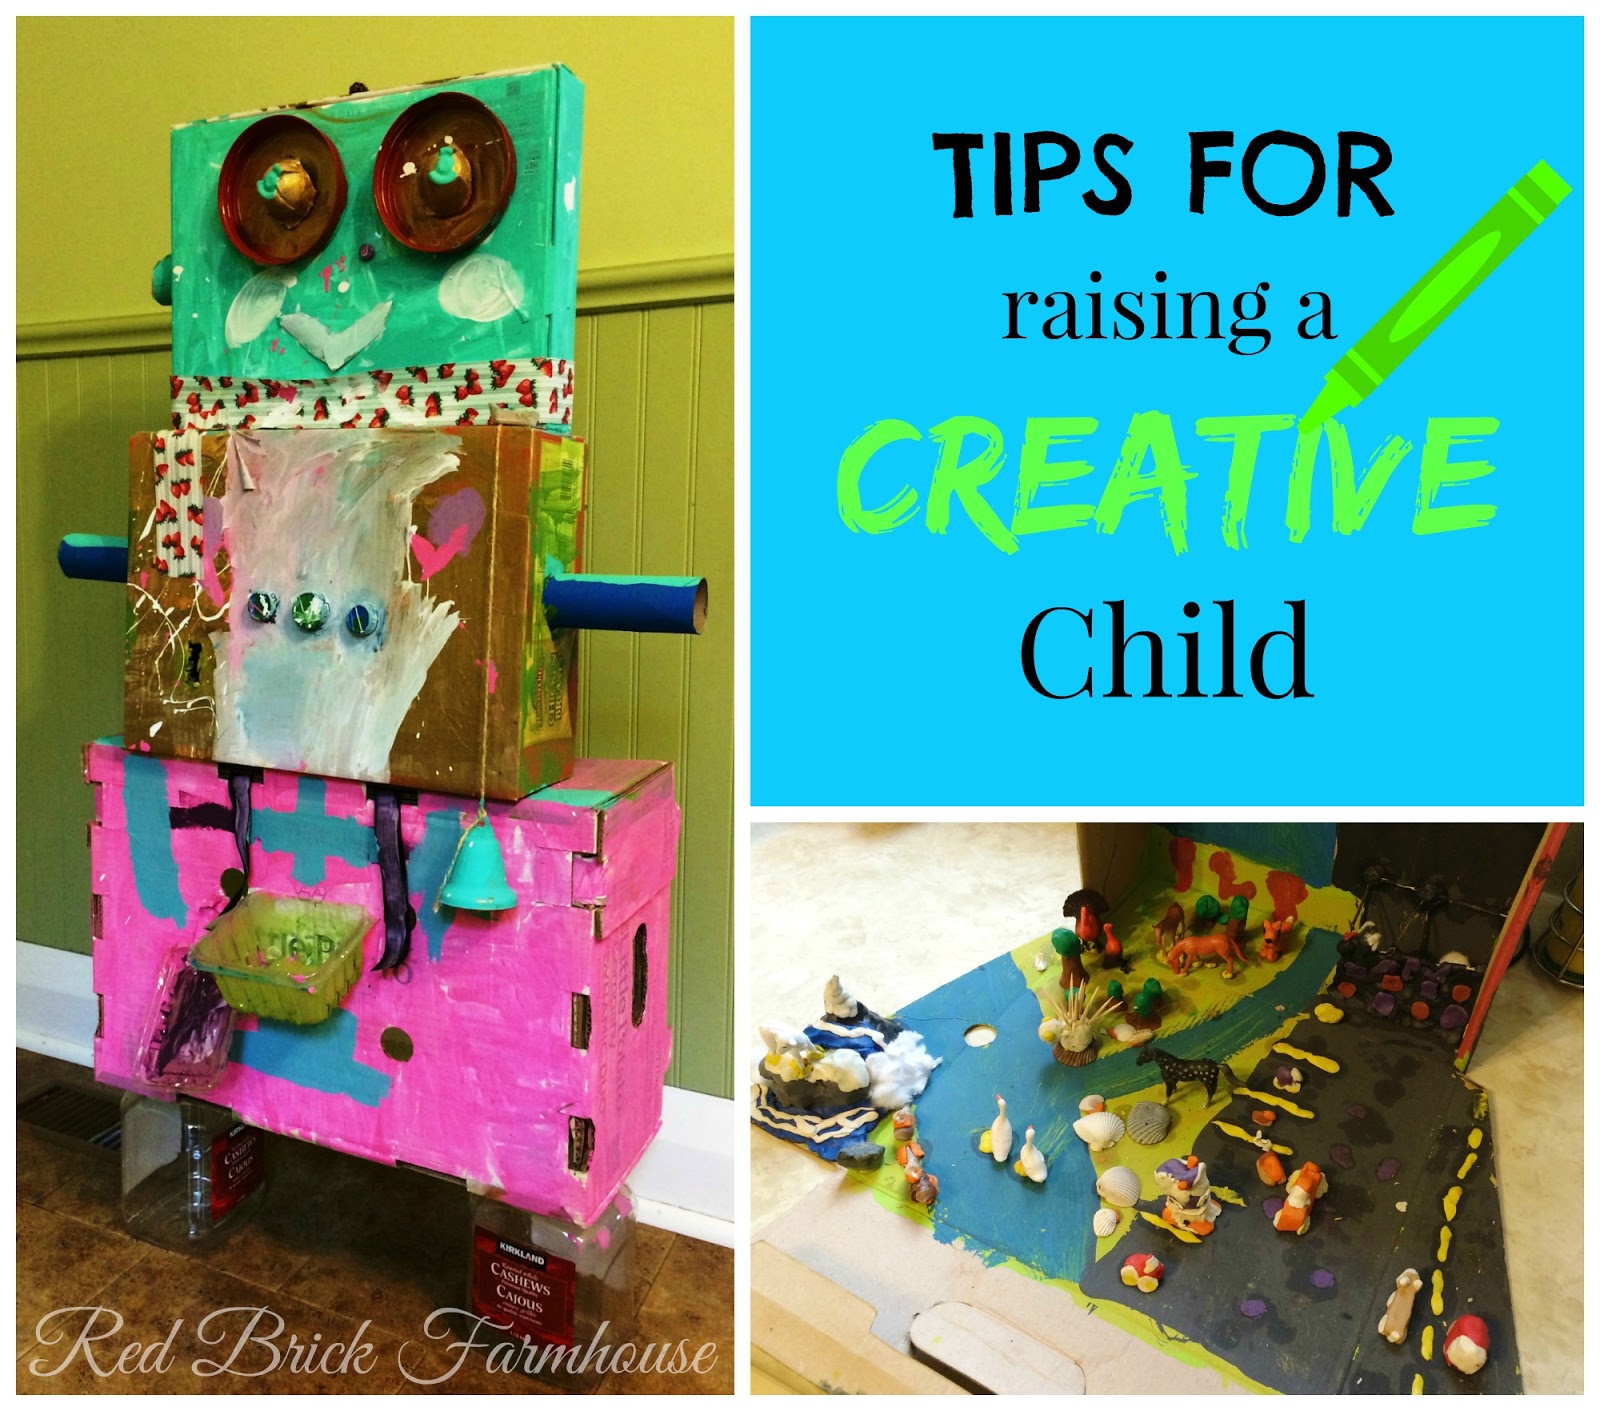
Tips for Raising a Creative Child

It's always nice to receive a special home-made gift or picture from your child, but what do you do with all these creations? My oldest child is always creating and crafting something. Usually it's just with a piece of blank computer paper and some tape. Empty Kleenex boxes become a home for a stuffed animal or a hat for her little brother. Sometimes I find myself hiding the empty boxes or cardboard rolls from toilet paper, so Jenna doesn't see they're available to use. Eventually these creations start to pile up and I just don't know what to do with them. I hate having clutter around and I would really just love to throw them in the burn barrel, but that would hurt her feelings.

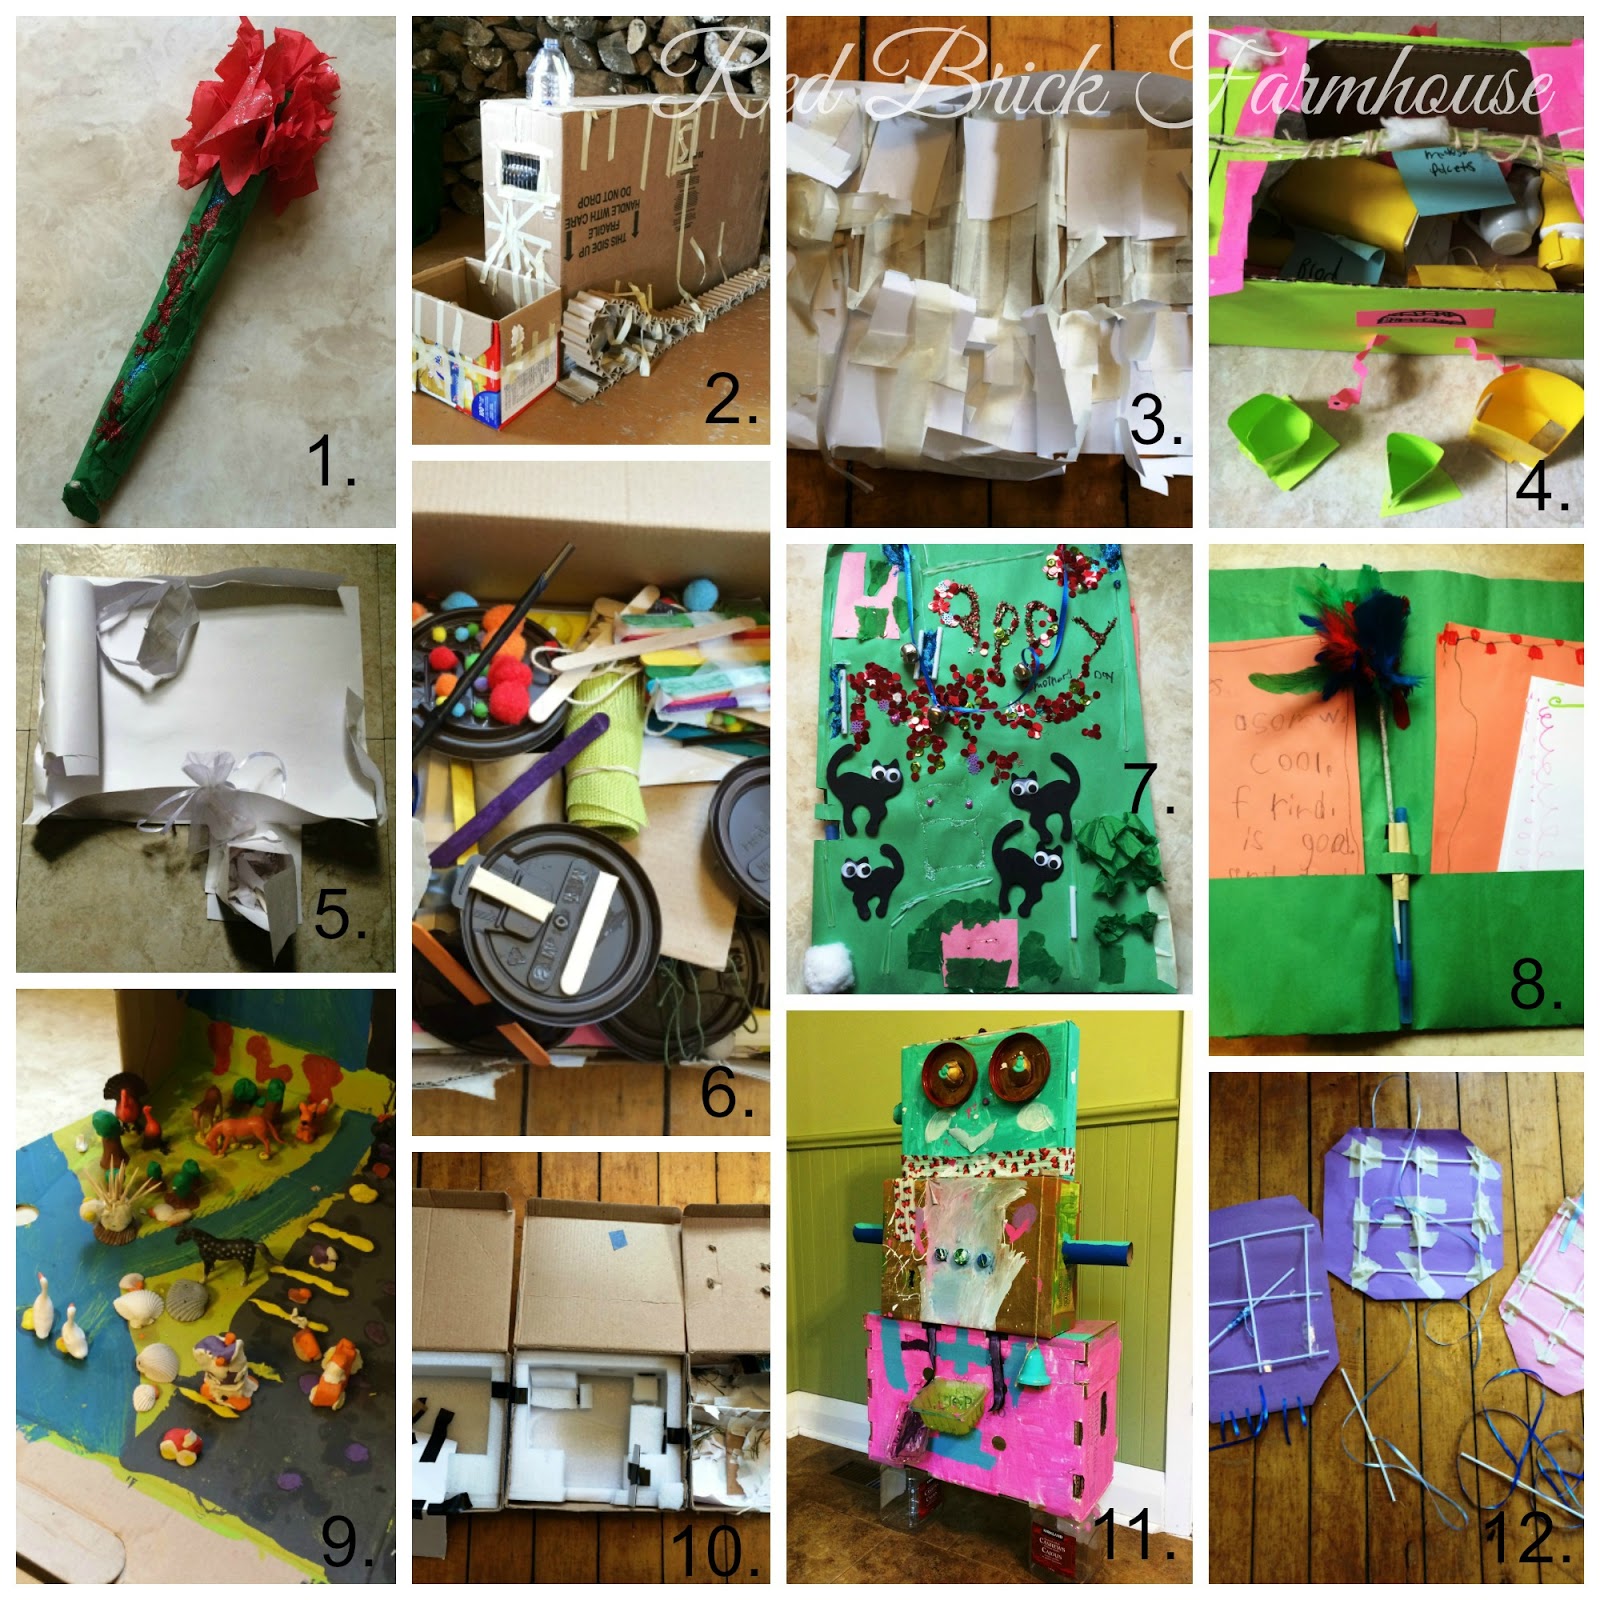
An example of what we have around the house at any given time: 1. Mother's Day tissue paper flower; 2. Bulldozer (too big to be in the house);
3. Littlest Pet Shop house; 4. Doctor kit; 5. Bed for a stuffed animal; 6. A shoe box filled with Tim Horton's lid creations; 7. & 8. My Mother's Day gift - a stationary set; 9. School project - diorama of man vs. nature; 10. Bug homes made from tractor light boxes; 11. Robot made at March Break camp;
12. Kites

Some of my tips for dealing with a child
who likes to create a little too much:


1. Ask first:

Mom or dad, grandma or grandpa, babysitter or caregiver should be the first to ok a new project. Keep supplies out of reach and out of sight. Our craft supplies are locked in a cabinet. Set limits: teach your child that he or she shouldn't start a new project if there isn't time to finish it or if there is already another one on the go. Always finish what you start. For the longest time, Jenna would have a pile of papers with one sticker or one crayon mark and notebooks upon notebooks only half-filled. She insisted we had to keep them all.

2. Waste not want not:
As good as it is to recycle unused items to create something with, if you have to use new items for the creation, then it doesn't always make sense to make it. Sometimes Jenna will have gone through an entire roll of tape for one creation before I can stop her. She understands the concept of reusing and recycling, but needs reminded of the reducing aspect.

3. You can't keep it all: 

If you have to start limiting what creations (and especially school projects) you need to keep, I always do a 3:1 ratio. Out of three things, I keep only one. Usually it's the one thing I know she worked hard on, or did the best job at colouring it, etc. At the end of the school year I lay it all out in front of me and do the same again. Then you're left with a manageable amount to put away in storage. For any larger projects you don't have room to keep, you could take a picture of and then dispose of properly. Keep it all labelled by age/grade if you want. Your child may appreciate this in the future, or they may wonder why you kept all that "stuff." My mom kept a small bin of my school papers, and so far in the almost 9 years of my oldest child's life, I've kept a fairly large bin of papers. I might have some work ahead of me.

4. Your supplies:

Buying crafts in kits and limiting your supply stash is a good way to keep your child from getting overwhelmed by all the items they can use. The dollar store is a great place to find reasonably priced craft kits. Then your child can create away with only what comes in the package. You don't really need a pack of construction paper plus scrapbook paper or glitter crayons and regular crayons. One or the other is probably more than enough. I'm all for options, but if it means more clean-up afterward, then less is more. Keep supplies organized so you can see what you have or need or need to get rid of. If you already have a supply problem, it's a good idea to set some things aside to use down the road, or even donate to a daycare or childhood centre. We somehow managed to collect a plastic shopping bag full of toilet paper rolls, so I donated them to a local daycare centre.

Following some of these tips should help you to make, and hold on to, special memories with your creative child (or at the least make the clean-up a little easier when it's all said and done).

Saturday, August 29, 2015

Barn Board Necklace Organizer

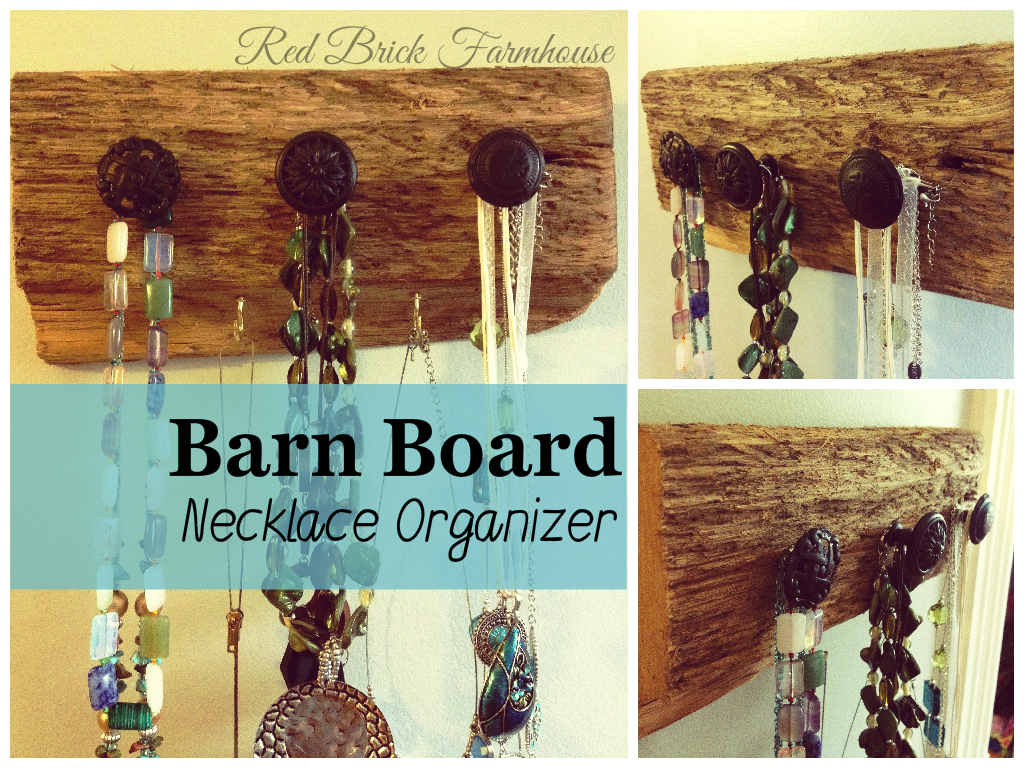
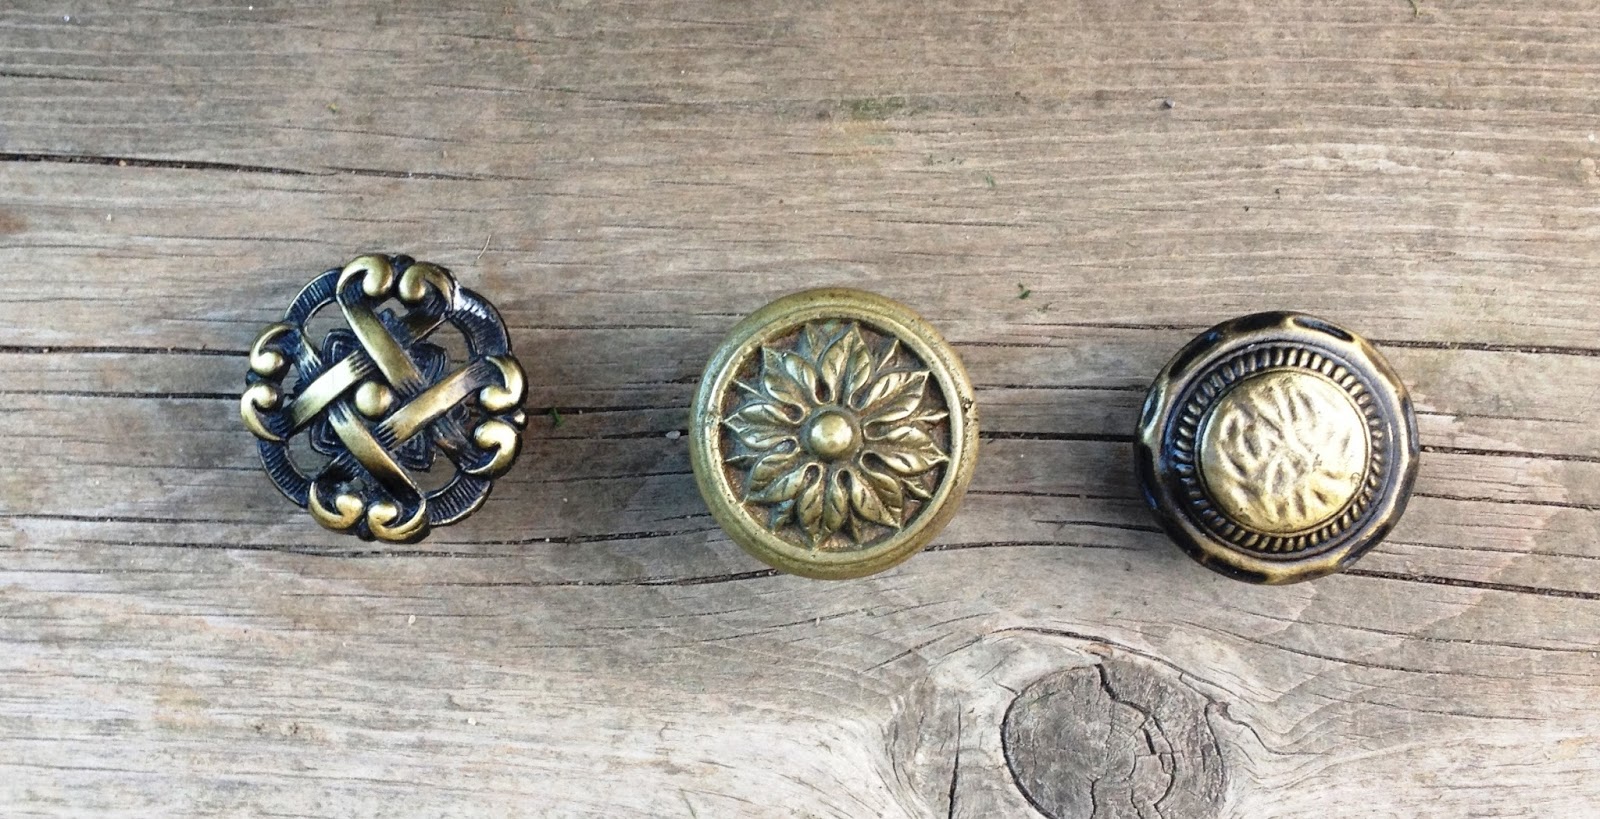
Recently I purchased a good bunch of second hand costume jewelry (necklaces). I've never really been one to wear necklaces so I didn't have a spot for them (it was time for a change, and I wanted to start dressing pretty I guess). I scoured Pinterest and found a way to hang necklaces that I liked and was sooooooo close to stopping into a Homesense and buying one like it because I've seen them in the store before. So literally I was on my way out to town, and stopped at the barn to check the live trap (we have a raccoon problem) and happened to spot some small pieces of barn board laying in the pile of longer boards. I had totally forgot we had repaired a board a few years ago, so there was lots of little pieces left that we just kept. So a quick look in my odds and ends bucket, and I found some of the drawer pulls I removed from the bathroom cabinets to replace with new ones when we moved into the farm house. For some reason, they were all different designs and for some reason I kept them all. Here's my reason for keeping them I guess!


Barn Board Necklace Organizer:

What you need:

1. A space you can safely work with power tools and spray paint.

2. A piece of barn board cut to the size you need. Scrub it and wash it if required.

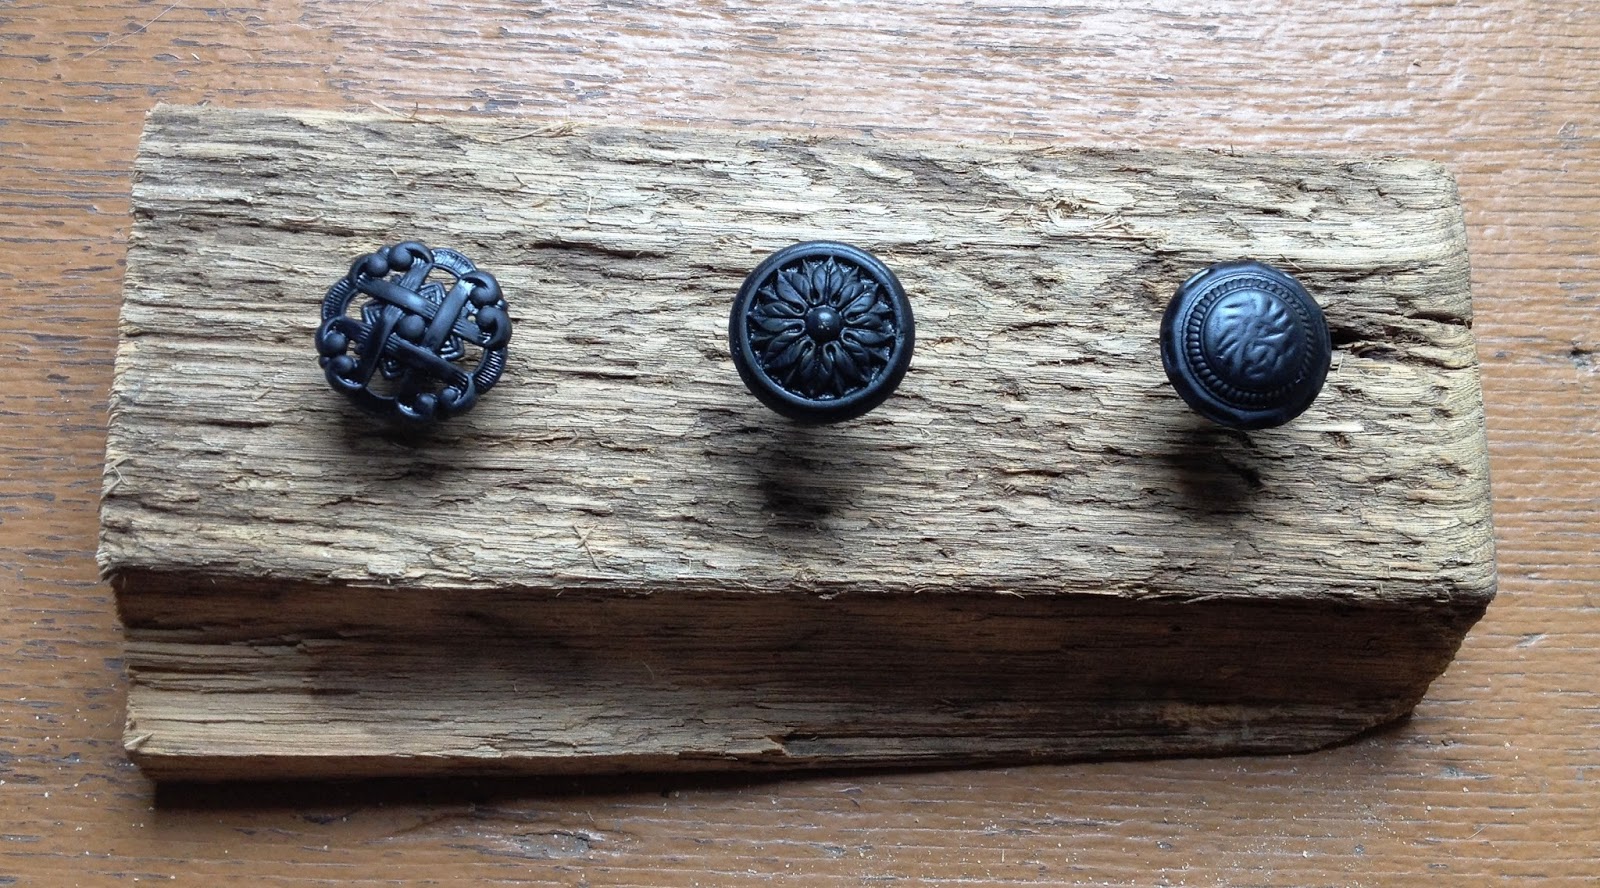
3. Doorknobs or drawer pulls in a design you like:

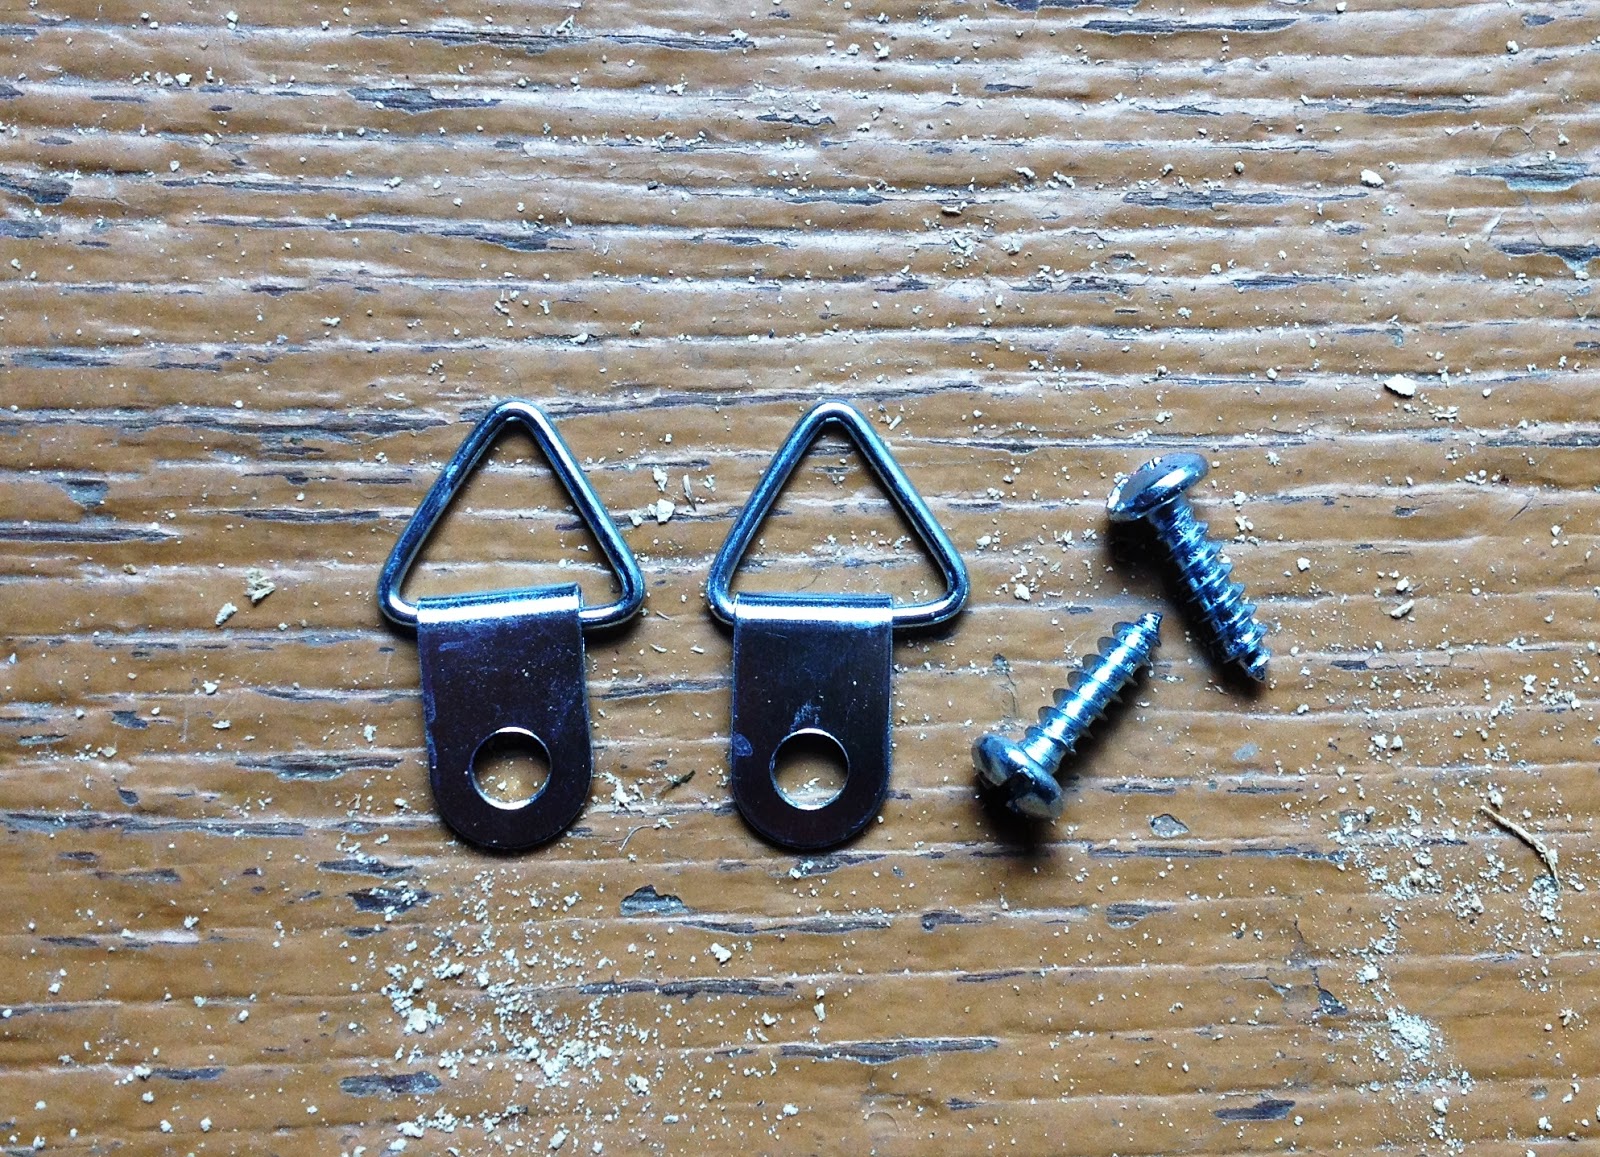
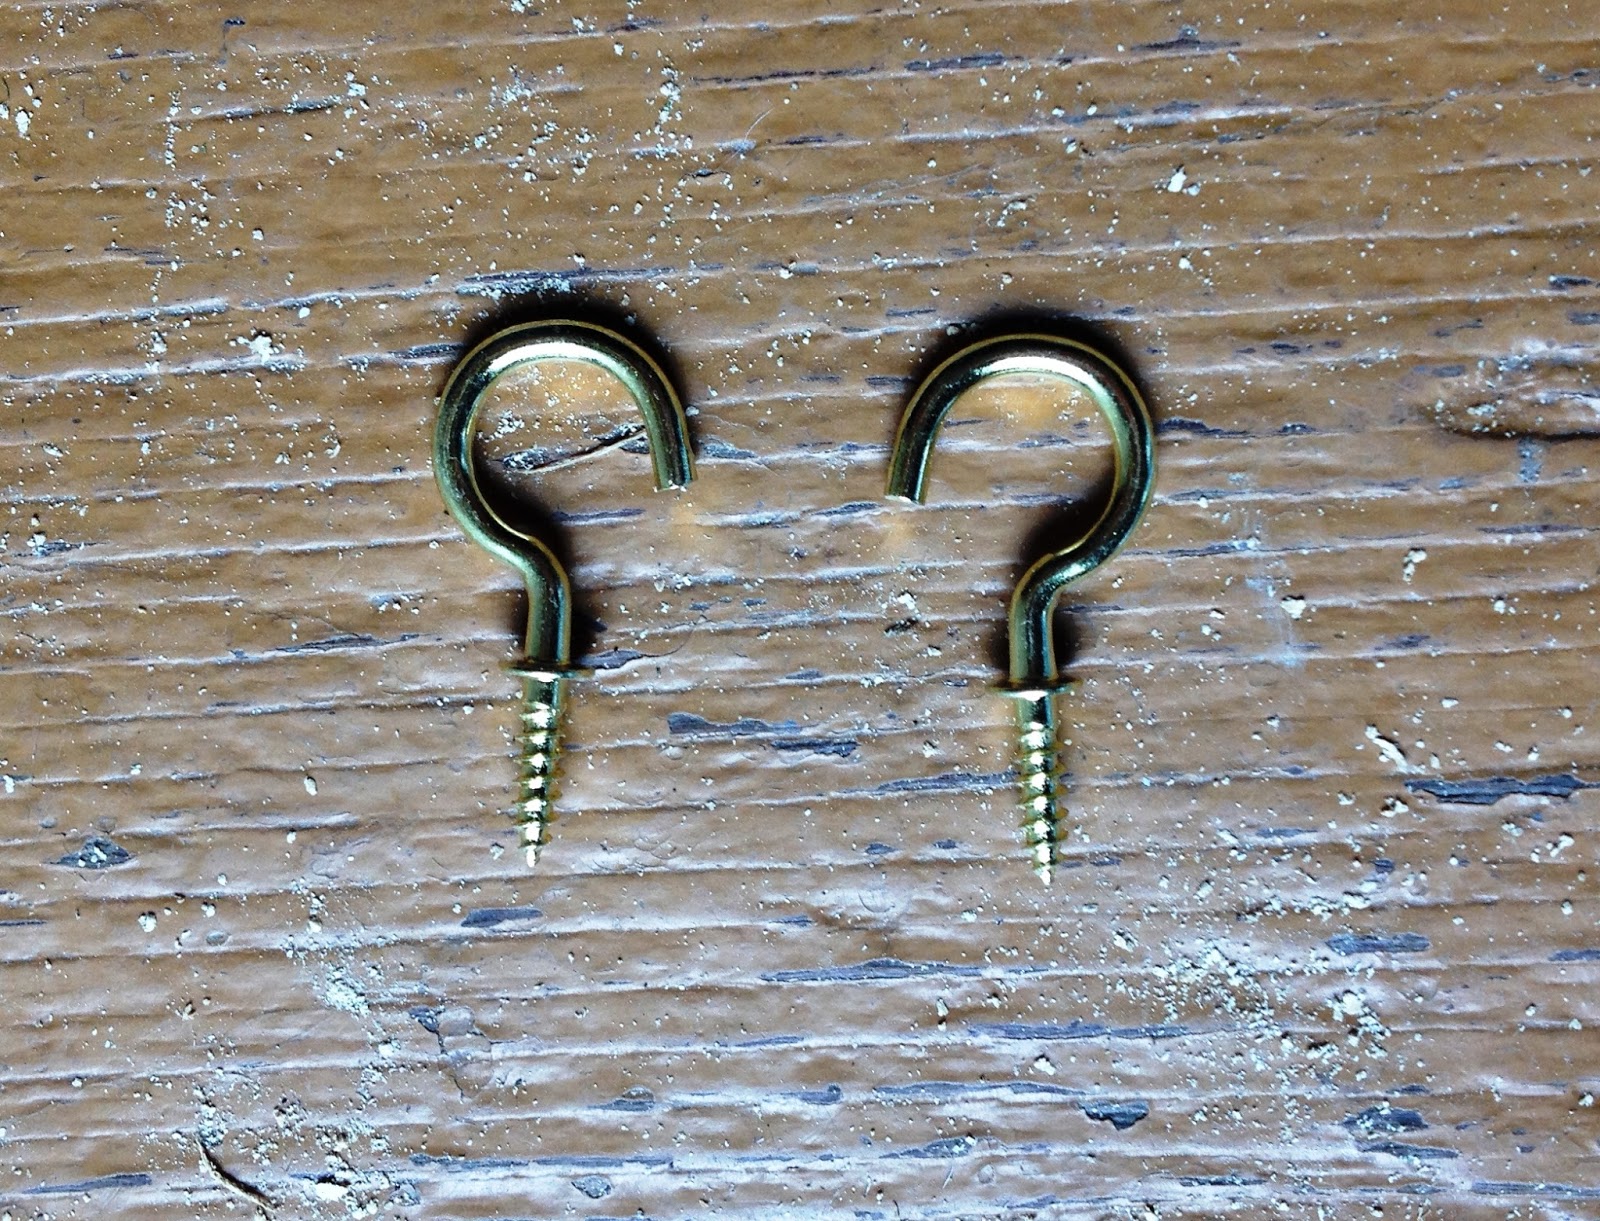
4. Flat ended screws in the length to fit thickness of wood and size to fit in knobs; cup hooks (optional); eyelet hangers (or another method to hang as required) - more on these below.

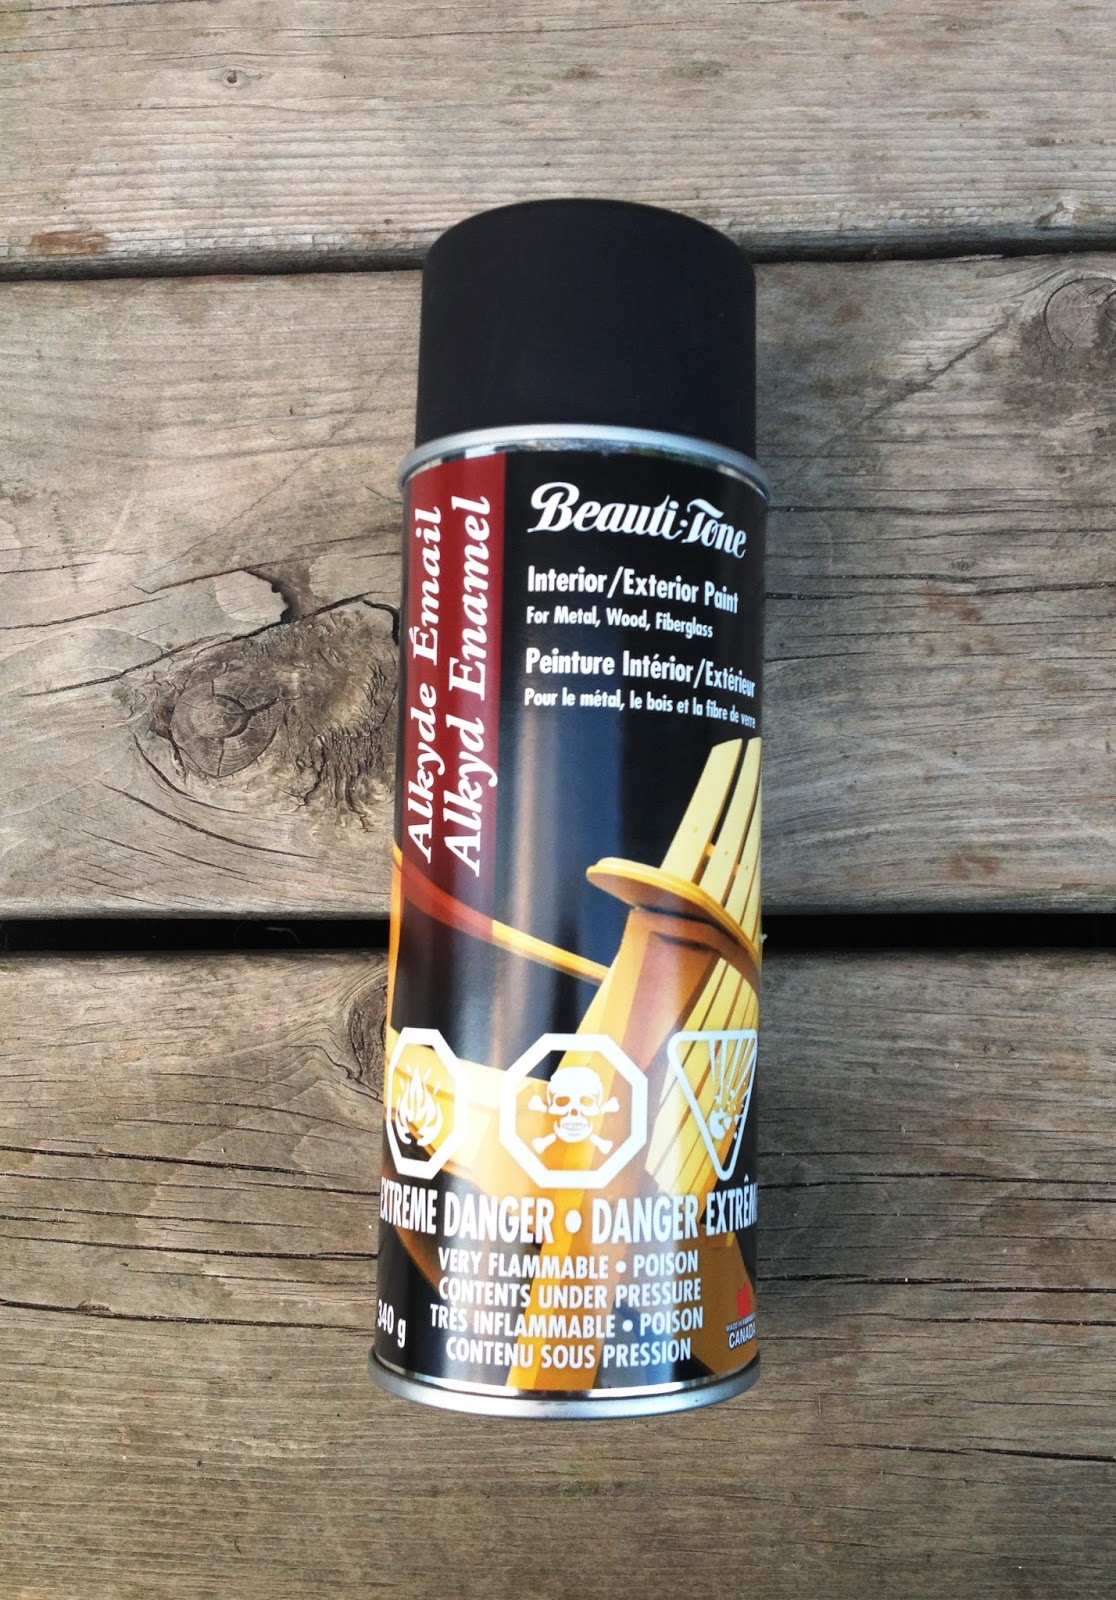
5. Spray paint (optional). I found this enamel paint by Beauti-Tone I thought would stand up to wear and tear pretty good.

6. Power drill and wood drill bits in the same or similar size to the screws.

7. (Optional) Multi-tip screwdriver.

The Steps:

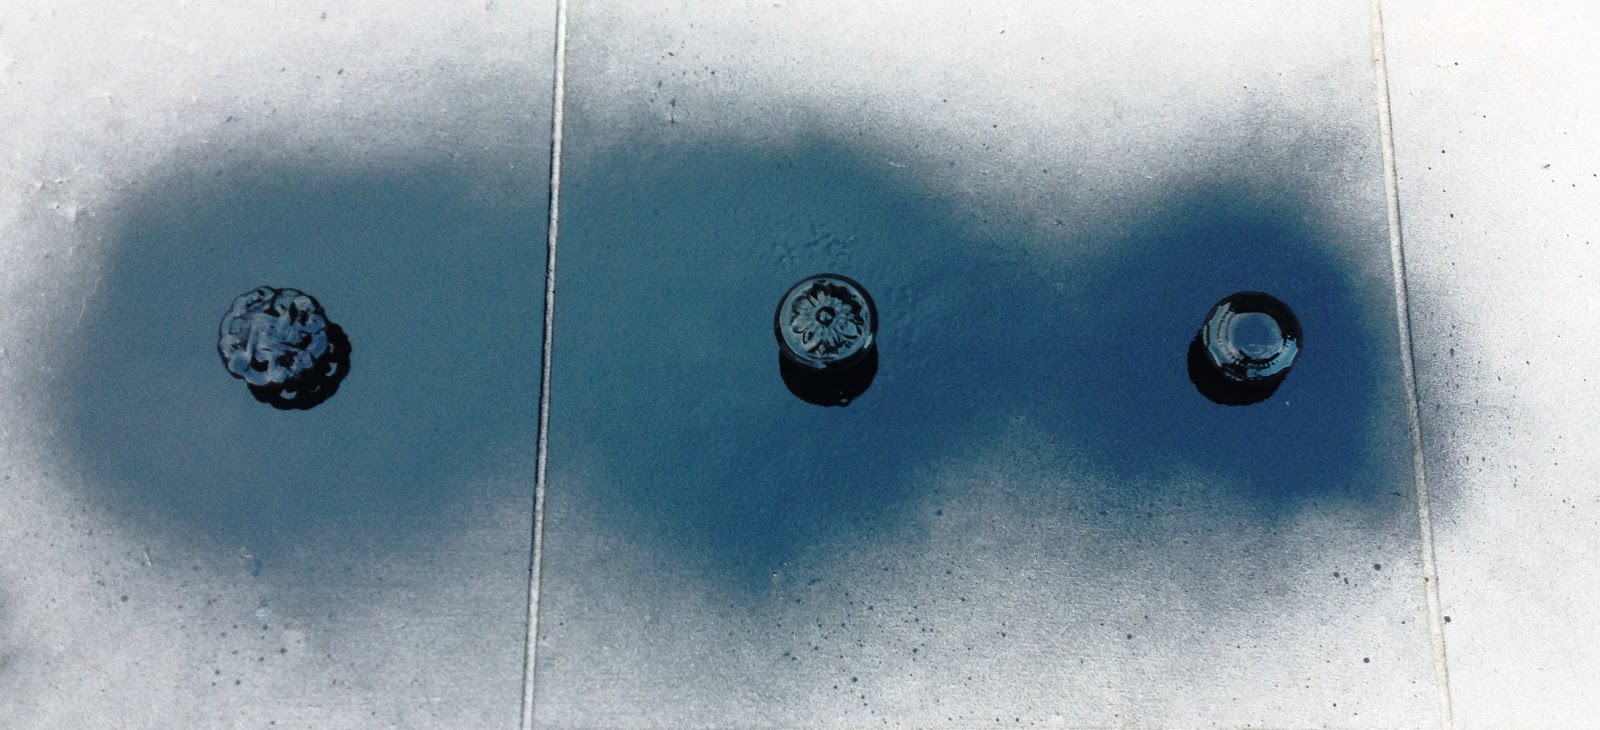
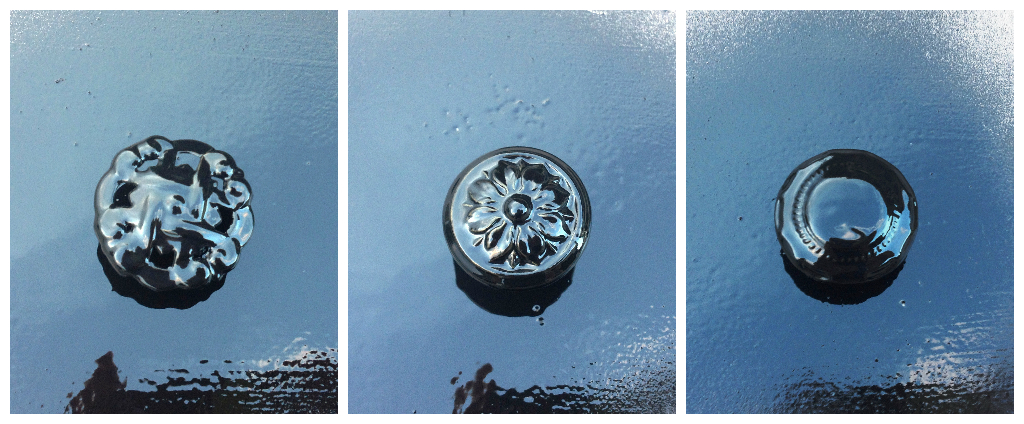
1. Start by spray painting the knobs if that's the route your choosing to go, and allow to dry as per recommendations on the can before moving on to the next step.

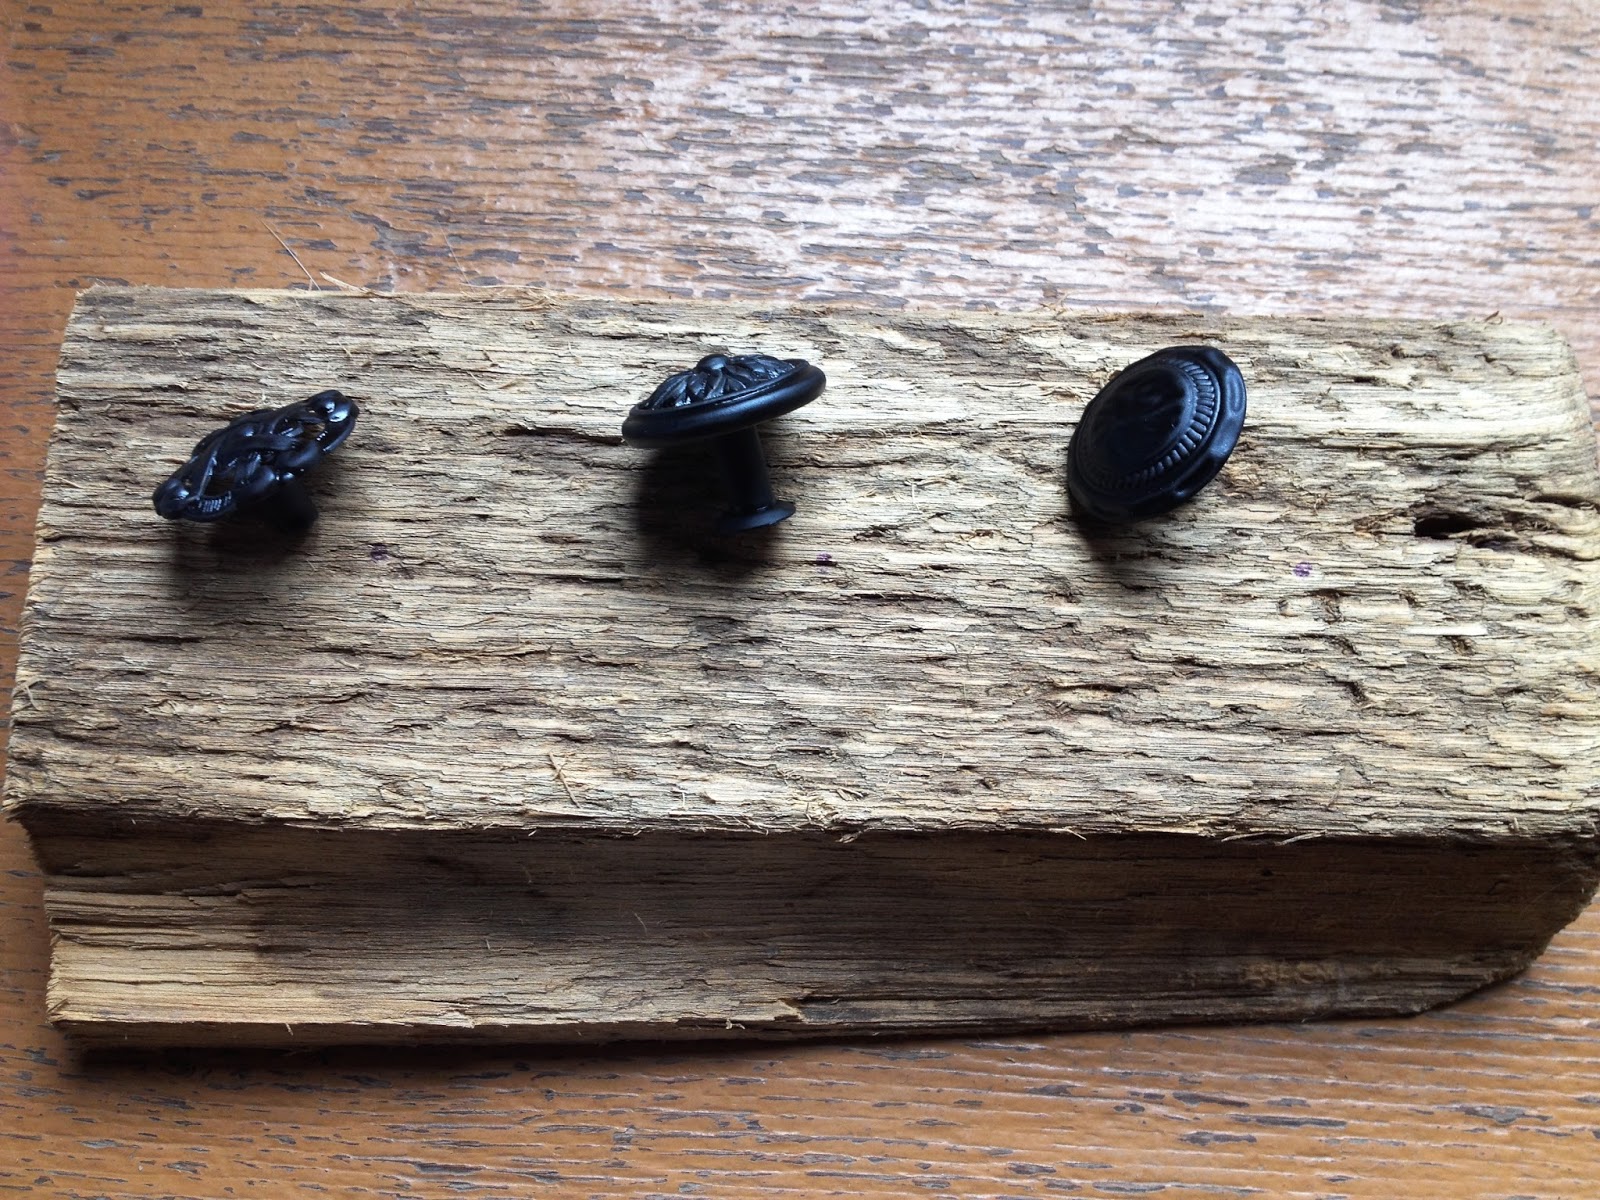
This paint went on really thick and covered well. It also dried amazingly and the knobs turned out really neat.

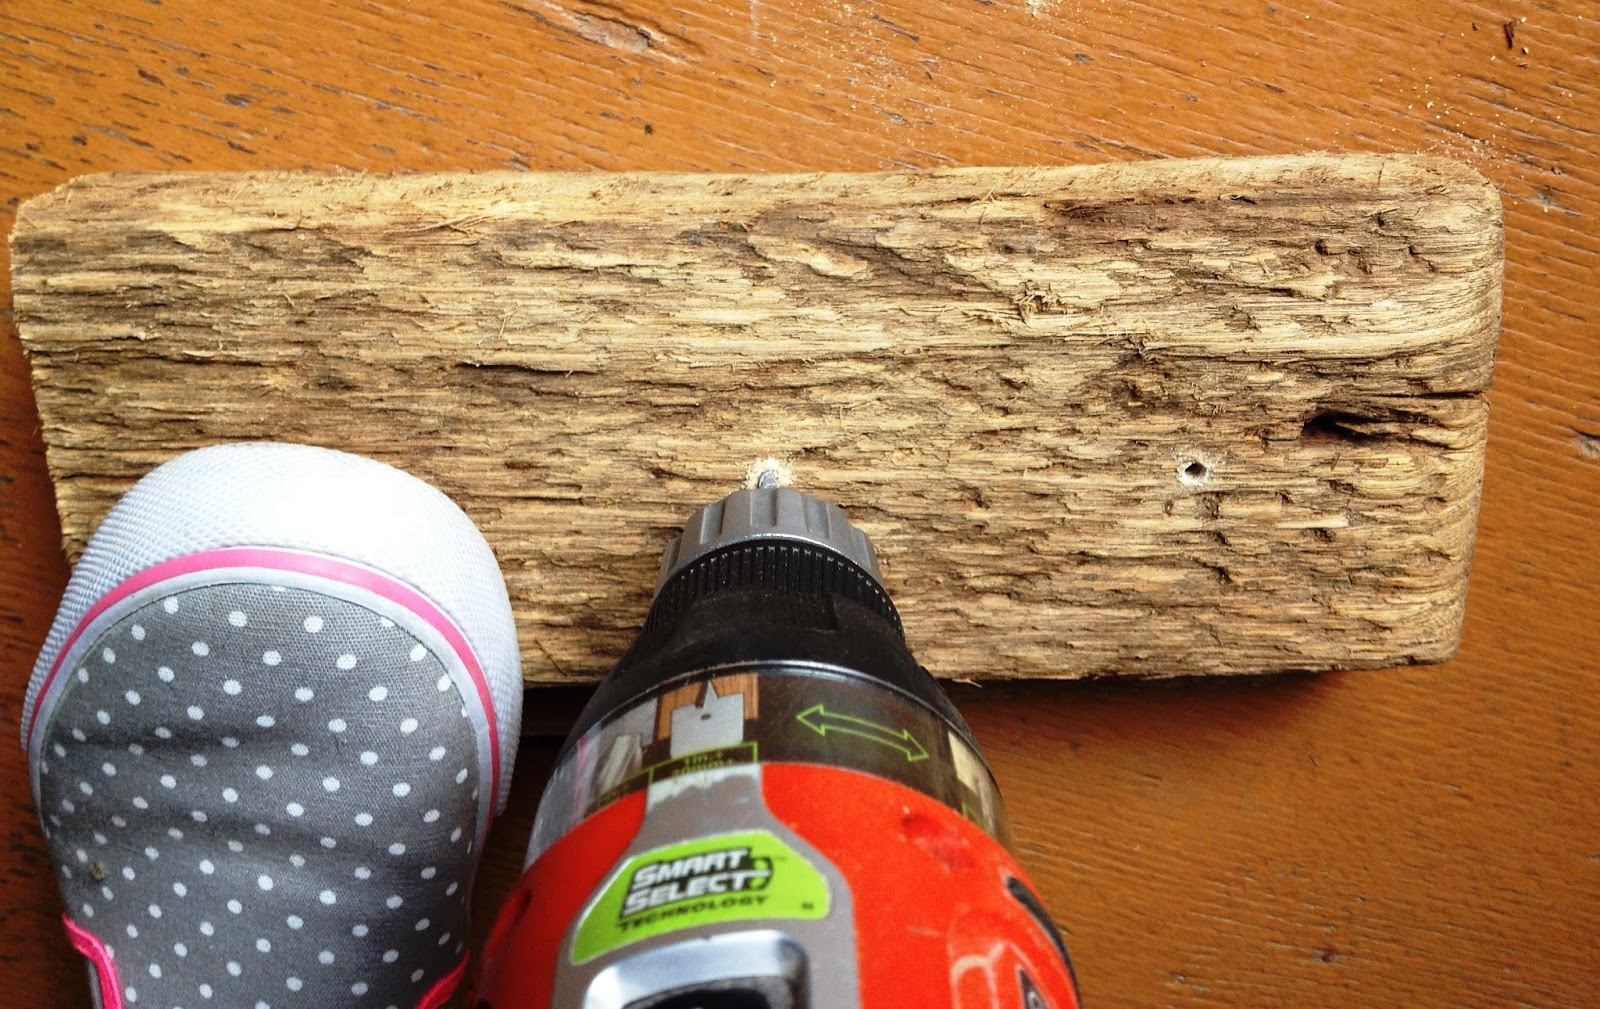
2. Place the knobs where you want them to go and mark with pen. Then drill your holes with the power drill. Barn board can be hard and it may take some time to get through it depending on thickness of the board,

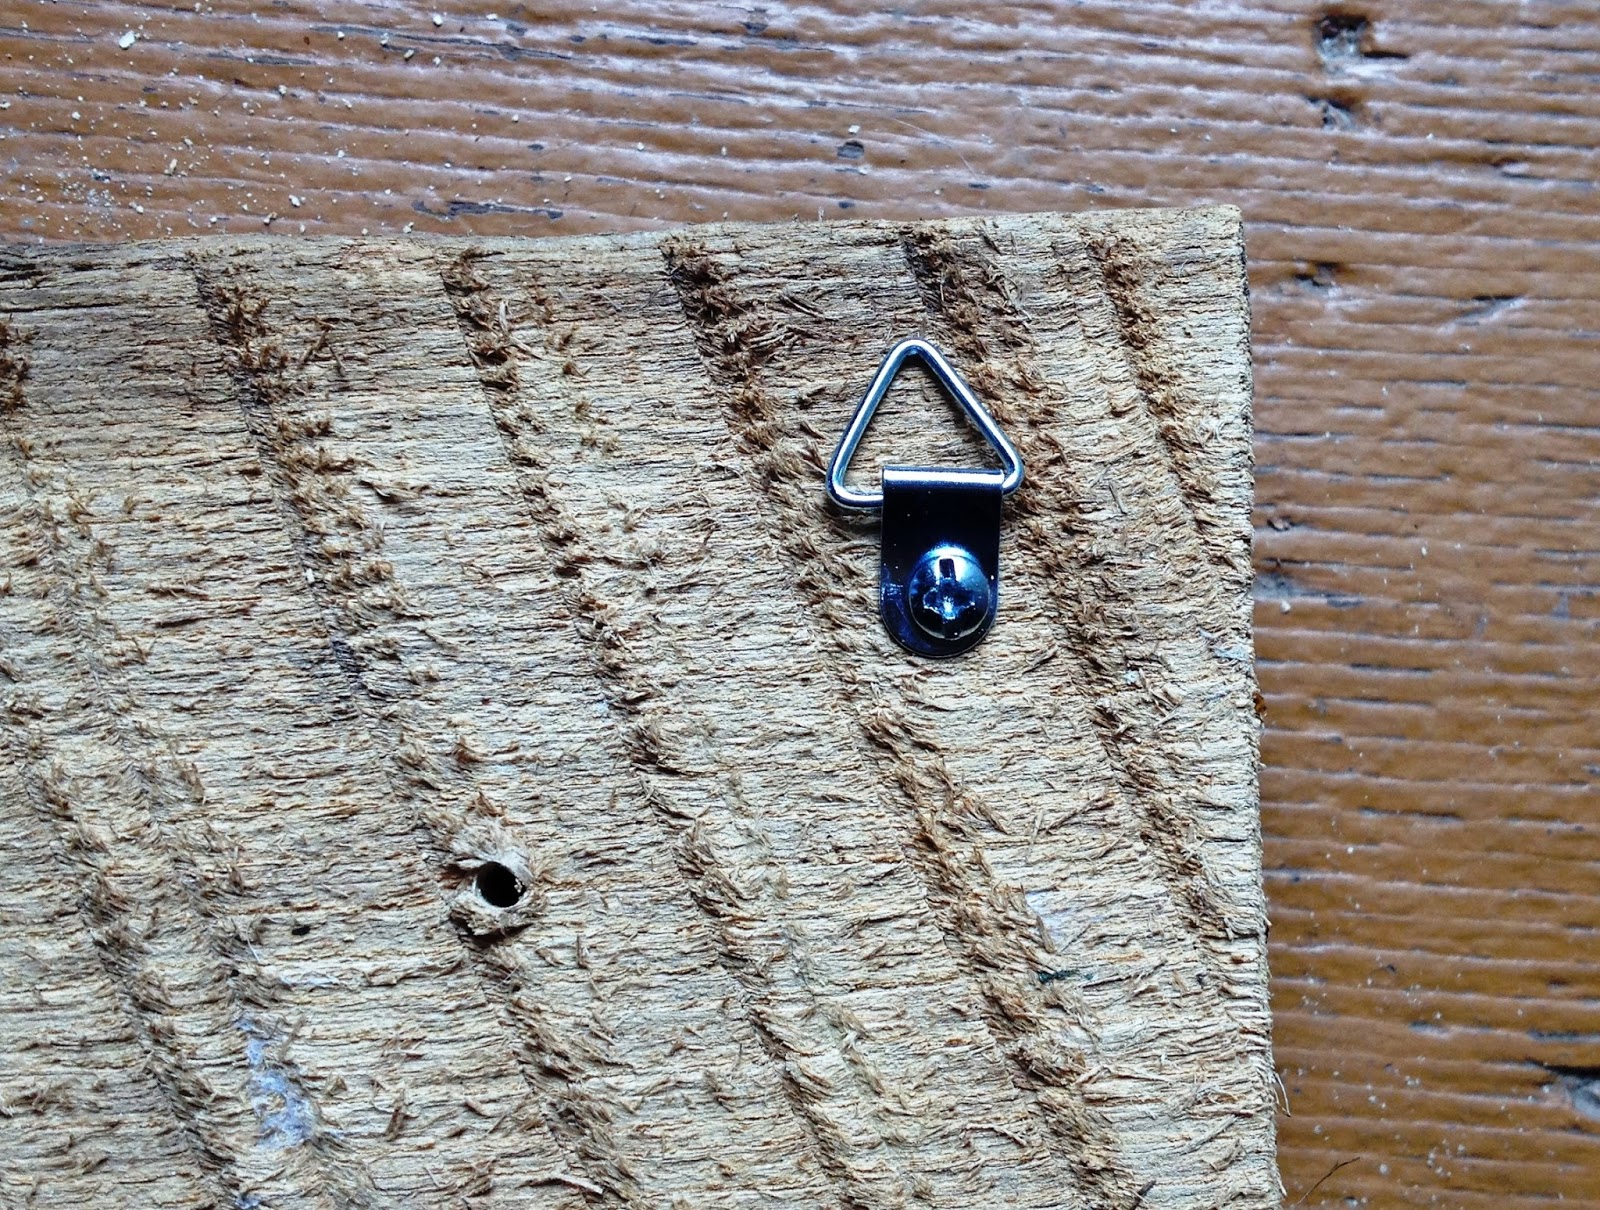
3. Mark and install the eyelet hangers (or your choice of hanger). You should measure so they are even to each other. I hardly ever measure - I eyeball it and hope for the best.

The kits come with a hanger and screw to install it. You can use your multi-tip screwdriver to drive the screws in.

4. Attach the knobs. You may need to use the power drill to drive the screws through the holes if you've used thick barn board like I did. Or else you'll have tired wrists after turning with a screwdriver.

The screws I found have a flat end so the screw can go all the way into the knob. The kit also came with some nuts and you can use these if the screws don't fit all the way into the knobs (each of my knobs had different depths and you can see some exposed metal from the screw - this is hidden however when the necklaces are put on them).

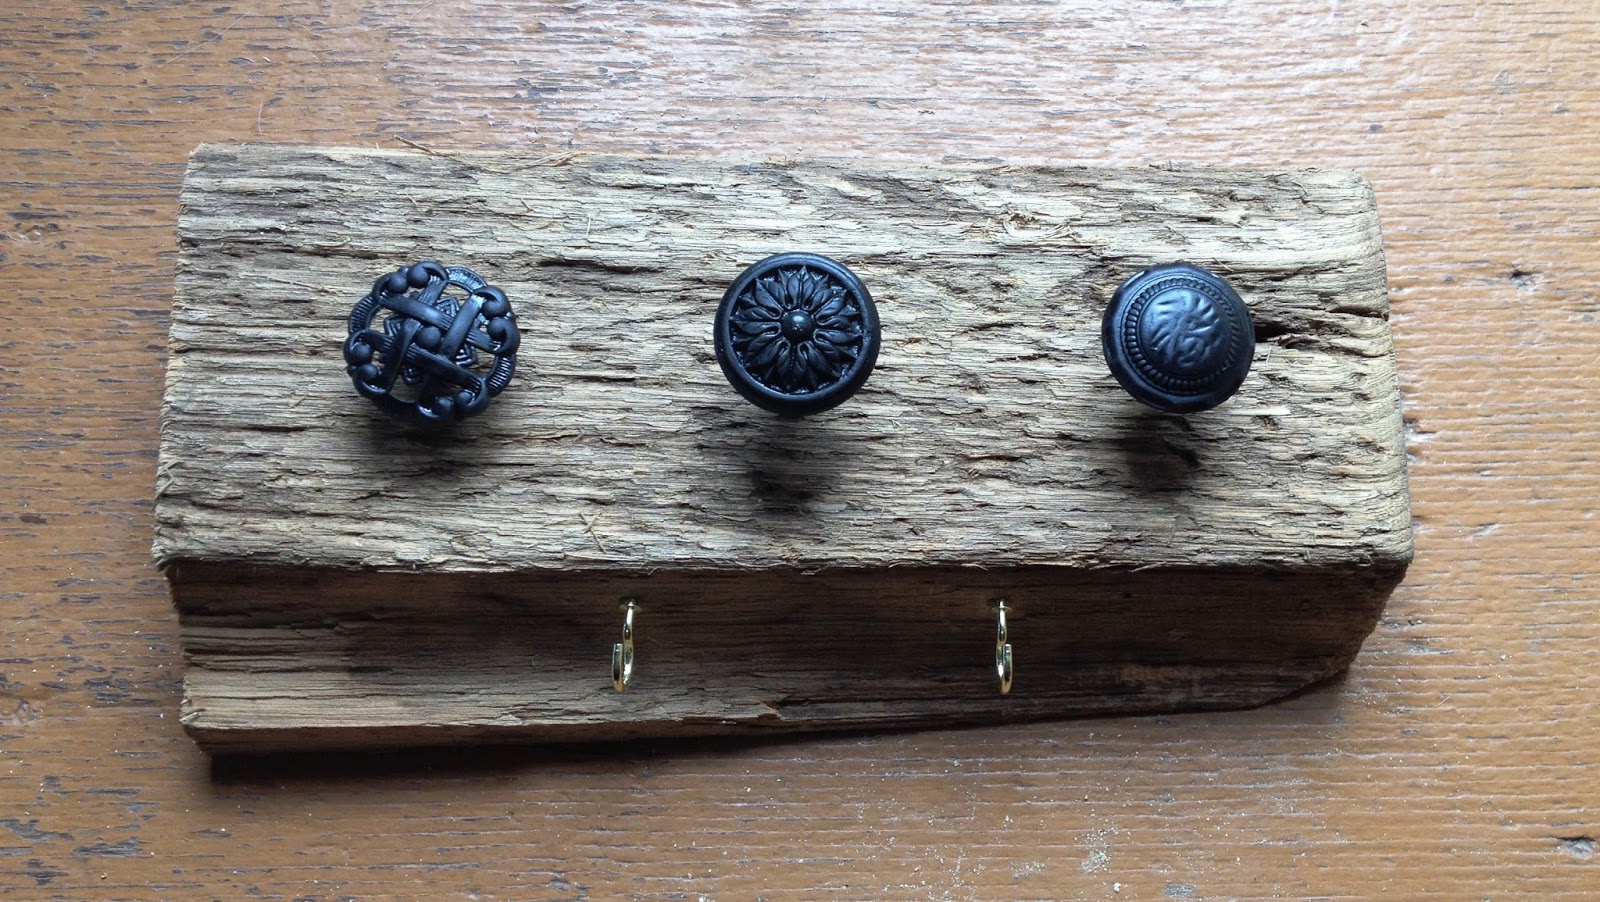
5. (Optional) Eyelet hangers are installed by twisting them into the wood. I wanted to use a few of these for the more delicate necklaces.

And that's it. Not including the drying time for the knobs, this whole thing took me about 20 minutes.
Now hang it on your wall and use away!

Wednesday, July 15, 2015

Five Ways to Decorate with Antique Windows

I love old windows. There's so much history and character in them. Here's five ways I have decorated using antique windows in my home.

~~~~~~~~~~~~~~~~~~~~~~~~~~~~~~~~~~~~~
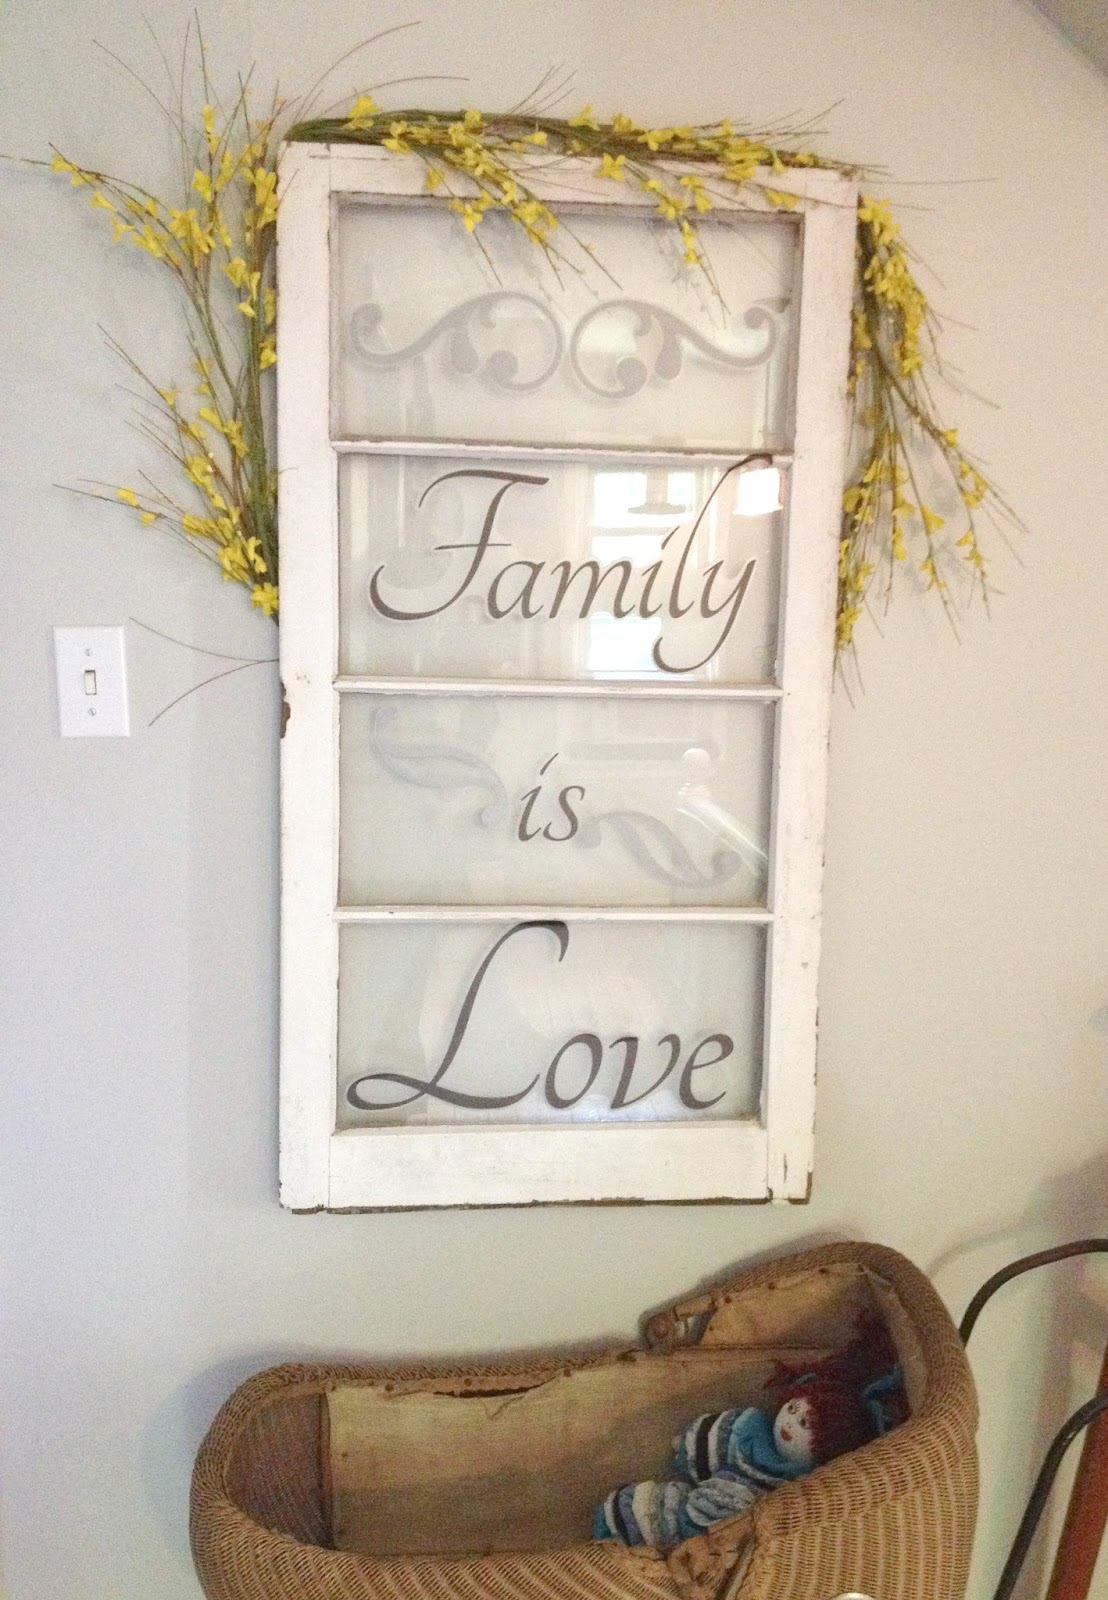
#1
Any kind of decal can add so much to the glass of the window and can help incorporate your style to the decoration. You can use words or interesting designs. Decal found at RoomMates Peel and Stick Decor.

Side note: These decals are by far the best I've found. You can re-position as many times as you want until you get it right. They don't leave residue and don't peel paint off even after they have been there for a few years. I have found that if they are on the wall for a long time (I took one off that was there three years), and depending on the design of the decal, it's hard to not tear the decal itself while removing it. I had purchased this one for my son's bedroom three years ago and just removed "Baby." It was hard to save it (although I don't know why or if you would want to save them?)

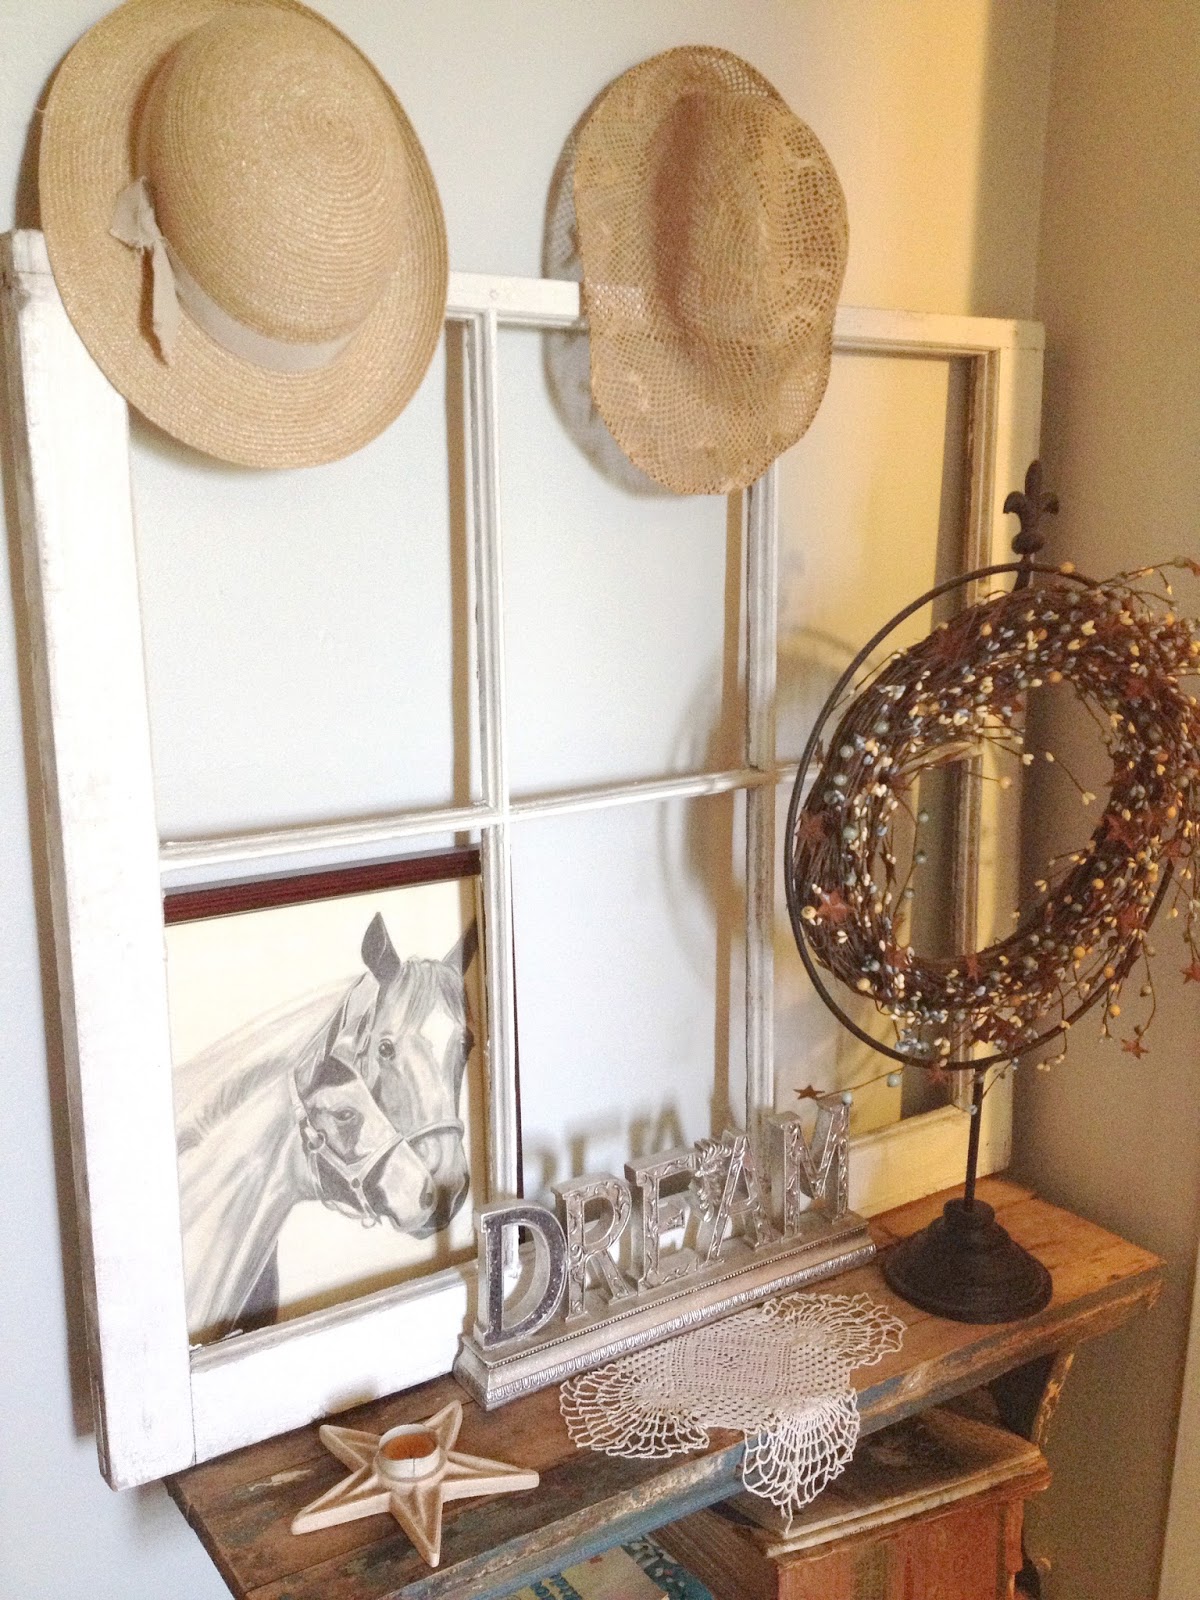
#2
As a backdrop for a vignette. Use the window frame to hang decor off of or frame an image.
(Eventually I will pin the hats to the frame, rather than have them hanging on the wall, like pictured. Who else hates filling and re-touching holes in the wall?!)

#3
There's a lot going on in this picture, but the large window on the bottom right is one of the old storm windows from the farmhouse. The pieces at the top are old decorative fascia. Bring inside what was once outside to create a rustic gallery wall.

#4
Here's an example of how you can incorporate decals to fit a specific design and purpose. This one is over my washer and dryer. This window came from our barn and the decals have been applied directly to the wall.
Decal found at RoomMates Peel and Stick Decor.

#5
Here's my favourite way to use old screened windows. These are also from the farmhouse (I found these and the one from #3 idea in the basement.) The photos are Instagram prints from Social Print Studio. They are attached using Dollar Store or craft store flat base stud earring parts. I attached them using scrap-booking foam mounting squares, found in the same store you found the earring parts. Then just stick the stud through a hole in the screen (they just fit in these old screens), and attach in place with an earring stud back stopper. I can remove the mounting squares when I want to change the photos and reuse the earring parts, AND I can keep the photos.

Monday, July 13, 2015

What I Learned Last Week

What a crazy week. I wonder sometime how it's possible to get through a week where everything went wrong; one kid was sick, everything I tried to do around the house didn't work out, there was sometimes five things going on at once........... It's a lot to grasp. Sometimes just going through the motions and taking things slow is the only way to deal. And that's extremely difficult for me.


What I learned last week:

---
Being Away: I got back home from a few days away last Sunday evening. I discovered that the dog had had many accidents in our mud room where she stays. Yay, extra clean up. My husband stayed home with her while I was away except for one night when he came to stay with me and the kids. She doesn't like it when I'm away. And I guess because we weren't around the house, a skunk decided to dig holes in the lawn and in my garden; I have yet to trap it and it has been around a few nights since then.
---
---
Forgetfulness: I went away forgetting to leave some potted flowers sitting in water and my favourite one pretty much died. And it took my whole first day back to catch up on laundry. I was only away for 3 nights!
---
I can still get some great pictures of the kids, even when one was overtired and one was sick.
---
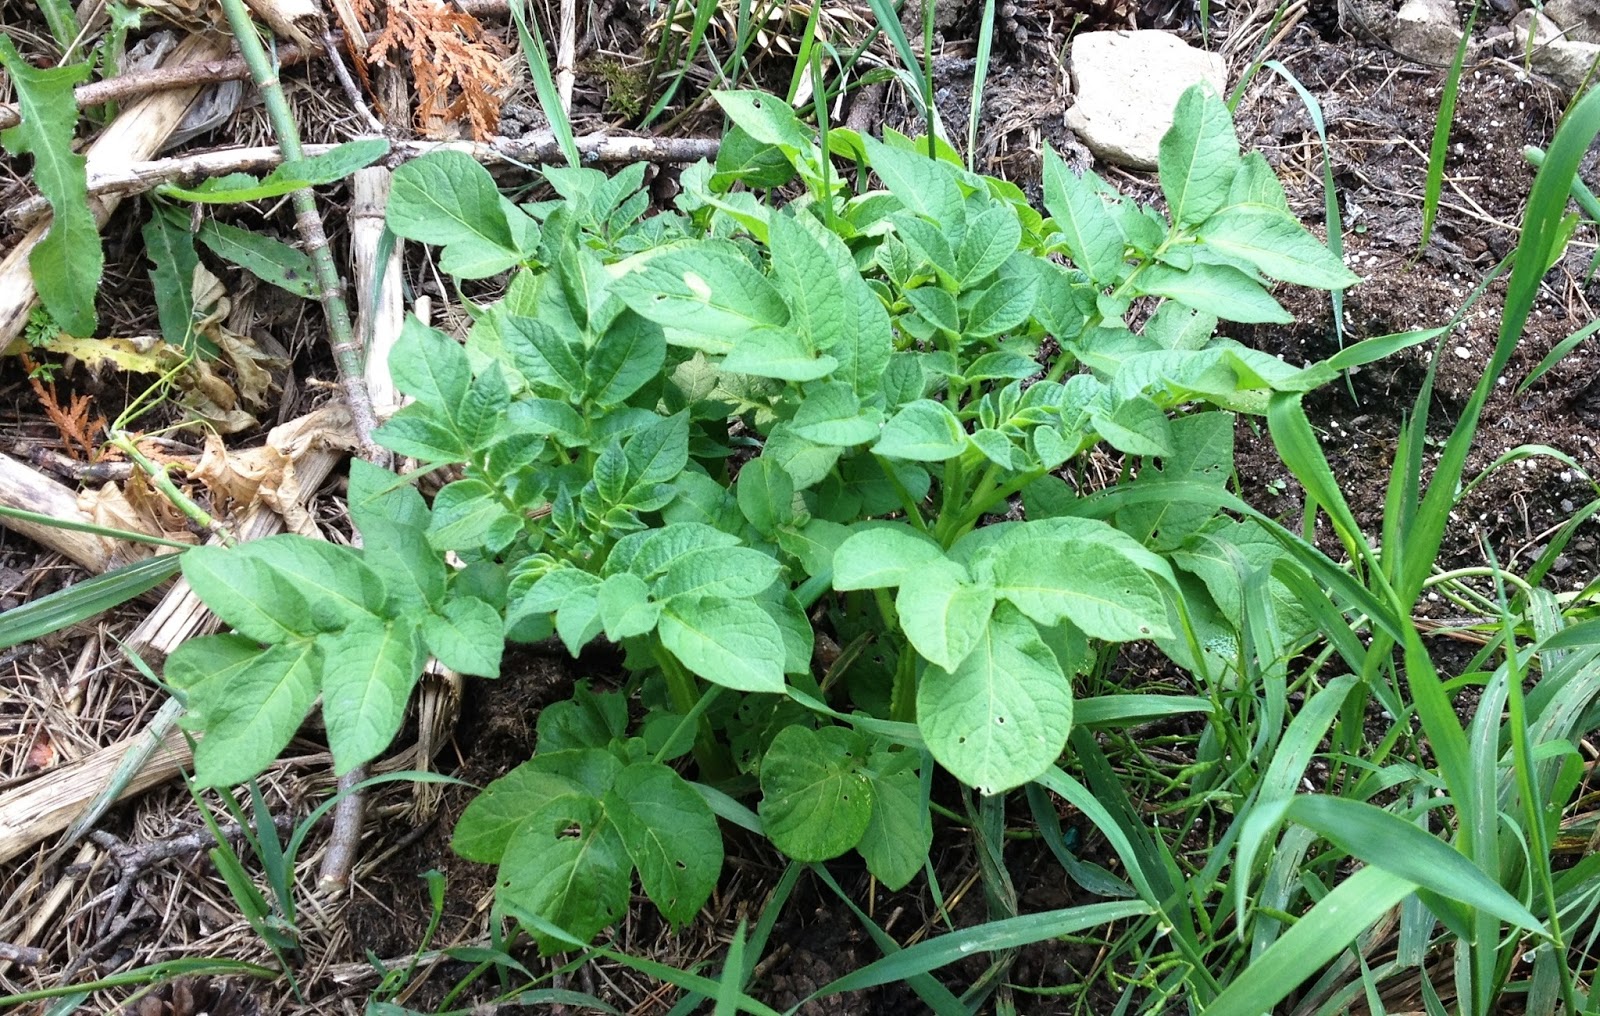
Anything can Grow: I threw rotten potatoes out to the compost pile and they have sprouted. Even if I don't get a crop of potatoes, it's still pretty neat.
---
I Killed Something: I'm a frog and toad person and somehow I managed to squish a toad in our back door. I was devastated. I think it was the same one that likes to sit in our mud room in the evenings and "sing."
---
Hide Keys: We now must take keys out of tractors and the lawnmower. A certain little boy likes to get in things and turn the key and leave it like that and the battery dies. I discovered our lawnmower was dead and it took me quite a while to get it boosted - time that I needed to spend cutting grass because said little boy was with his dad baling hay.
That same little boy can slide down our flight of stairs in his tummy (he didn't do it on purpose) and come out unscathed. He scares me.
---
---
Old Things Still Work: I made an amazing find at an antique market. This kerosene lantern isn't extremely old, but it still does work!
---
Time Goes Quick: Wanting things to grow a certain way in my garden seemed to happen quickly, but really it has taken almost 7 years.
There's a rock under that moss! (so the fuel guy doesn't step on anything when he fills the oil tanks)

---
Some Things Aren't Worth It: This climbing rose (below) is a new addition to my garden this year. It had these wonderful full blooms, but only lasted a short time. And now it's become a buffet for earwigs. I should have known a rose would be so time consuming.
---
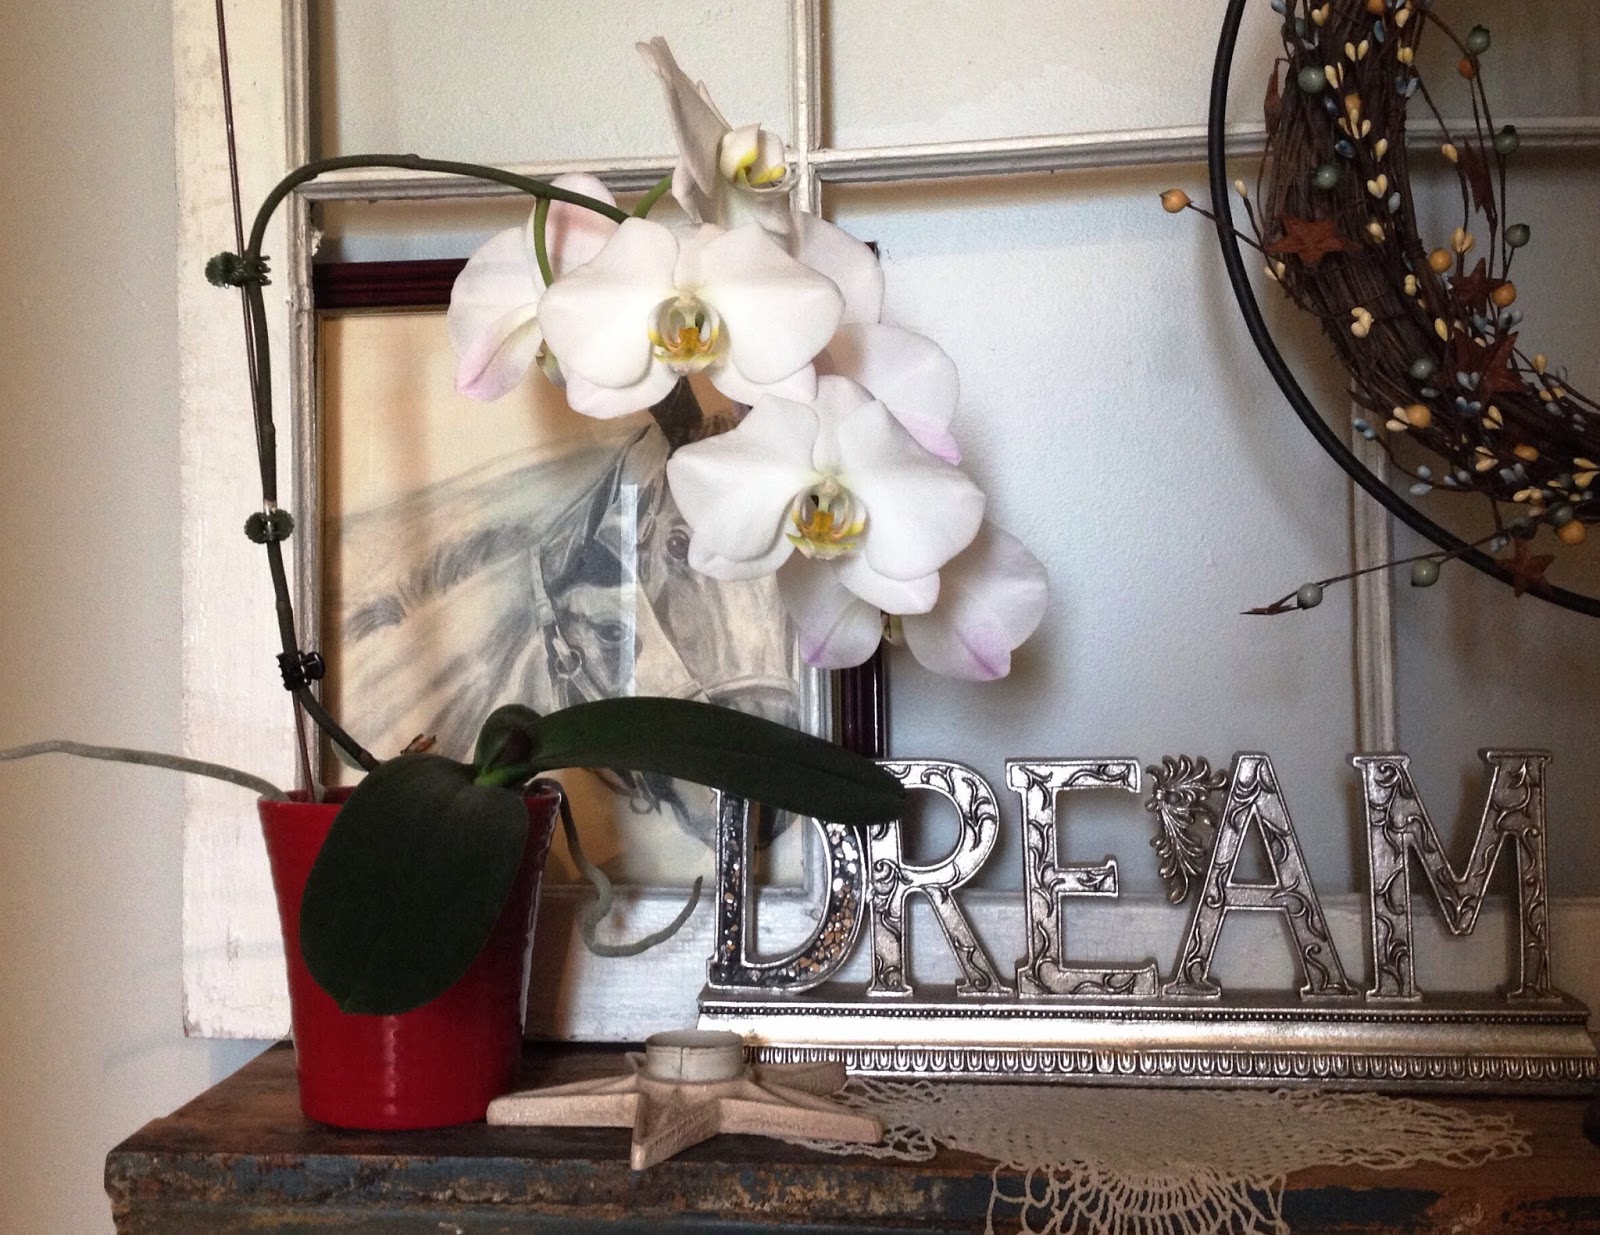
And Some Things are Worth It: I waited two years for this orchid to re-bloom after almost killing it. I have been rewarded with it in bloom for three months now.
---
---
Bubbles = the kids play really well together
---
Get Creative with Cleaning: You can give a Christmas cactus a shower to wash the dust off. Click here for a how-to.
---
Water drops are incredibly serene and fun to photograph.
---
Our Ag Business is Forever Changing: Spraying crops with a helicopter causes quite a stir in the community. And for some reason people don't understand it's probably not ok to be outside and watch the helicopter fly around spraying a chemical near them. Either way, it's neat to see the helicopter whip over and around trees and buildings. The kids thought it was pretty neat too.
---
Jenna is occasionally interested in farm things (she's become kind of a girly-girl).
---
Something I Hate: I hate having a roof done. The kids can't really play outside because there's so much sharp metal and nails laying around. I also can't cut the grass around the house until the roofers are done. They started on it on Friday and quit for the weekend, so around the house has been looking like a disaster. Day two (and hopefully the final day), started at 9 a.m. today. I expect them to be all done by the end of the day and we can get the yard back to normal. But it looks like I'm inside with the kids again all day and they're driving me crazy.
---
Mosquitoes Like Me, ALOT: I ventured into our bush a little way yesterday afternoon to pin up a vine that was starting to grow up a pole I have a bird feeder on. I was only 30 seconds stapling two vines on and I was already covered, and I mean covered, in mosquito bites. I cringe just thinking about it. Ever put sunscreen on, then sweat and then get bitten by mosquitoes? Impossible to itch. What a horrible feeling. I had to shower right away and covered myself with Afterbite. The itch is mostly gone today. Lesson learned. I'm never doing that again.
---
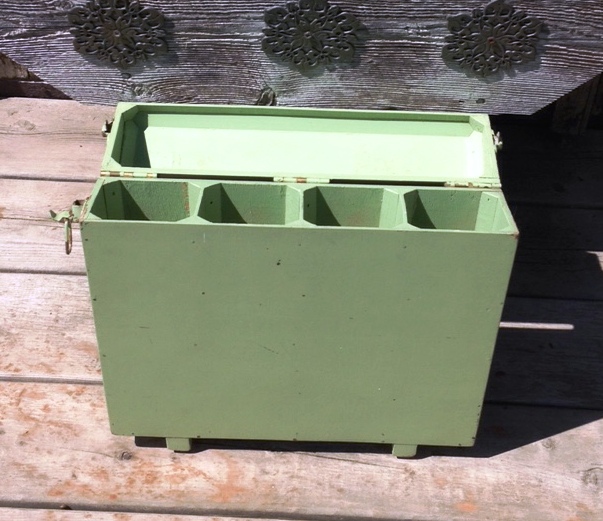
I have no idea what this box was used for or what I can use it for. It was just so interesting looking, I couldn't pass it up. I would love to know if anyone knows what it once was used for. I'm also trying to figure out what I can use it for now. It would make a good mail sorter, but I don't really sort mail - it all gets put away immediately. It could be mounted on a wall? I would love to know your thoughts.
---