Farming Life by the Farmer's Wife

Showing posts with label crafty. Show all posts

Monday, May 16, 2016

Tips for Raising a Creative Child

It's always nice to receive a special home-made gift or picture from your child, but what do you do with all these creations? My oldest child is always creating and crafting something. Usually it's just with a piece of blank computer paper and some tape. Empty Kleenex boxes become a home for a stuffed animal or a hat for her little brother. Sometimes I find myself hiding the empty boxes or cardboard rolls from toilet paper, so Jenna doesn't see they're available to use. Eventually these creations start to pile up and I just don't know what to do with them. I hate having clutter around and I would really just love to throw them in the burn barrel, but that would hurt her feelings.
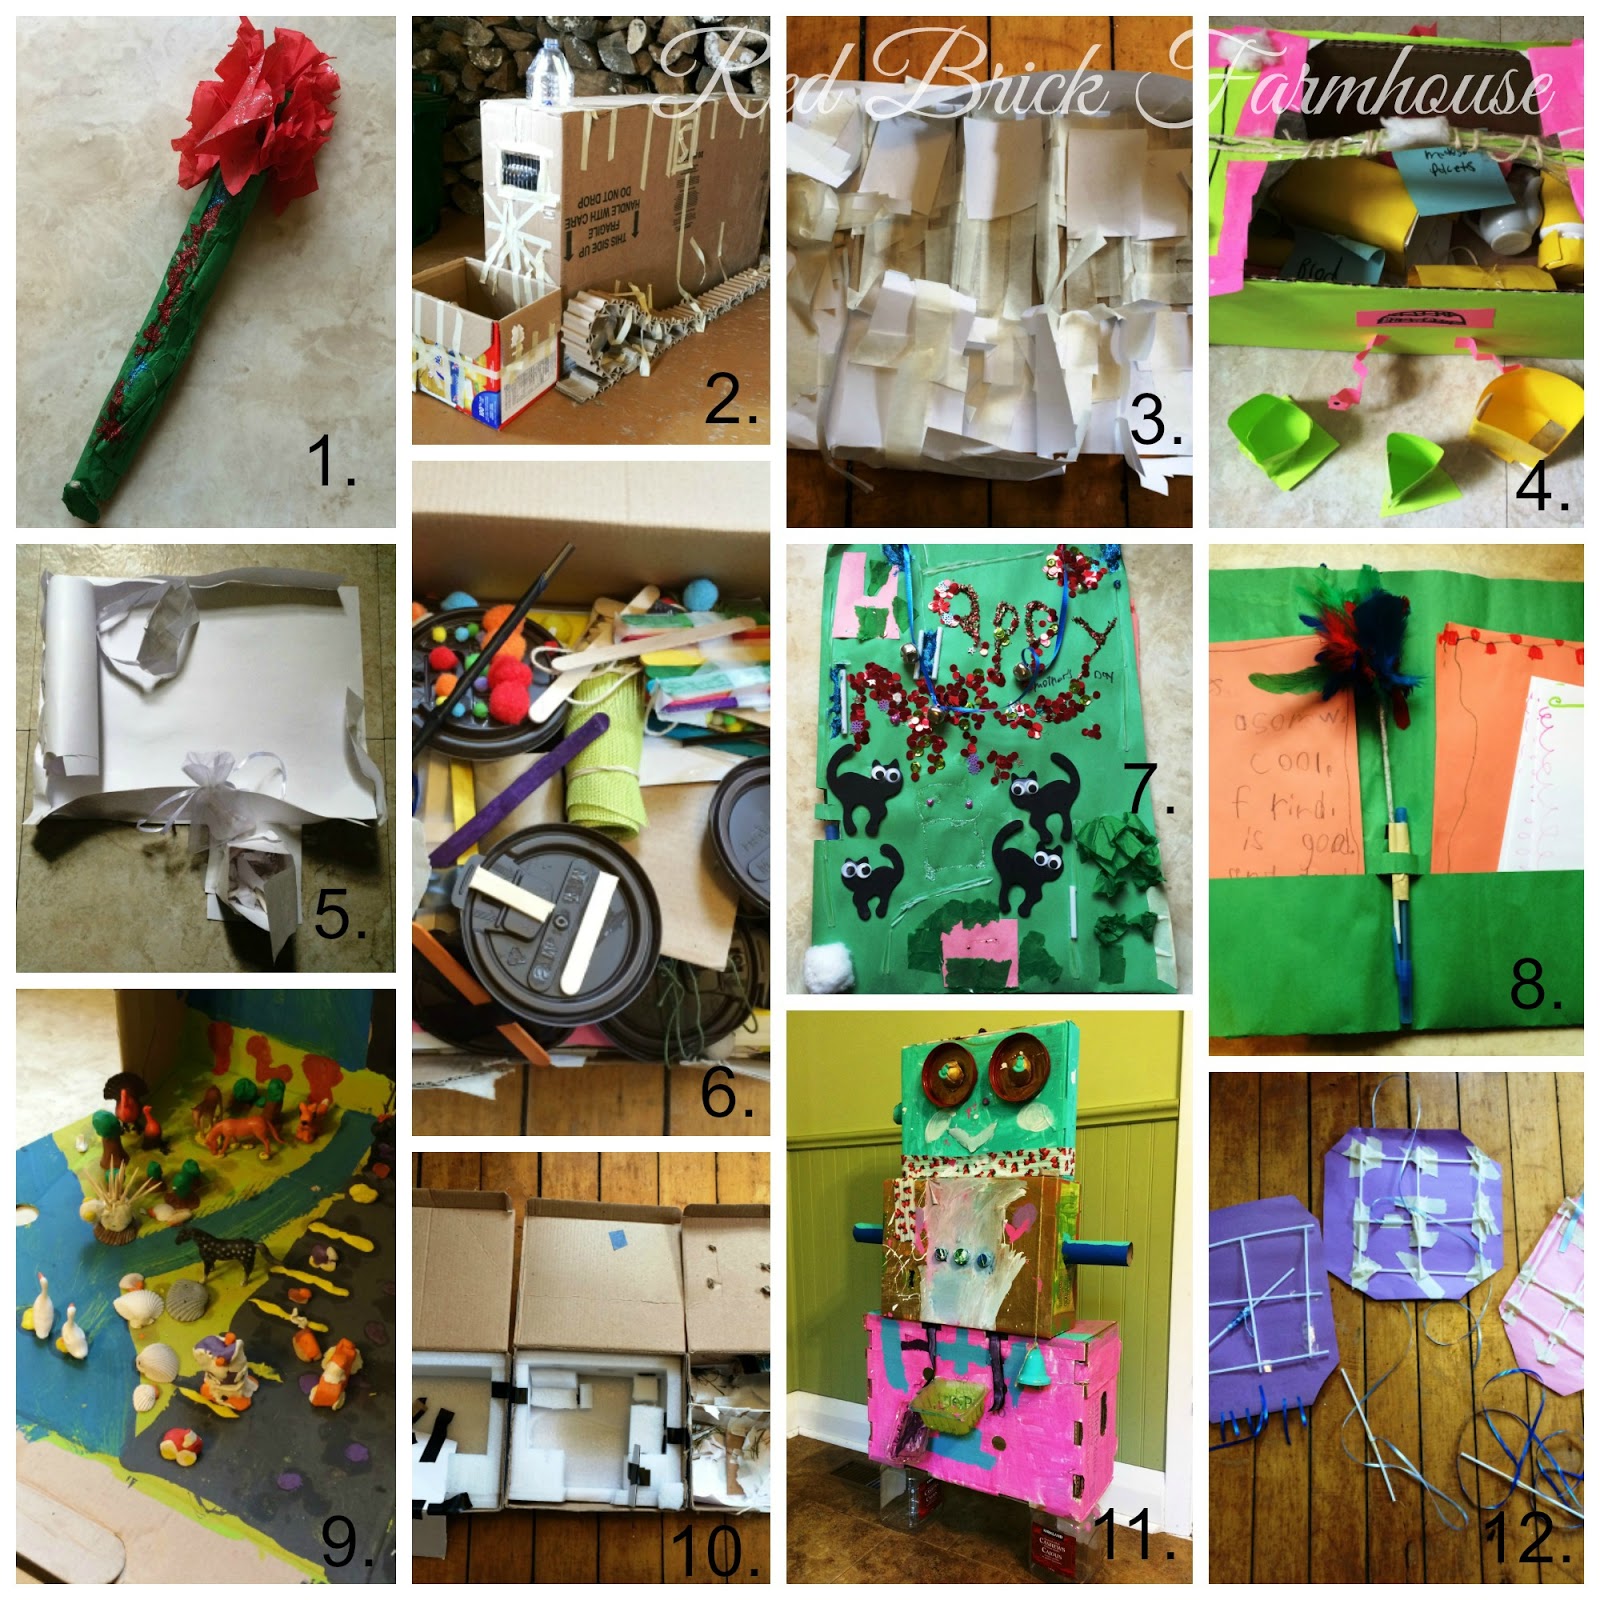
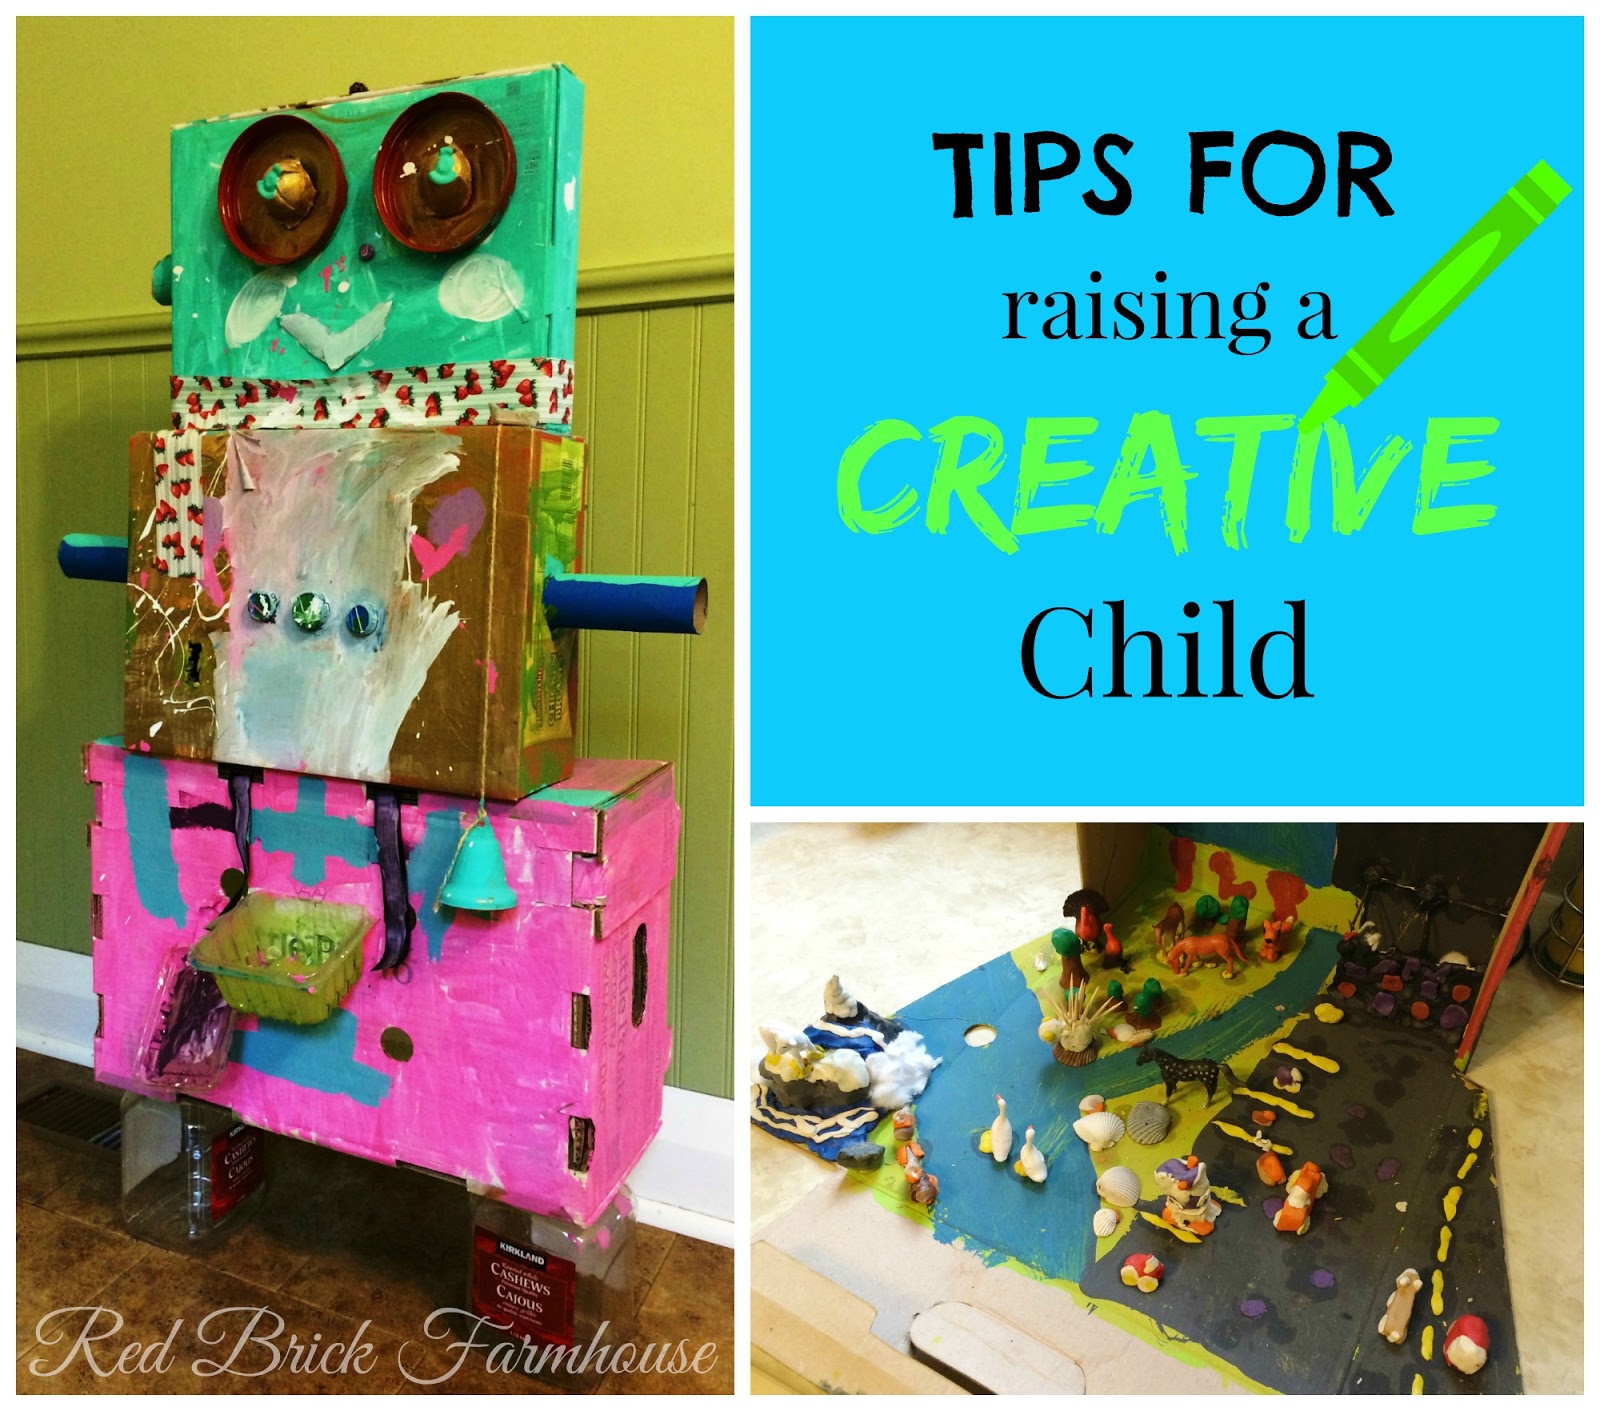
An example of what we have around the house at any given time: 1. Mother's Day tissue paper flower; 2. Bulldozer (too big to be in the house);
3. Littlest Pet Shop house; 4. Doctor kit; 5. Bed for a stuffed animal; 6. A shoe box filled with Tim Horton's lid creations; 7. & 8. My Mother's Day gift - a stationary set; 9. School project - diorama of man vs. nature; 10. Bug homes made from tractor light boxes; 11. Robot made at March Break camp;
12. Kites

Some of my tips for dealing with a child
who likes to create a little too much:


1. Ask first:

Mom or dad, grandma or grandpa, babysitter or caregiver should be the first to ok a new project. Keep supplies out of reach and out of sight. Our craft supplies are locked in a cabinet. Set limits: teach your child that he or she shouldn't start a new project if there isn't time to finish it or if there is already another one on the go. Always finish what you start. For the longest time, Jenna would have a pile of papers with one sticker or one crayon mark and notebooks upon notebooks only half-filled. She insisted we had to keep them all.

2. Waste not want not:

As good as it is to recycle unused items to create something with, if you have to use new items for the creation, then it doesn't always make sense to make it. Sometimes Jenna will have gone through an entire roll of tape for one creation before I can stop her. She understands the concept of reusing and recycling, but needs reminded of the reducing aspect.

3. You can't keep it all: 

If you have to start limiting what creations (and especially school projects) you need to keep, I always do a 3:1 ratio. Out of three things, I keep only one. Usually it's the one thing I know she worked hard on, or did the best job at colouring it, etc. At the end of the school year I lay it all out in front of me and do the same again. Then you're left with a manageable amount to put away in storage. For any larger projects you don't have room to keep, you could take a picture of and then dispose of properly. Keep it all labelled by age/grade if you want. Your child may appreciate this in the future, or they may wonder why you kept all that "stuff." My mom kept a small bin of my school papers, and so far in the almost 9 years of my oldest child's life, I've kept a fairly large bin of papers. I might have some work ahead of me.
4. Your supplies:

Buying crafts in kits and limiting your supply stash is a good way to keep your child from getting overwhelmed by all the items they can use. The dollar store is a great place to find reasonably priced craft kits. Then your child can create away with only what comes in the package. You don't really need a pack of construction paper plus scrapbook paper or glitter crayons and regular crayons. One or the other is probably more than enough. I'm all for options, but if it means more clean-up afterward, then less is more. Keep supplies organized so you can see what you have or need or need to get rid of. If you already have a supply problem, it's a good idea to set some things aside to use down the road, or even donate to a daycare or childhood centre. We somehow managed to collect a plastic shopping bag full of toilet paper rolls, so I donated them to a local daycare centre.

Following some of these tips should help you to make, and hold on to, special memories with your creative child (or at the least make the clean-up a little easier when it's all said and done).

Friday, April 22, 2016

Mod Podge Photo Transfer - Sign

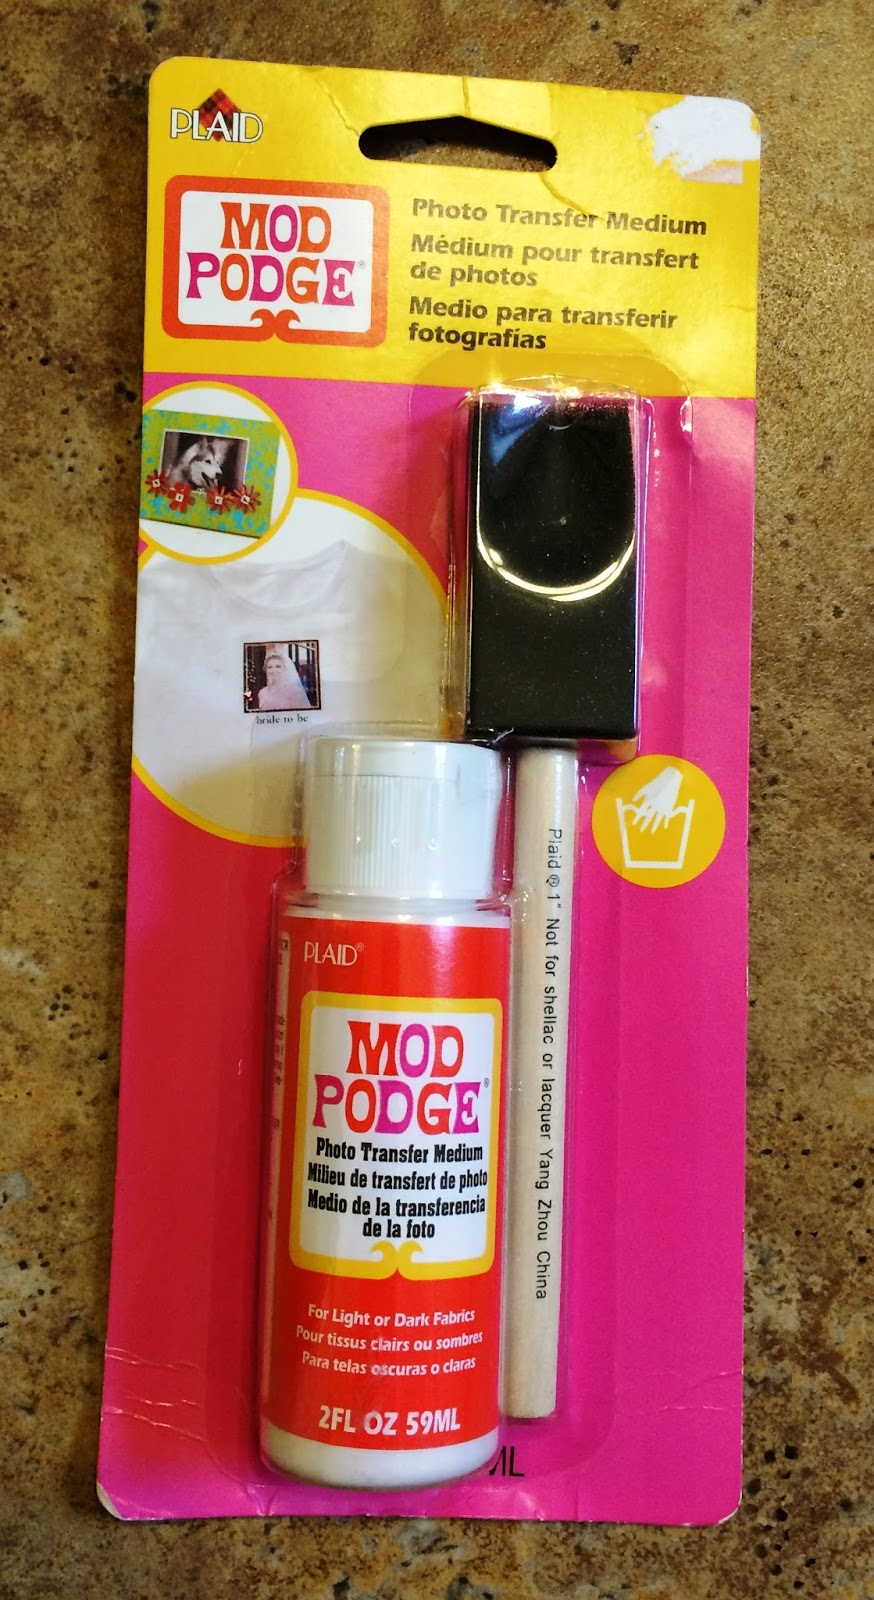
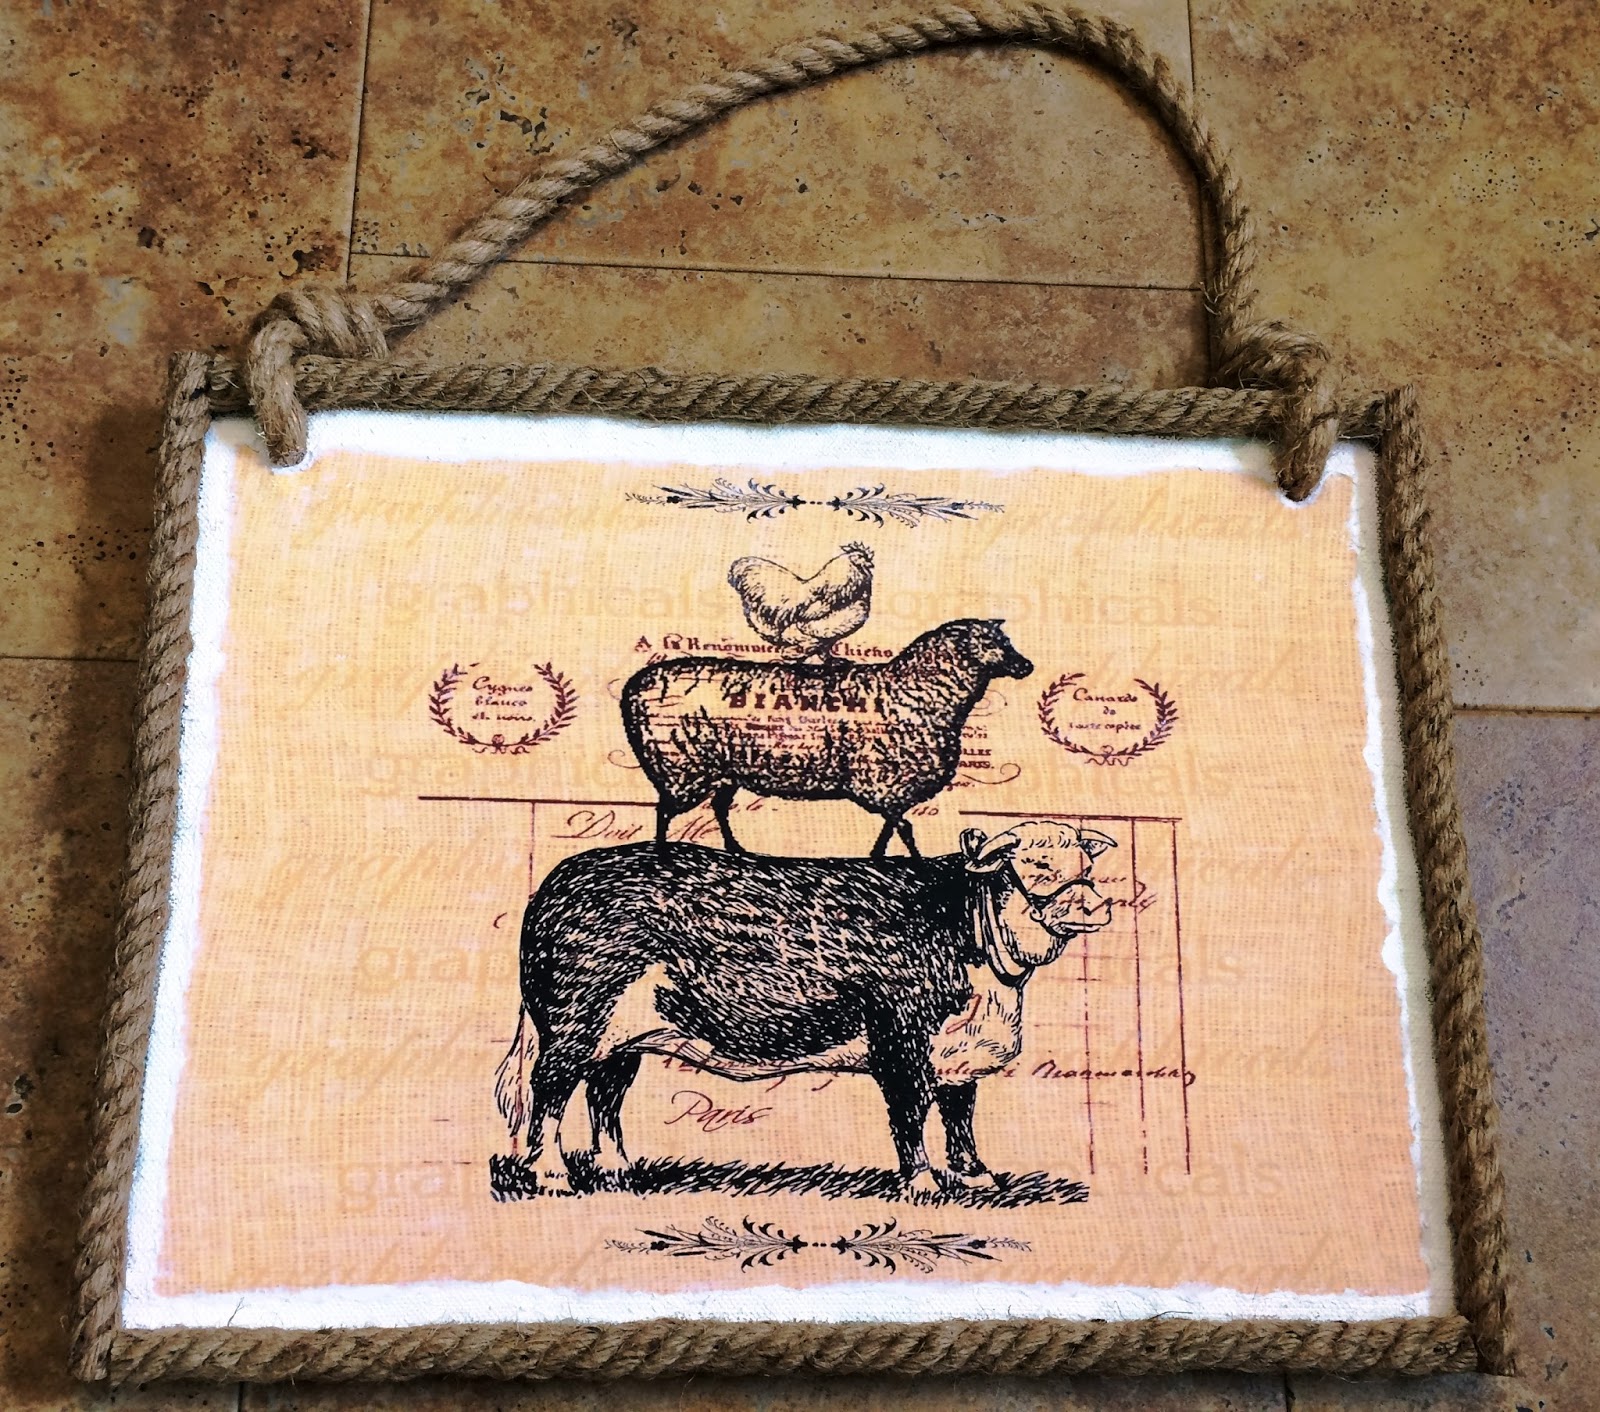
So I recently discovered the amazing Mod Podge, and in particular, Mod Podge Photo Transfer Medium. It's a glue type substance that transfers images to almost any smooth surface.


Mod Podge Photo Transfer:

What you need:

1. Mod Podge Photo Transfer Medium. You can find this at almost any craft store.

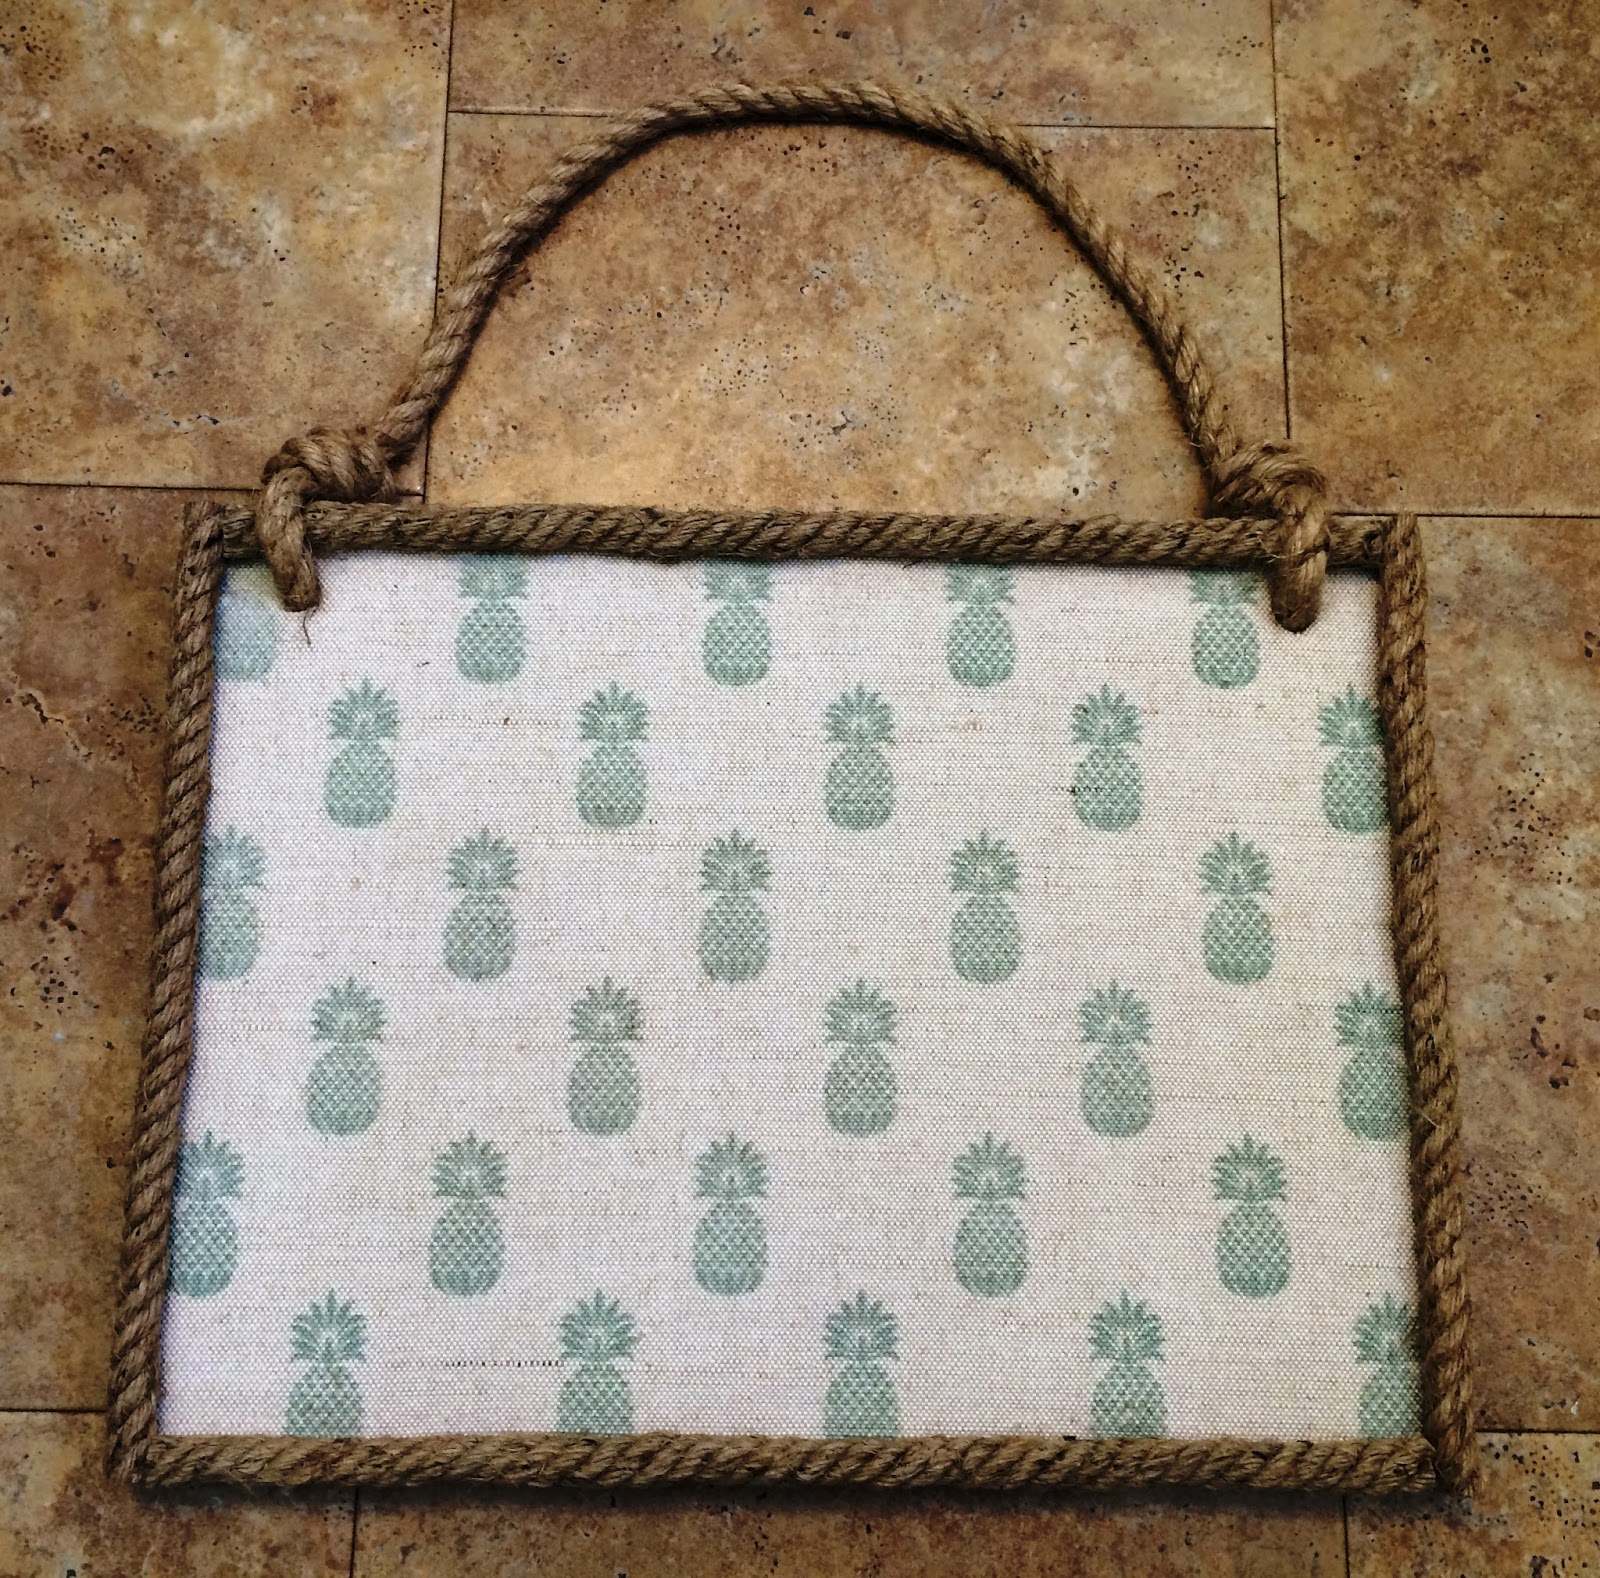
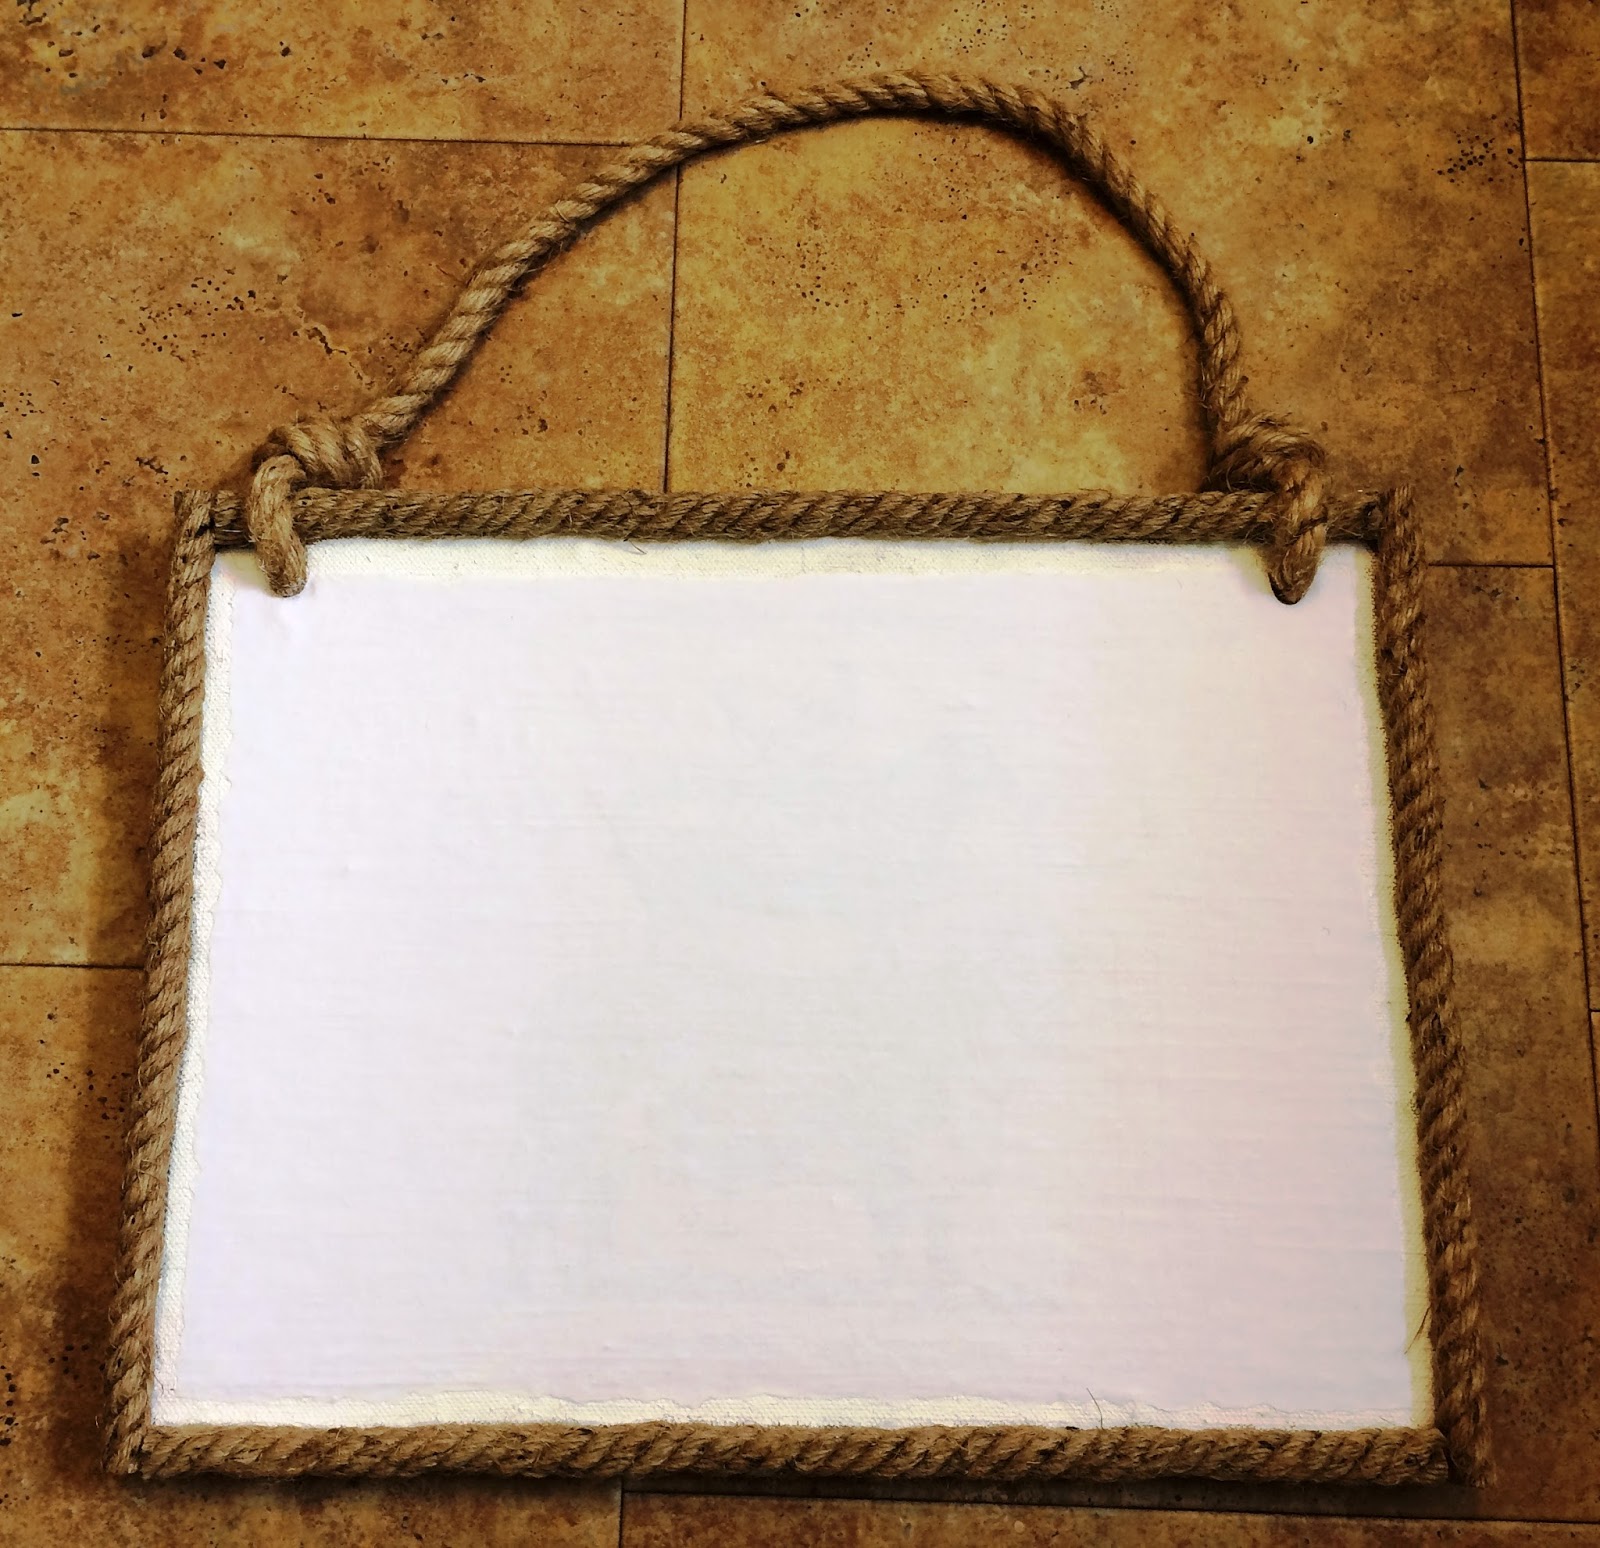
2. Something you want to transfer onto. Almost any surface will work - wood, glass, metal, clothing material, etc. I found this peg board note organizer at Homesense. It has a burlap backing on it and it was exactly what I was looking for.

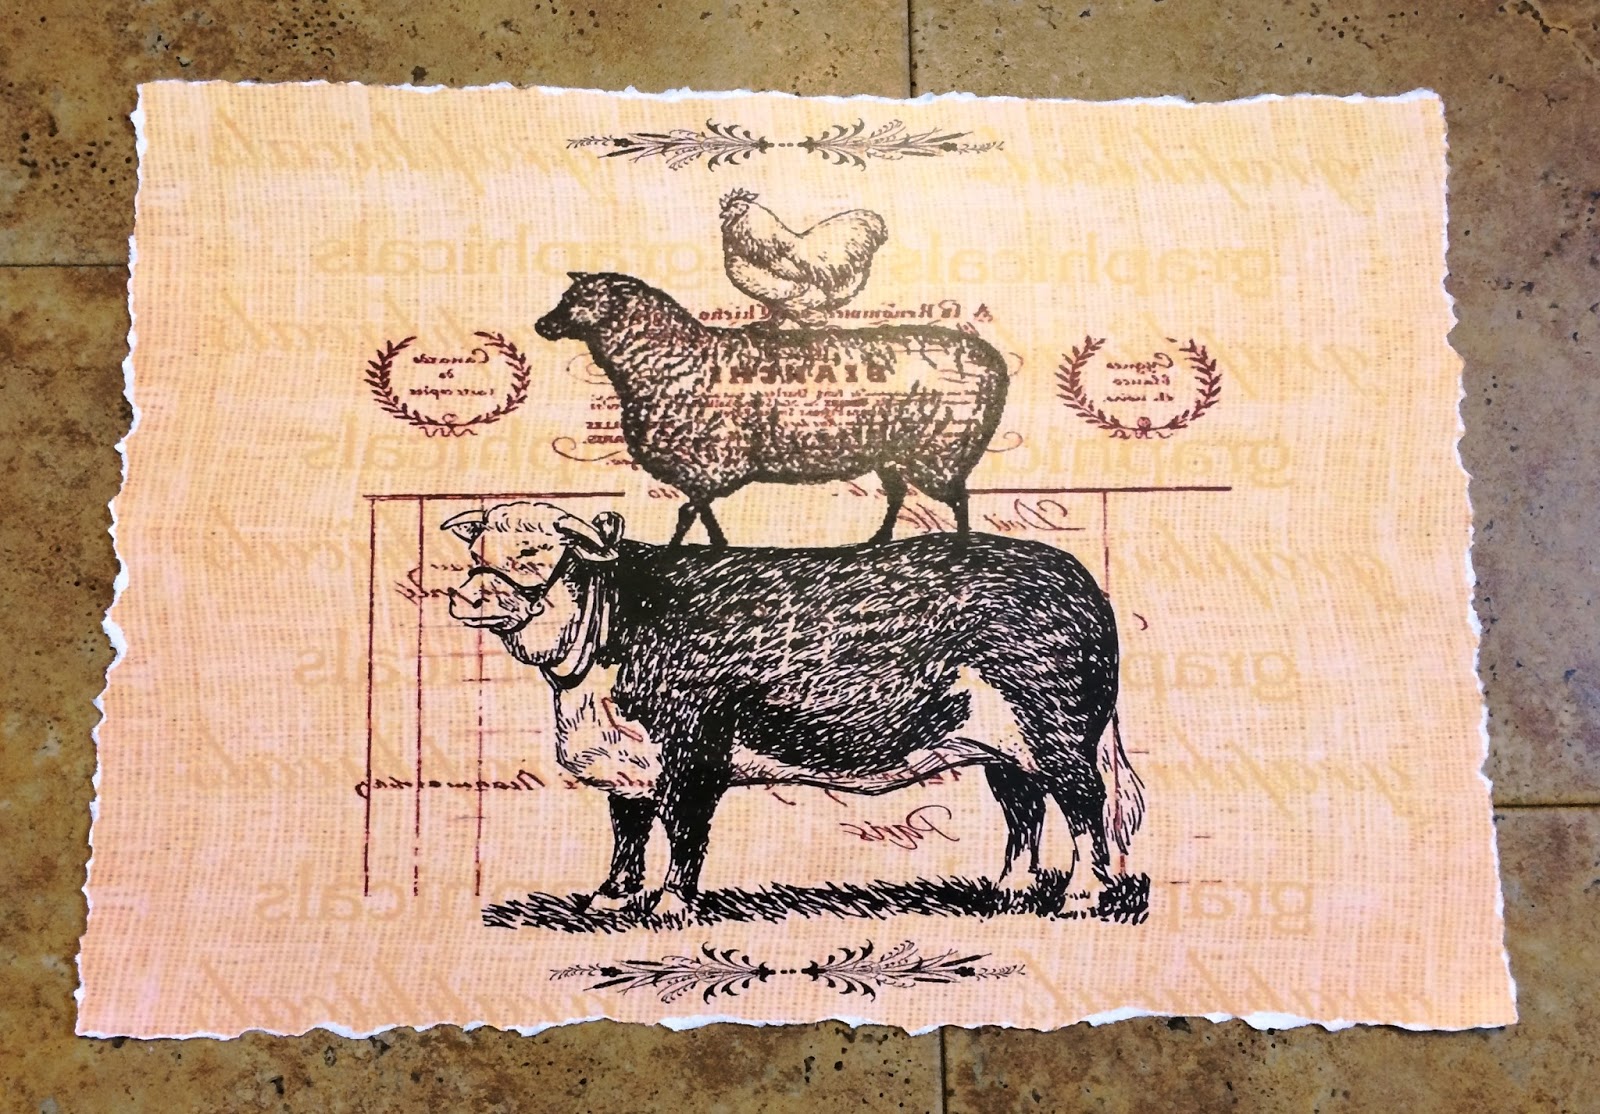
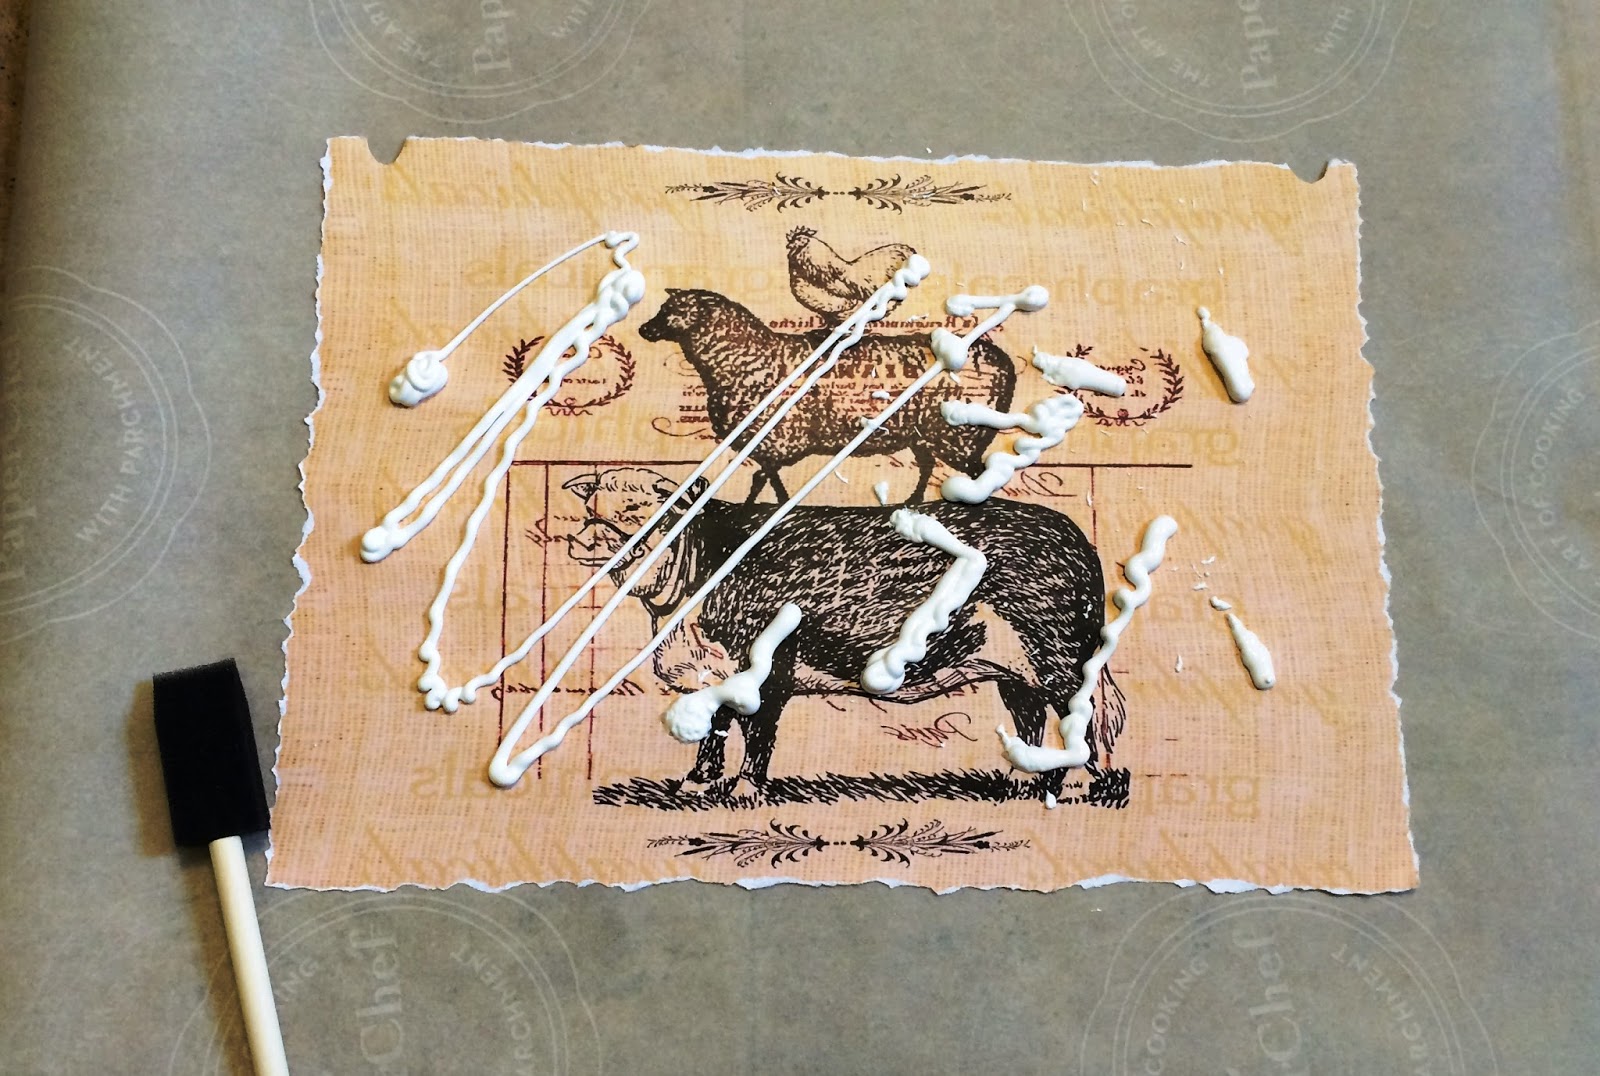
3. An image cropped and scaled to the size you need. If there are any words or letters on the picture, you will need to make a mirror image before printing. You will also need to have it printed with a dry toner printer (laser printer), NOT ink jet. For a rustic look, I teared the edges of the image.

4. (optional items):
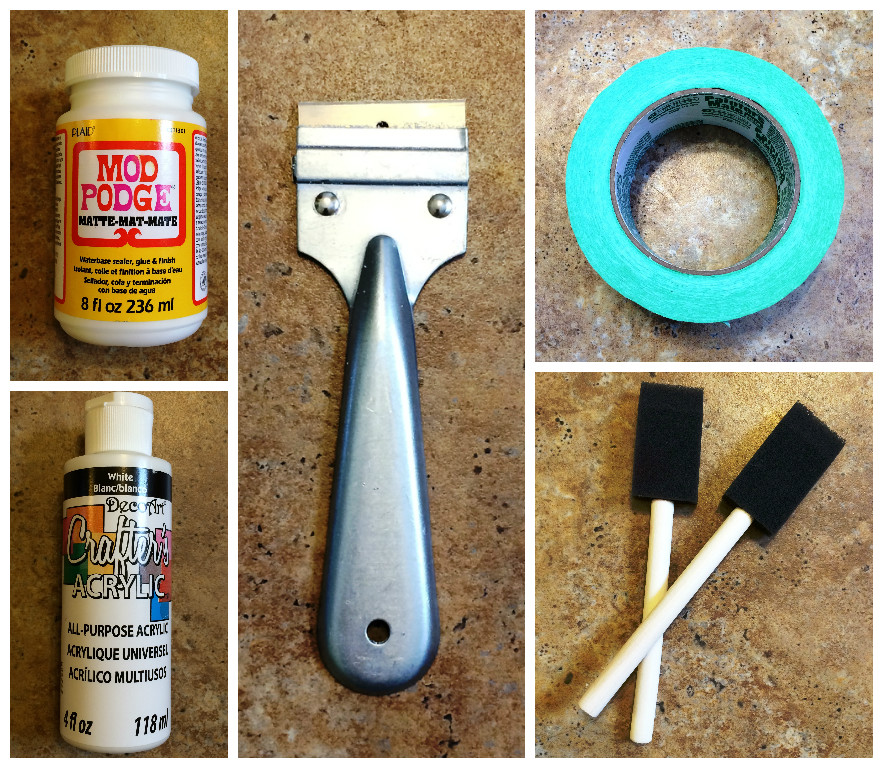
Mod Podge Sealer; acrylic paint; razor blade; painters tape; extra brushes.

The Steps:

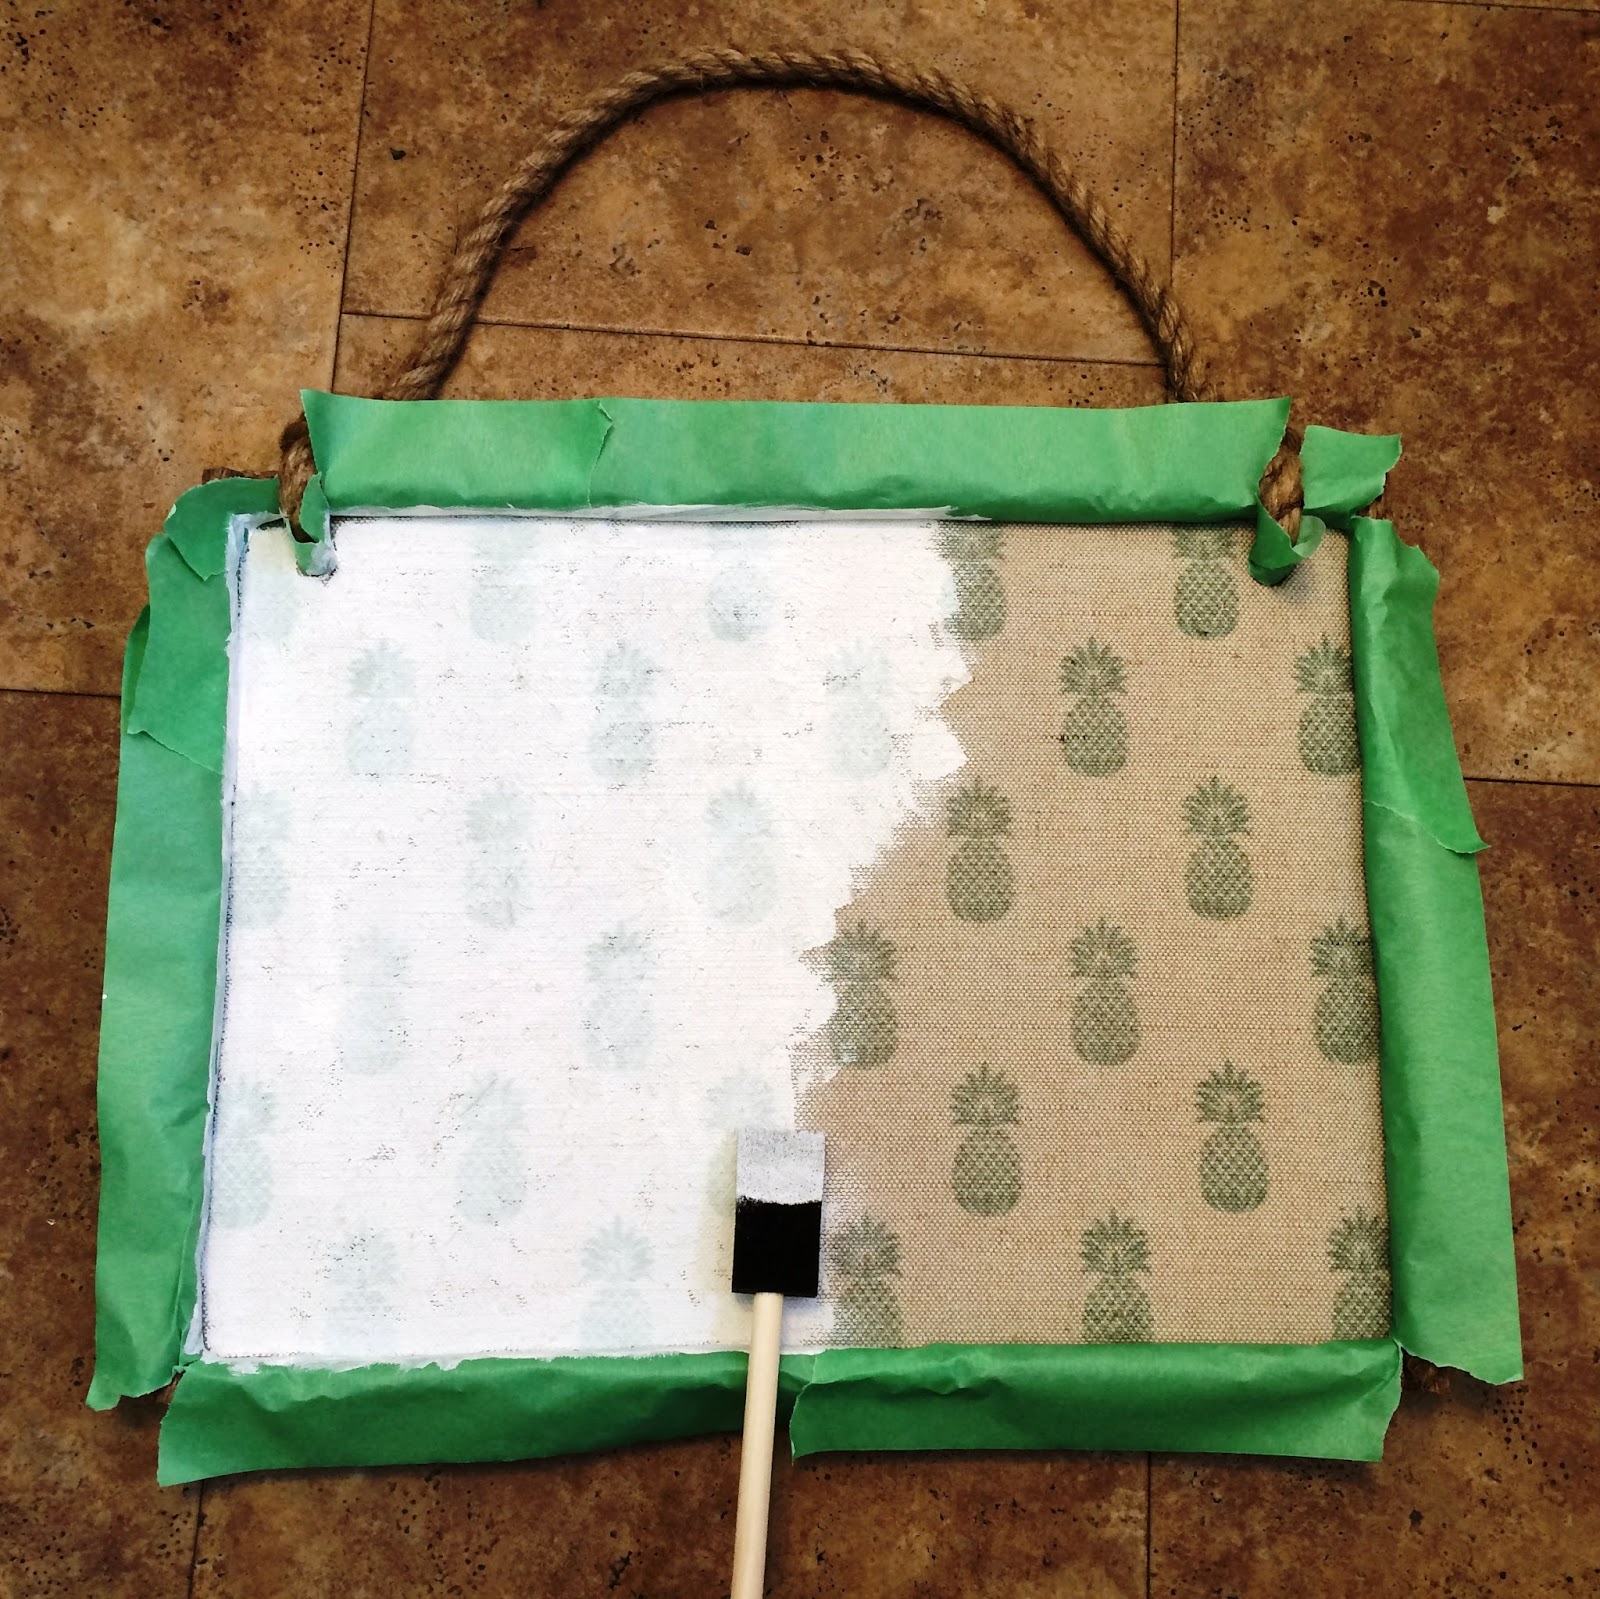
1. (optional): paint the item you will be transferring onto with acrylic paint in the colour you choose. I did two coats.

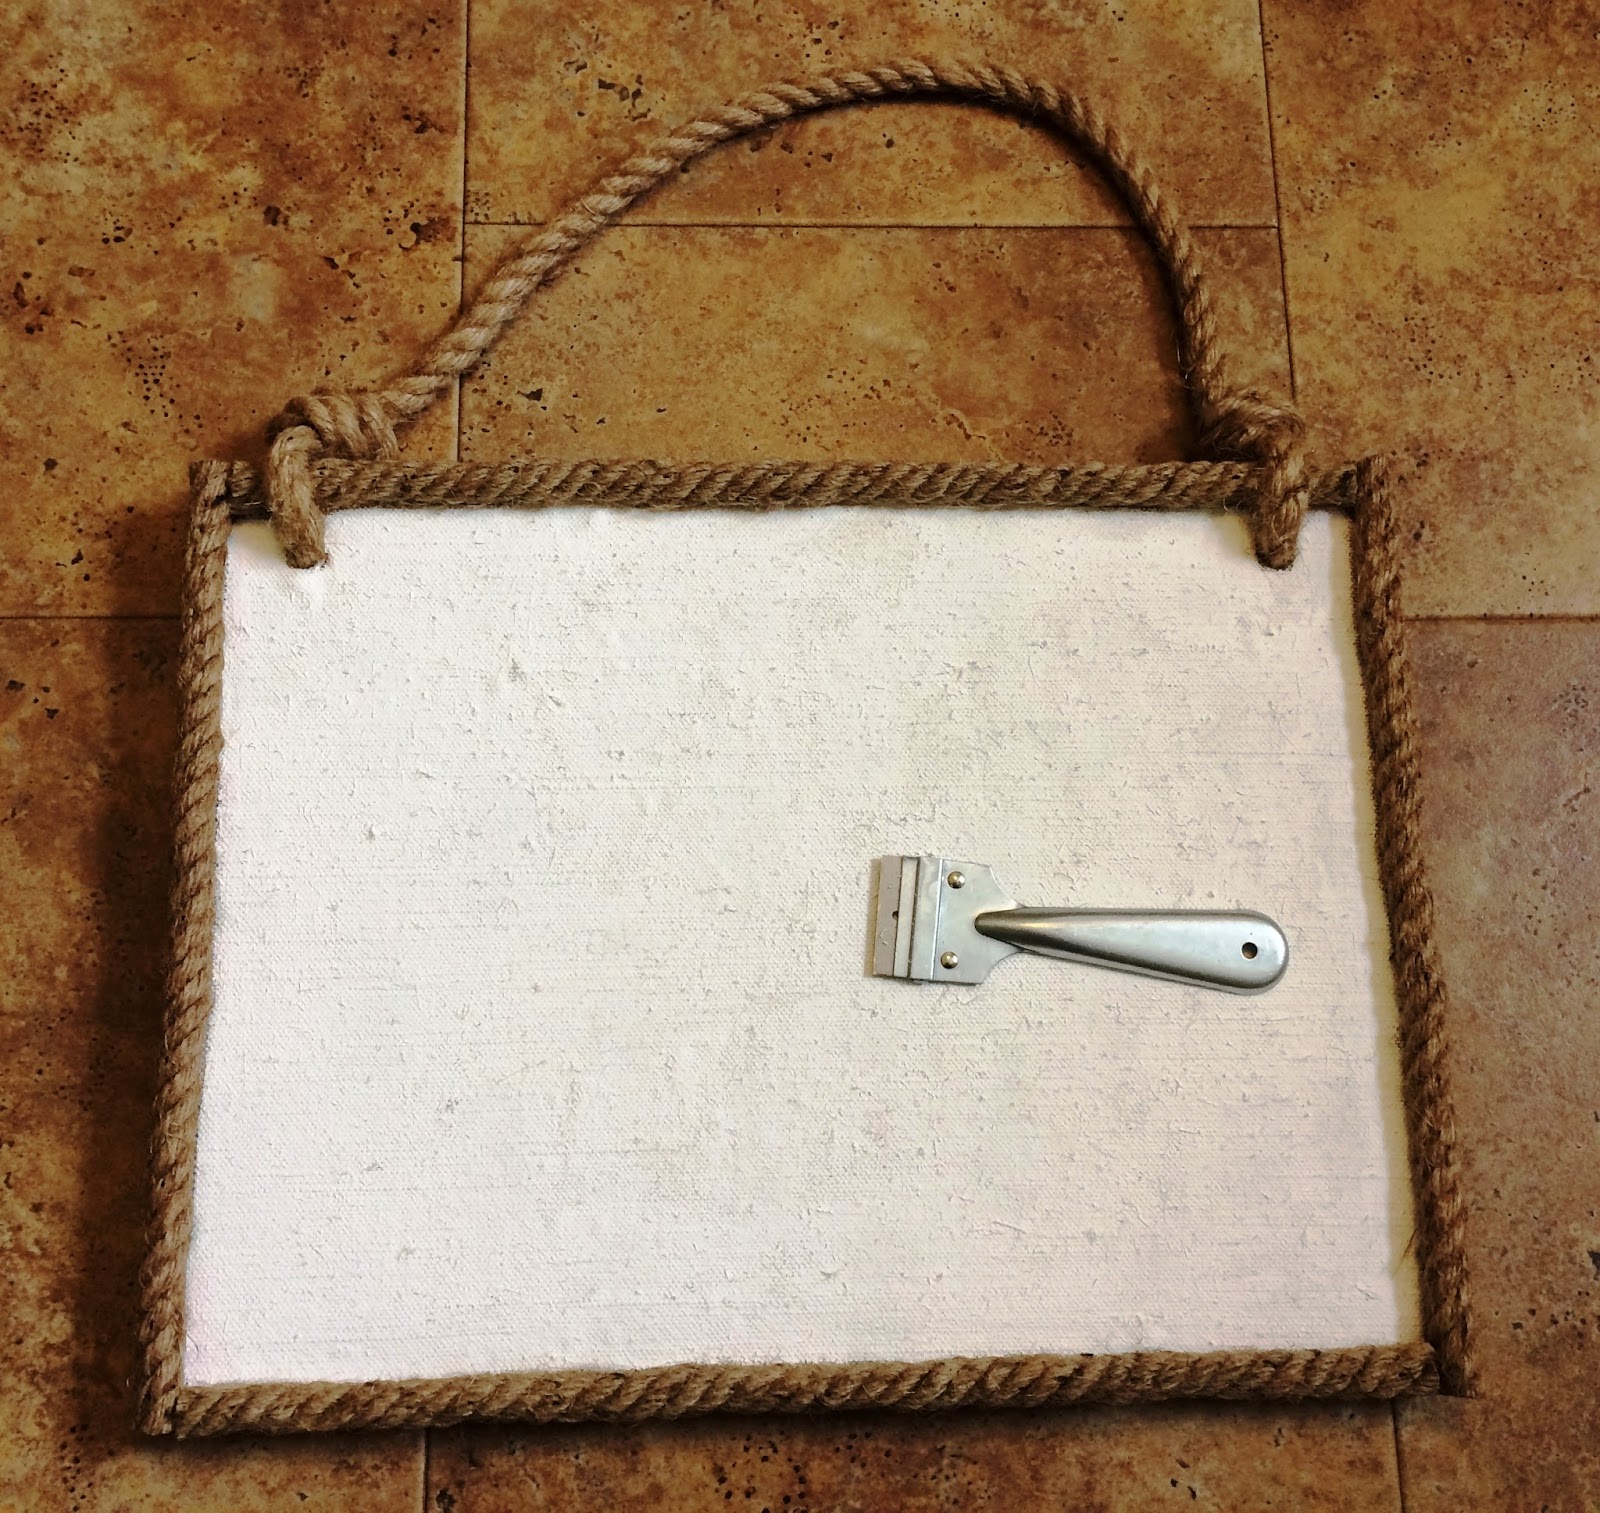
Painting the burlap left it sharp and bumpy. Scraping with a razor and then vacuuming it off made it smooth.

2. Prepare your image and cover with Photo Transfer Medium. I cut out two semi-circles for the image to fit centered on the board. (*remember, to make adjustments like this, you'll need to lay the image face down and measure or cut because that's how it will be transferred).

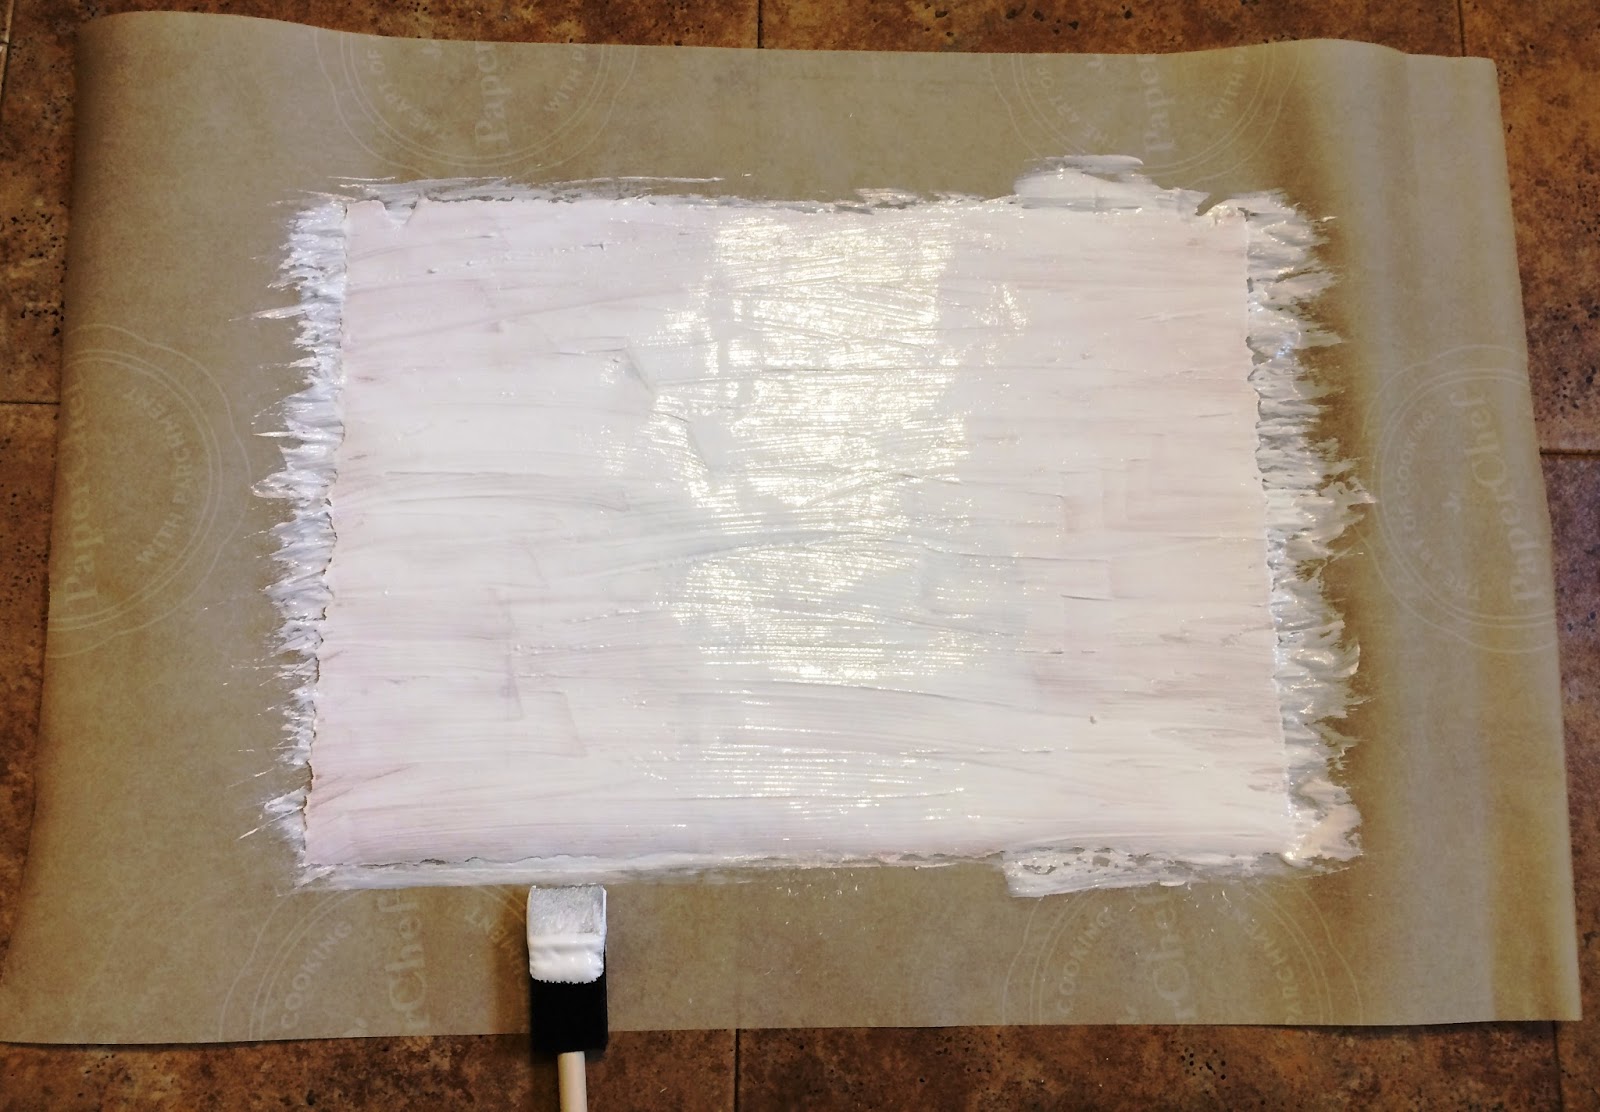
Lay newspaper or parchment paper down and spread the Medium over all edges. You need to spread down enough to cover the image completely - you shouldn't see much of the image through the Medium. My image was about 11"x17" and I used almost a whole bottle of Medium.

3. You may need help if you have a large image like mine, but carefully lay the transfer face down on the object, being careful not to touch the image side that has the Medium. Gently smooth out air bubbles and wipe off excess Medium with a paper towel. Let it sit for AT LEAST 12 hours, 24 hours if you live in high humidity.

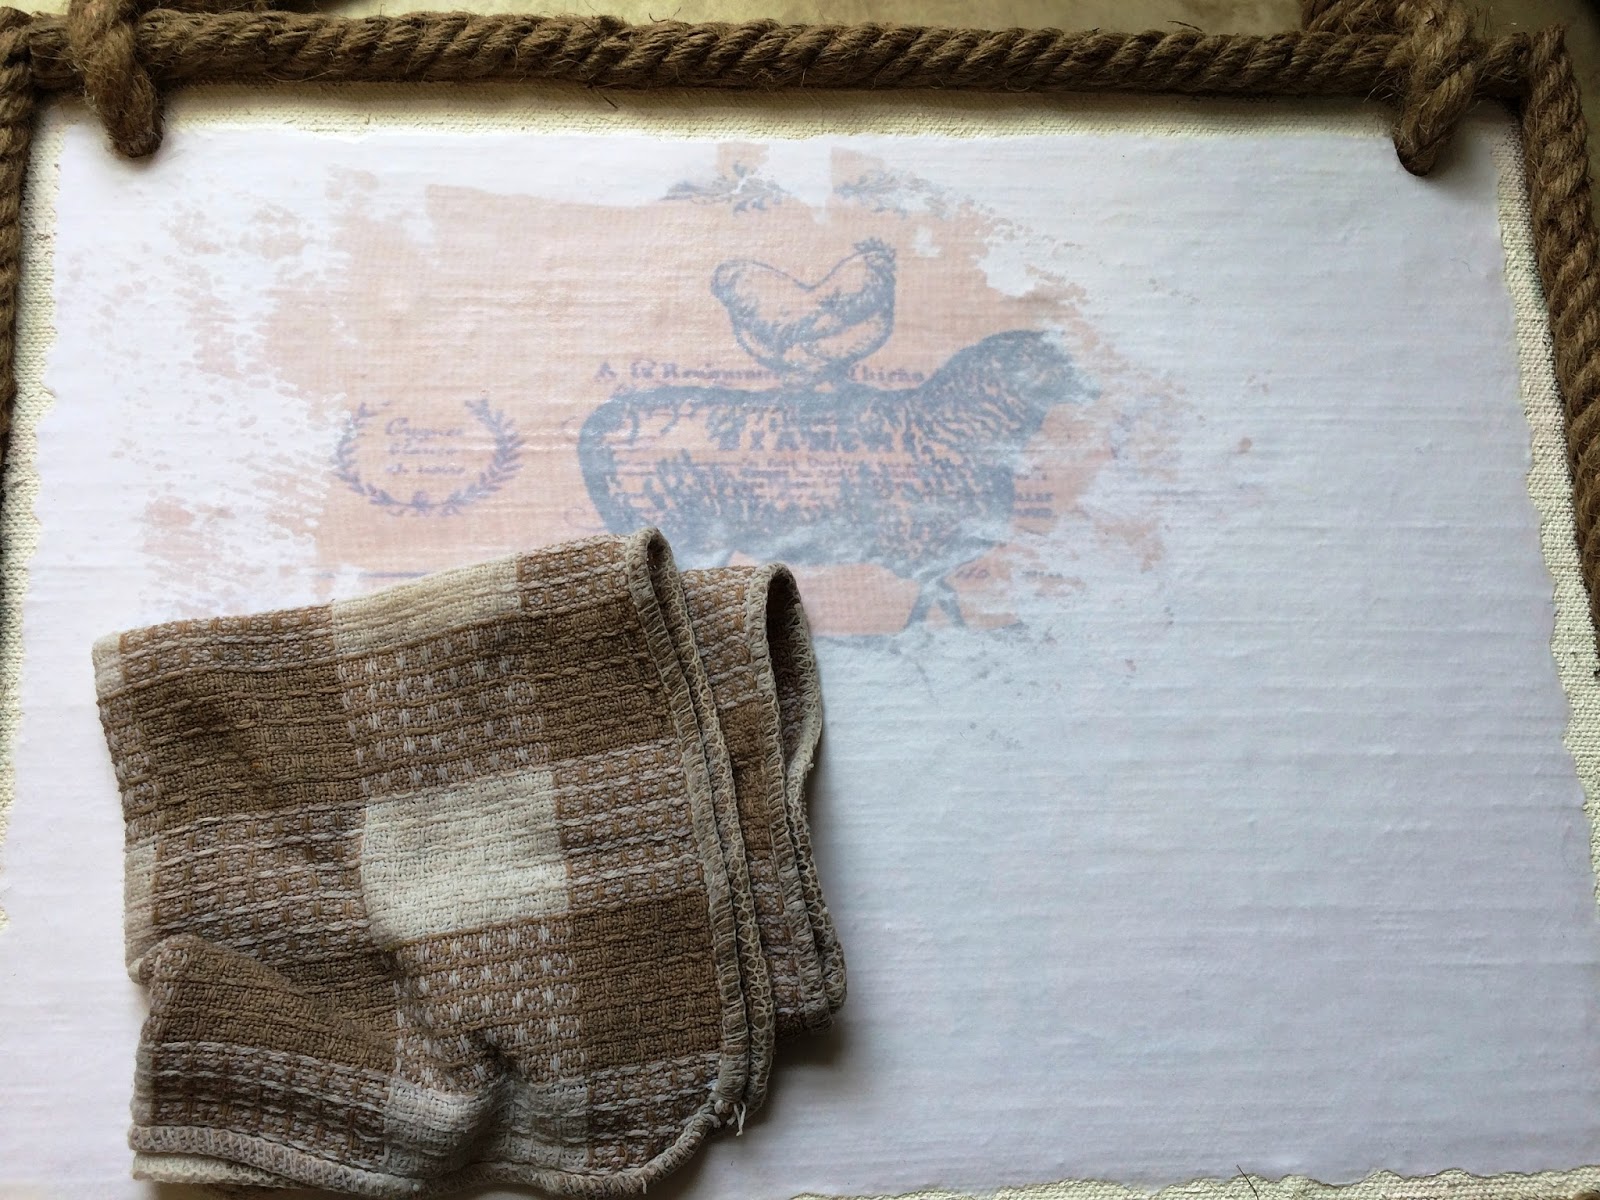
4. After you've left it to completely dry, dampen the entire area with a clean cloth or sponge and let sit for 1-2 minutes.


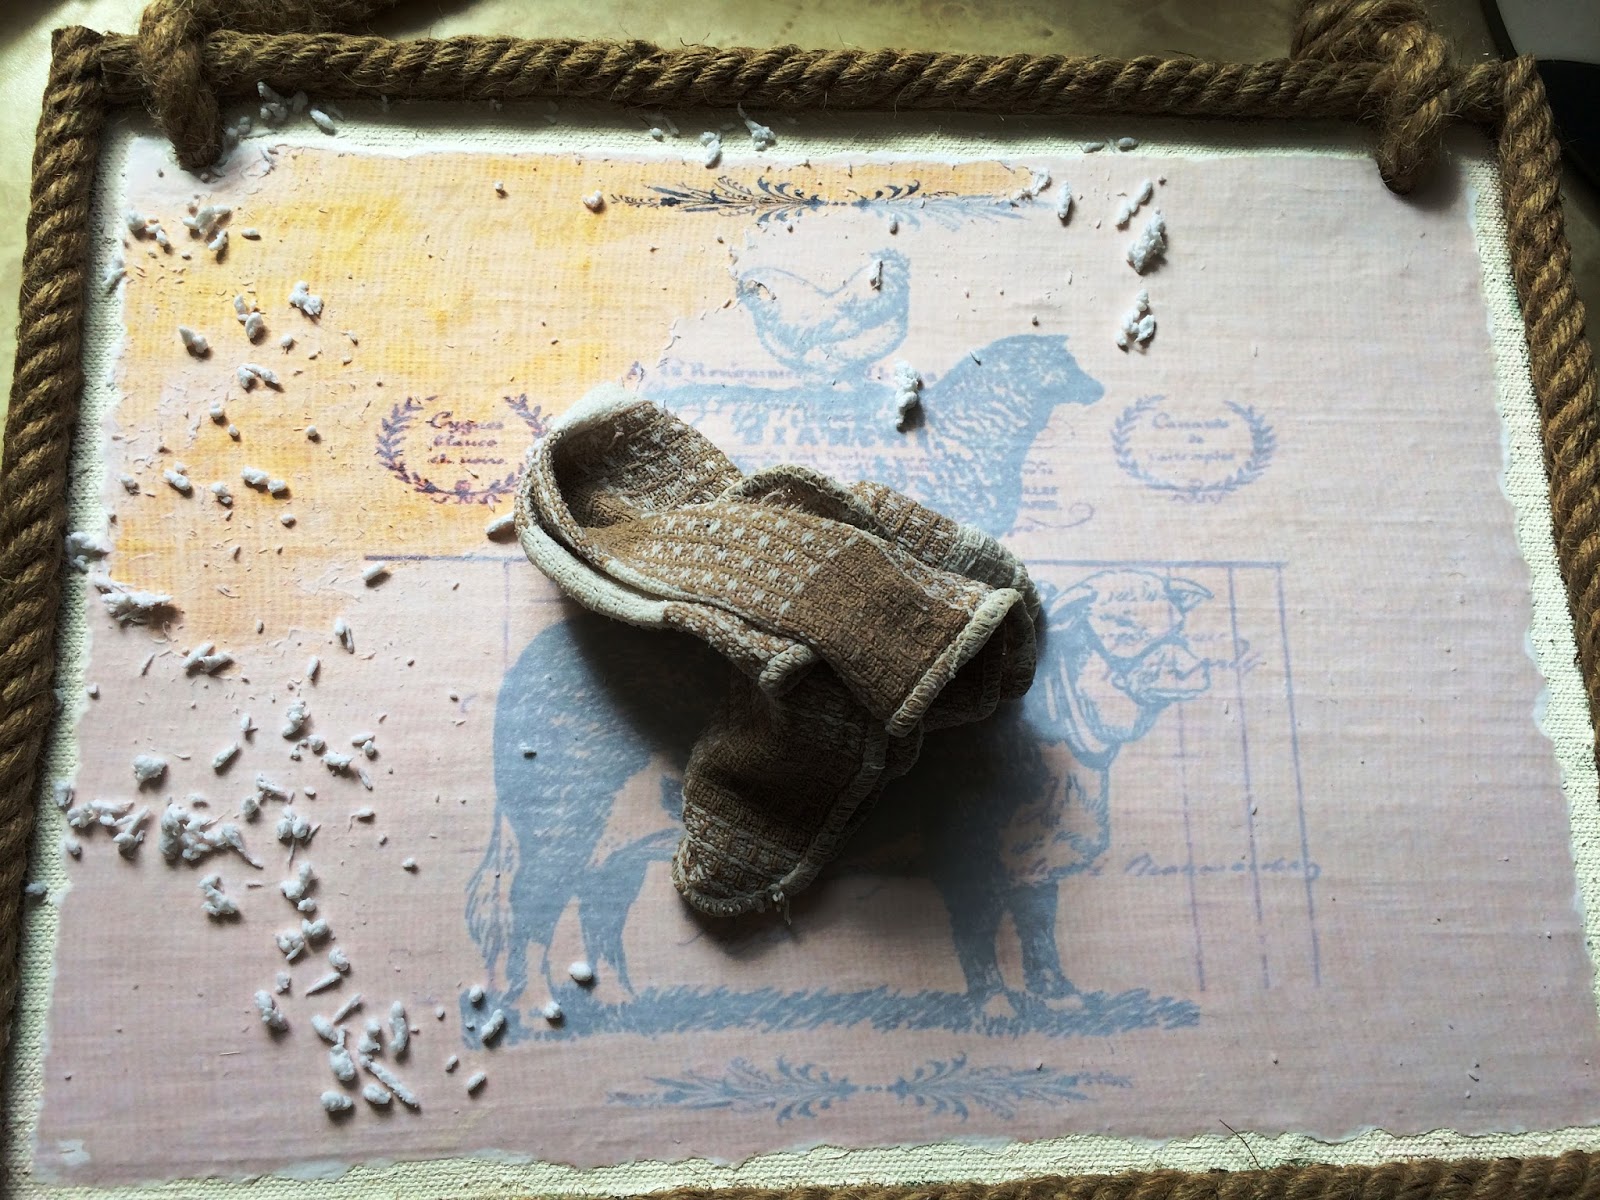
5. Using a gentle, circular motion, start rubbing the paper off the image with the damp cloth or sponge. If you don't get it all off completely at first, dampen the areas and rub again. You'll be able to see any spots you missed.

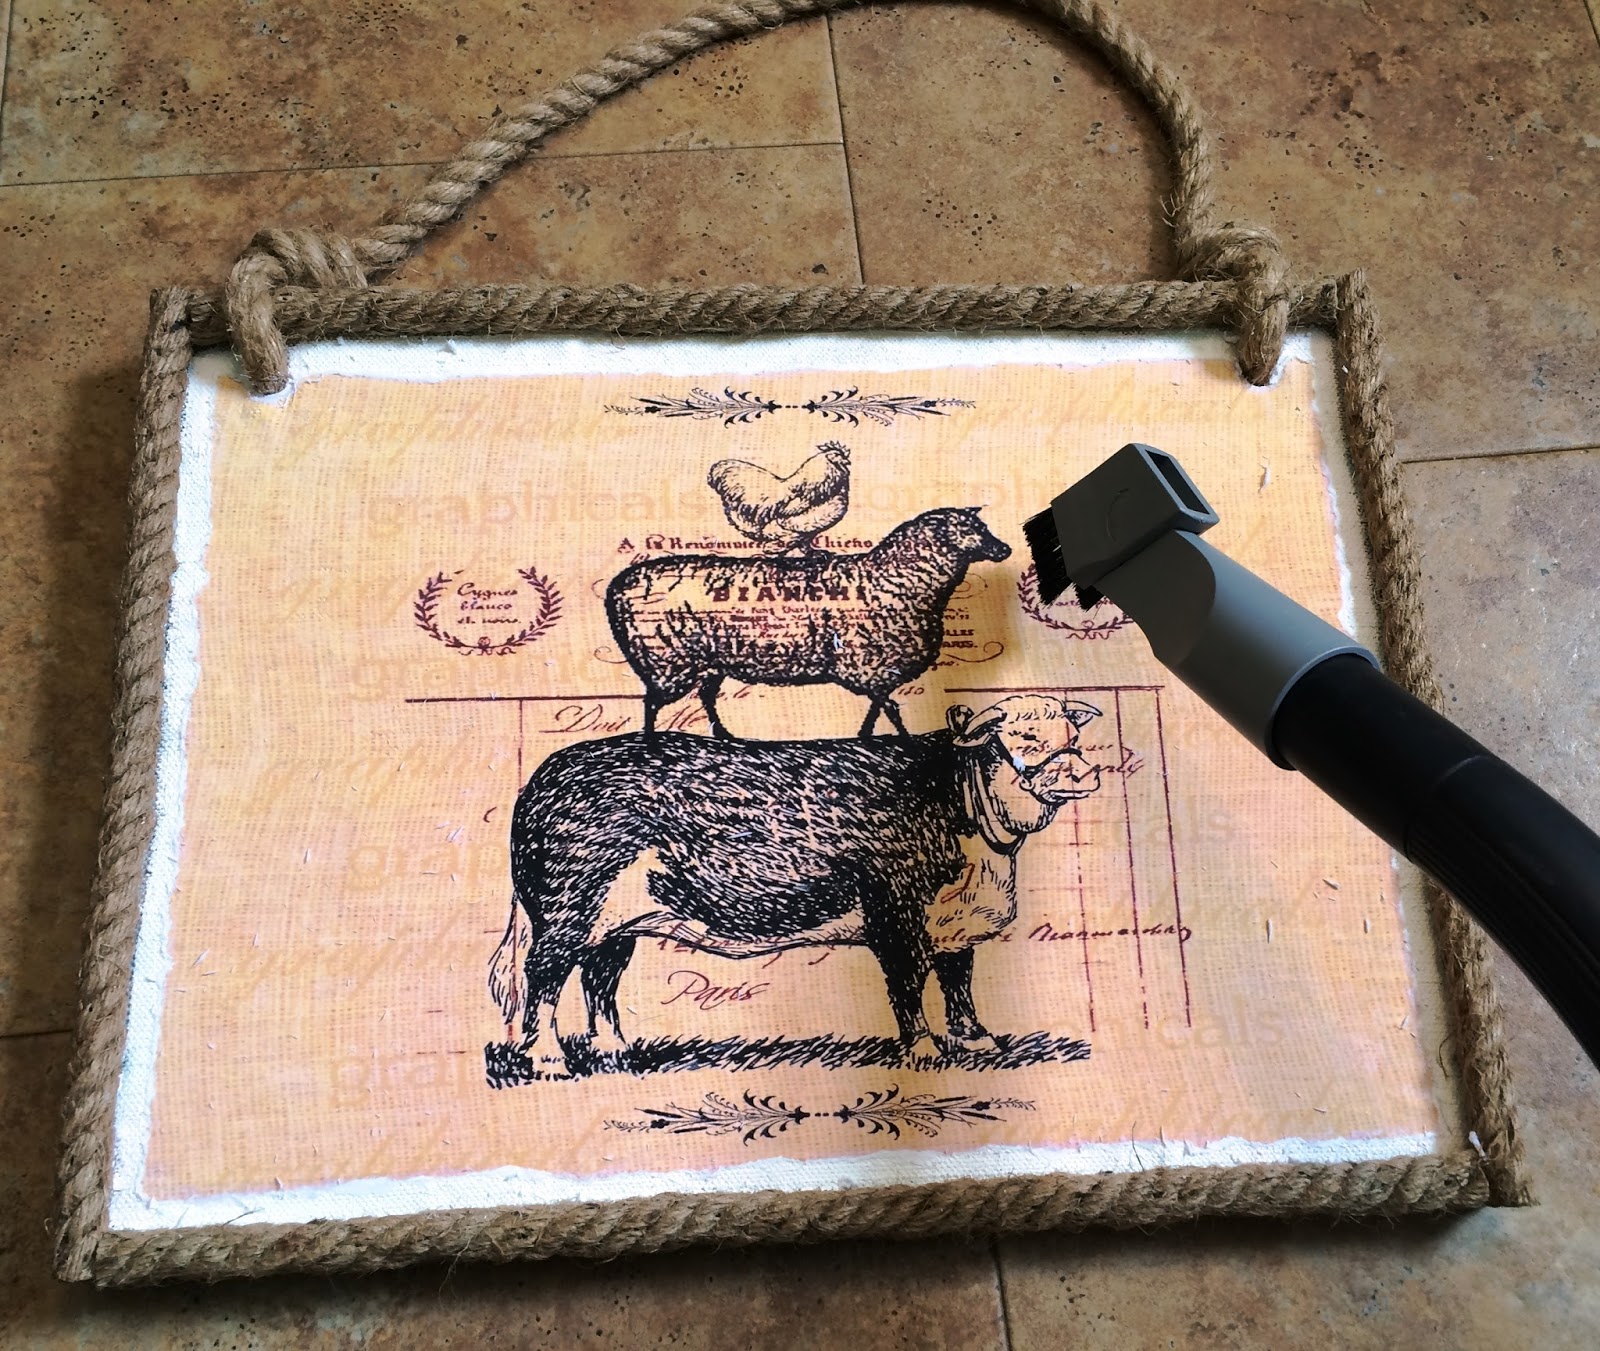
6. Wipe completely clean with a soft cloth or vacuum with a brush (I had to vacuum because of the rope frame). Make sure you use a clean, soft vacuum brush and that the transfer is mostly dry.

7. And that's it, it's done. You could coat it with a thin layer of Mod Podge Sealer for extra durability.

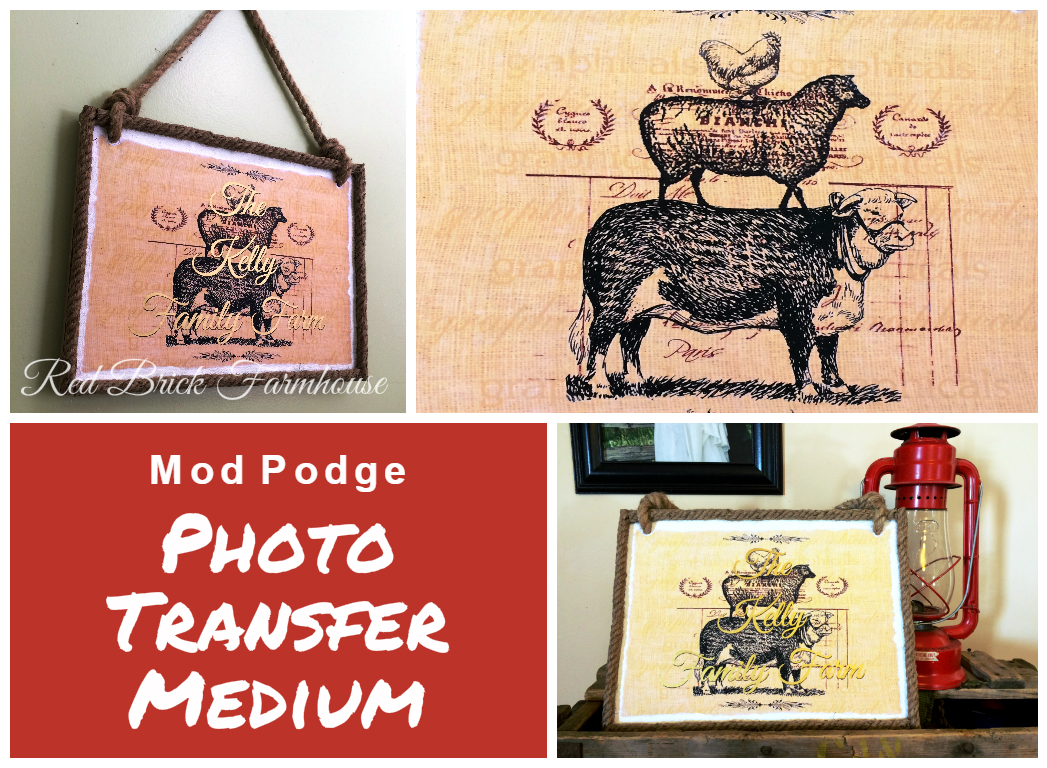
8. I made this as a gift and to add a personal touch to it, I ordered a metallic gold decal from Bright Swan Creations and stuck that over the photo transfer. Then I added in shadow lines with a black Sharpie to make the words pop.
Note:
If you didn't tear the edges of the image and still want a rustic look, this can be done at the rubbing stage. Just rub extra hard and the image will come off.

This was a fairly big project to use Photo Transfer Medium with, and I wouldn't recommend it unless you were wanting it to look like it was made as part of the object you were transferring to. I could have just used Mod Podge Sealer over the image and that would have likely done the job. But it was still fun to experiment with Photo Transfer Medium! There are so many techniques for sign making, and it's really just trial and error.

And, if you're really good with computers, you could edit the image in Photoshop to have a watercolour paint look to it and transfer onto canvas. Experiment with the image and objects you can transfer to.

Friday, July 03, 2015

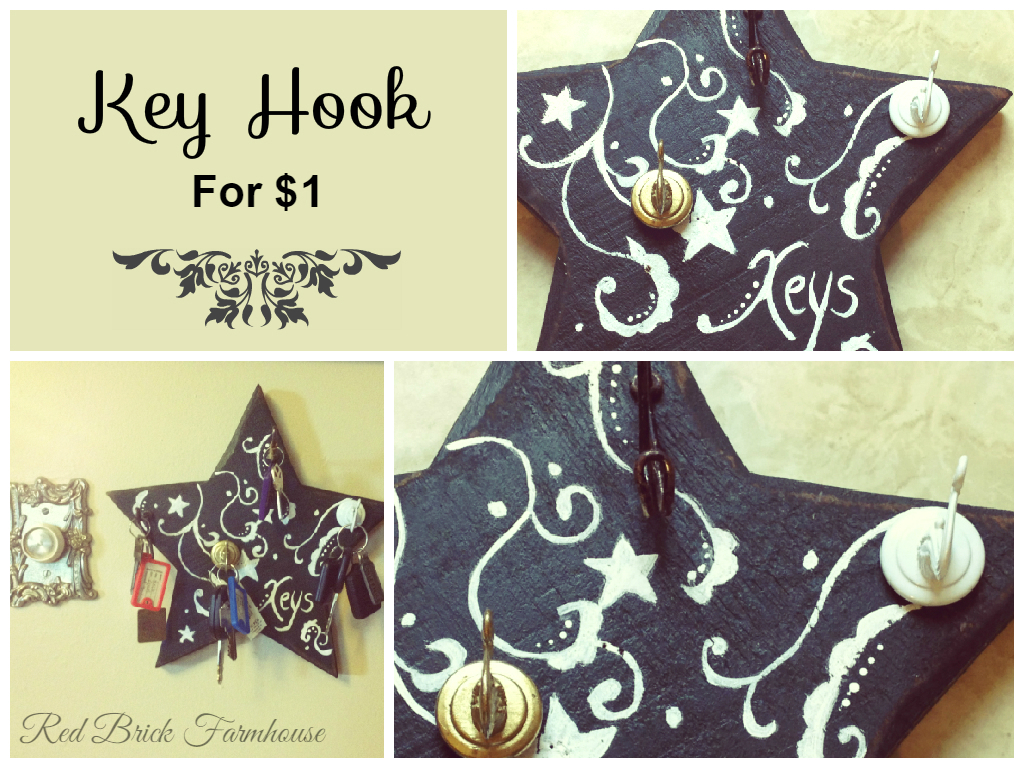
My $1 Key Hook

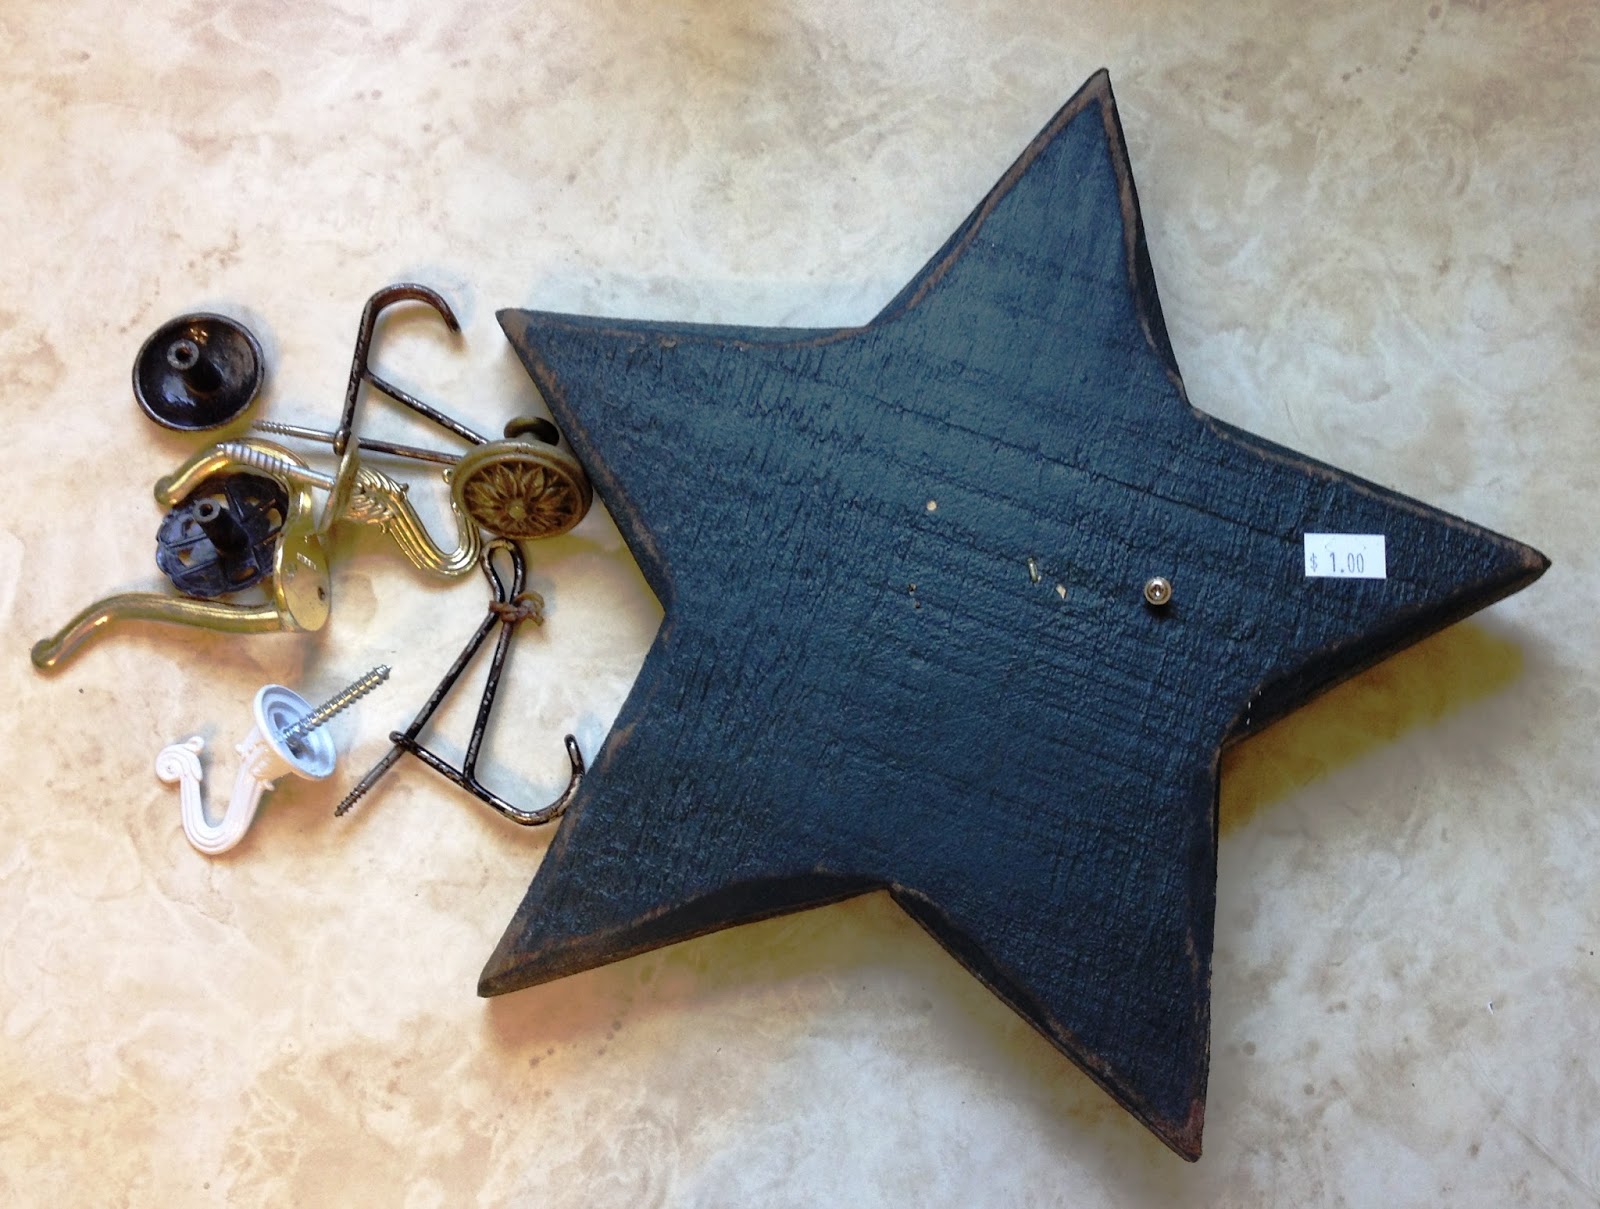
Thrift store shopping: it's so much fun and you find the weirdest and most wonderful things. Every time. A few weeks ago I found this black wooden star for $1. Yes $1!!! I also found a cute little upholstered stool and its lid opens up (the kids love it), and a macrame plant hanger. A good haul in my opinion.
I moved some things on my walls to make room for a new-to-me antique hoosier cupboard (more on that in a future post) and that meant I had to get rid of my peg hook where I hung keys before (a garage sale find). After searching Homesense for a replacement, unsuccessfully I might add, this idea came to me.

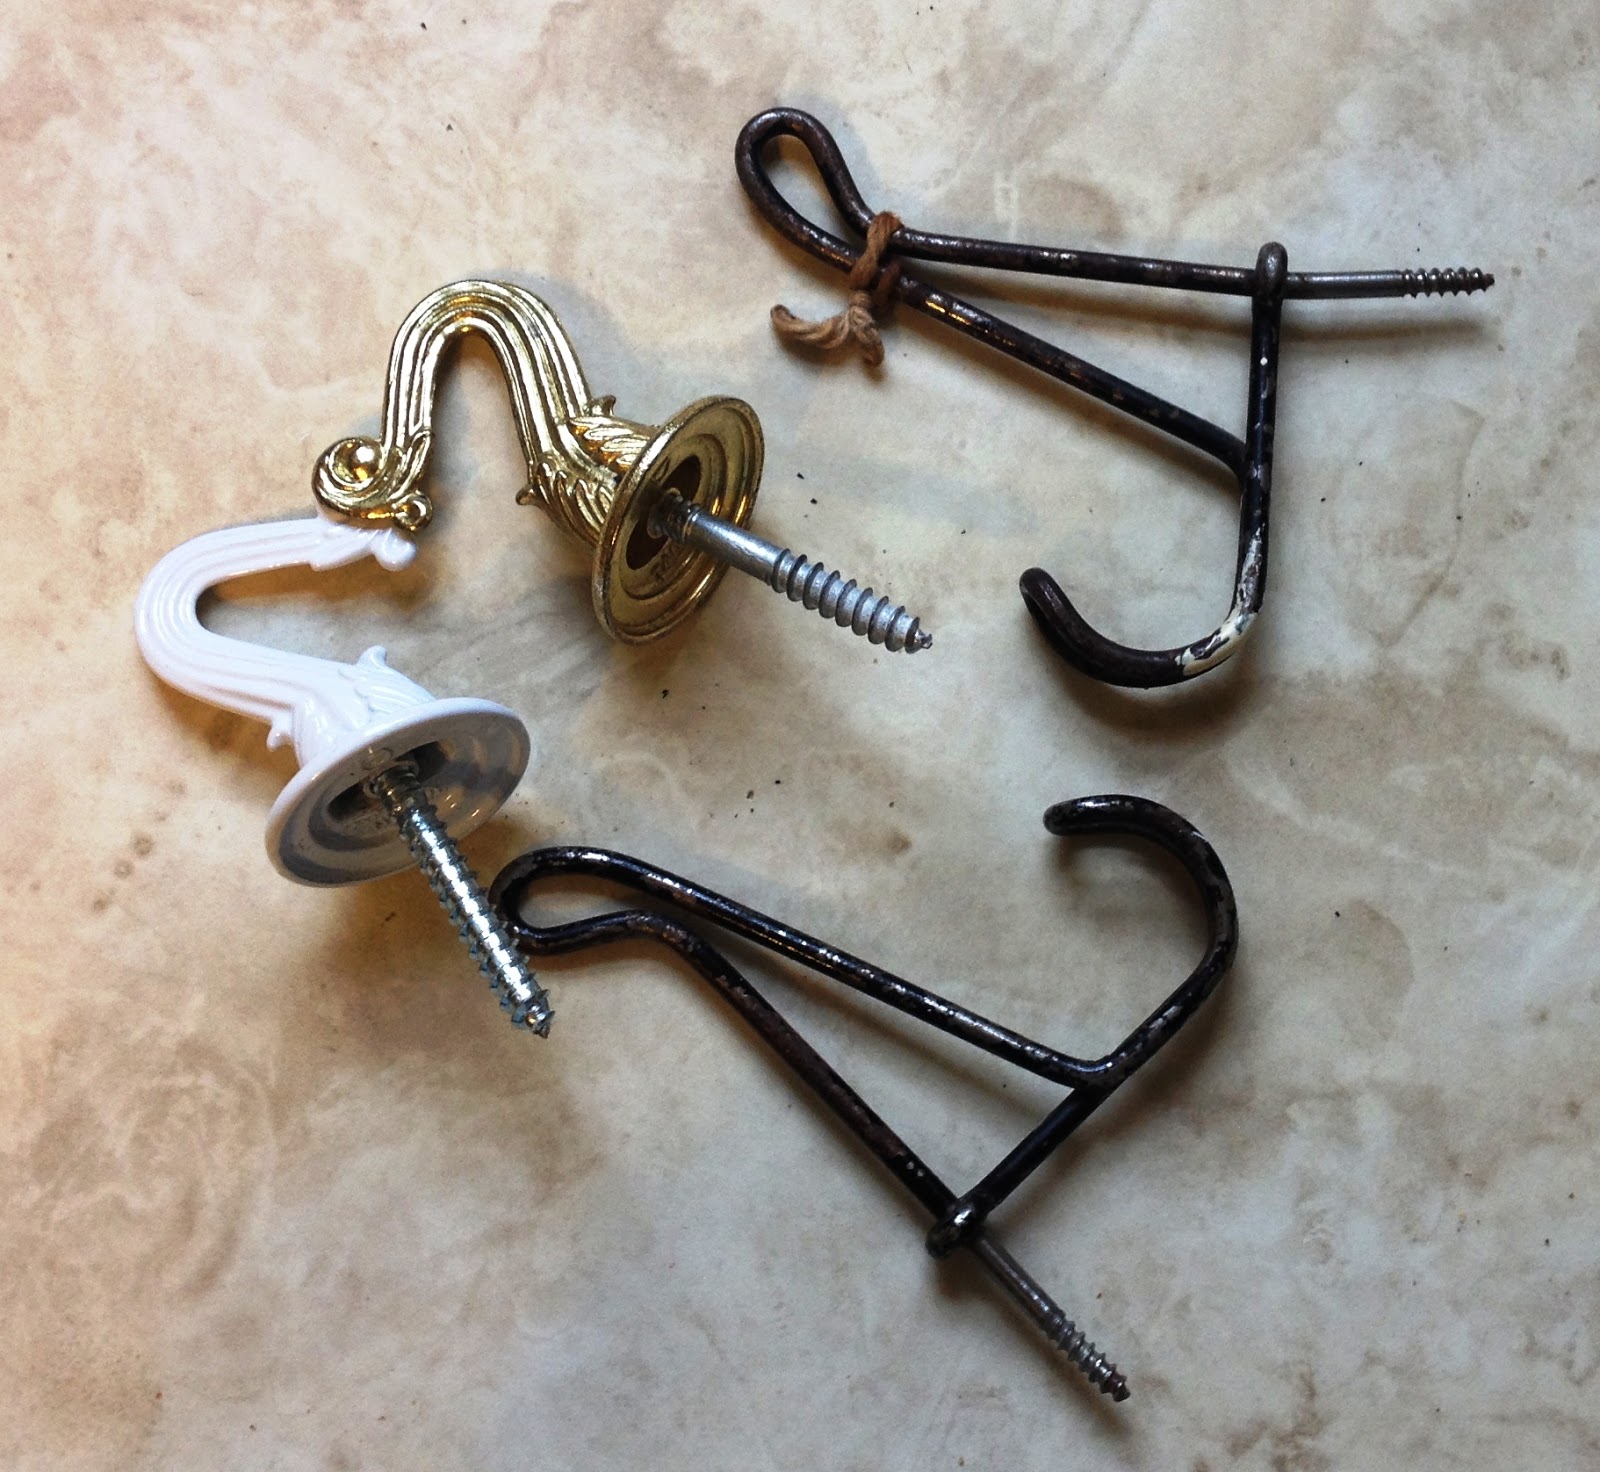
My $1 wooden star(!) and some hooks I removed from walls of the farmhouse when we moved in.
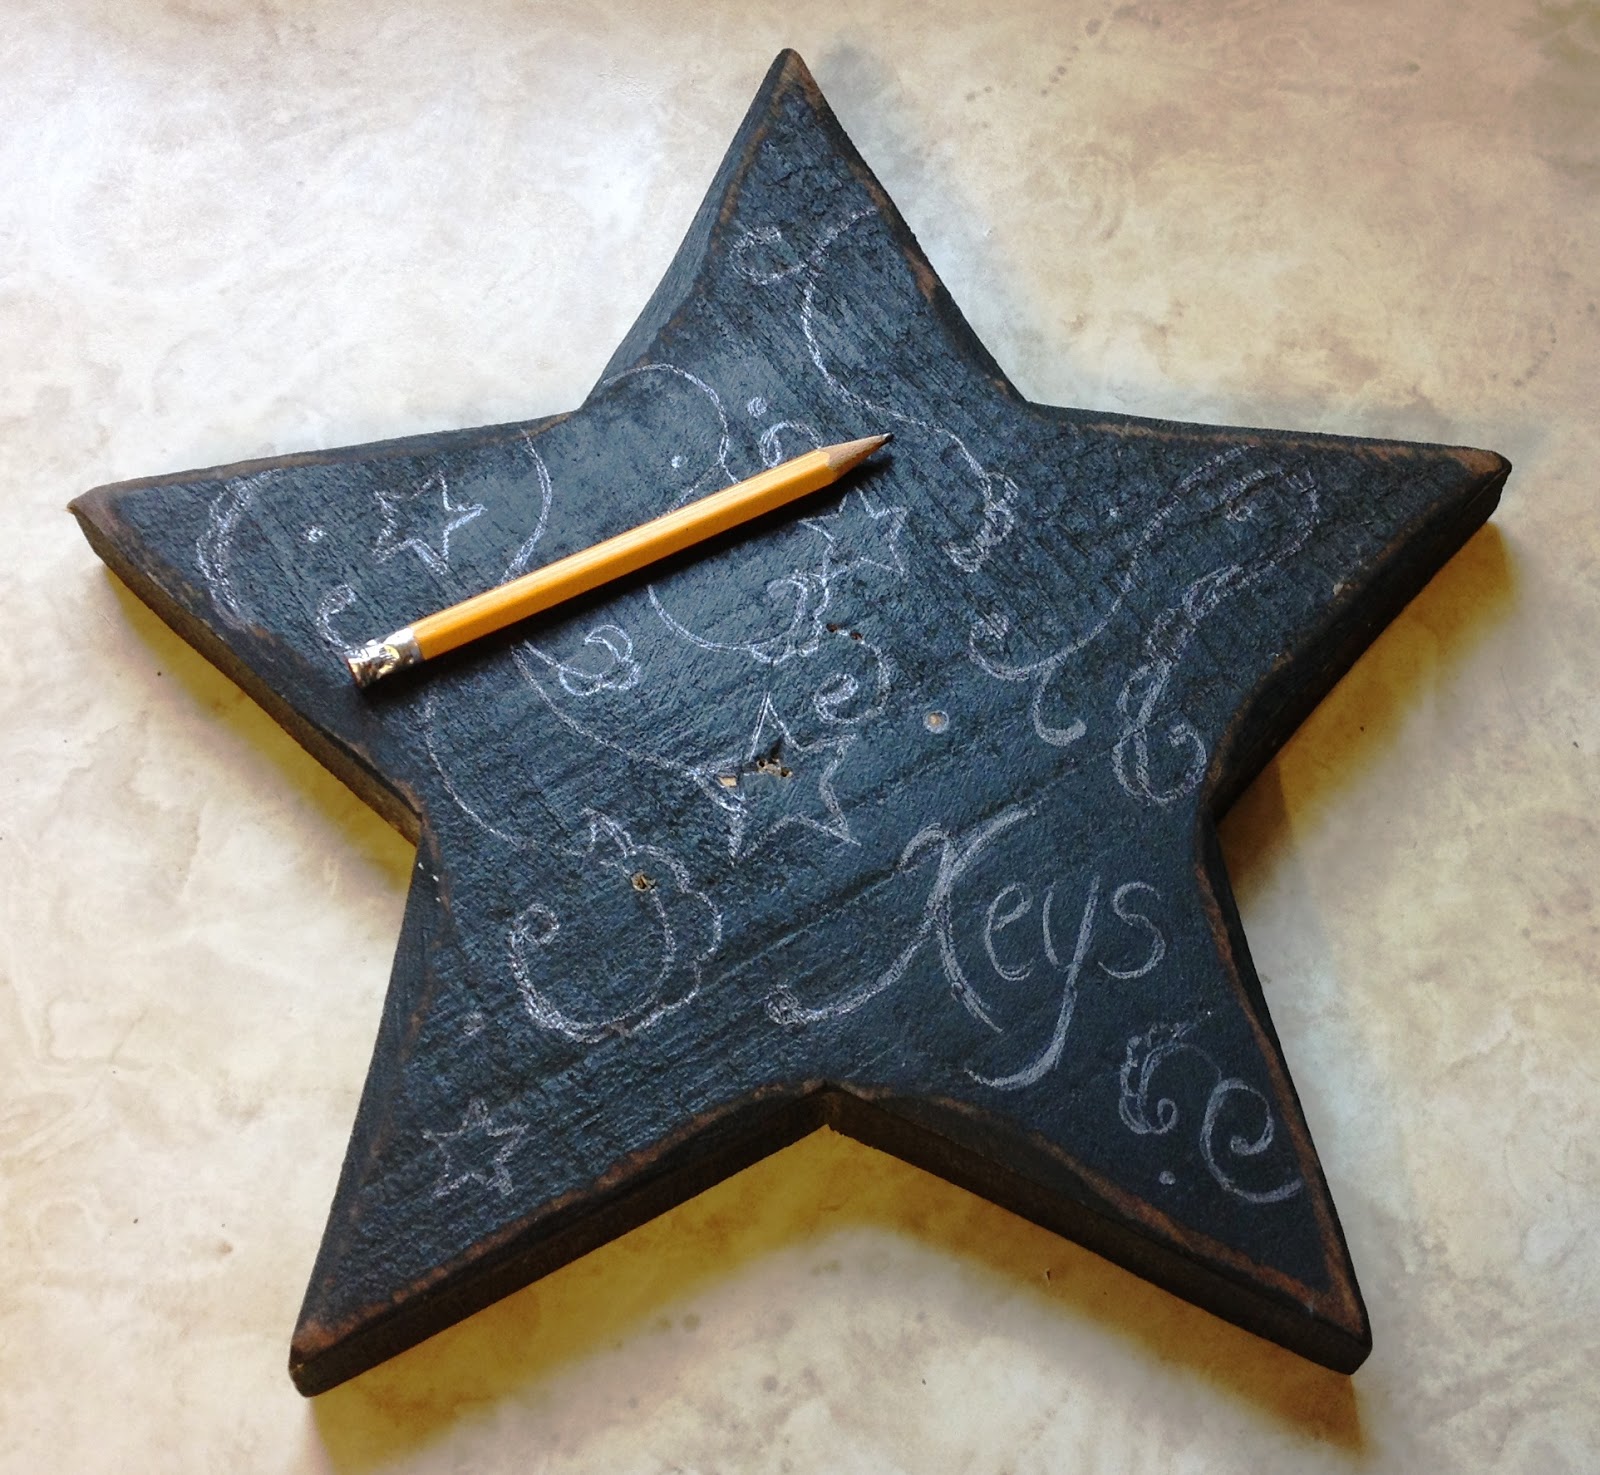
Drawing my design on. I used the idea here for inspiration.
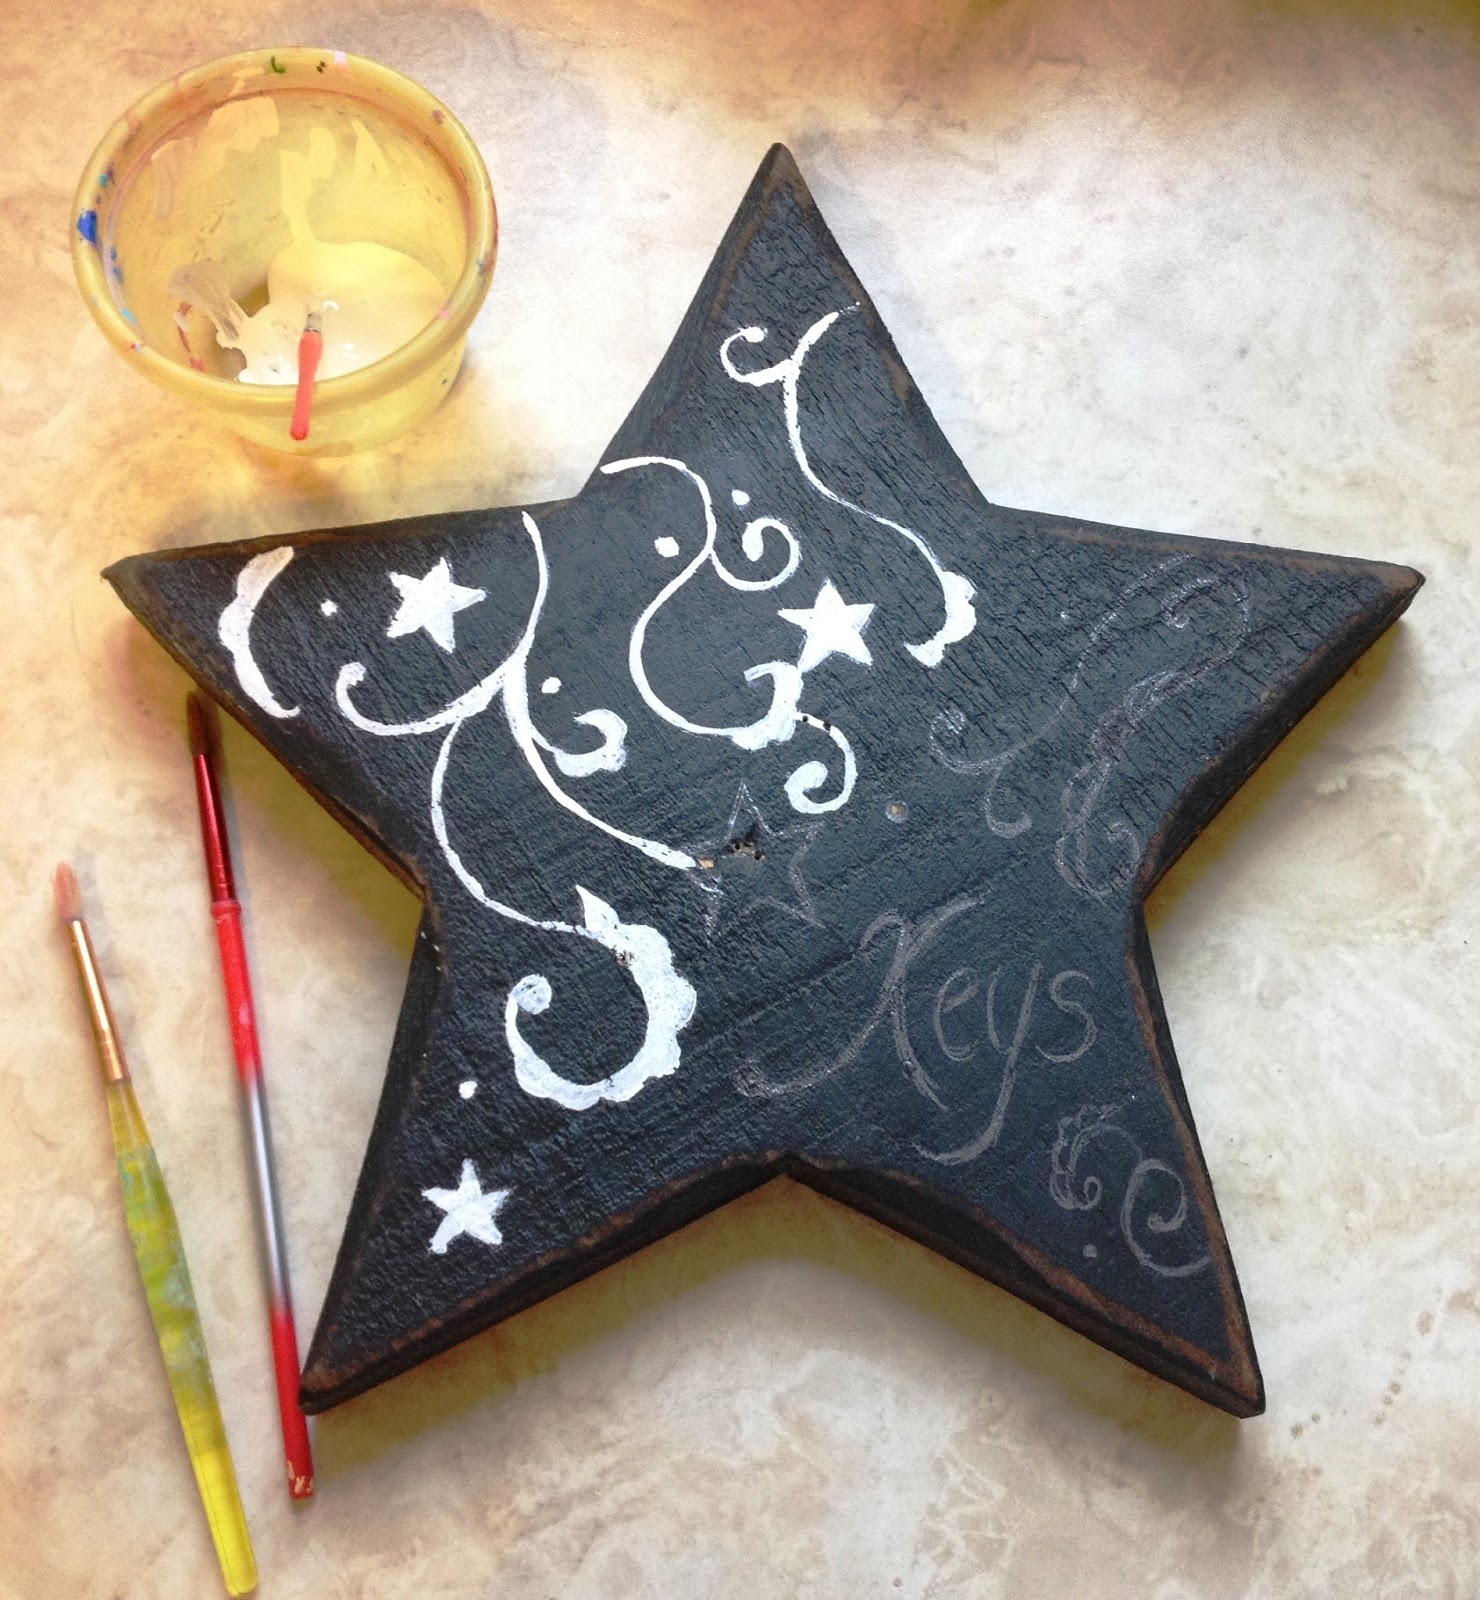
Painting the design with acrylic paint - a work in progress.
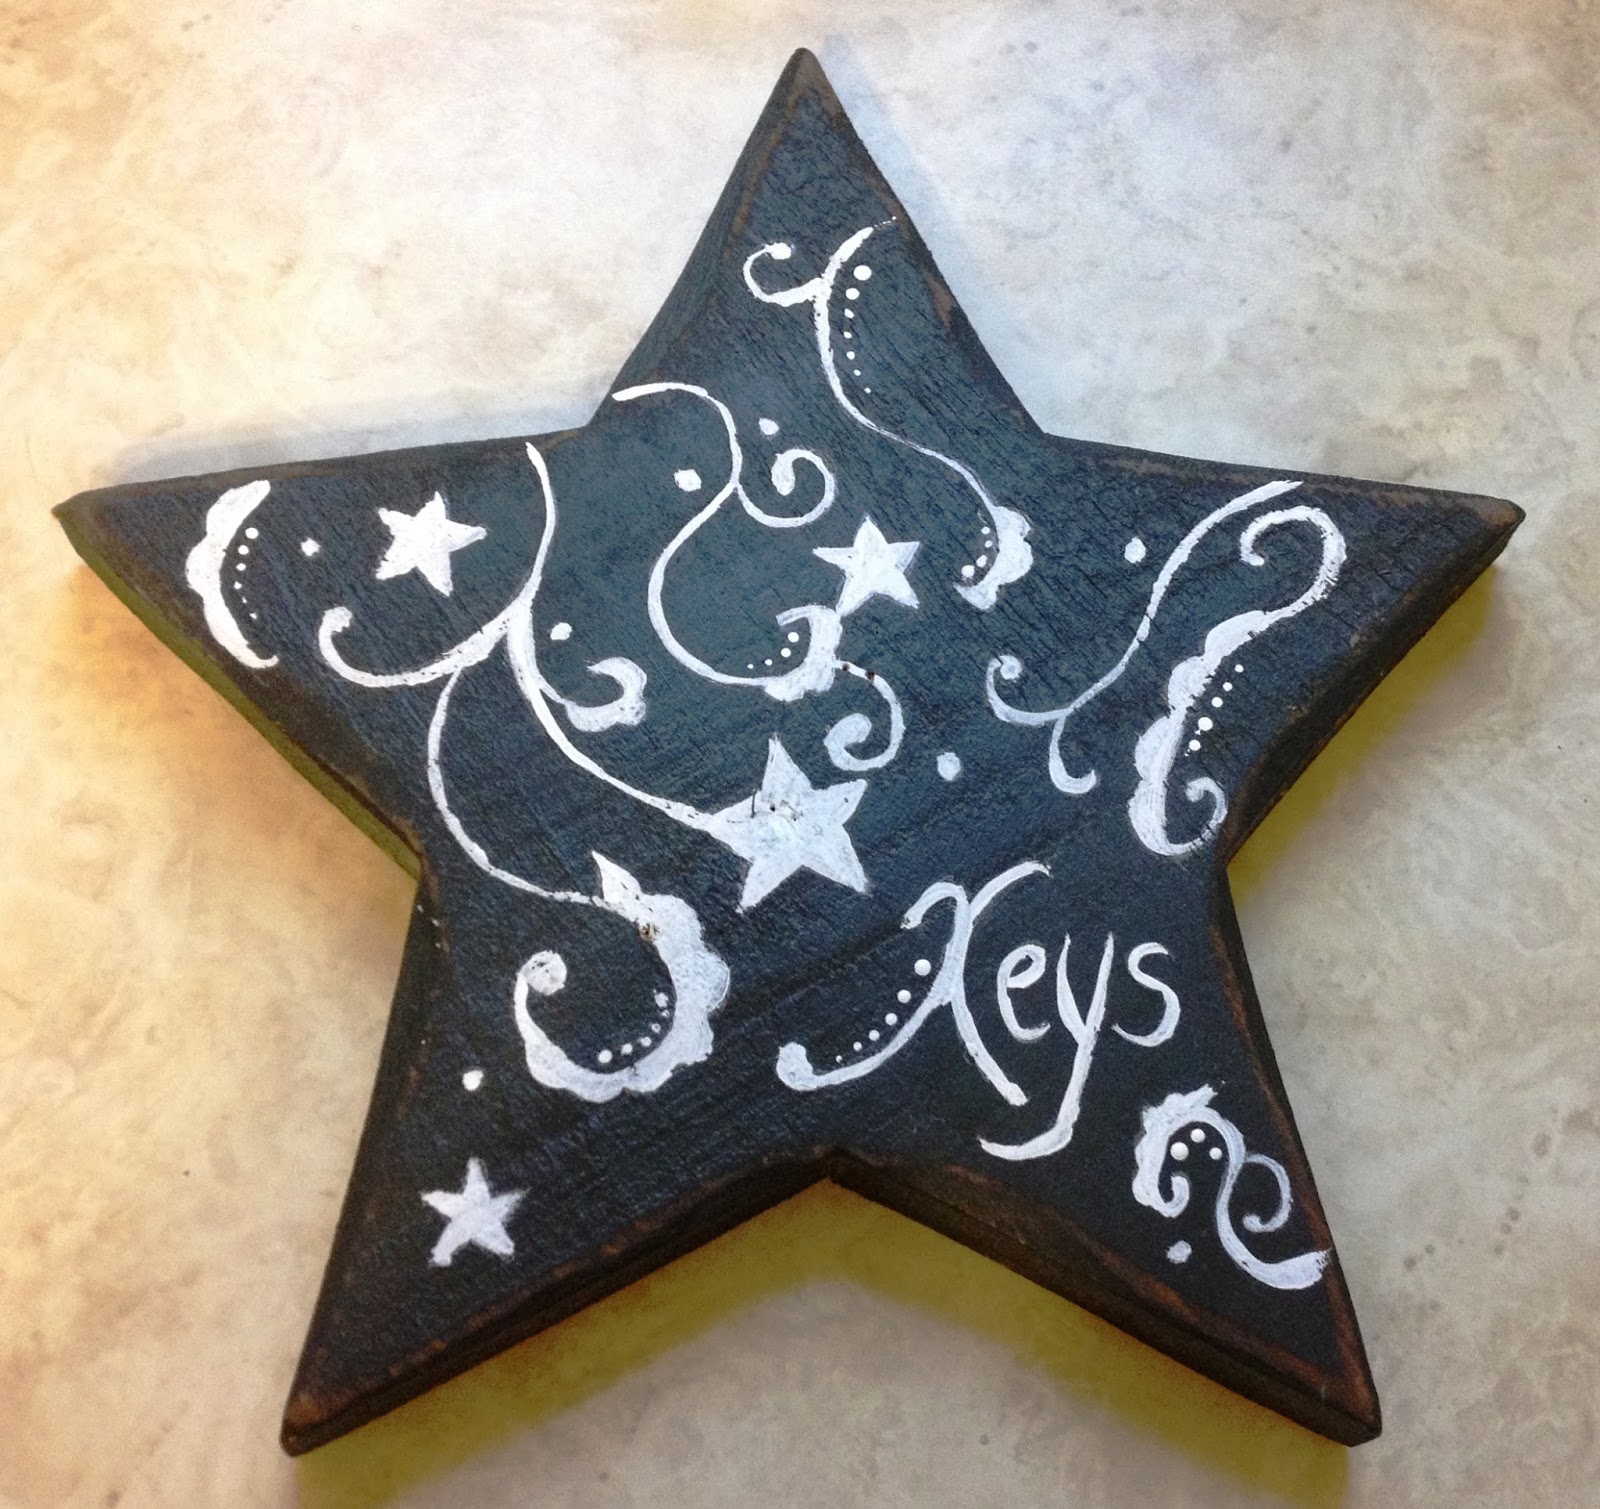
The finished design.
The hooks I decided to use. Then I laid them out and marked the positions on the star. I just had to hand screw them in.

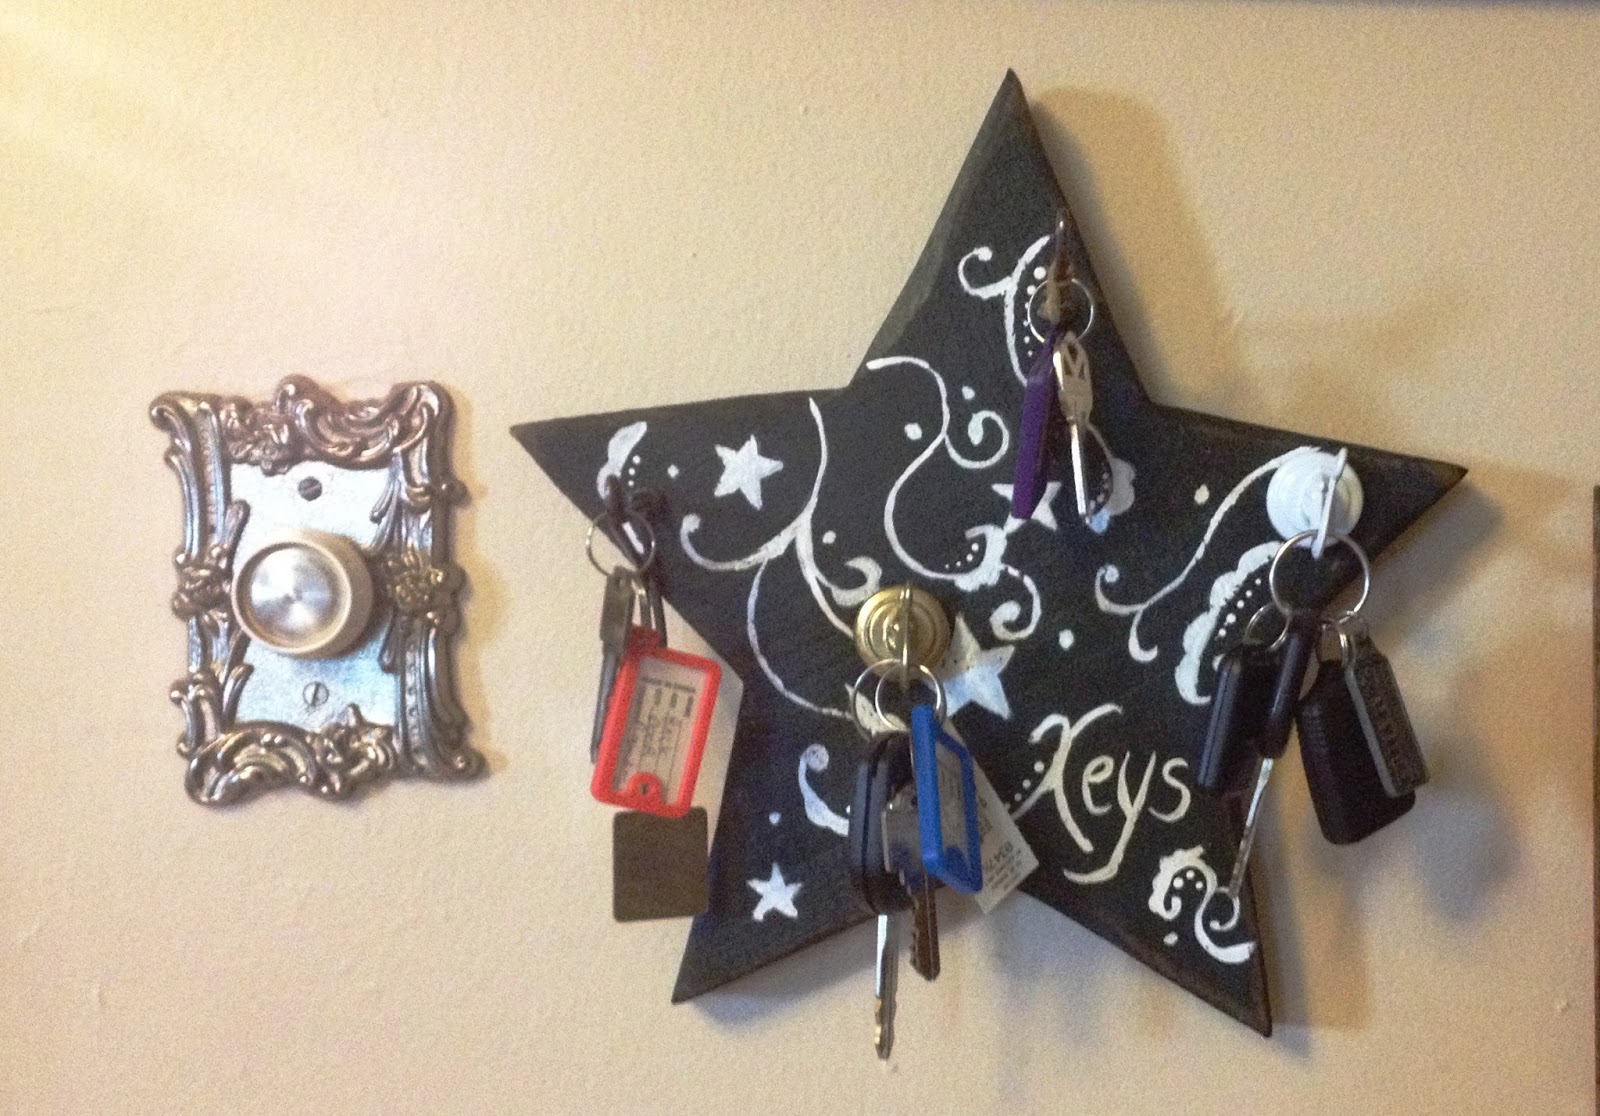
The finished product.

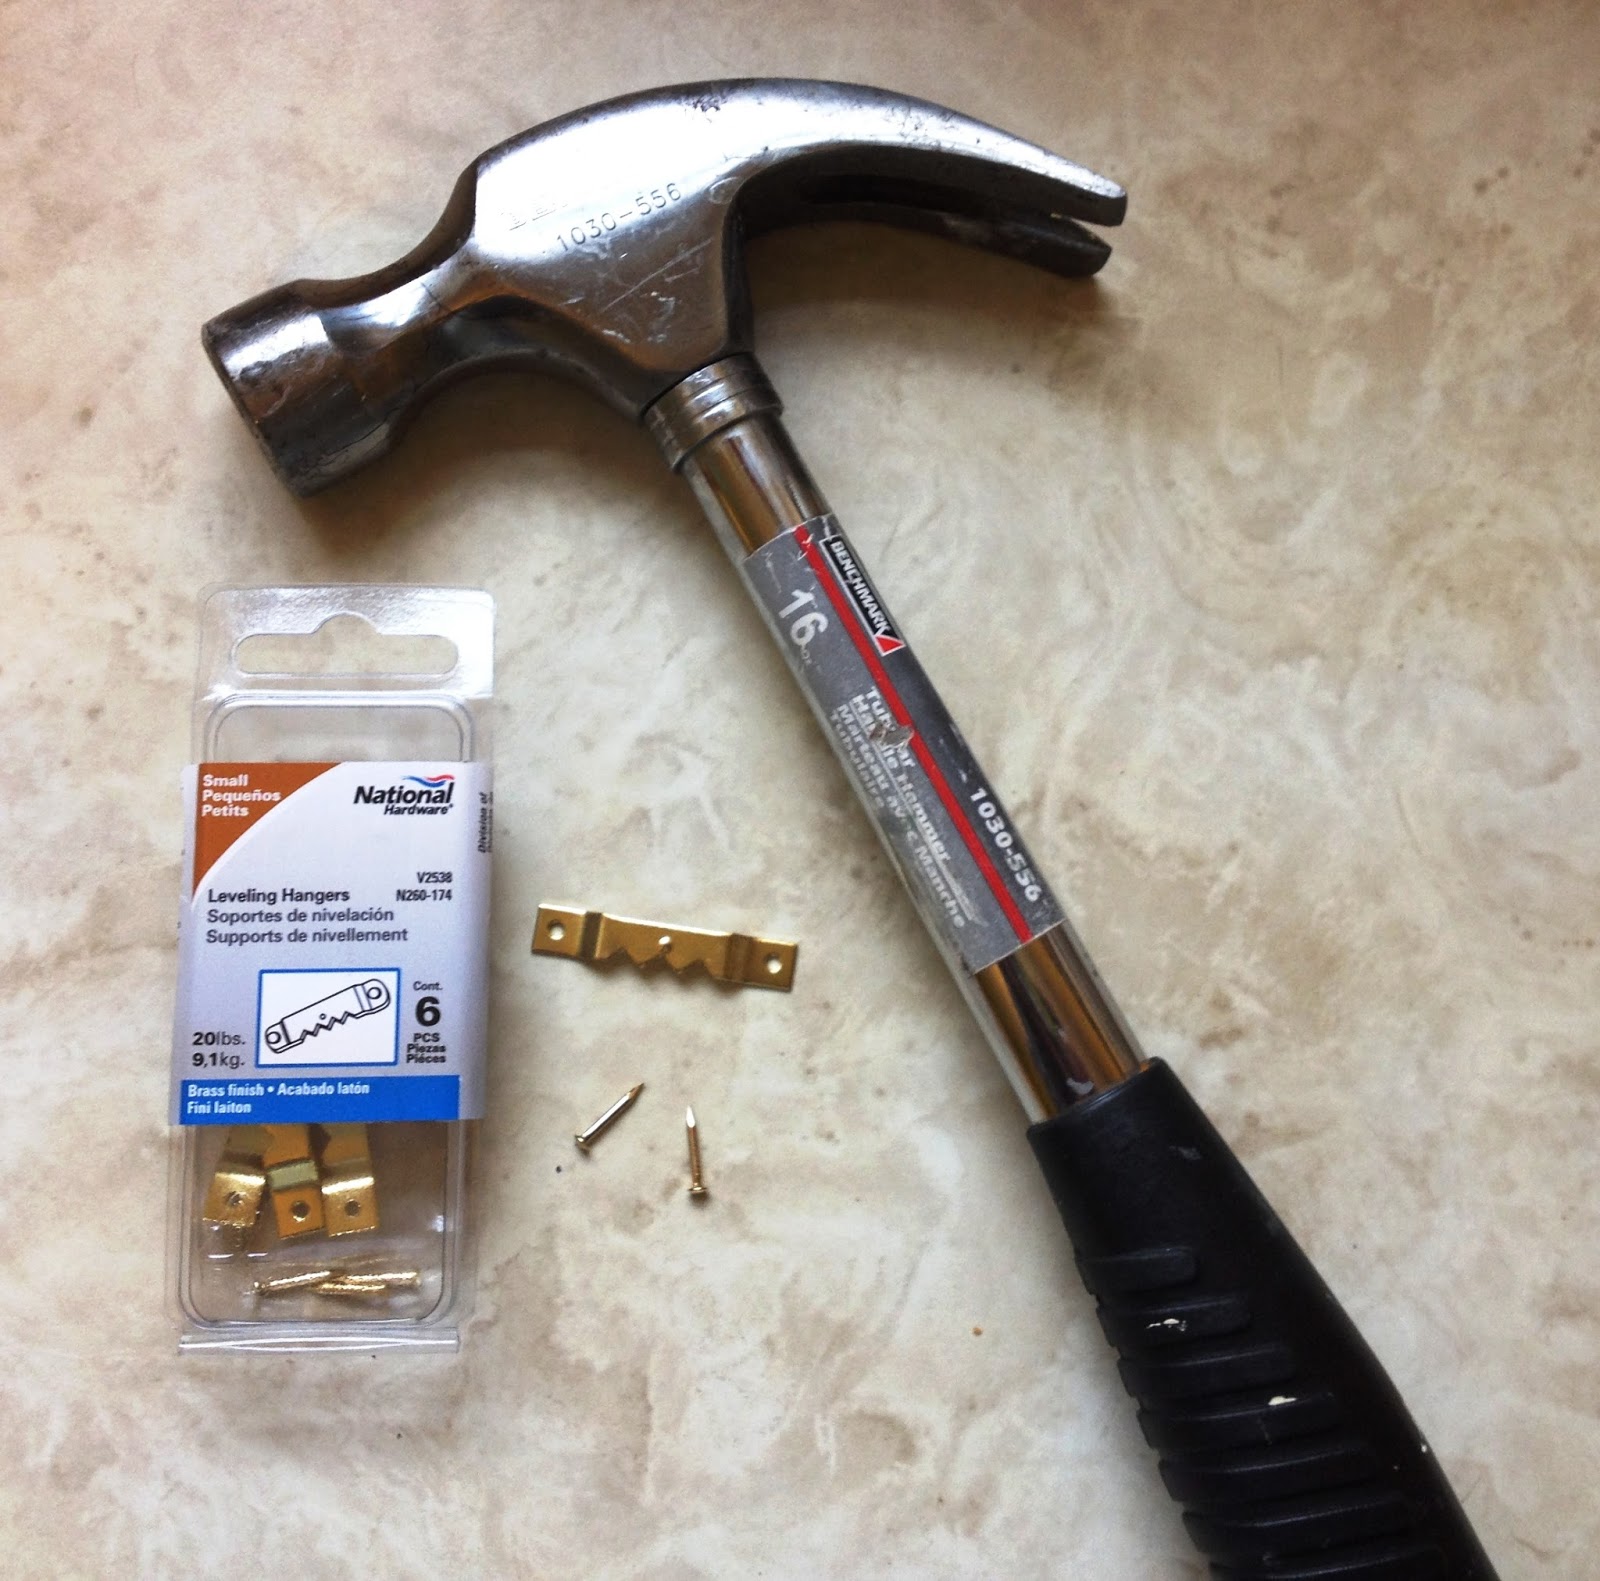
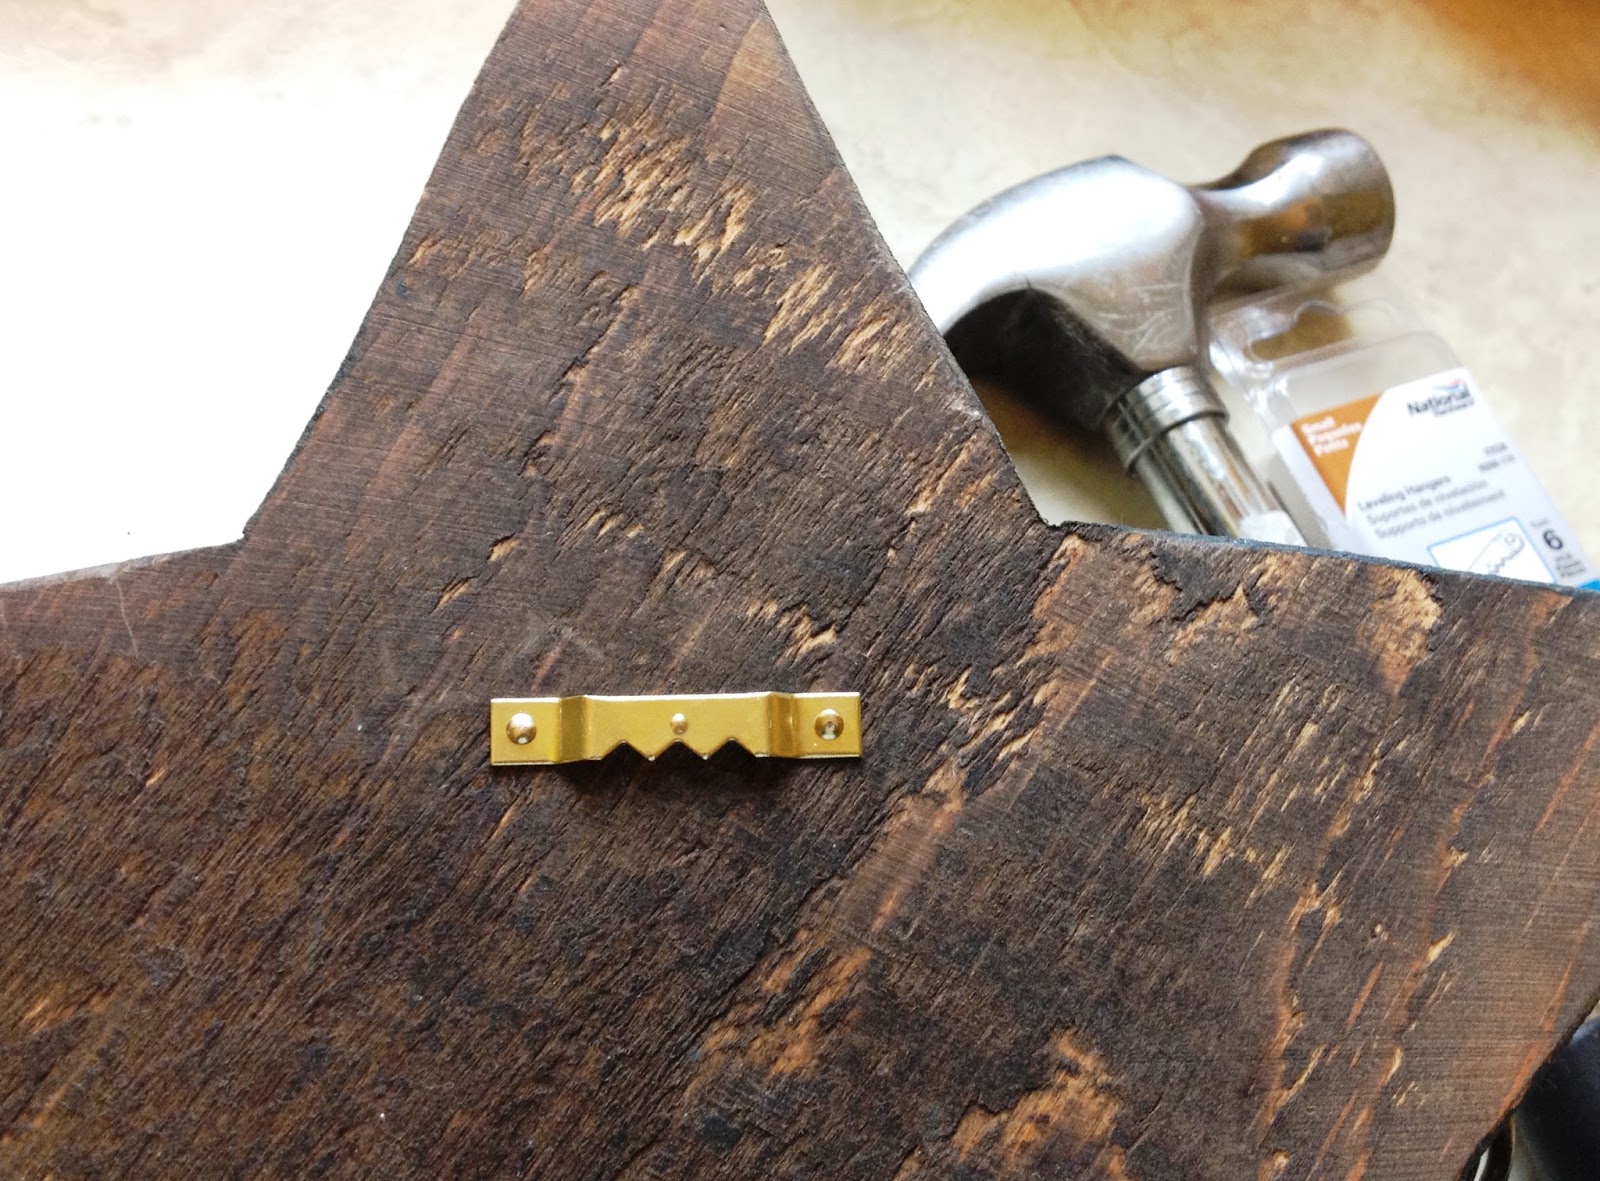
I always keep picture hanging supplies around and it was simple to install this one.


And now I have a one of a kind key hook that cost me $1, and completed it with things I already had around the house.