Farming Life by the Farmer's Wife

Showing posts with label howto. Show all posts

Tuesday, June 13, 2017

Make Perfect Chalkboard Art

I purchased this great framed chalkboard second hand and instantly knew it needed to go in my kitchen. The kitchen also happens to be the entrance to our home, so I loved the idea of hanging something customizable and to have it where people can see it. 


You have to be a bit computer savvy to create the template for the chalkboard in the way I have. I'm using simple and common software programs that most people should know enough about. If you have Photoshop, you're using more advanced programs than I am and should know what you're doing. I also did also look at stencils in stores and either couldn't find what I wanted, or they were too expensive. You do have the option to shop for one if you wish. My way also allows for customization of the size according to the dimensions of your chalkboard (you can't with a pre-made stencil). You can also reuse the designs with the way I'm going to show you.
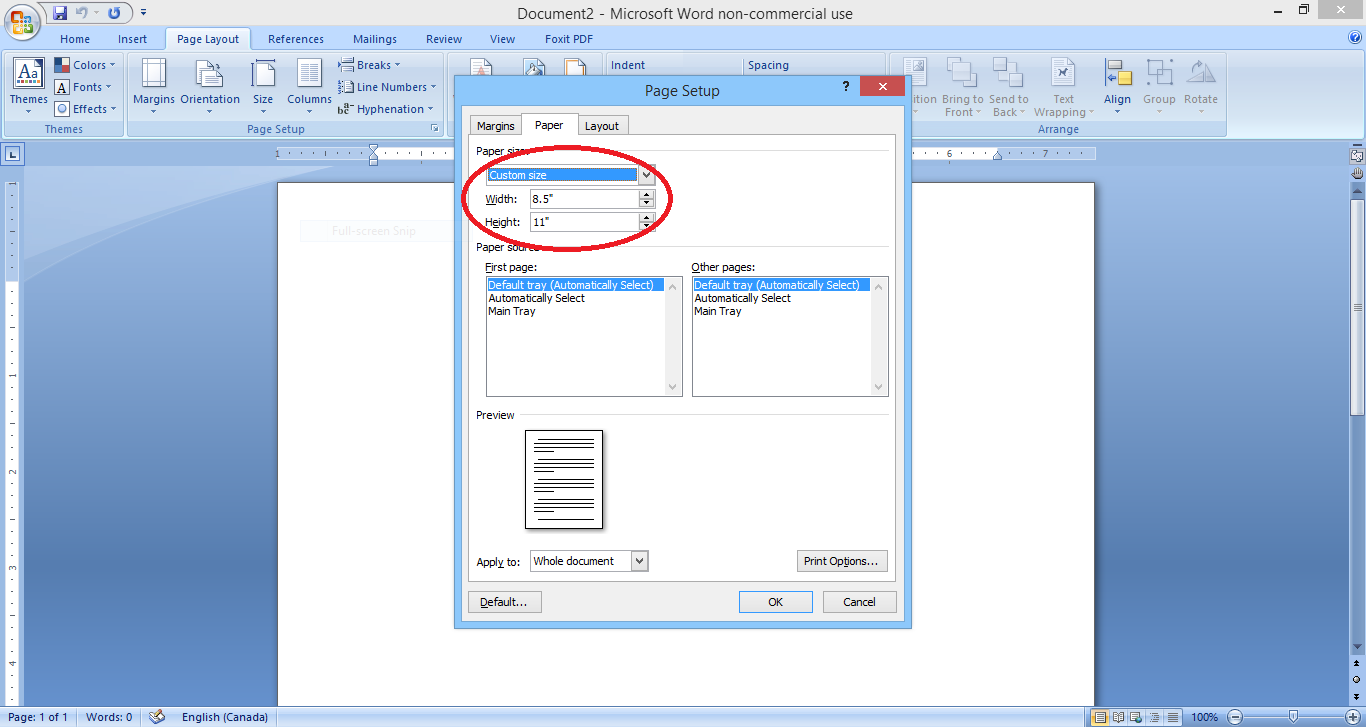
Step 1: Preparing the template - create a Word document

First you need to start by measuring your chalkboard area. Create a new Word document and size the document to match the size of your chalkboard. Mine is 19"x19". When designing within the Word document, remember the edge of the Word page is also the edge of your chalkboard - you don't want the design to be too big/too small.


Search the Internet for chalkboard design templates and ideas, making sure to find some fairly large in size and resolution. Some designs come outlined already. The design I liked was filled with black and I needed to print it to a fairly large size, so I didn't want to waste black ink.

Crop any watermarks or borders you don't want and insert your template into Word and stretch it to size, remembering to not get too close to the edge. If you lose quality (lines become pixilated or blurry), you'll need to find a design in a larger resolution. Right click the image and find "Format Picture". You'll want to adjust the Brightness and Contrast until just the outline is left. You can ignore this step if your template already has an outline. Save the Word document as a PDF.
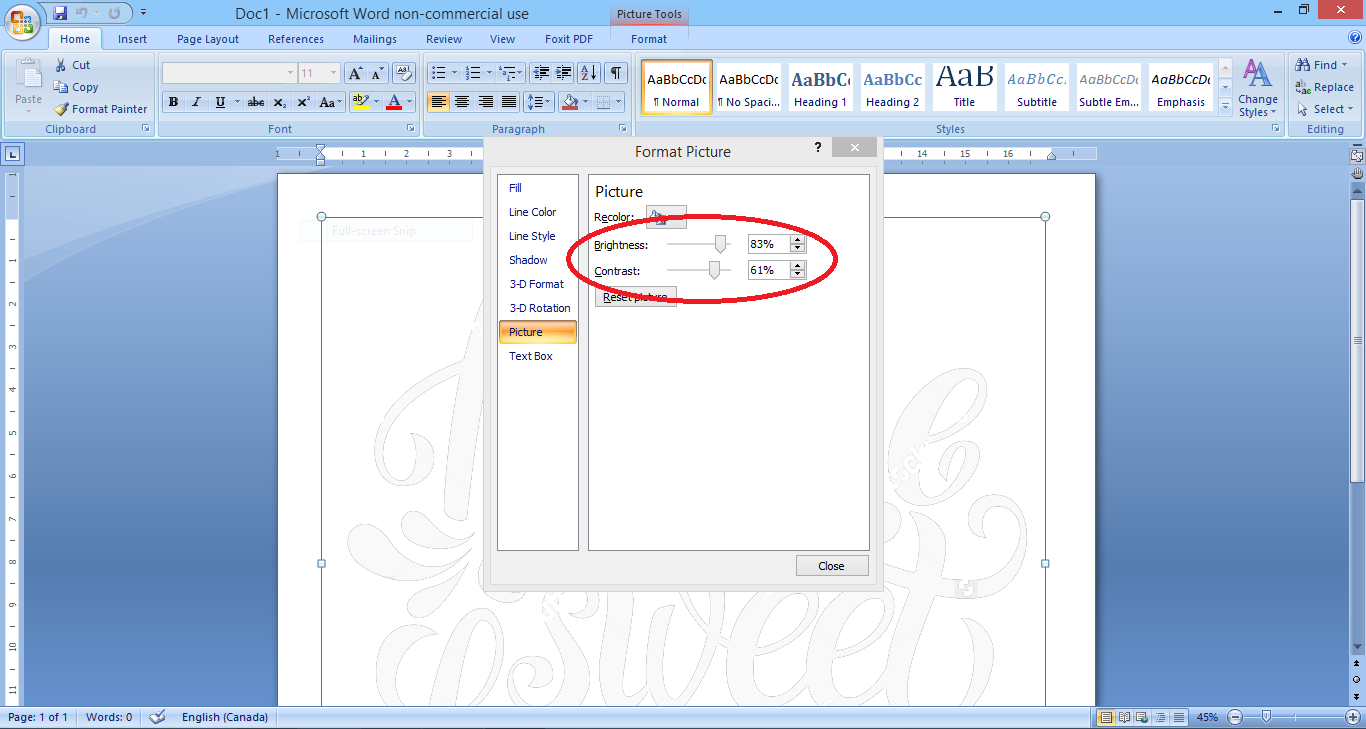
Adjust brightness and contrast so just outlines are left.
Template should look like this after editing.


Step 2: Print the template and tile the pages for large chalkboards

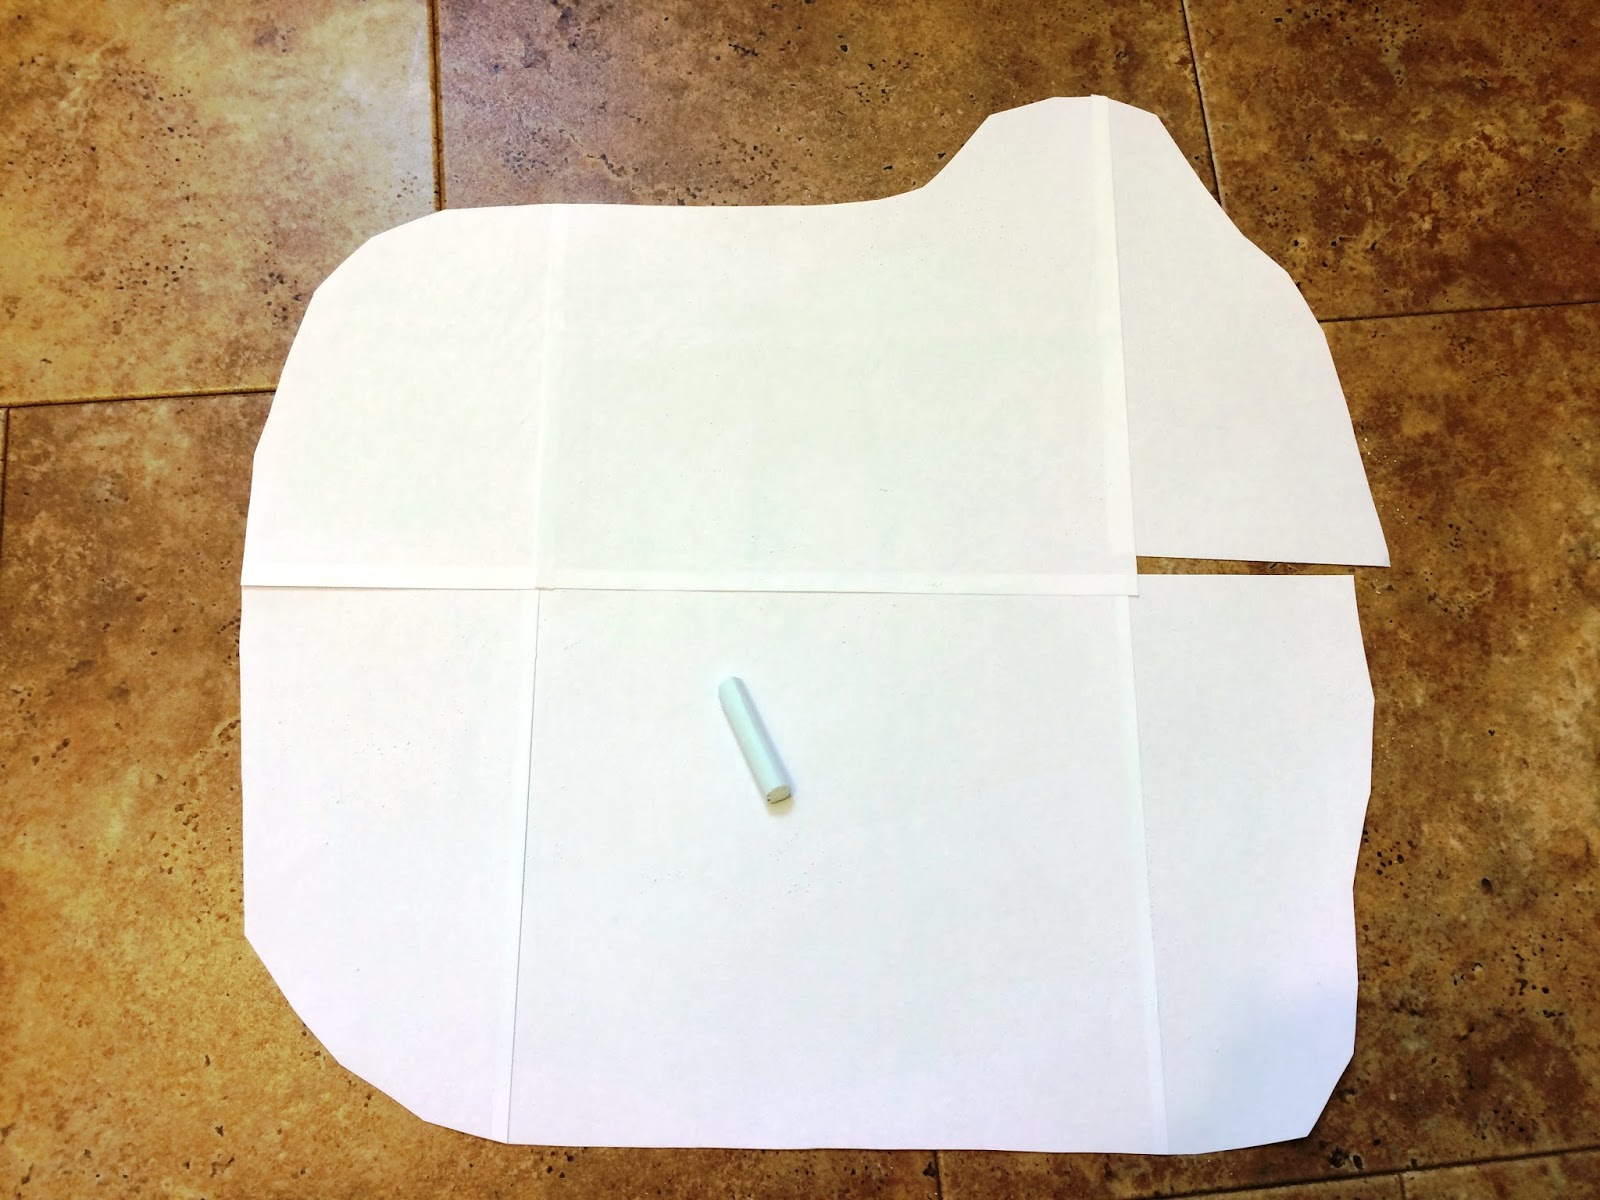
You'll need to print the PDF file and tile the pages if the design is larger than the paper size your printer can print. Arrange the tiled pages and put them together like a puzzle. There will be some cutting and taping involved and I suggest using scotch tape because you'll need to trace over the tape in a later step. Trim any excess paper from around the design and see if it will fit on your chalkboard.
Left: Taping and cutting the template; Right: It fits!

Step 3: Next you'll need to have the design facing down and colour with a stick of chalk on its side, all over the back of the printed design. This is my easy way of making "carbon paper". Coat it really good and if you can, use a dark coloured chalk so you can see what you're doing. Place the design chalk side down, carefully where you want it on the chalkboard, and secure with masking tape or painters tape. With a pencil (not too sharp), you'll need to start tracing the entire design. Hopefully when the tracing is complete, you'll be left with a copy in chalk on the chalkboard. I could just barely make out my design but was able to freehand some missing spots by having a smaller version of the design beside me.
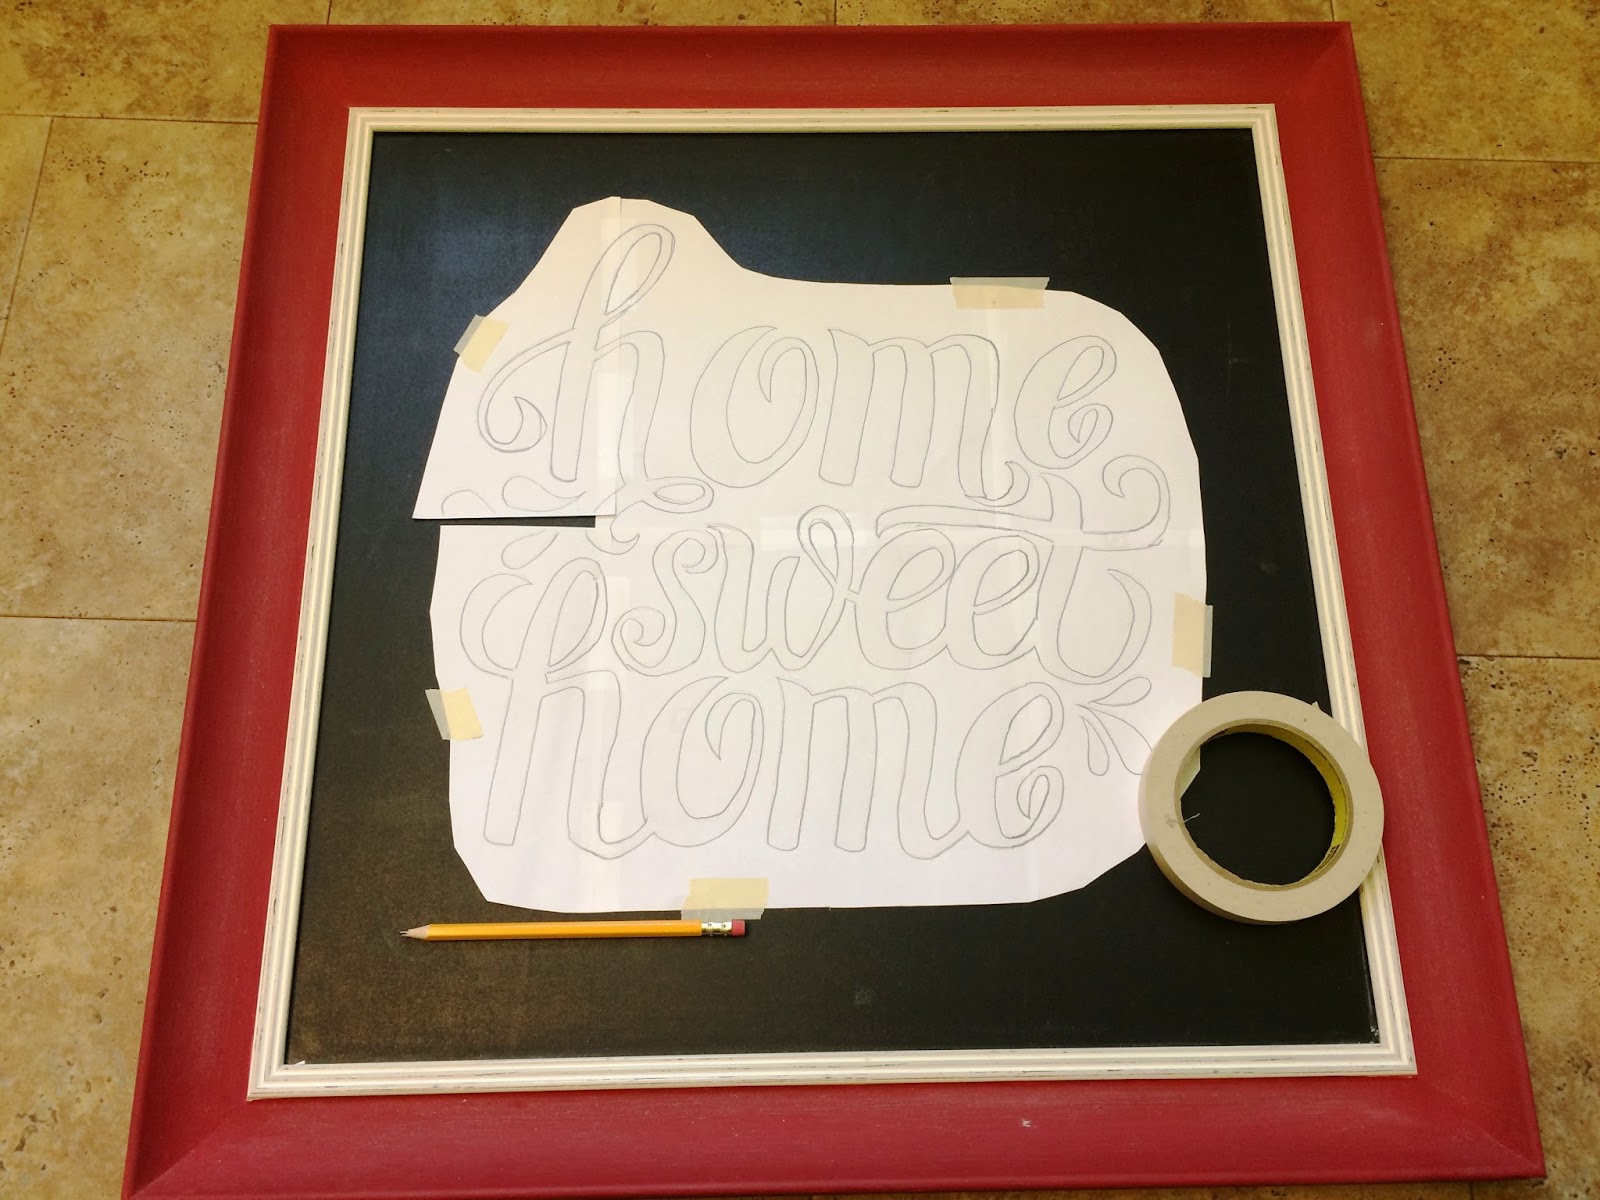
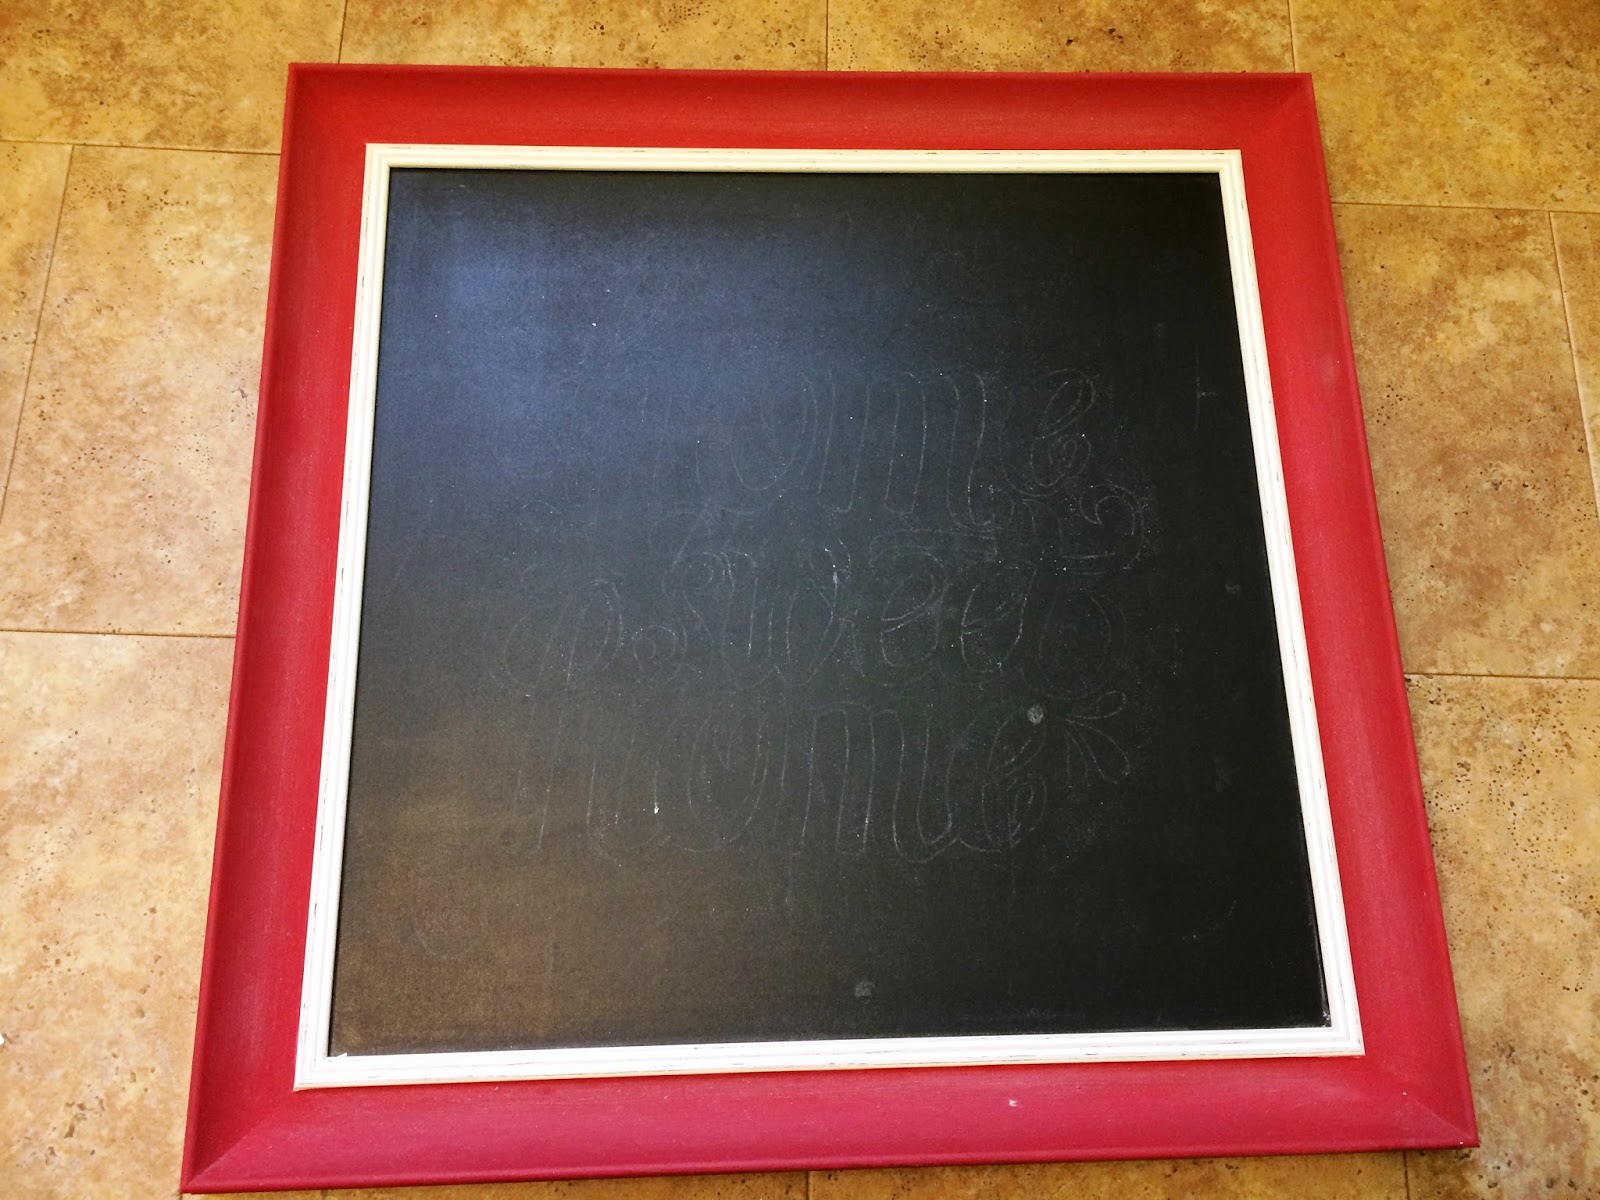

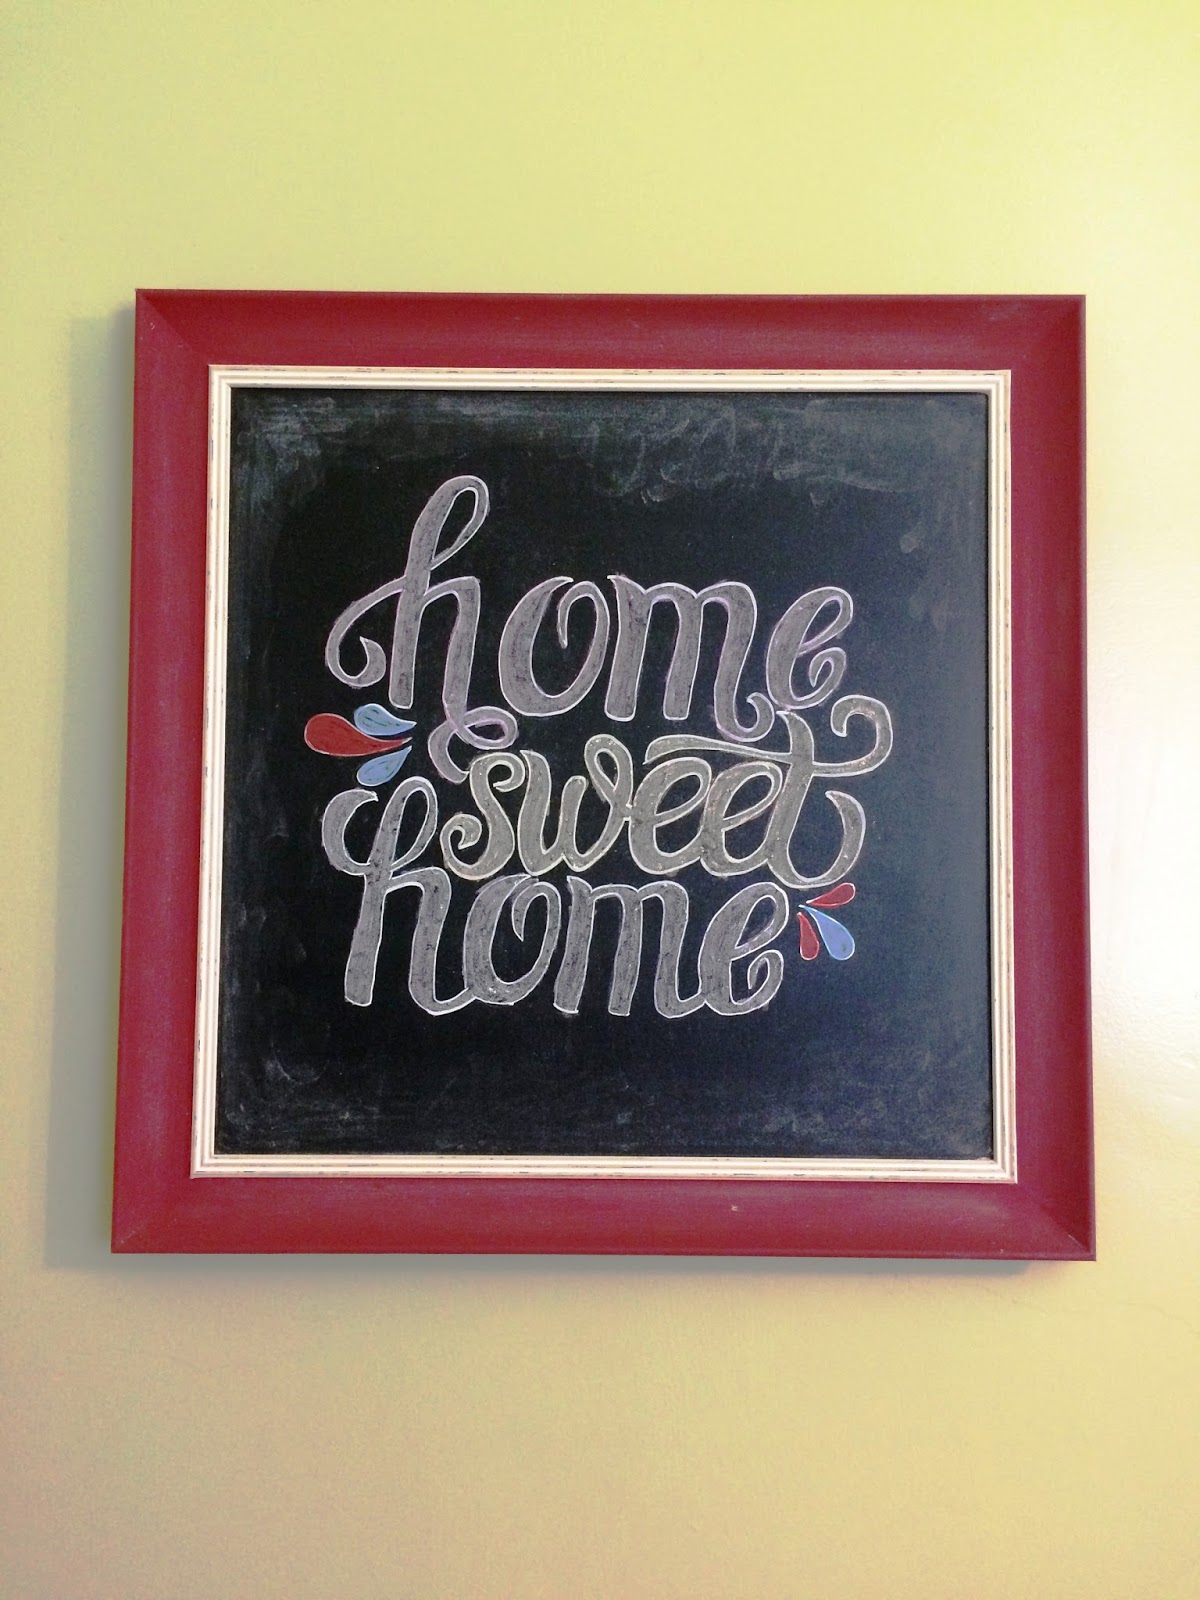
Step 4: Now for the fun part! I bought this (expensive enough) chalk marker at Michaels ($5.79) by Craft Smart and I have to say, I wasn't overly impressed with it. I would compare it to using paint - you need to keep fluid motions and not stop when drawing or it's hard to make end and beginning lines look similar. I'm right handed, and I had to work from left to right and top to bottom because chalk pens do smudge. It did the job fine but maybe a bit more practice and I can get it to look the way I want. I also decided to not fill my design in with this chalk marker because I didn't want to "waste" it. I opted to fill in the words with plain old chalk and used a blow dryer to remove the excess chalk. For colouring the shapes, I tried the very inexpensive chalk crayons I bought from a dollar store ($2.50), and they worked the best of everything and next time I'd like to fill letters with these. The colours came out vibrant and with nice textures. Using my fingers I smeared chalk from my "carbon copy" template around the outside of the chalkboard to finish the look. All the chalk pens and crayons claim to be washable from a chalkboard with a bit of soapy water, so we shall see about that.

I'm sure there are other techniques you can try to create chalkboard art. I had fun doing this anyway and can't wait to change my chalkboard in a few months.

Wednesday, January 18, 2017

I feel like I accomplished something.......some cleaning and general tips

So I was stuck in the house yesterday with the kids all day thanks to freezing rain and bus cancellations. I figured it would be pointless to attempt any sort of paperwork because, kids, (and actually my littlest did lay down and have a bit of a nap and I was able to get through a big chunk of paperwork!) But don't even get me started on how it's easy to feel guilty when nothing gets accomplished in the house. I have days like those and I decided today would not be one of those days.


They were both getting along pretty good for most of the morning so I decided to tackle some of the cleaning jobs that don't get done on a regular basis. Here's some quick cleaning tips that are chemical-free, all natural, and use ingredients you have around the house. My hope is it will help you to remember to clean these things before they get forgotten because they are definitely not a big priority on the daily list of chores.
My main cleaning ingredient is fresh lemon, and you may want to use dish gloves to protect your skin. It stings! (Thanks winter dry skin)

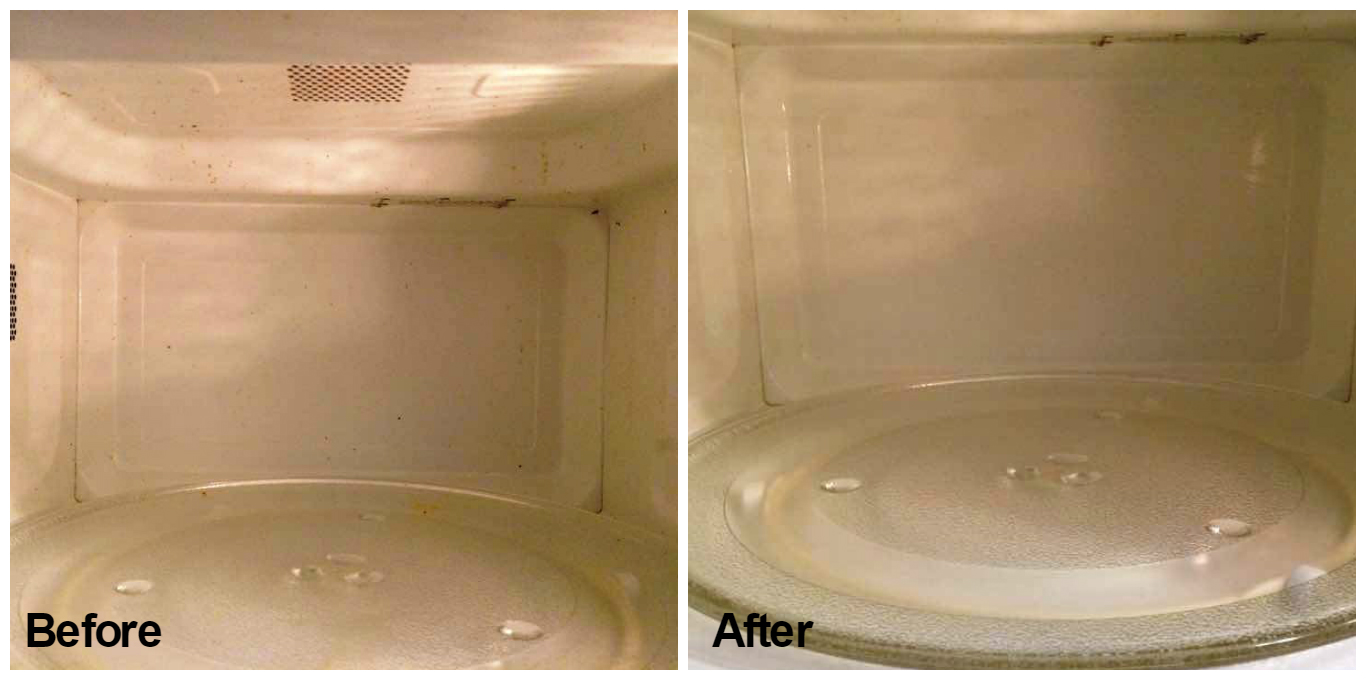
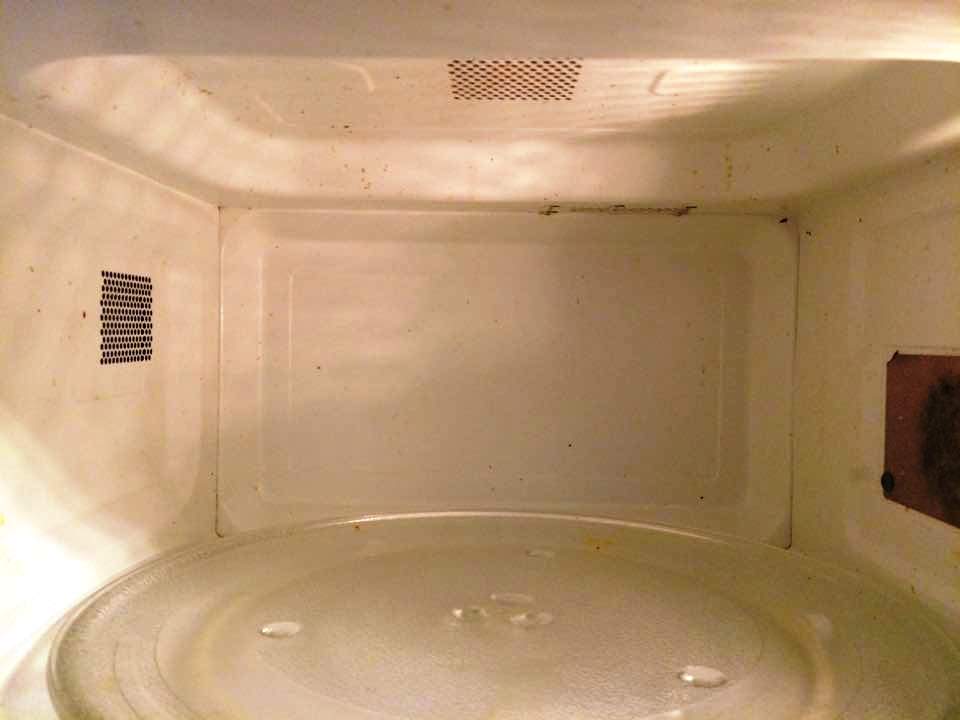
First I started with the microwave. Not too dirty at this point, but doesn't hurt to give it a clean to keep it from smelling bad.

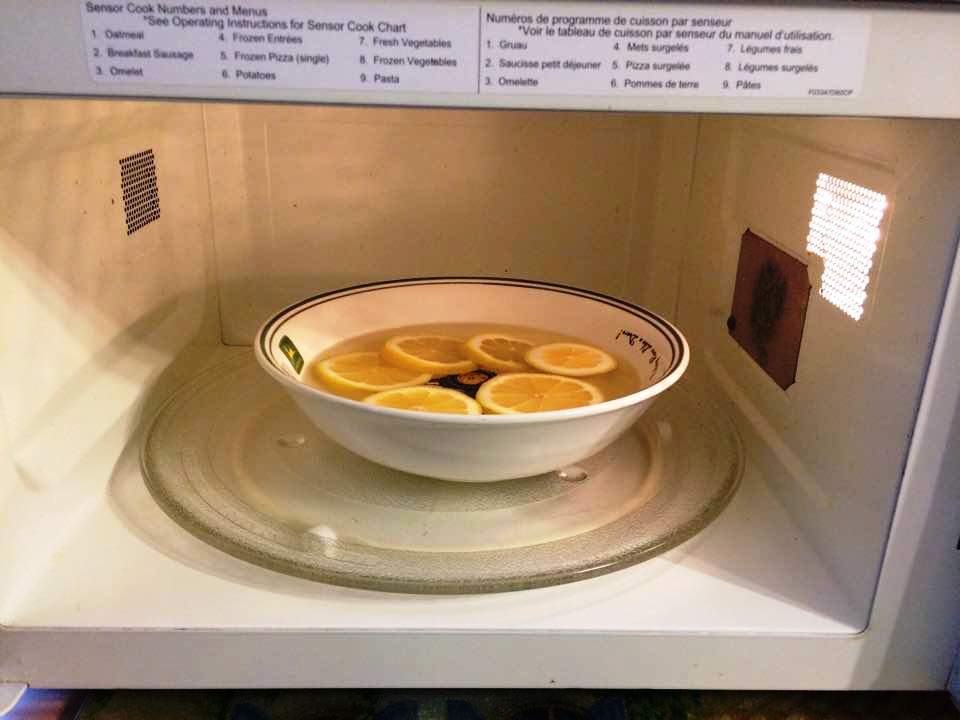
Slice up a lemon and throw it into a shallow dish with 1-2" of water. Microwave for about 3 minutes and let it sit for about 10 minutes. The steam will break up any cooked on food. After 10 minutes, wipe everything down with a warm washcloth and leave door open to air dry. I did use a scrub sponge on the tough spots.

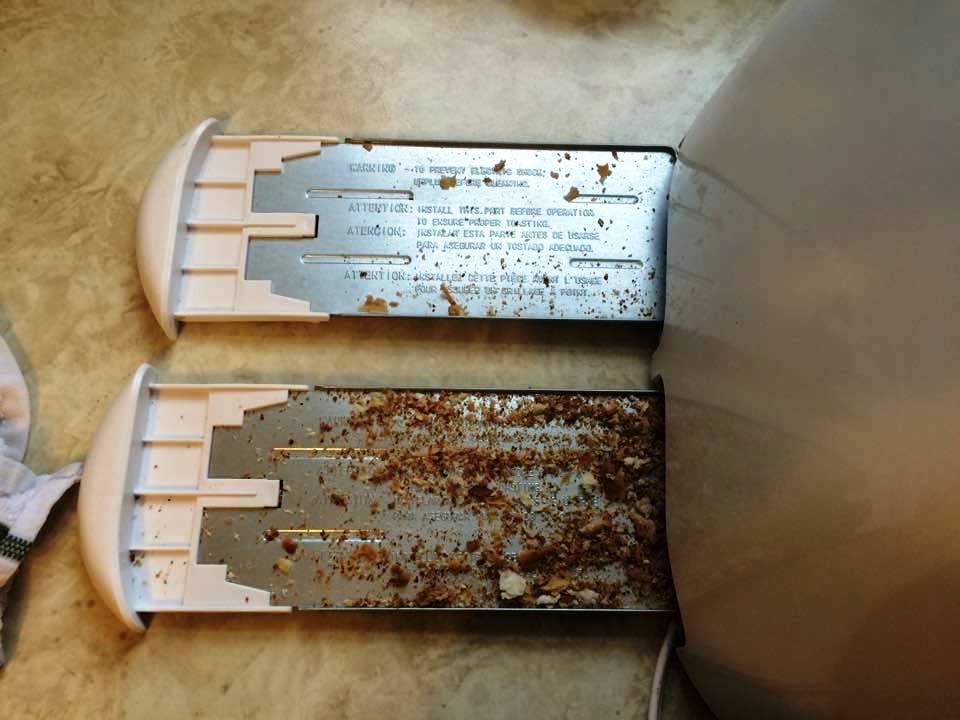
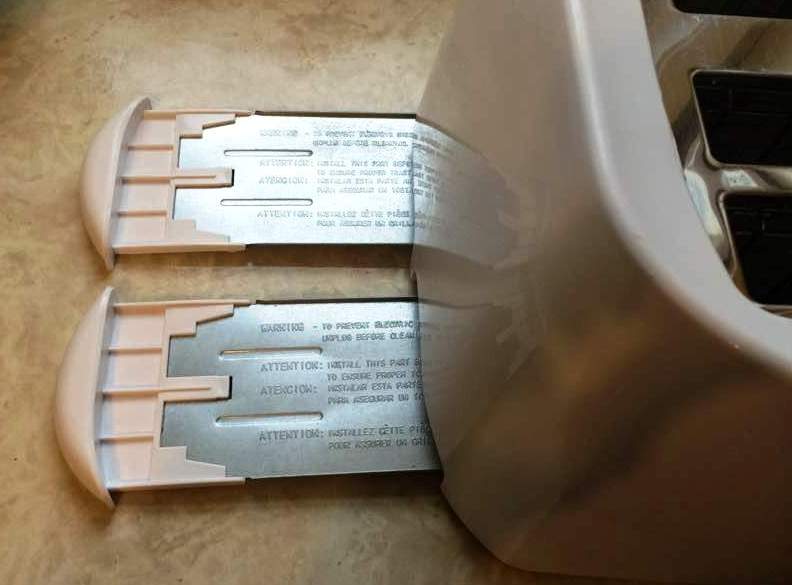
While I was waiting for the 10 minute mark, I did a complete clean out of the toaster. Our poor old girl has been neglected the last while (she's melted on the top and in a bit of rough shape, but we love her!) It's so easy to forget the crumb trays underneath. This is a potential fire hazard if it gets built up too much.

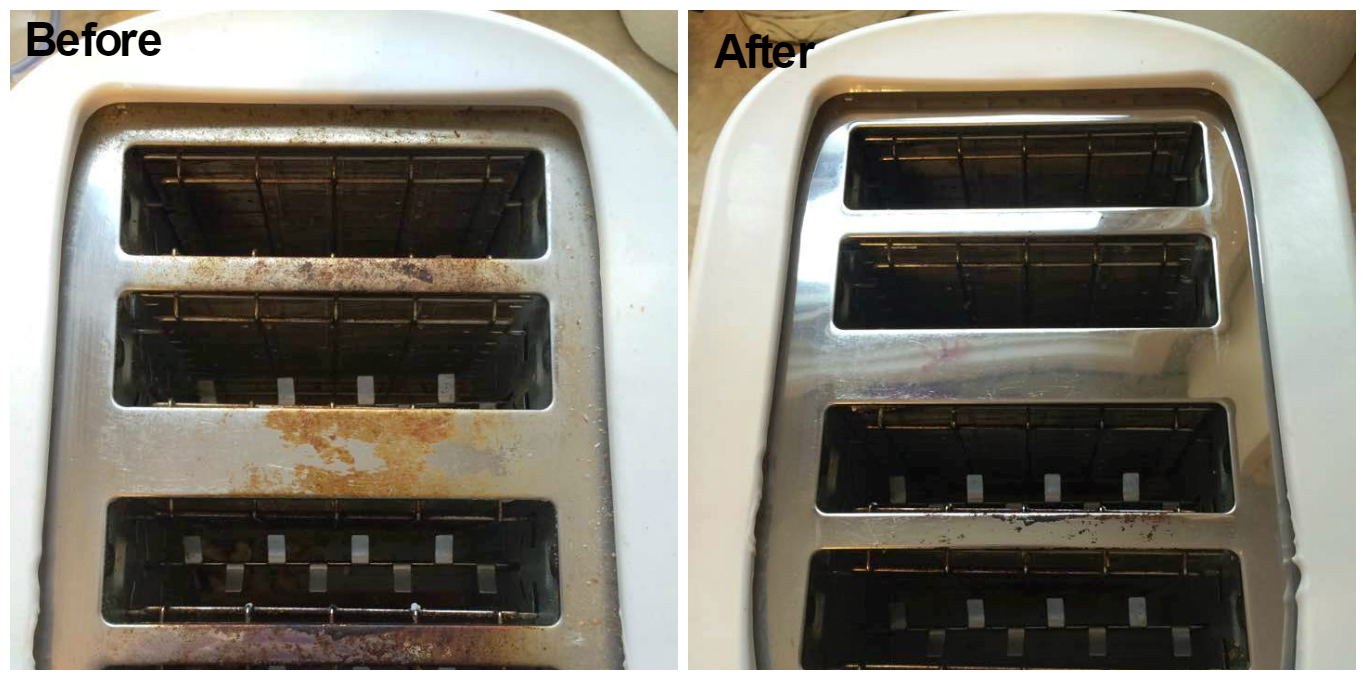
And I thought I'd give a shot at the burnt areas on the top of the toaster. I actually grabbed a slice of lemon from the microwave and squeezed a bit onto a paper towel, dabbed that in some baking soda and rubbed it all over the burnt areas until completely covered. I let it sit for awhile and then using my scrub sponge was able to get it mostly all off. I did the same with the outside plastic areas. Make sure you let it sit to dry completely before using it and give it a good shake to get any additional particles out. And don't forget to unplug it before even attempting to clean!!


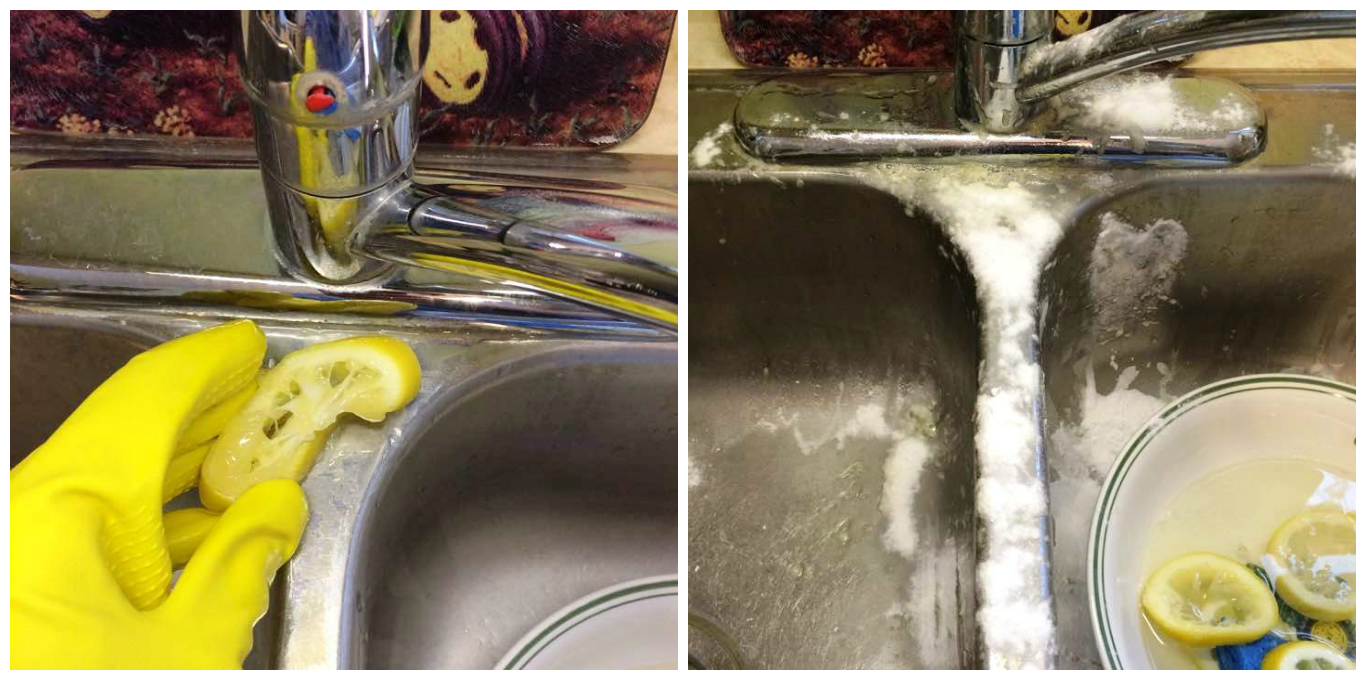
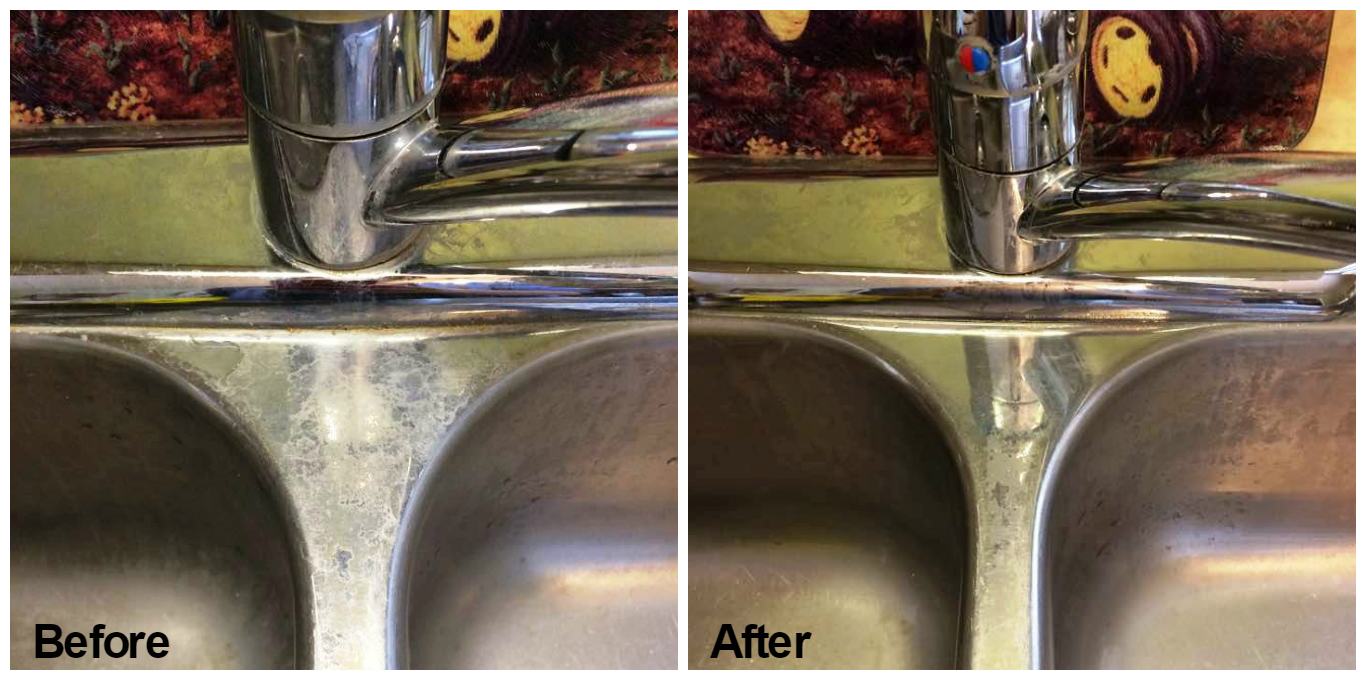
Save those lemons! I used them to clean hard water stains off the kitchen sink tap. Rub the lemon all over the hard water stains and sprinkle baking soda over it all. Using a paper towel, gently rub mixture all over and let sit for 5 minutes. Using a scrub brush or sponge, scrub the areas until polished and wipe with a warm cloth.
It didn't get it completely clean but definitely looks a lot better.

While all this was going on I was also doing some laundry. Don't forget to check and empty the lint trap on a regular basis. I emptied mine today. It's a potential fire hazard if the lint trap is left full and the dryer will run more efficiently if you clean it regularly.

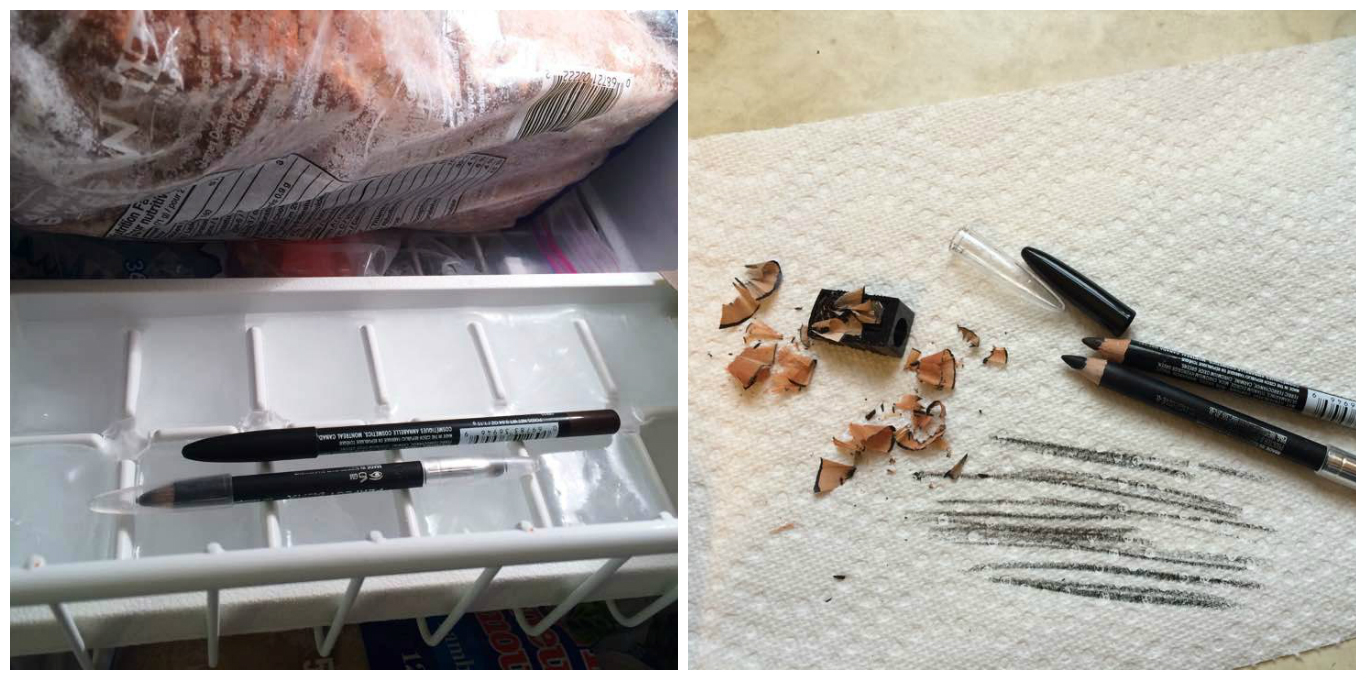
Finally, some of my eyeliner pencils needed sharpening. Because the lead is so soft, It's easier to sharpen them after they have been frozen for a few hours. After sharpening, draw on an angle across a paper towel and the tip sharpens just that much more, and you're all set.

So that's what I got accomplished yesterday. And that's what one of my quiet days looks like! I hope you can find some of these tips useful.

Friday, April 22, 2016

Mod Podge Photo Transfer - Sign

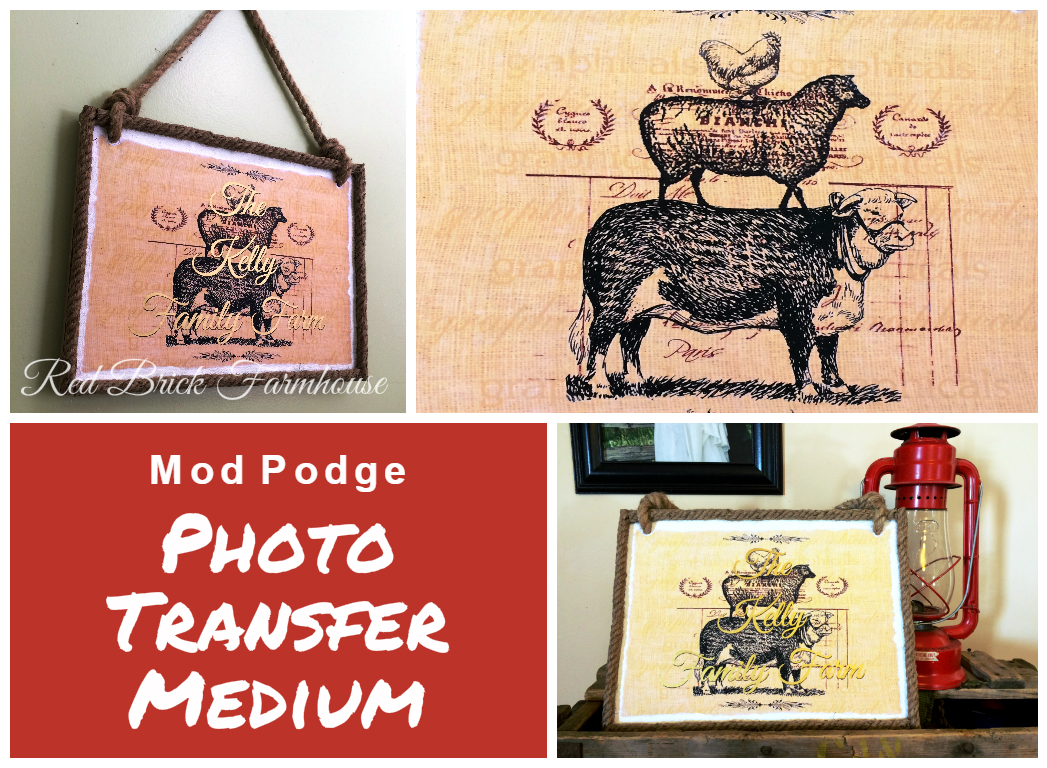
So I recently discovered the amazing Mod Podge, and in particular, Mod Podge Photo Transfer Medium. It's a glue type substance that transfers images to almost any smooth surface.


Mod Podge Photo Transfer:

What you need:

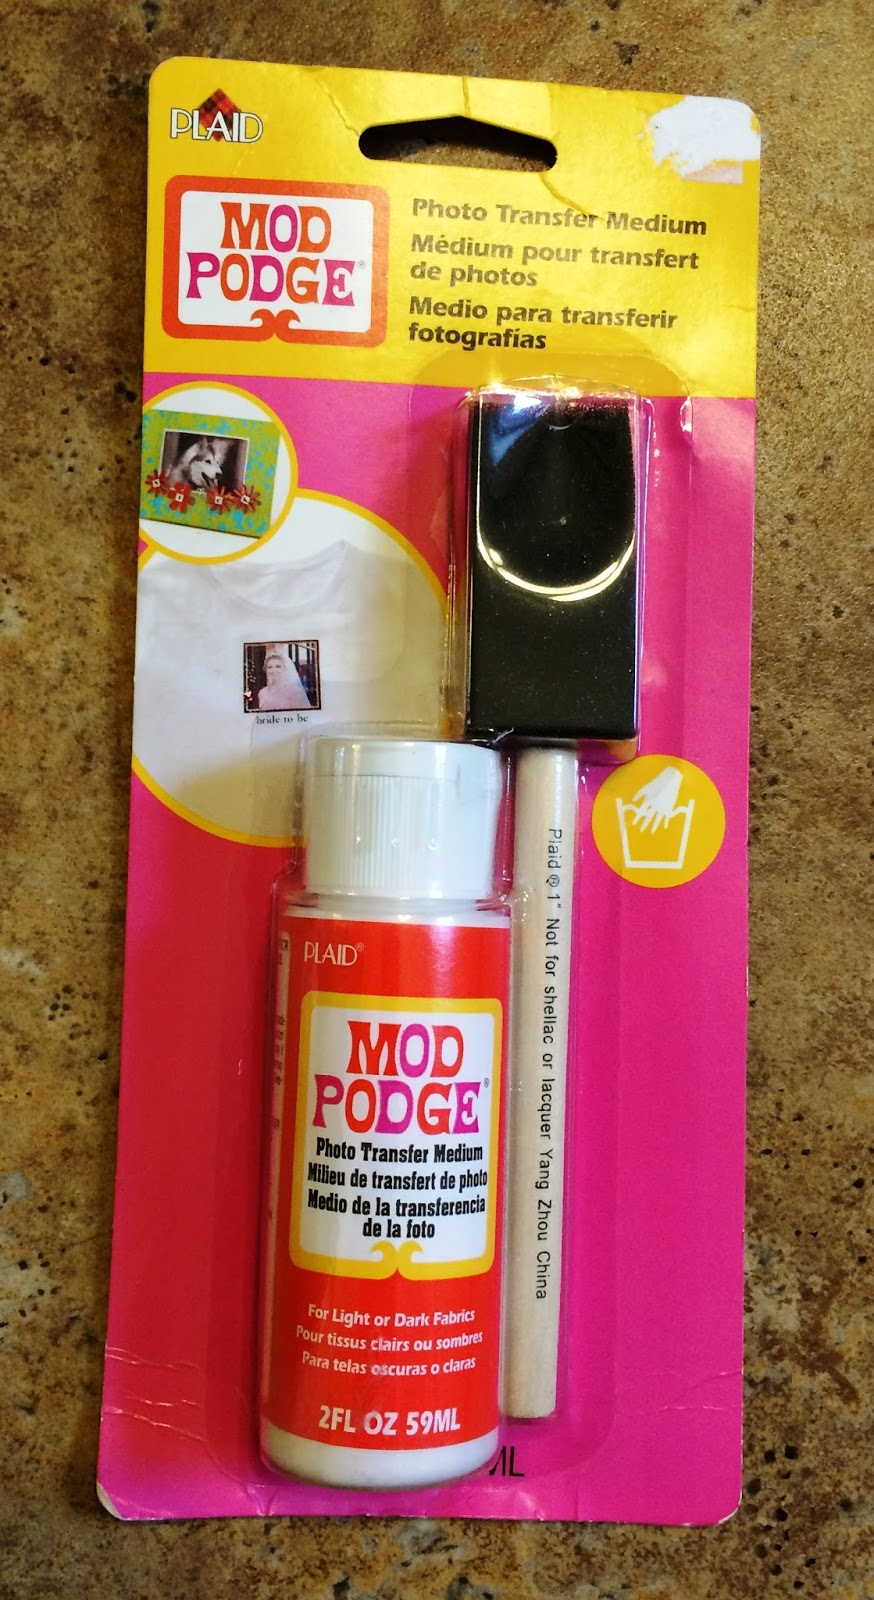
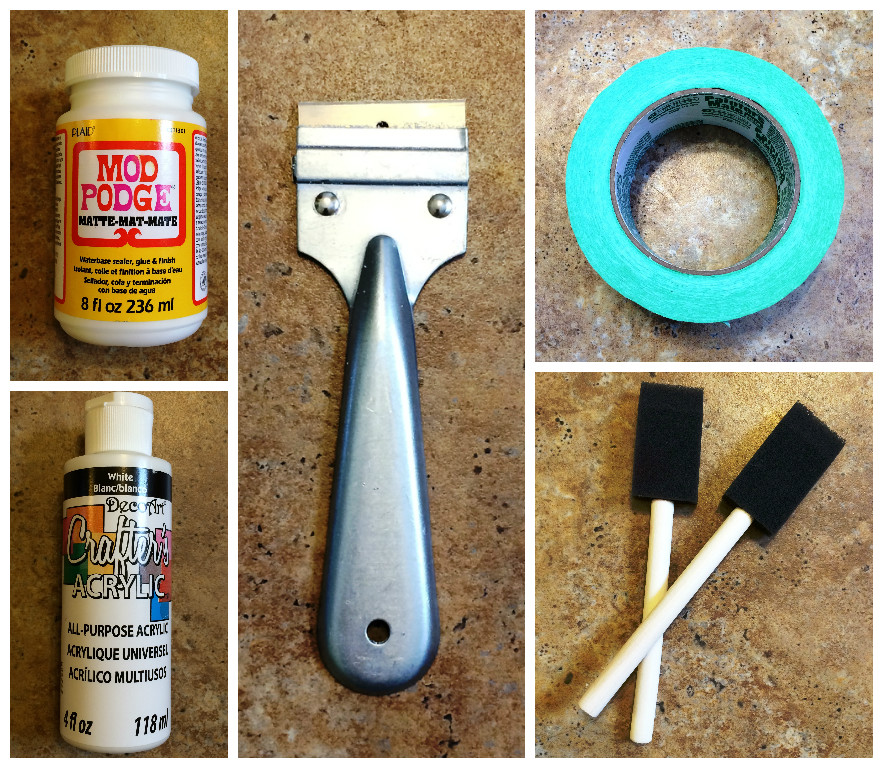
1. Mod Podge Photo Transfer Medium. You can find this at almost any craft store.

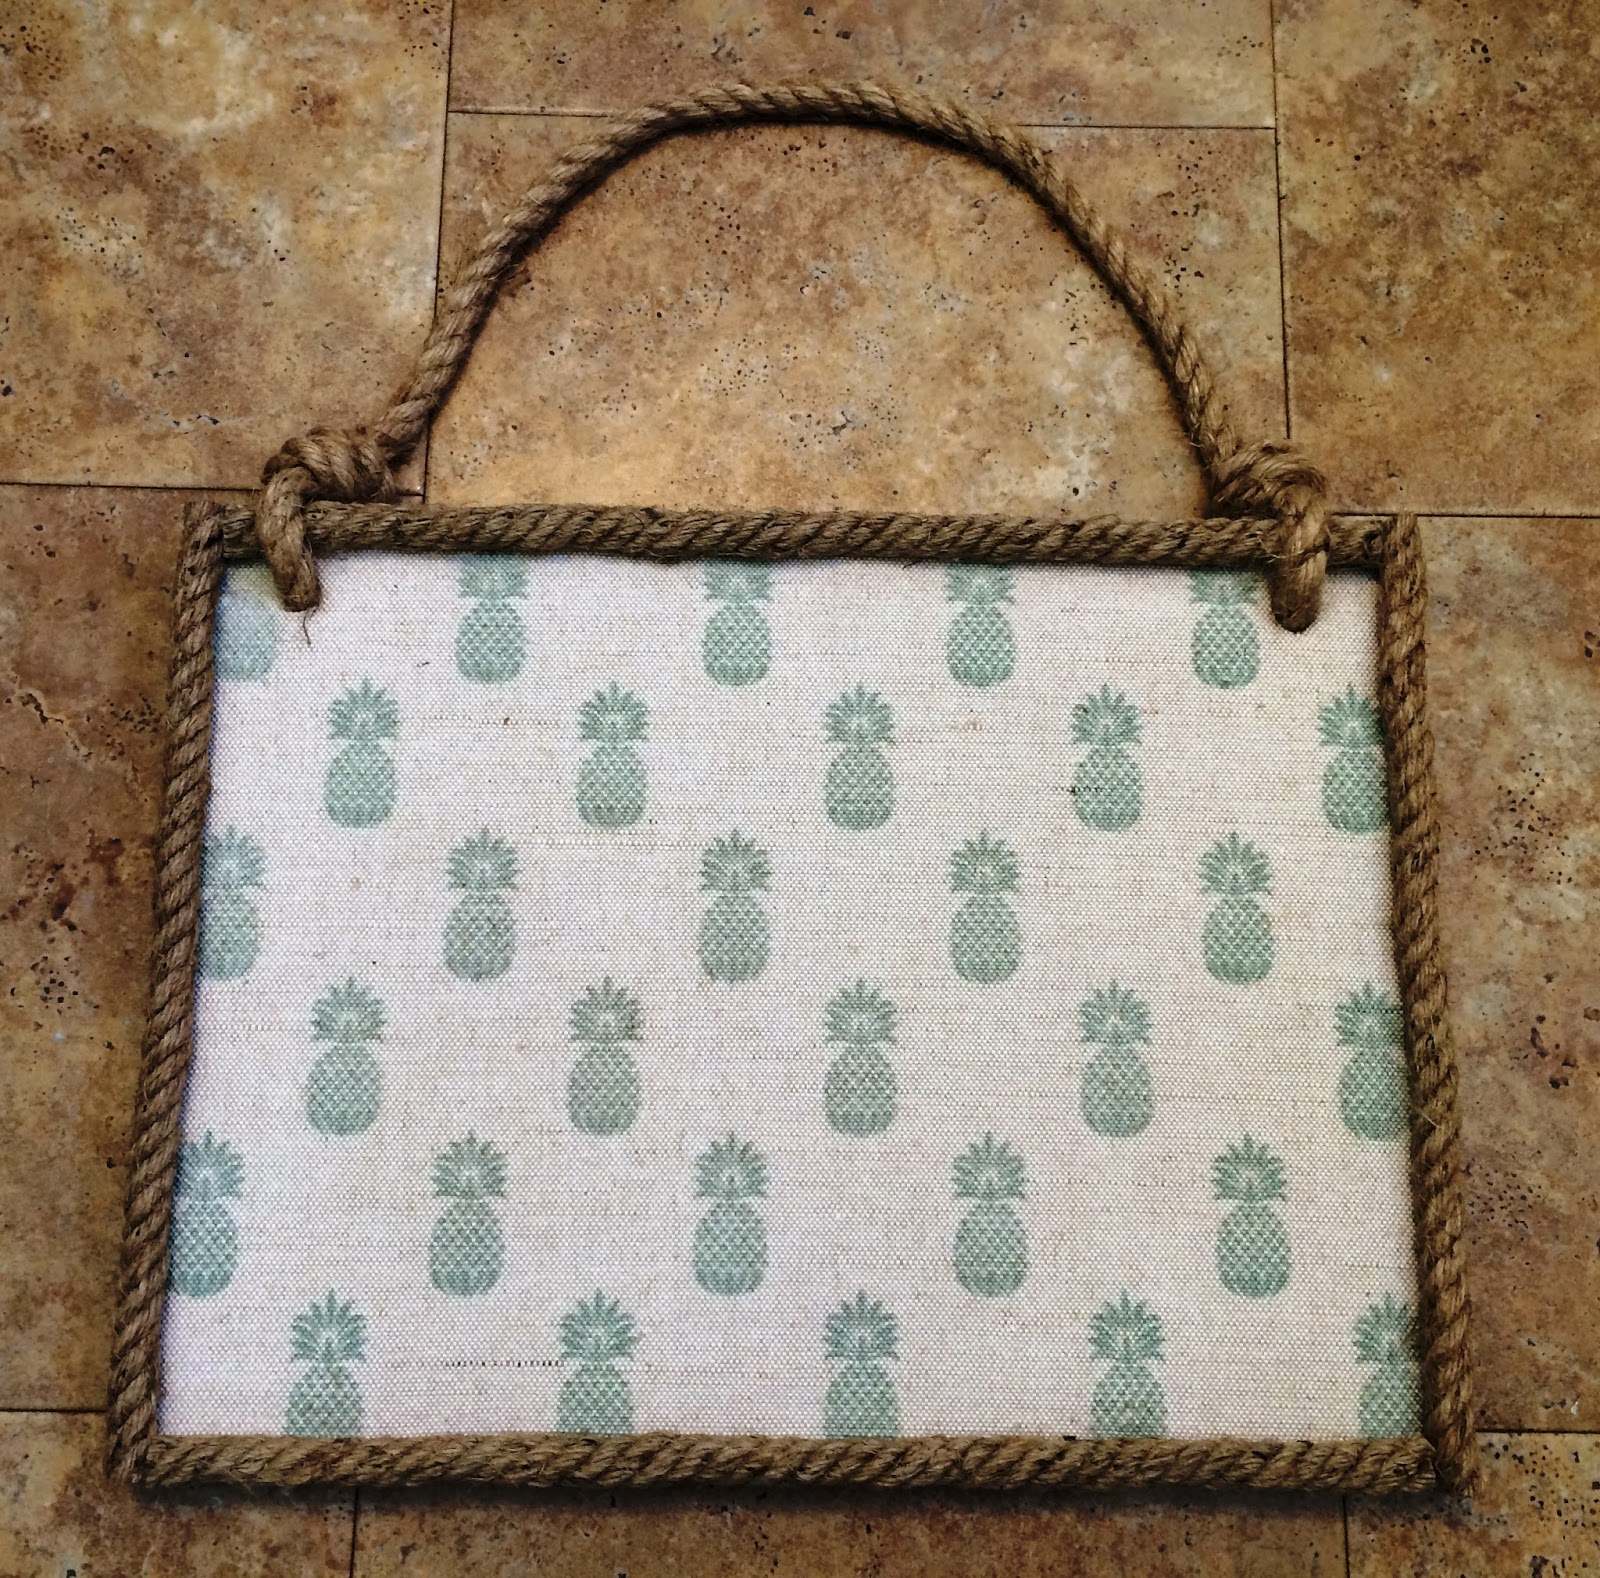
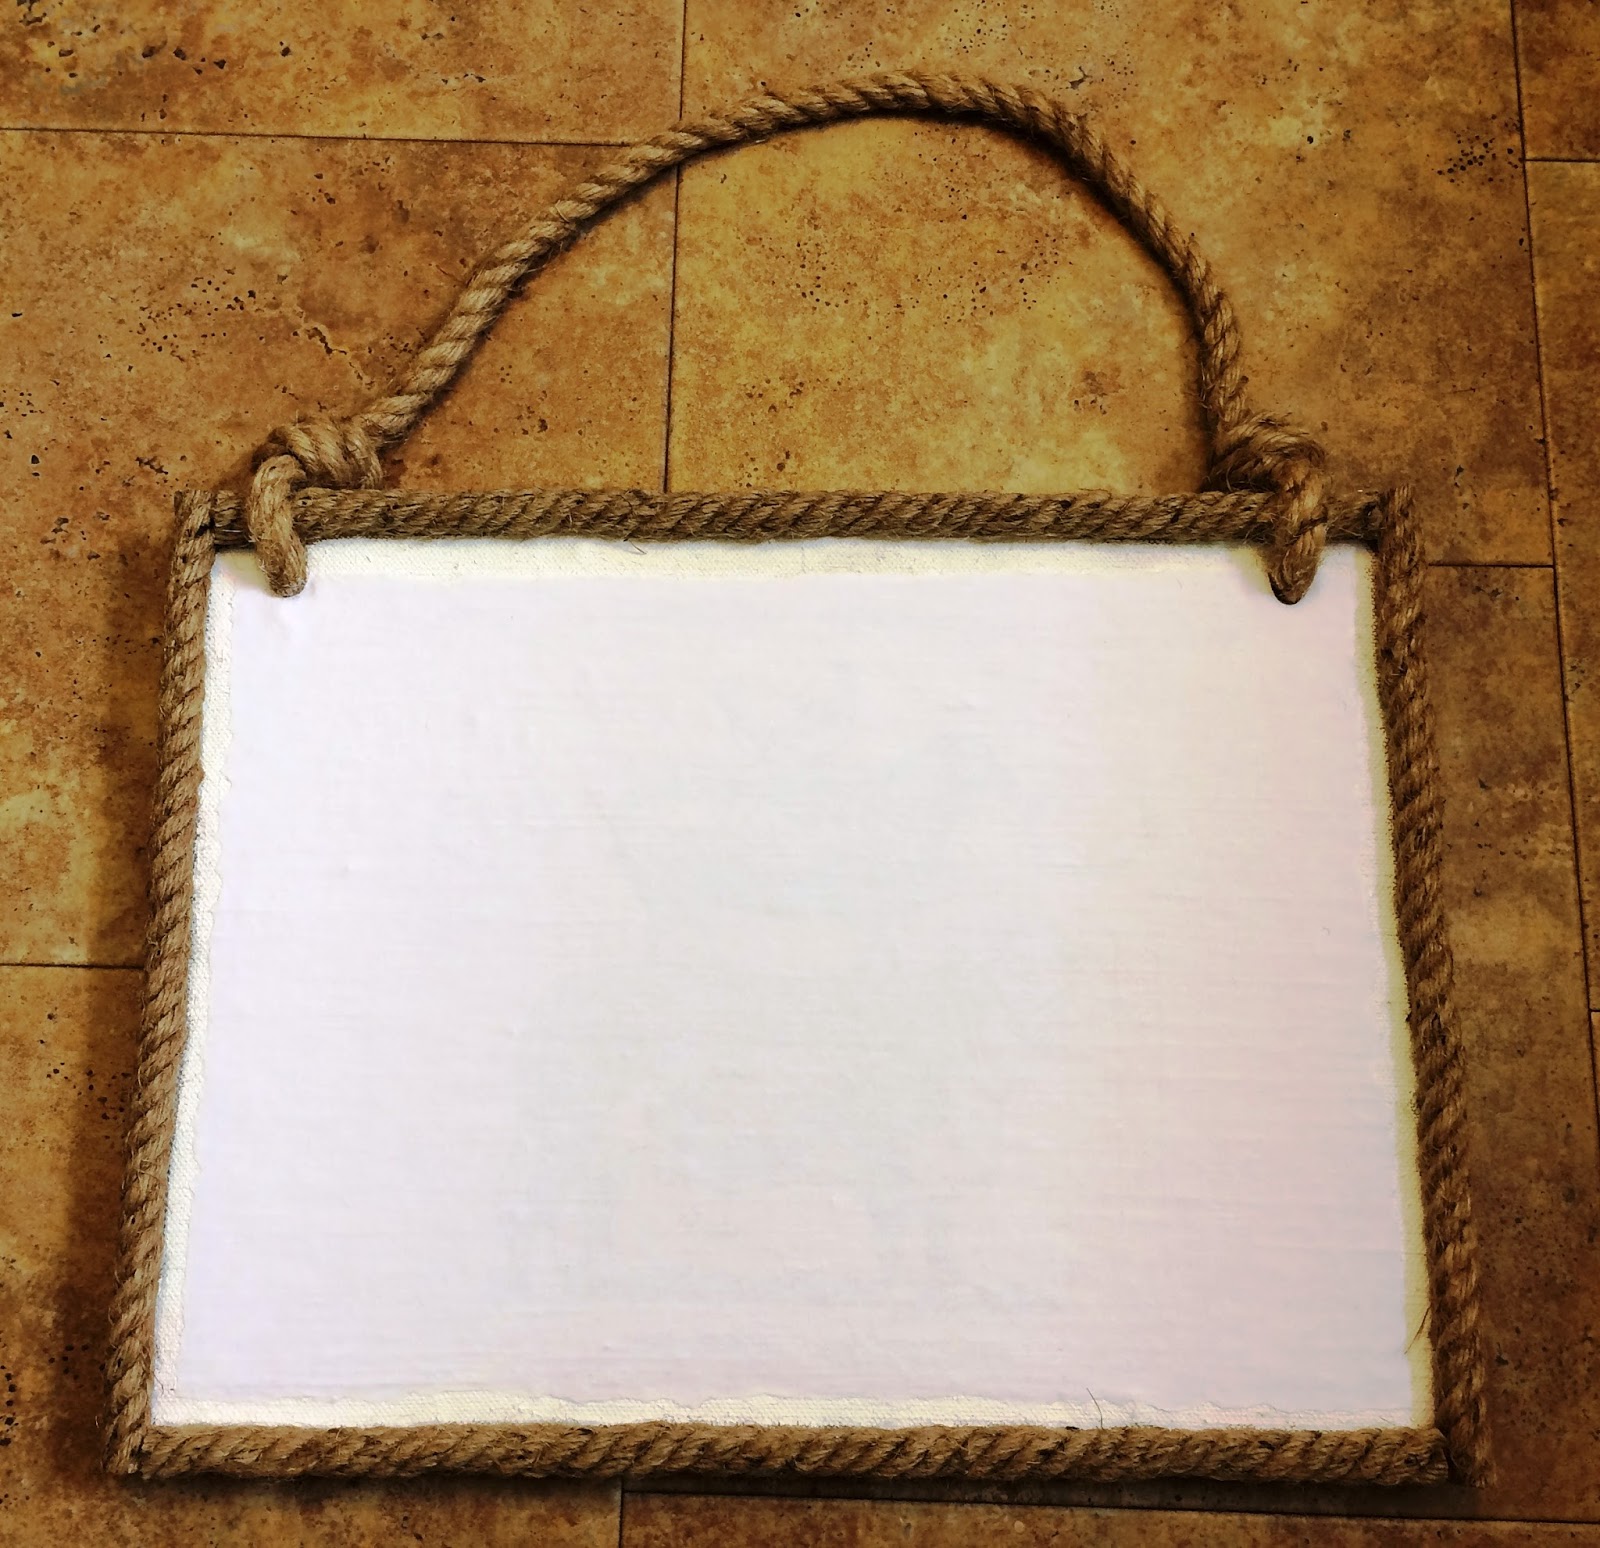
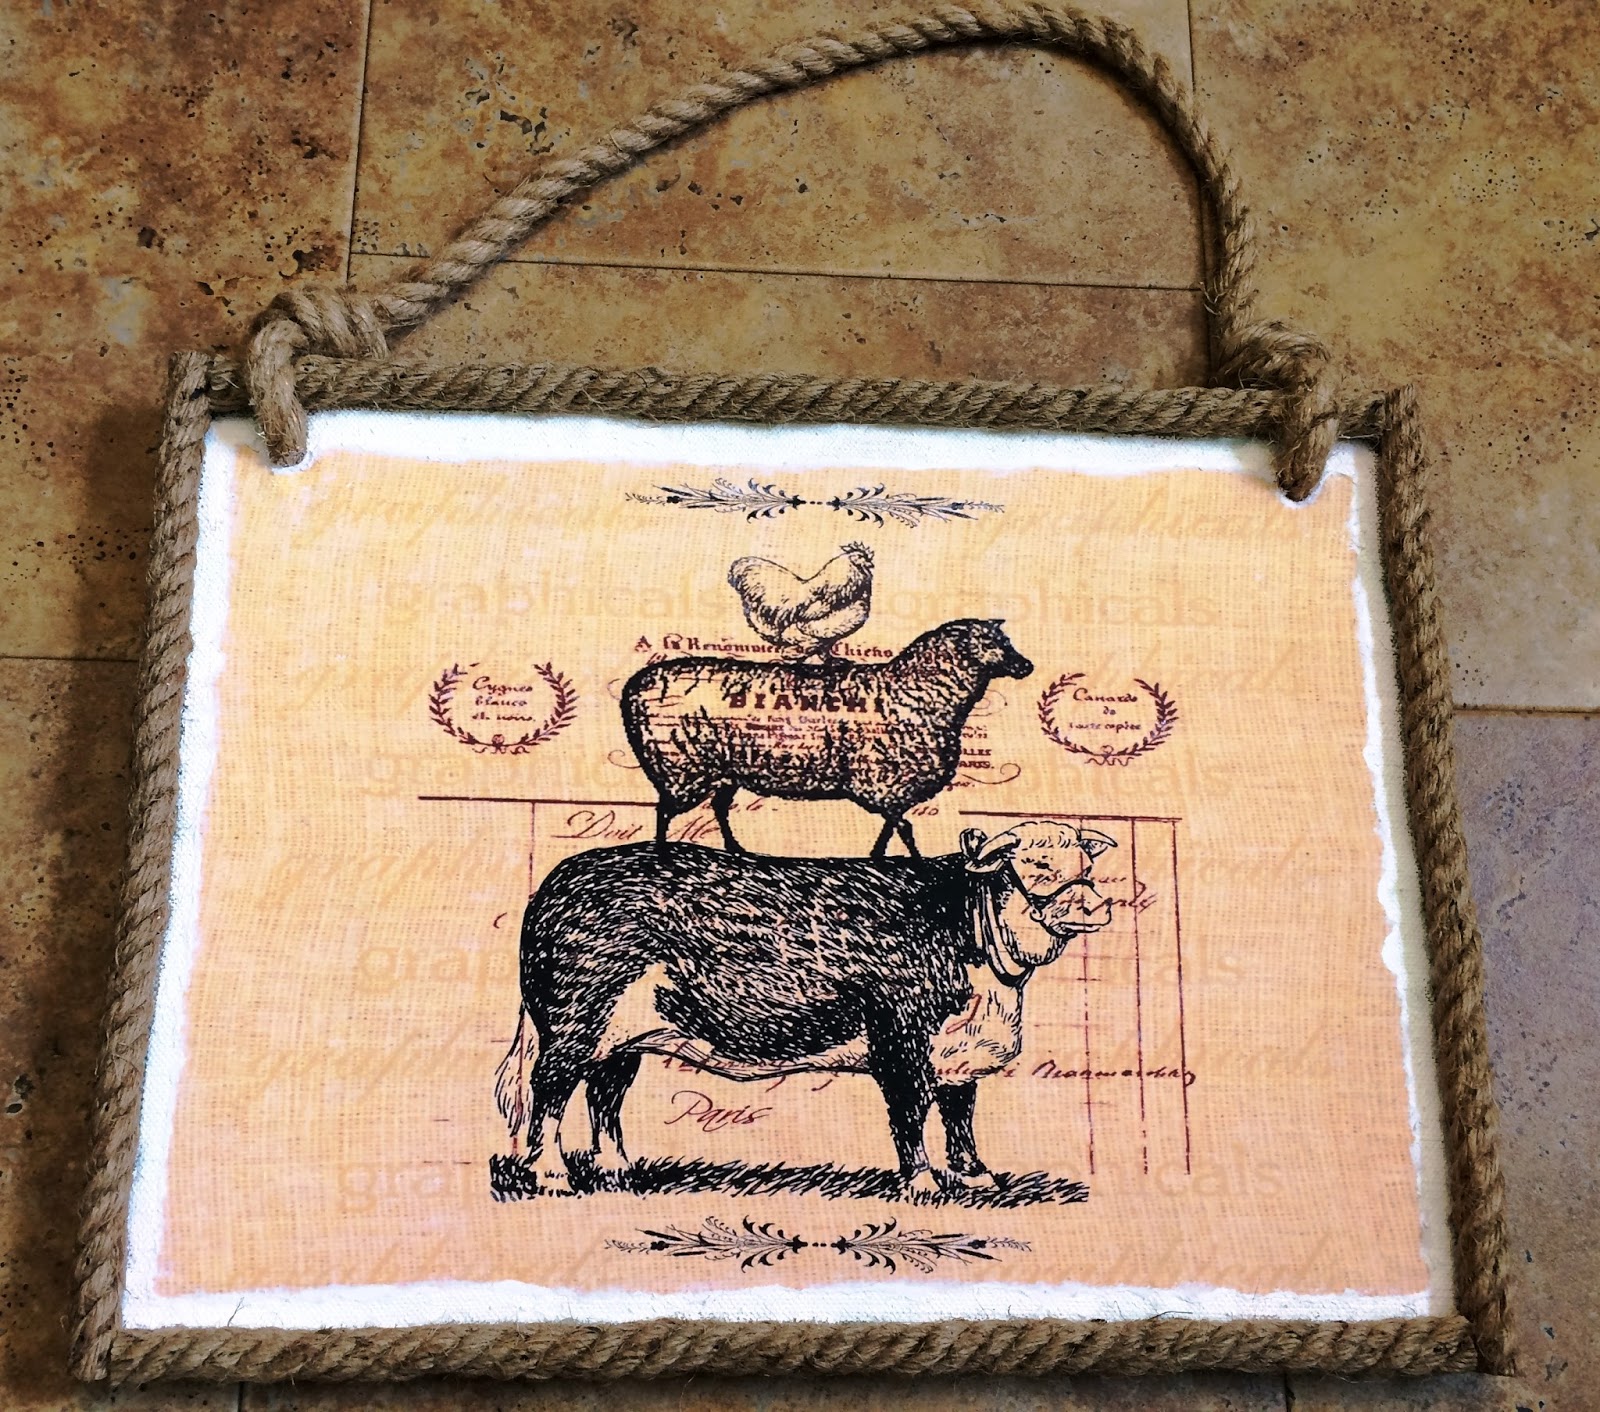
2. Something you want to transfer onto. Almost any surface will work - wood, glass, metal, clothing material, etc. I found this peg board note organizer at Homesense. It has a burlap backing on it and it was exactly what I was looking for.

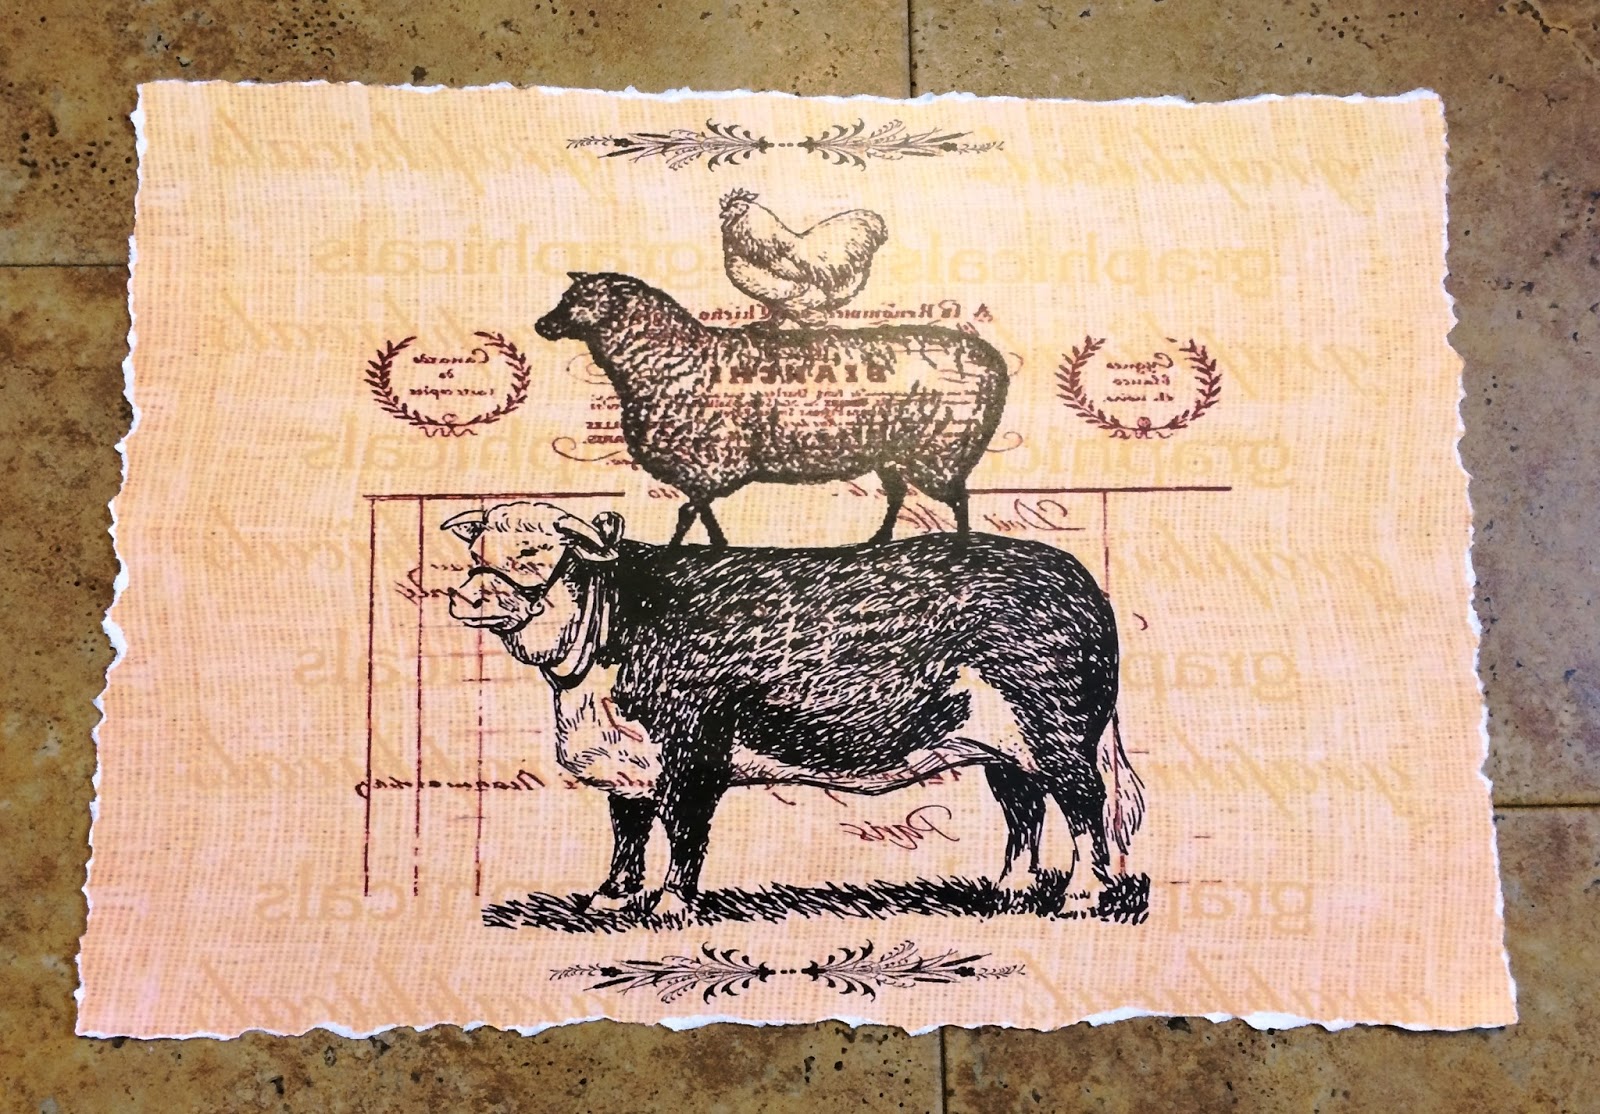
3. An image cropped and scaled to the size you need. If there are any words or letters on the picture, you will need to make a mirror image before printing. You will also need to have it printed with a dry toner printer (laser printer), NOT ink jet. For a rustic look, I teared the edges of the image.

4. (optional items):
Mod Podge Sealer; acrylic paint; razor blade; painters tape; extra brushes.

The Steps:

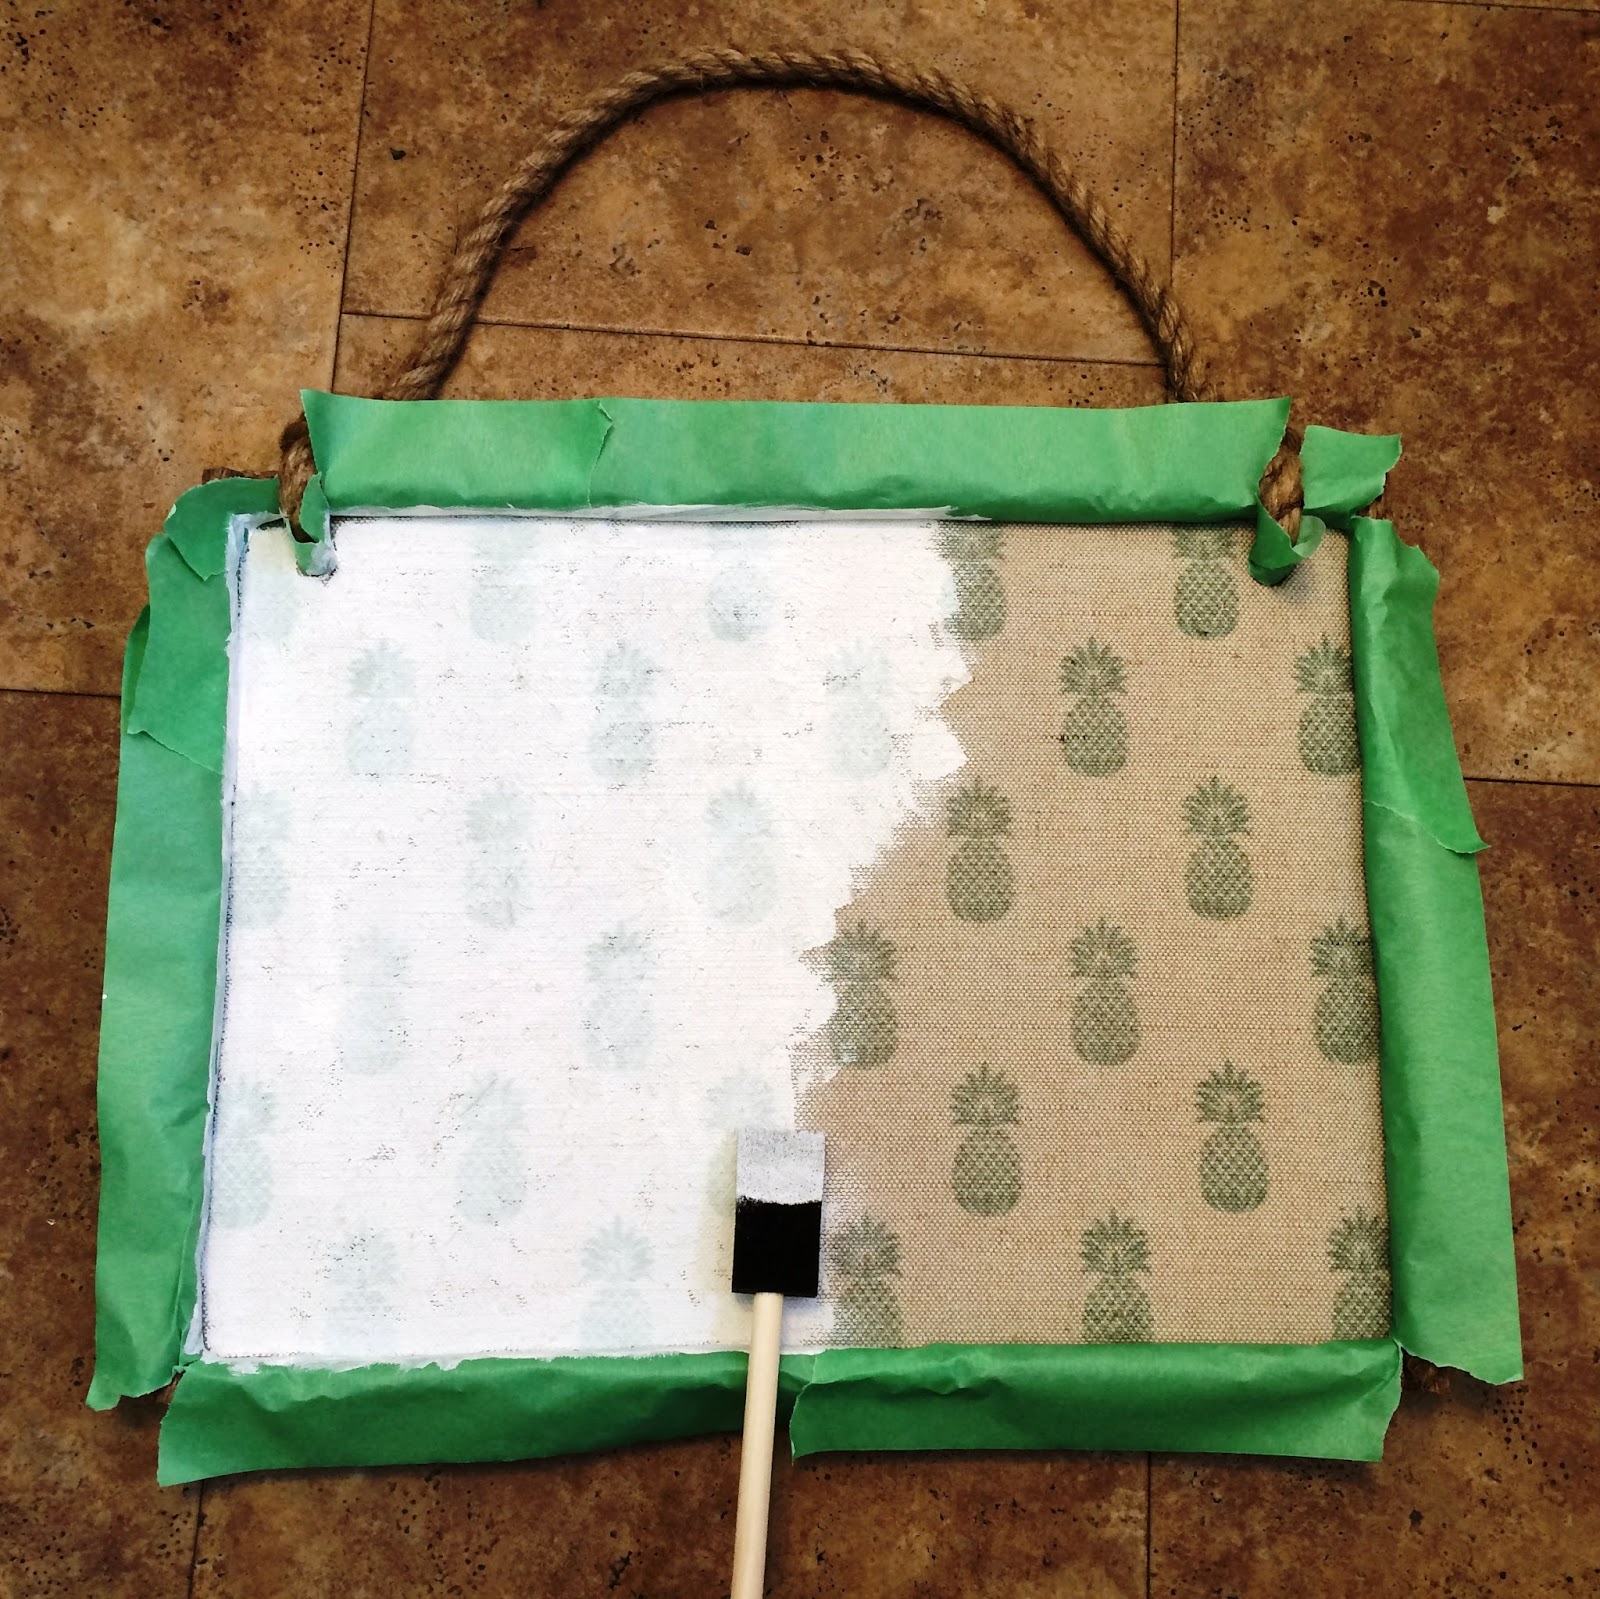
1. (optional): paint the item you will be transferring onto with acrylic paint in the colour you choose. I did two coats.

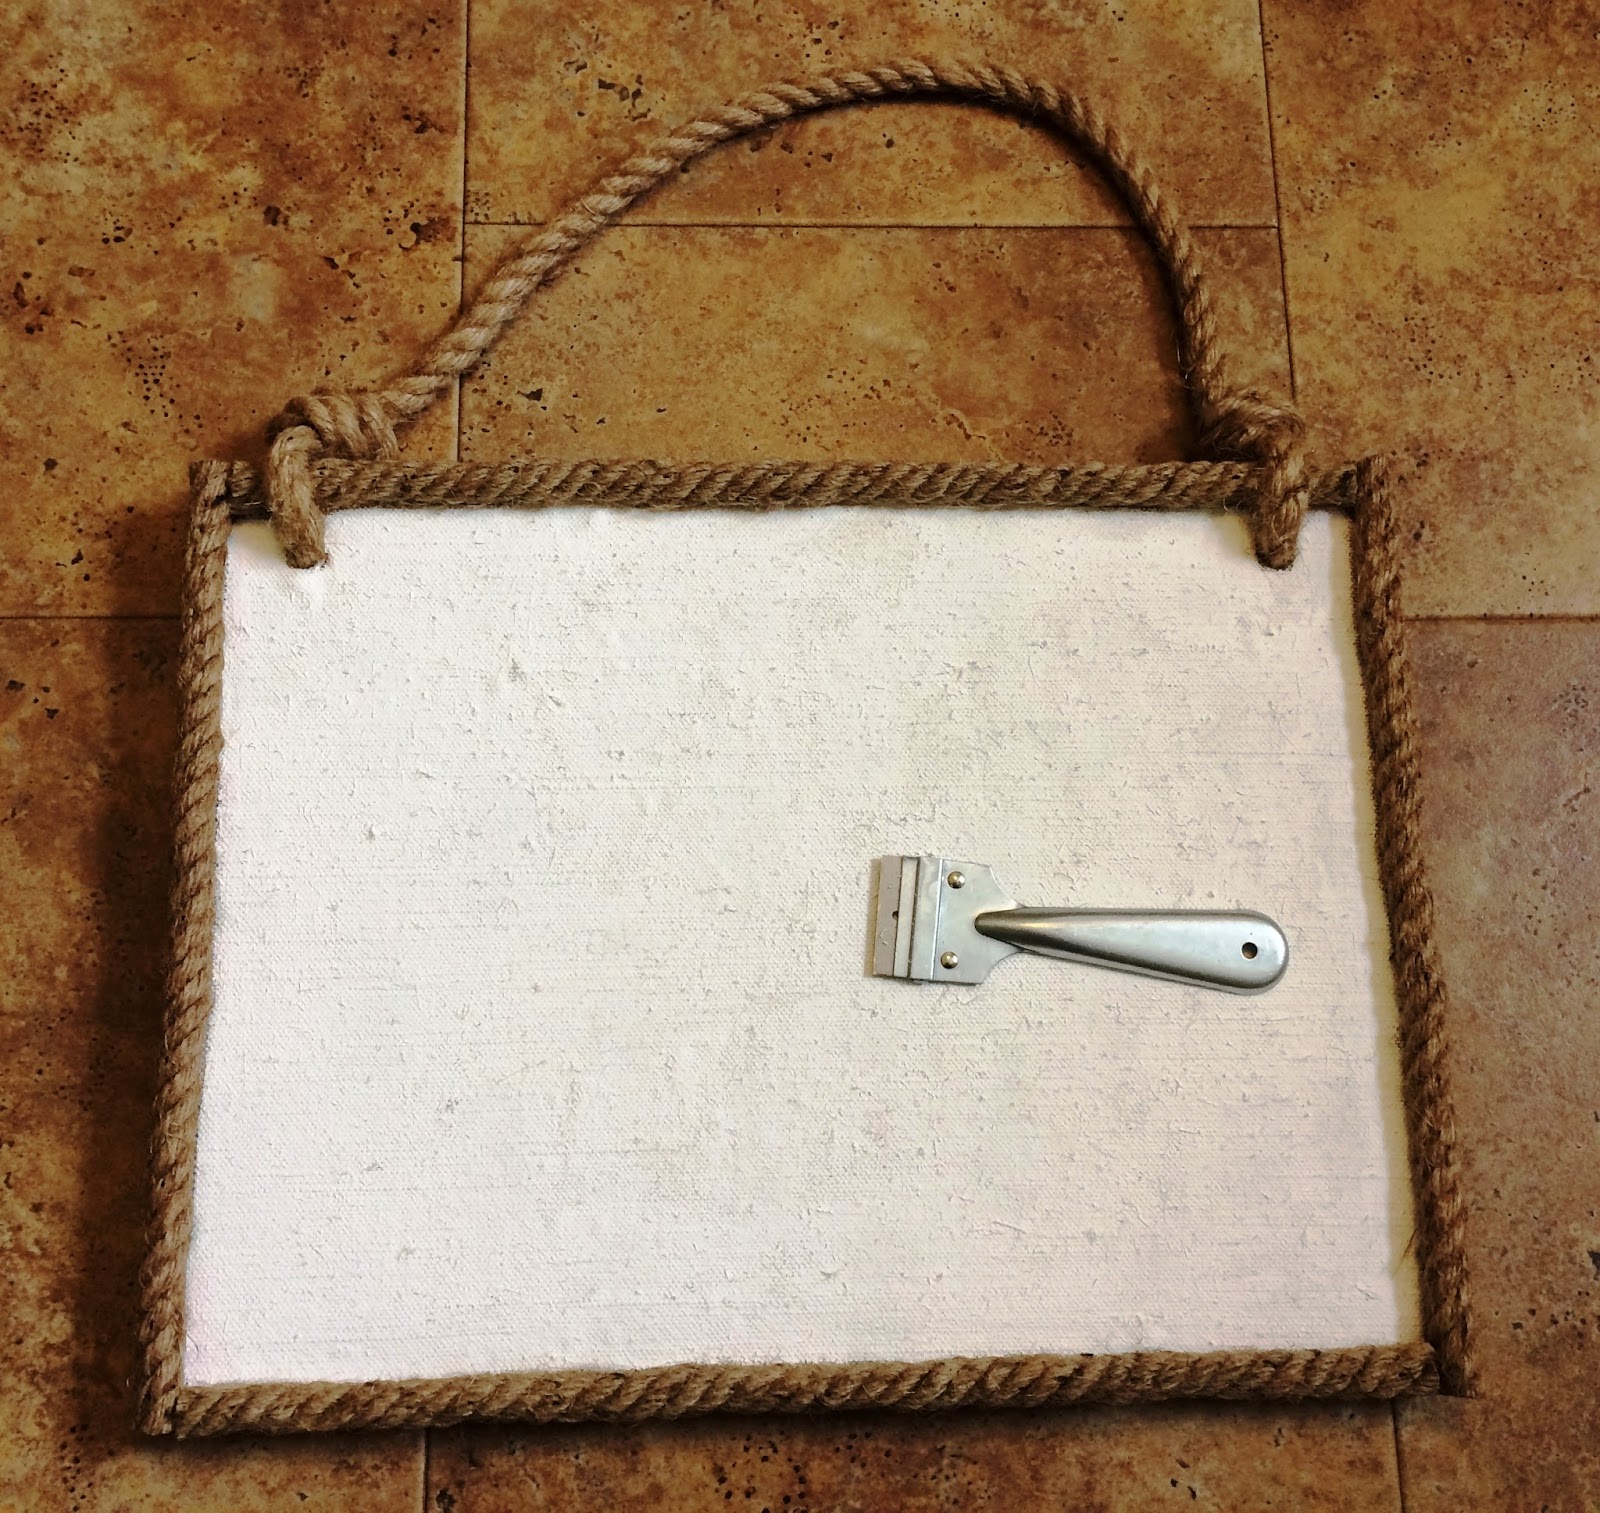
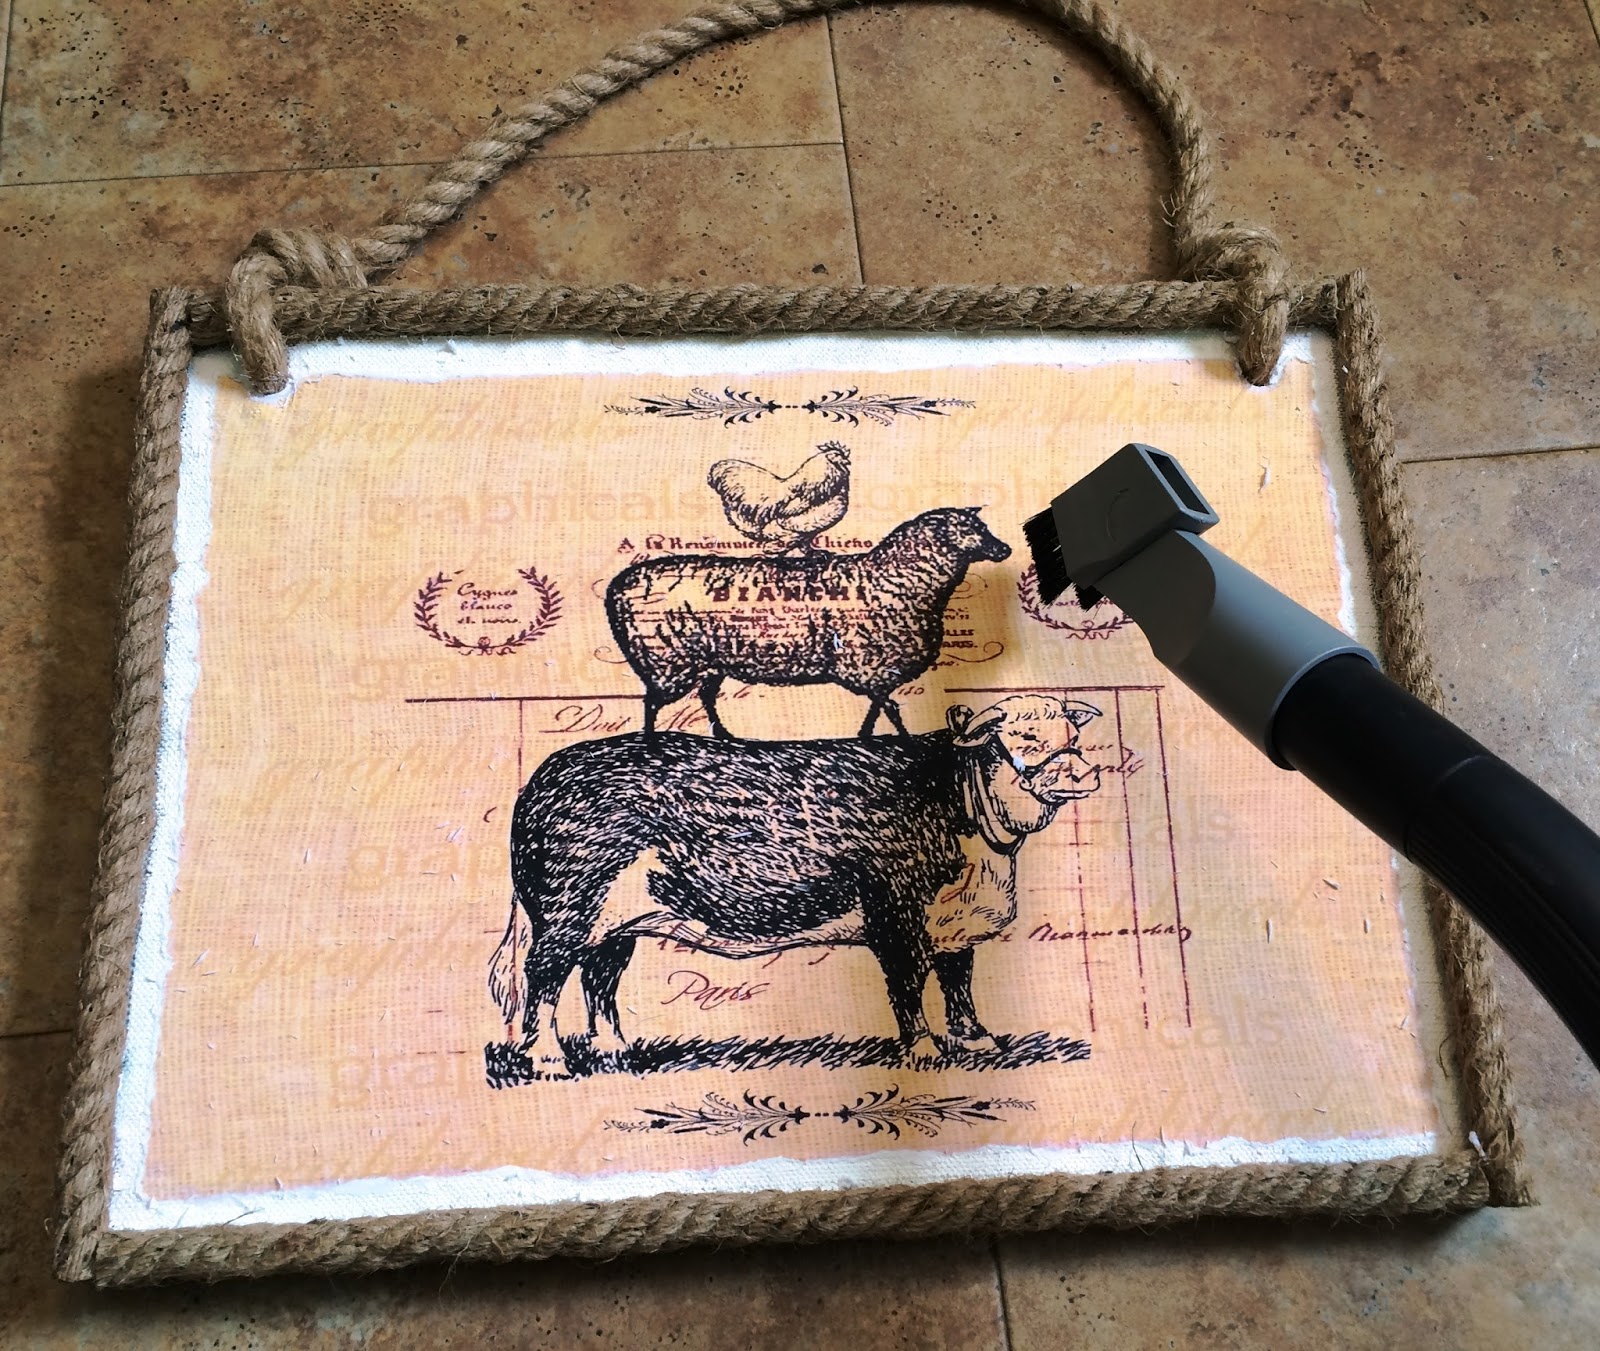
Painting the burlap left it sharp and bumpy. Scraping with a razor and then vacuuming it off made it smooth.

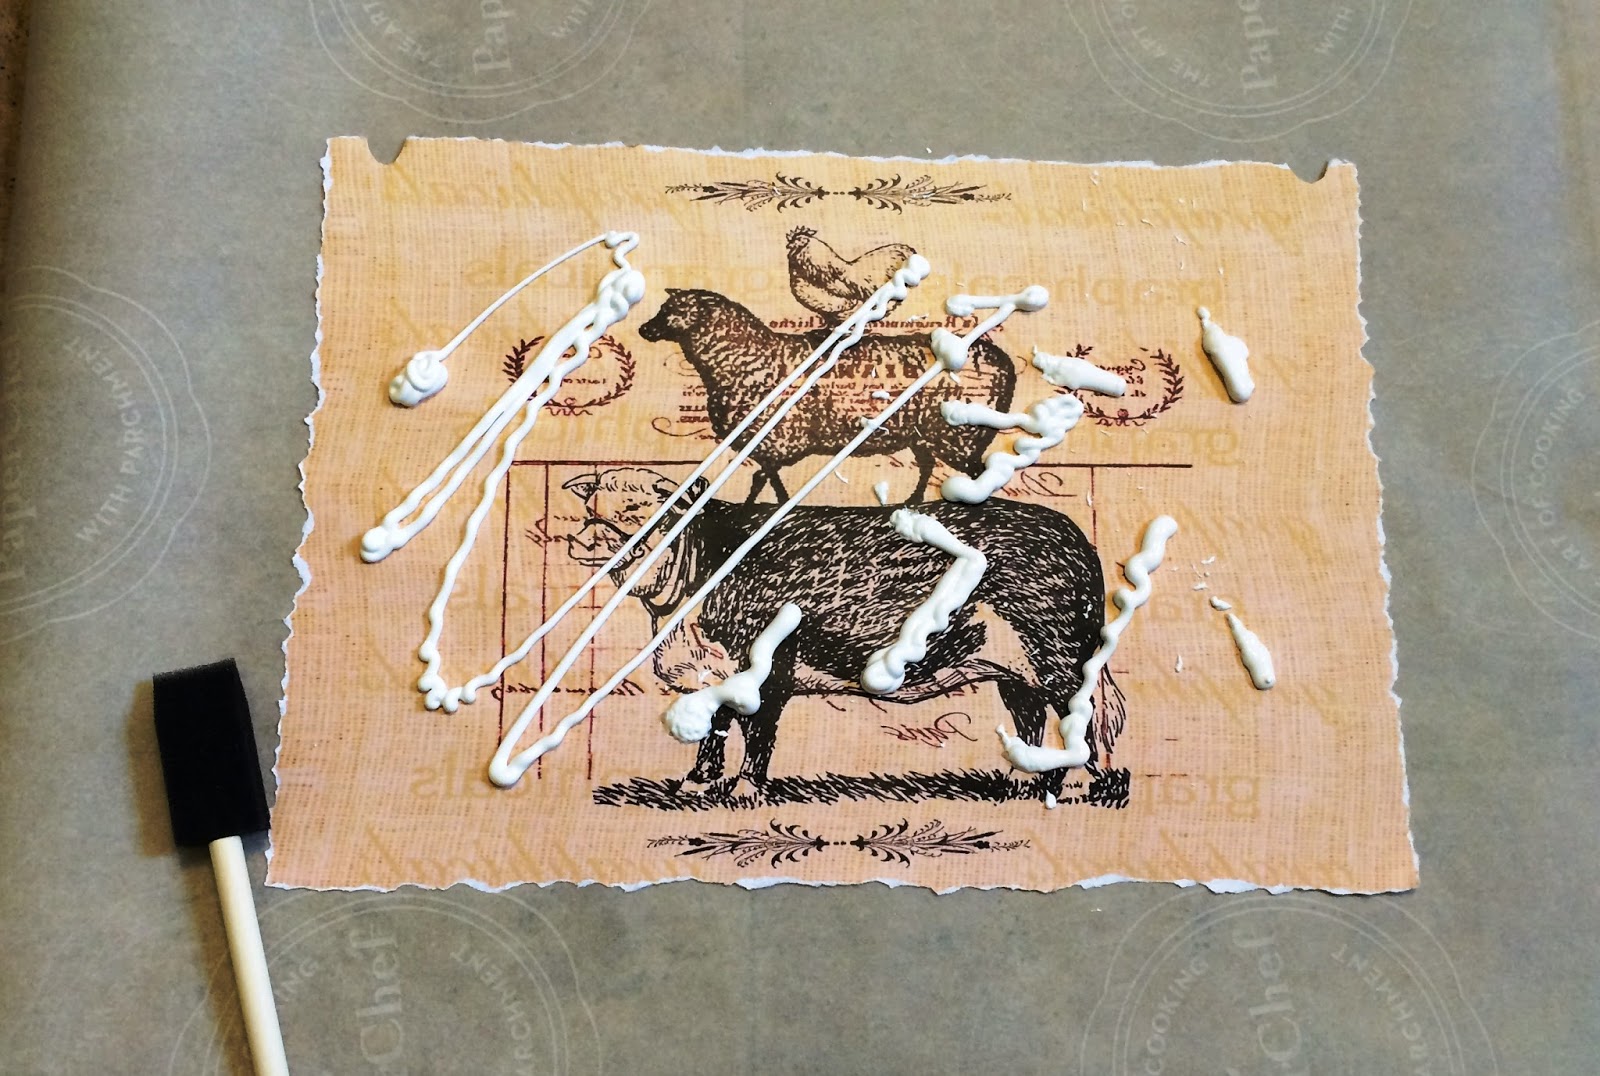
2. Prepare your image and cover with Photo Transfer Medium. I cut out two semi-circles for the image to fit centered on the board. (*remember, to make adjustments like this, you'll need to lay the image face down and measure or cut because that's how it will be transferred).

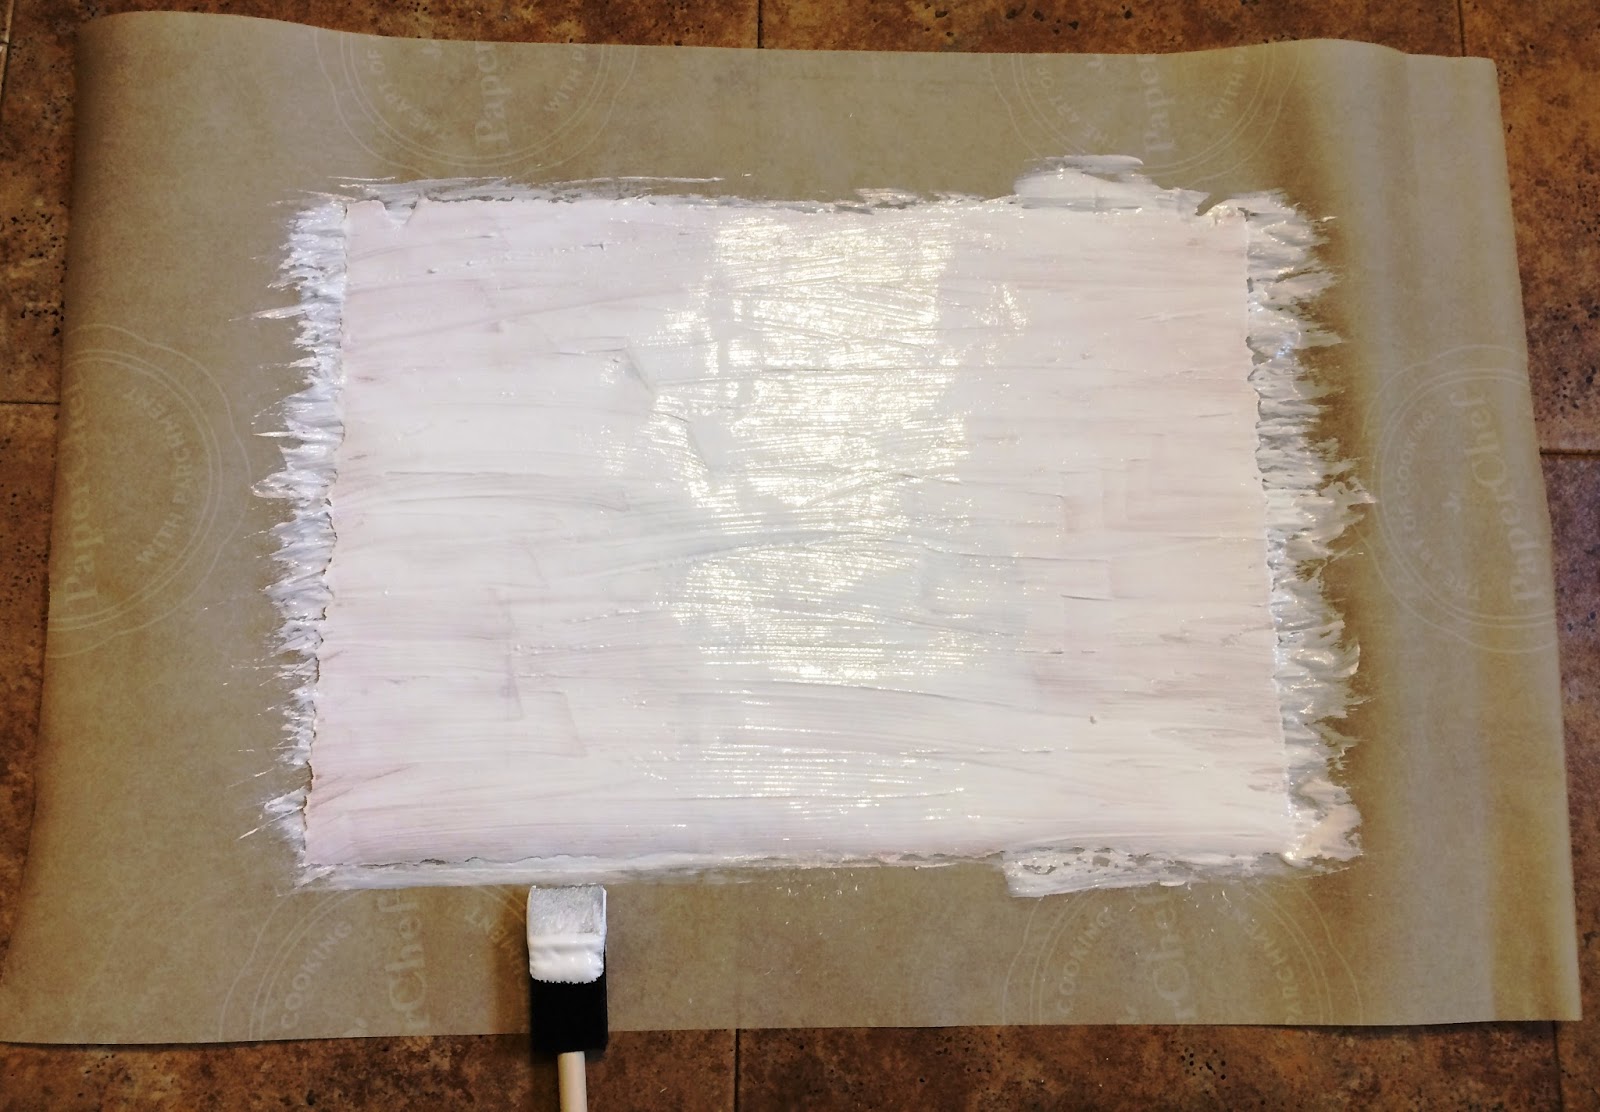
Lay newspaper or parchment paper down and spread the Medium over all edges. You need to spread down enough to cover the image completely - you shouldn't see much of the image through the Medium. My image was about 11"x17" and I used almost a whole bottle of Medium.

3. You may need help if you have a large image like mine, but carefully lay the transfer face down on the object, being careful not to touch the image side that has the Medium. Gently smooth out air bubbles and wipe off excess Medium with a paper towel. Let it sit for AT LEAST 12 hours, 24 hours if you live in high humidity.

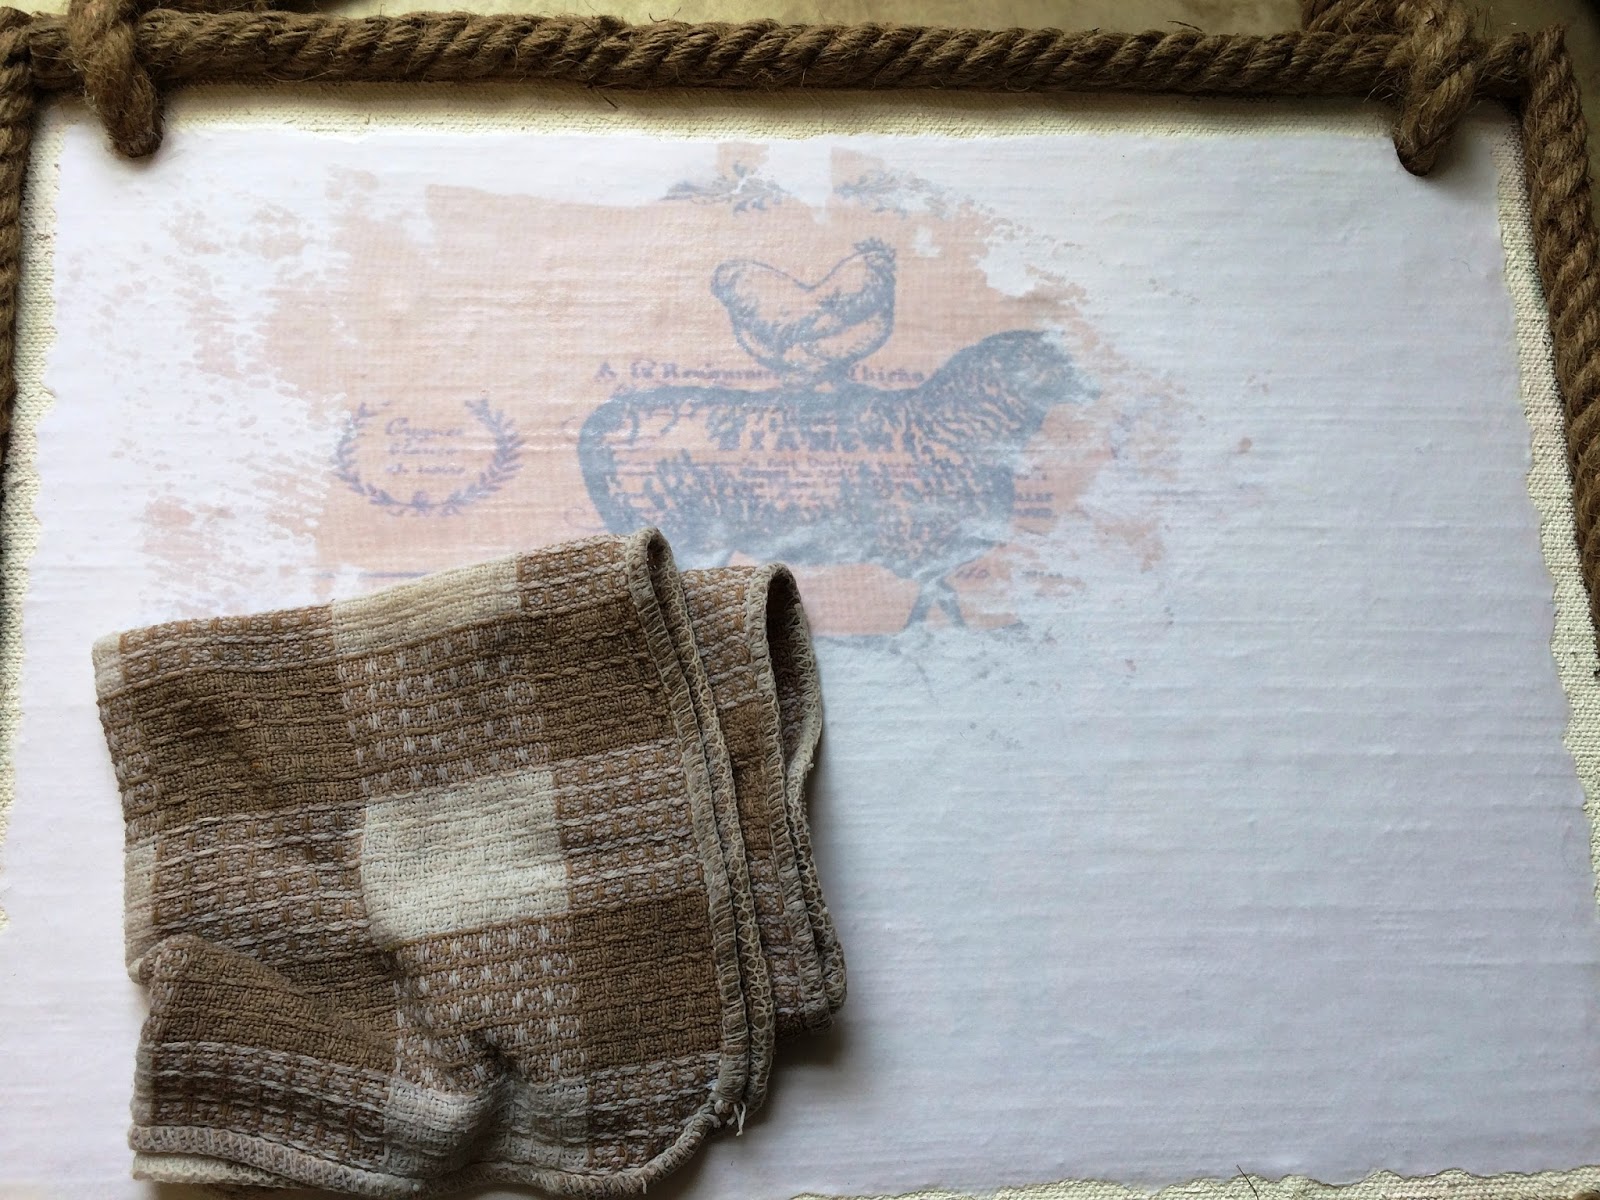
4. After you've left it to completely dry, dampen the entire area with a clean cloth or sponge and let sit for 1-2 minutes.


5. Using a gentle, circular motion, start rubbing the paper off the image with the damp cloth or sponge. If you don't get it all off completely at first, dampen the areas and rub again. You'll be able to see any spots you missed.

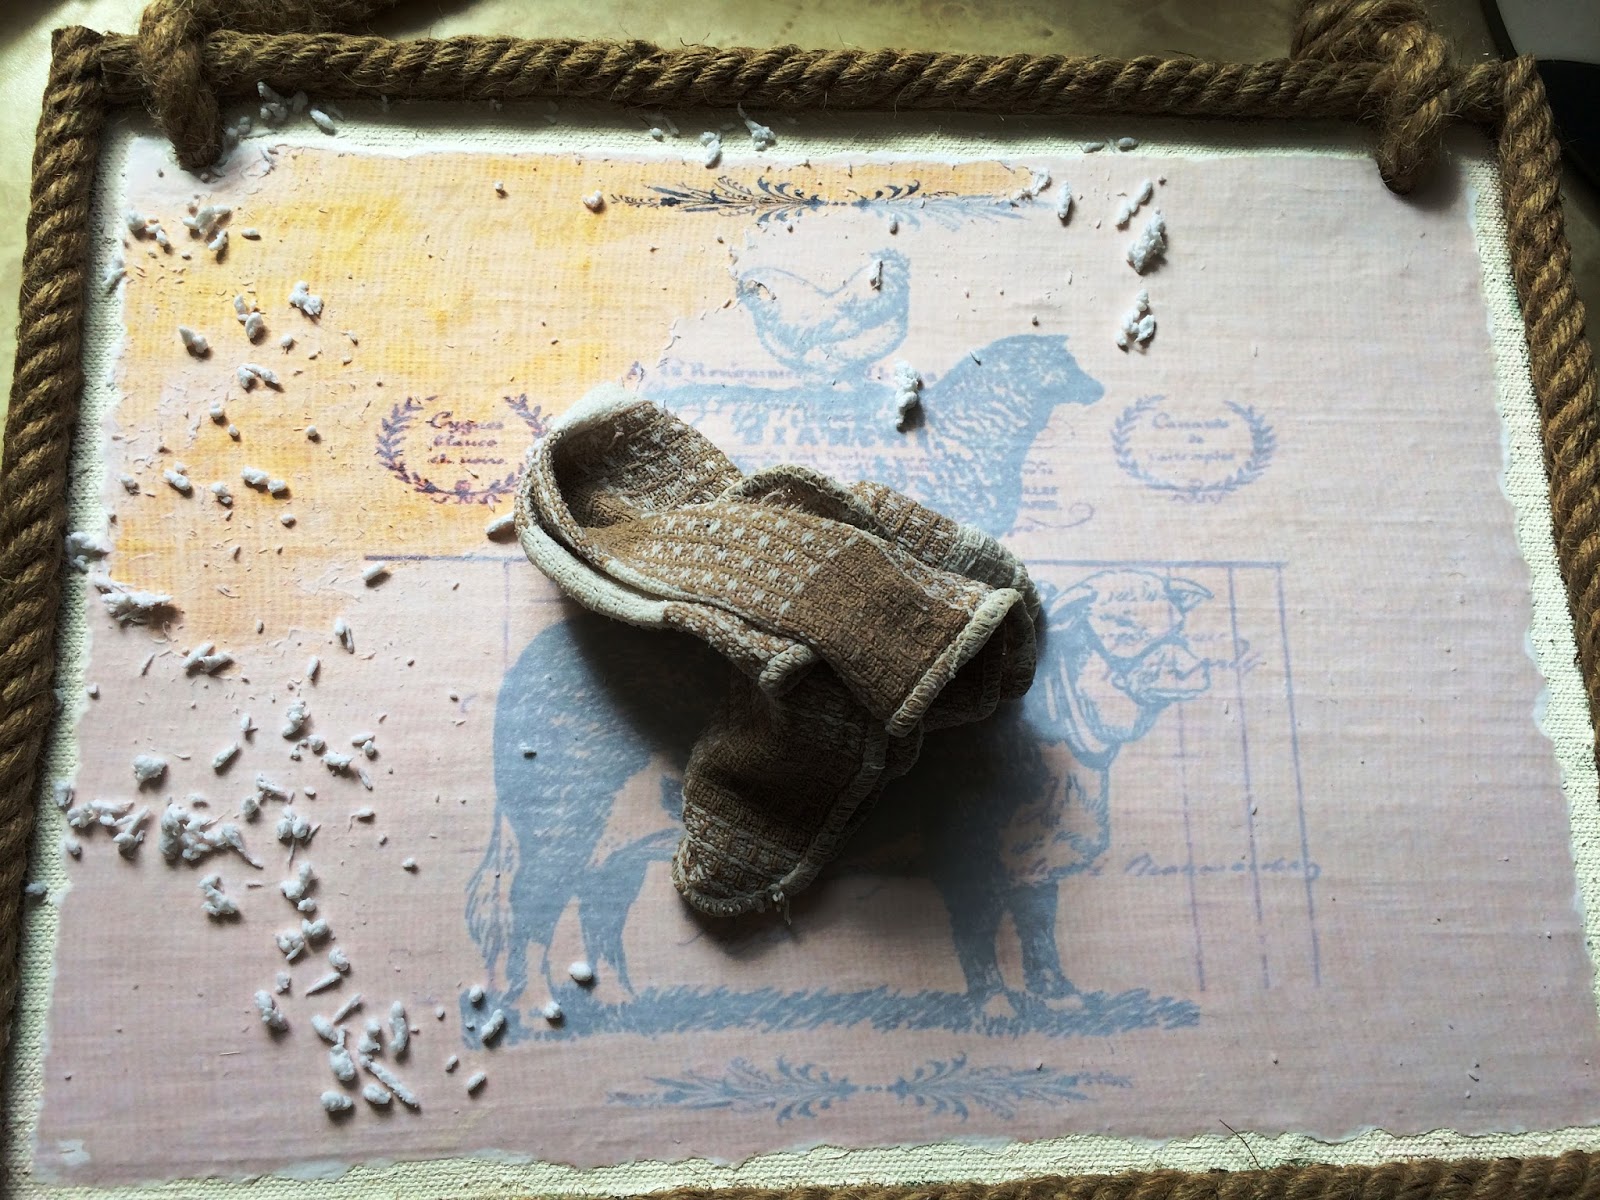
6. Wipe completely clean with a soft cloth or vacuum with a brush (I had to vacuum because of the rope frame). Make sure you use a clean, soft vacuum brush and that the transfer is mostly dry.

7. And that's it, it's done. You could coat it with a thin layer of Mod Podge Sealer for extra durability.

8. I made this as a gift and to add a personal touch to it, I ordered a metallic gold decal from Bright Swan Creations and stuck that over the photo transfer. Then I added in shadow lines with a black Sharpie to make the words pop.
Note:
If you didn't tear the edges of the image and still want a rustic look, this can be done at the rubbing stage. Just rub extra hard and the image will come off.

This was a fairly big project to use Photo Transfer Medium with, and I wouldn't recommend it unless you were wanting it to look like it was made as part of the object you were transferring to. I could have just used Mod Podge Sealer over the image and that would have likely done the job. But it was still fun to experiment with Photo Transfer Medium! There are so many techniques for sign making, and it's really just trial and error.

And, if you're really good with computers, you could edit the image in Photoshop to have a watercolour paint look to it and transfer onto canvas. Experiment with the image and objects you can transfer to.

Monday, July 13, 2015

How To Clean a Cactus

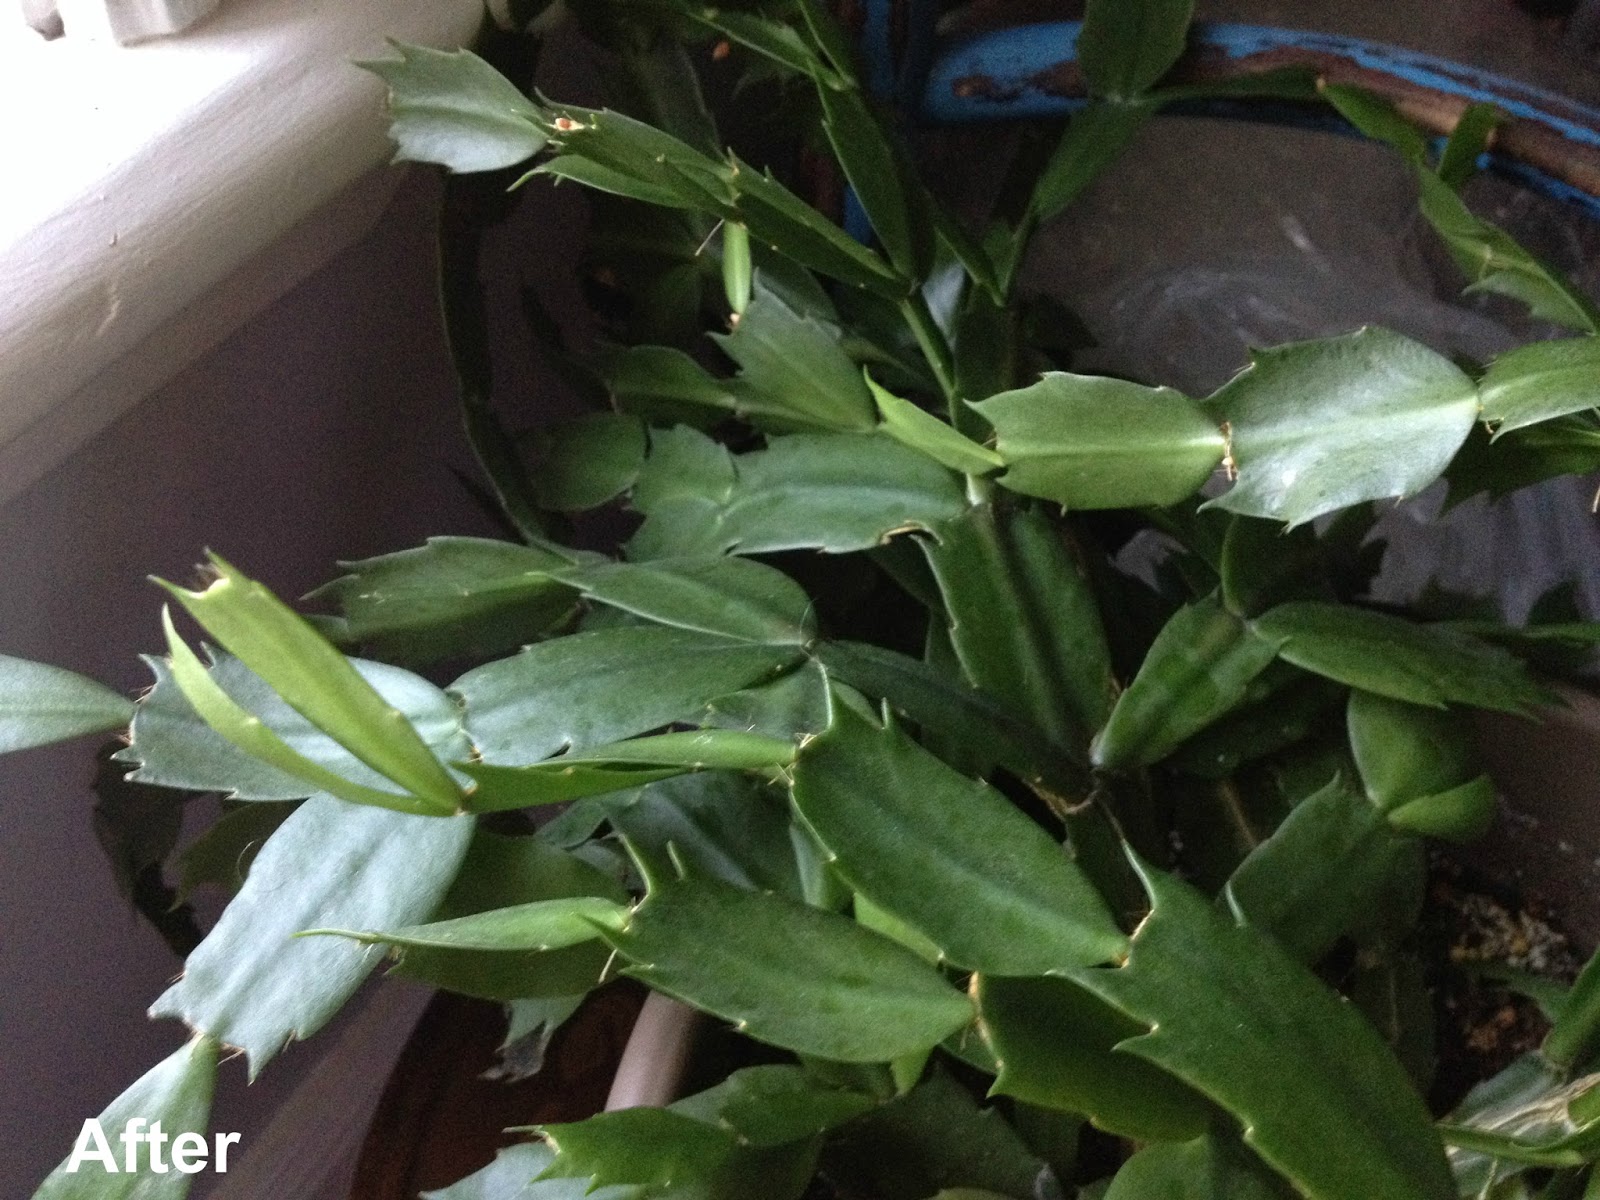
My Christmas cactus had become disgustingly dirty and dusty. Don't try to wipe each individual cactus leaf with a damp cloth - that's too time consuming. Instead, wait until the next time you need to water and just pop the whole plant in the shower.


I read in another blog to use a hand held sprayer (which is gentler on the leaves). I found the plain old shower head worked just fine.

Leave the plants to drip dry in the tub and gently shake when ready to put back in their homes.


We have softened water, so the droplets left over didn't leave water stains. If you have hard water, before the leaves completely air dry, you may have to blot as much as you can. And that's it. So easy.