Farming Life by the Farmer's Wife

Showing posts with label craft. Show all posts

Thursday, October 20, 2016

Easy Playdough Recipe

The Kindergarten classes at my kids school always asks for volunteer's to make playdough for the class. Of course I try to help out where I can and making playdough takes very little of my time, and besides, the kids enjoy playing with it. Since it's been four years since my oldest child has been in Kindergarten, I discovered this recipe I was given back then has become outdated! To colour the playdough, the recipe calls for the little packets of unsweetened Kool-Aid powder. I've always liked to use it because 1. it's easy and 2. the playdough is scented in the flavour of Kool-Aid you chose. Apparently unsweetened Kool-Aid powder is no longer sold (that I could find in our local grocery store), but it's now sold in a sweetened liquid form and you can add how ever many drops to a big jug of water or a small water bottle. I don't recommend using this to colour the playdough, but rather food colouring.


Ingredients:
2 cups all-purpose flour
1 cup table salt
4 tsp. cream of tartar or alum (found in the spice/baking aisle)
2 cups water
2 tbsp. vegetable oil
Food colouring or 1 packet Kool-Aid powder (if you can find it)

Instructions:
1. Mix flour, salt, cream of tartar (or alum) and Kool-Aid powder (if you have it) together in a large cooking pot.

2. Mix water and cooking oil together in a separate bowl. Mix in food colouring in this step if you are using it.

3. Add the wet ingredients to the dry ingredients. Stir to mix.
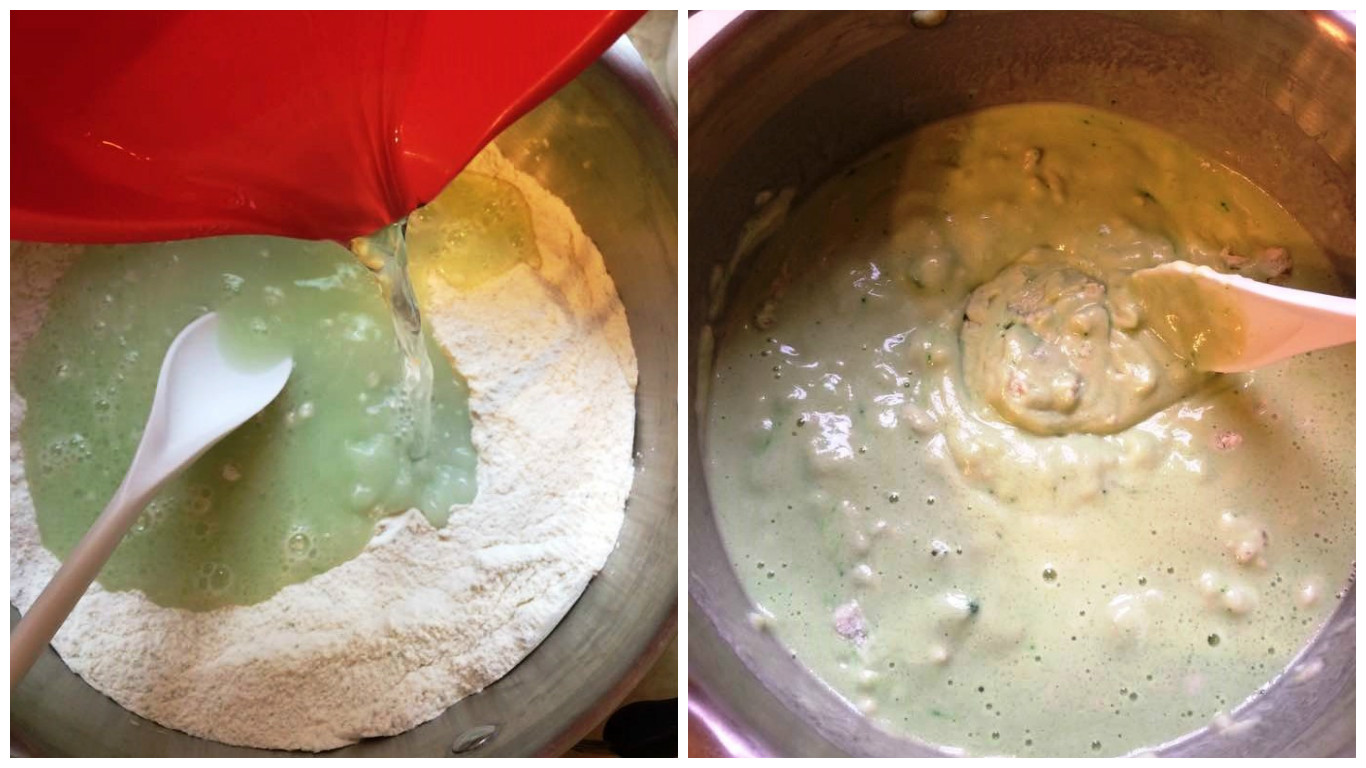
4. Cook over medium-low heat, stirring occasionally until it forms a ball-like shape. Do not overcook (about 5-7 minutes).
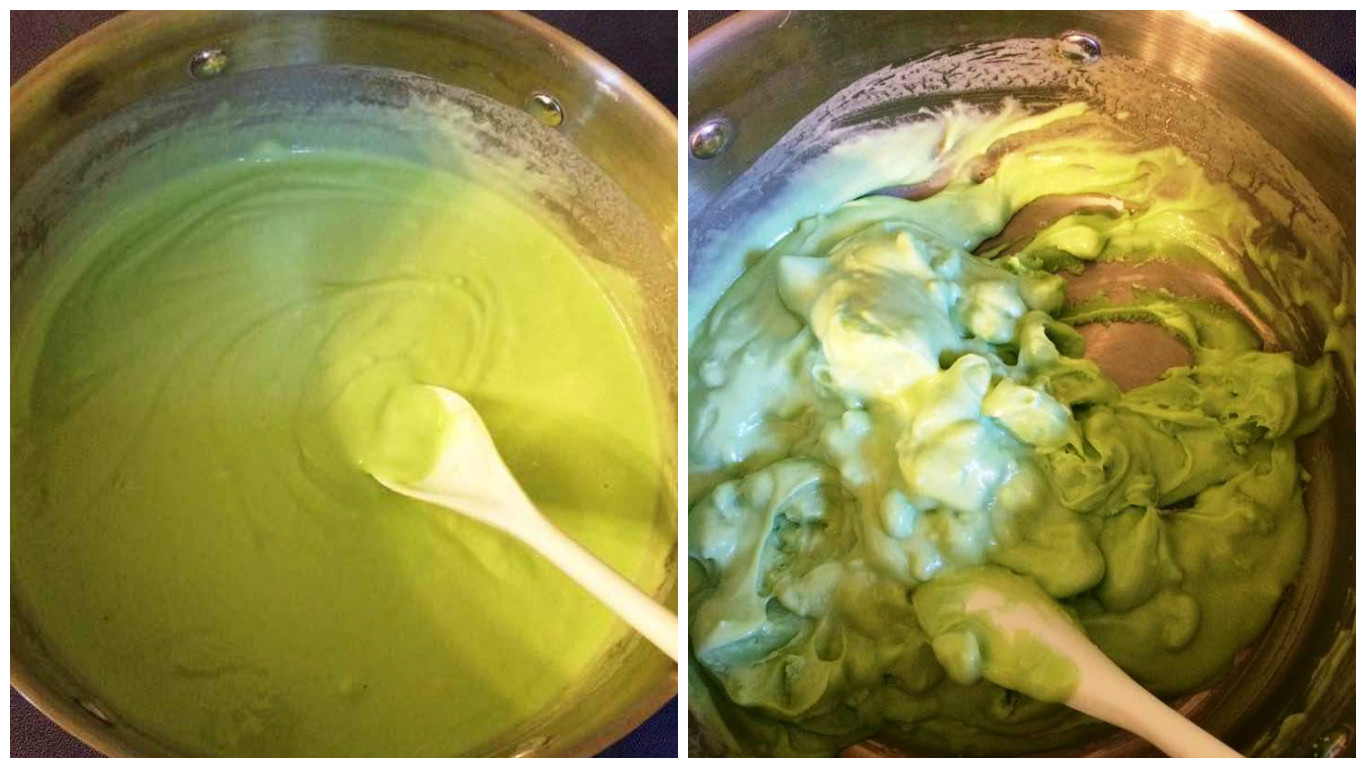
5. Turn dough onto clean, dry counter surface and finish mixing/kneading by hand. Putting the dough on parchment or waxed paper works really well. For protection if you have sensitive hands, you can wear dish gloves for this step but it's not required.
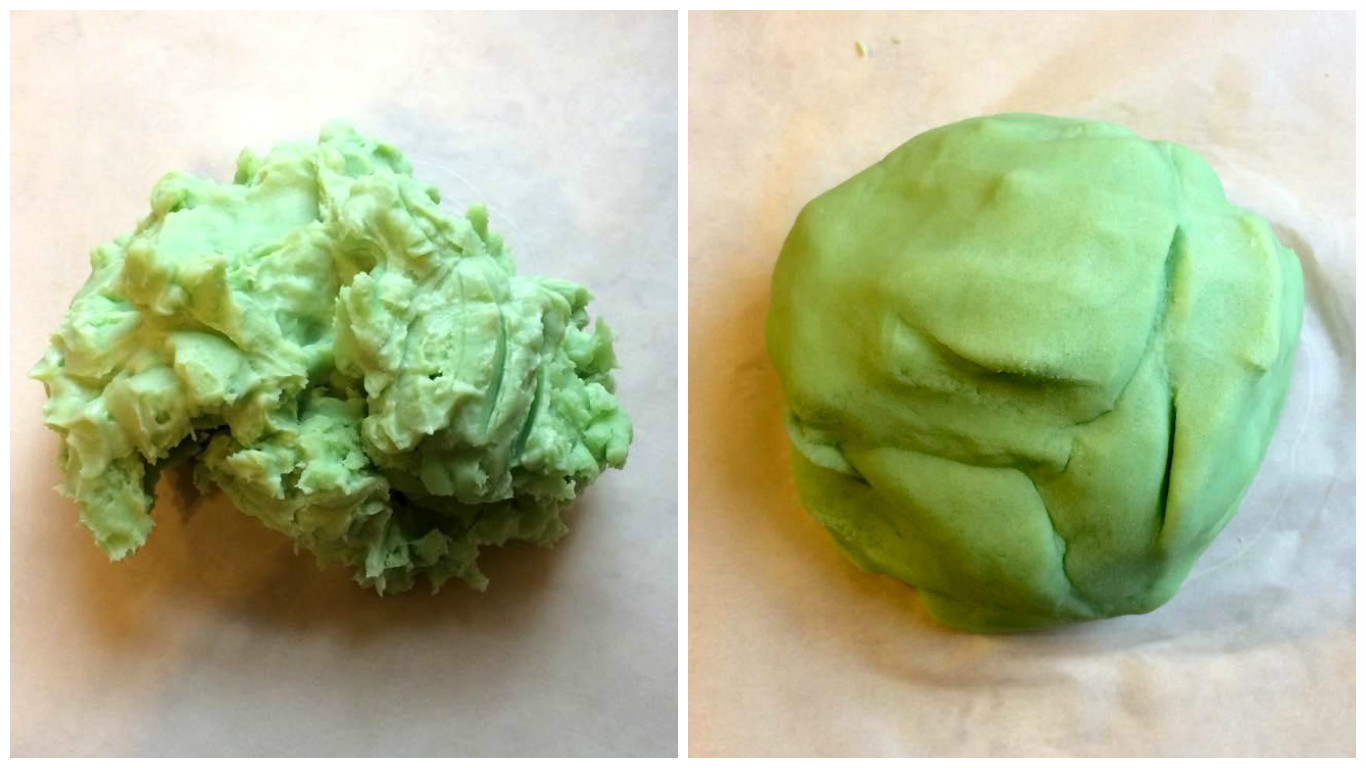
6. Allow dough to cool. If you can, lightly wrap the parchment paper around the playdough so it doesn't dry while cooling. Store playdough wrapped in parchment paper in a Ziplock bag.

7. Have fun playing! If you don't have playdough toys, kitchen utensils work great and create fun patterns. Just make sure to supervise your kids.

Friday, April 22, 2016

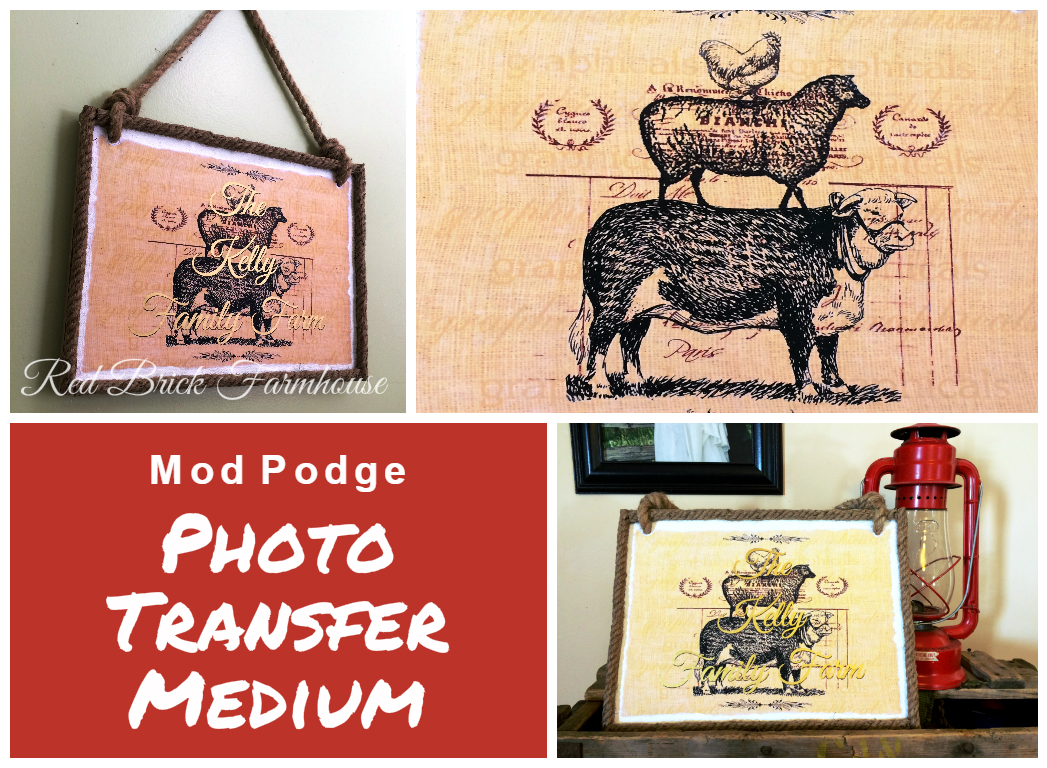
Mod Podge Photo Transfer - Sign

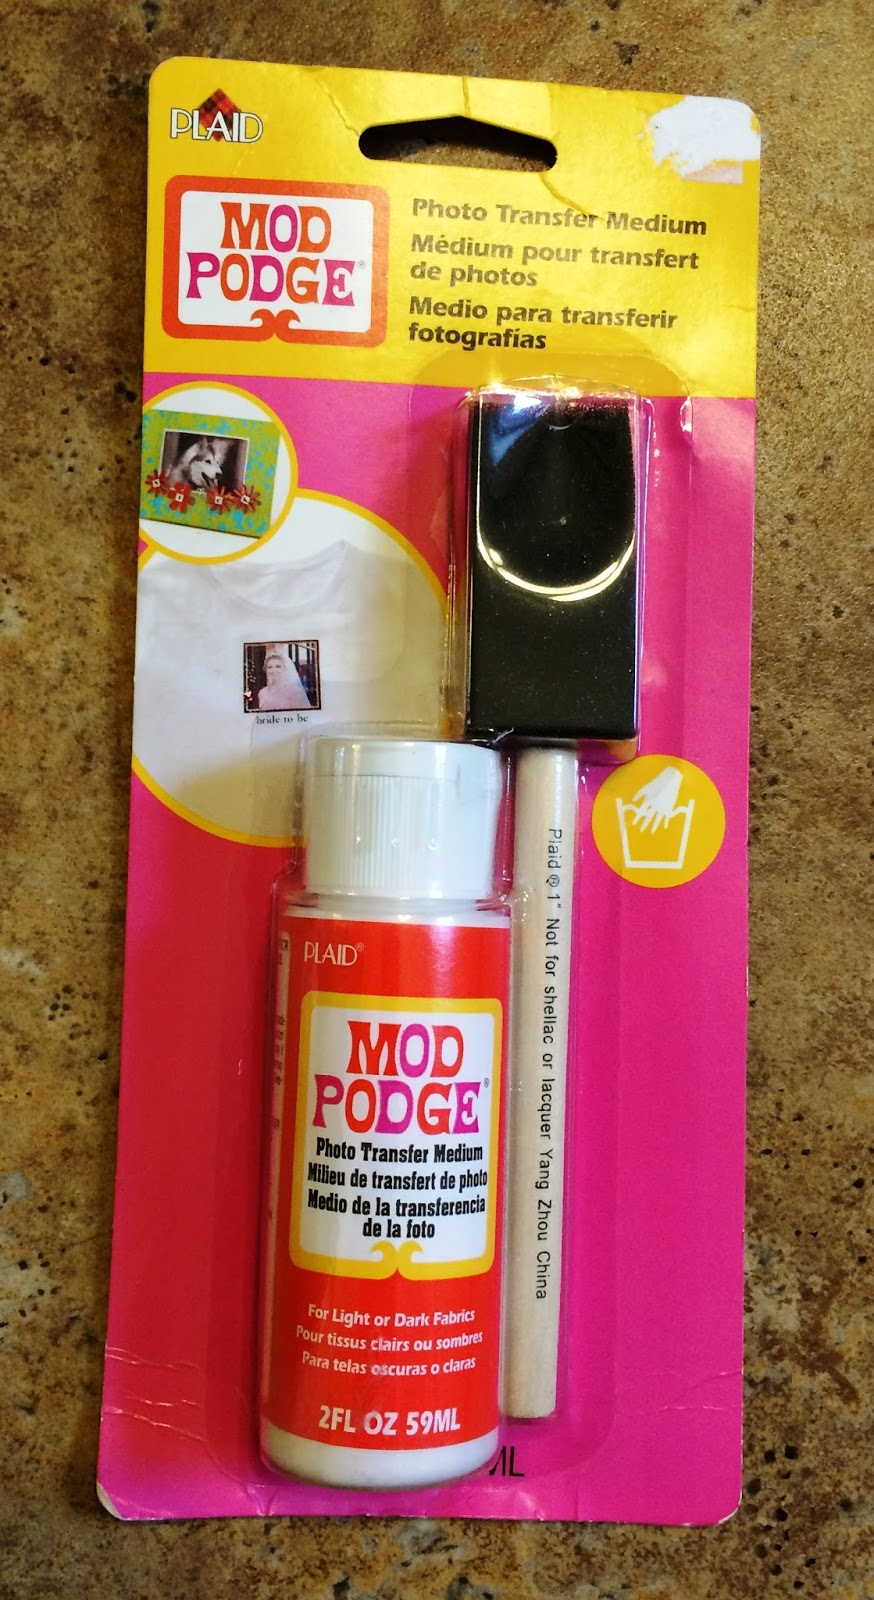
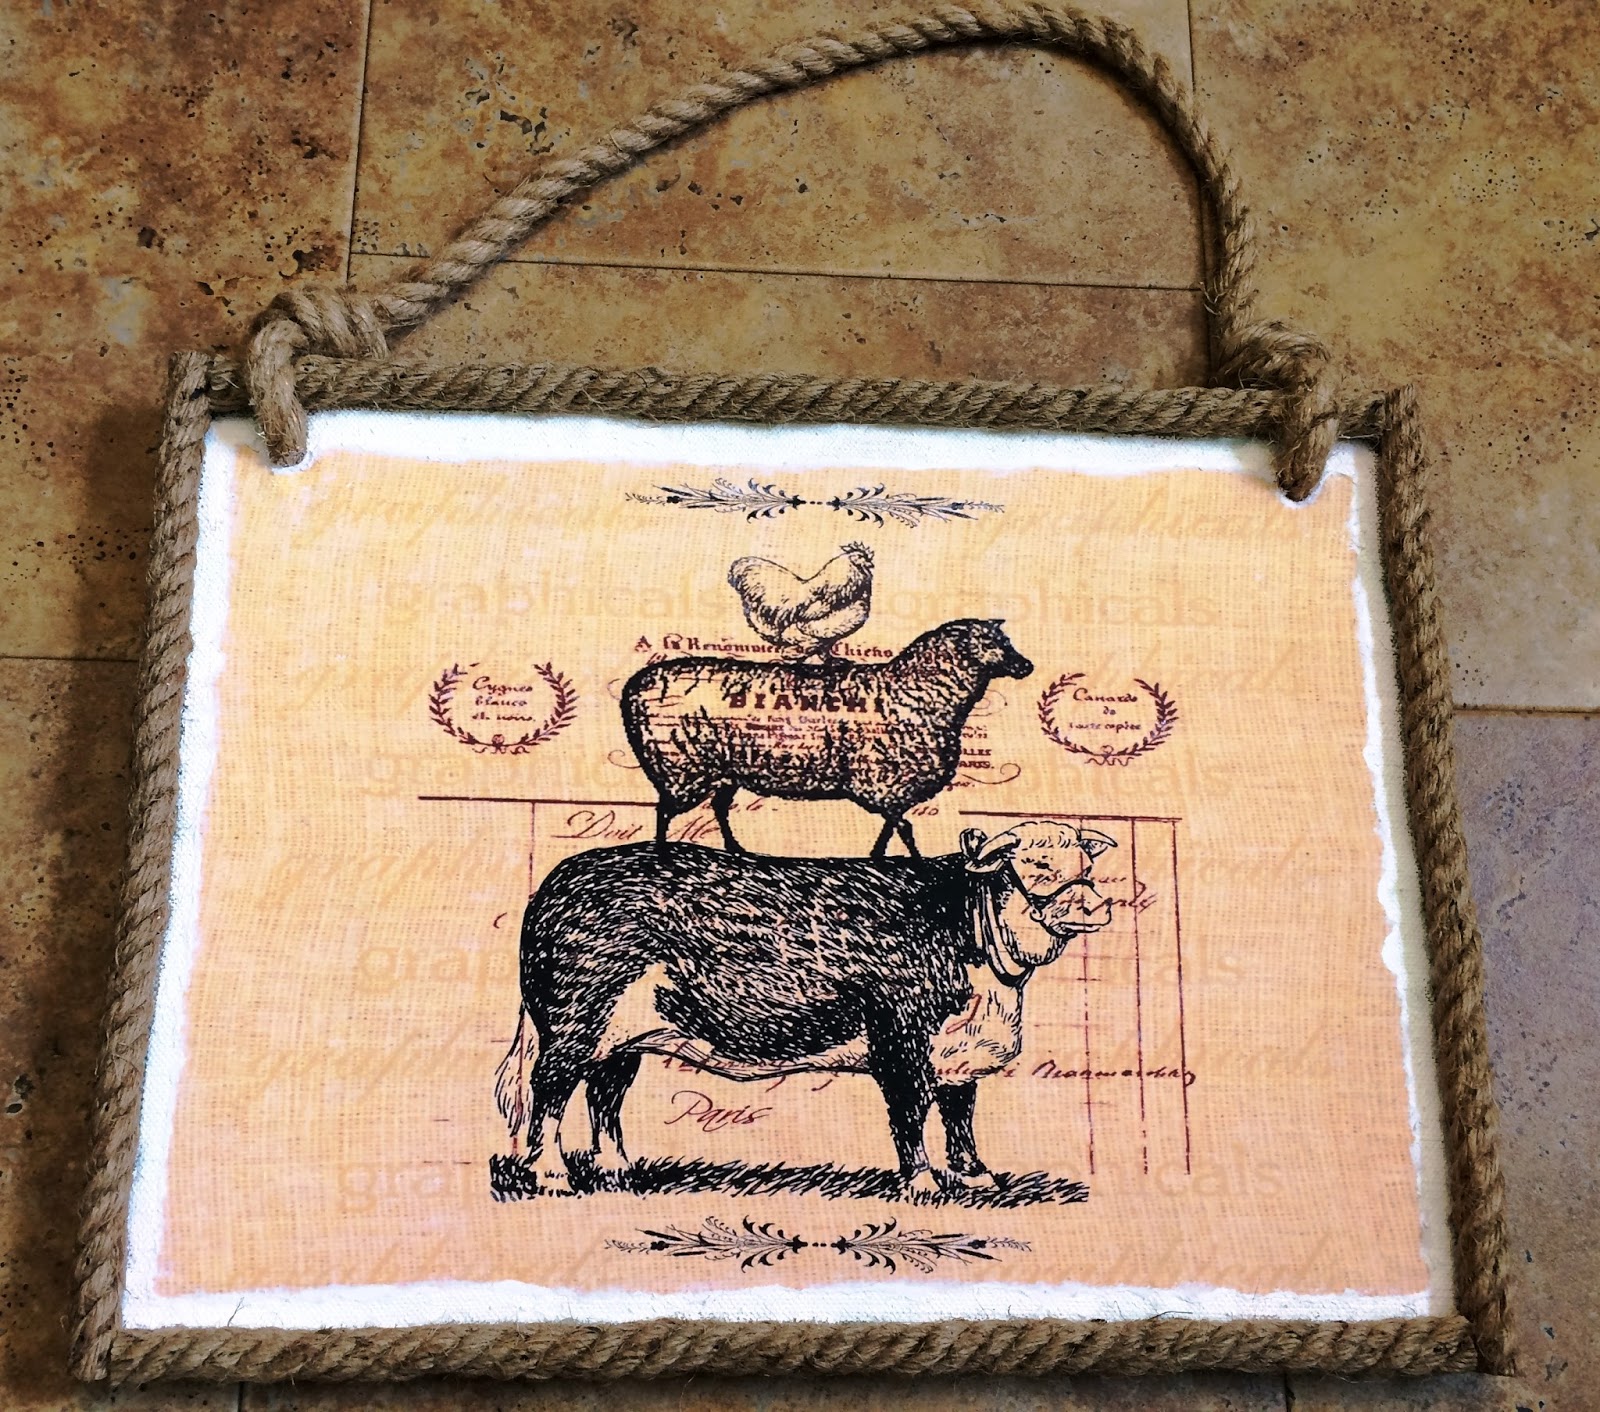
So I recently discovered the amazing Mod Podge, and in particular, Mod Podge Photo Transfer Medium. It's a glue type substance that transfers images to almost any smooth surface.


Mod Podge Photo Transfer:

What you need:

1. Mod Podge Photo Transfer Medium. You can find this at almost any craft store.

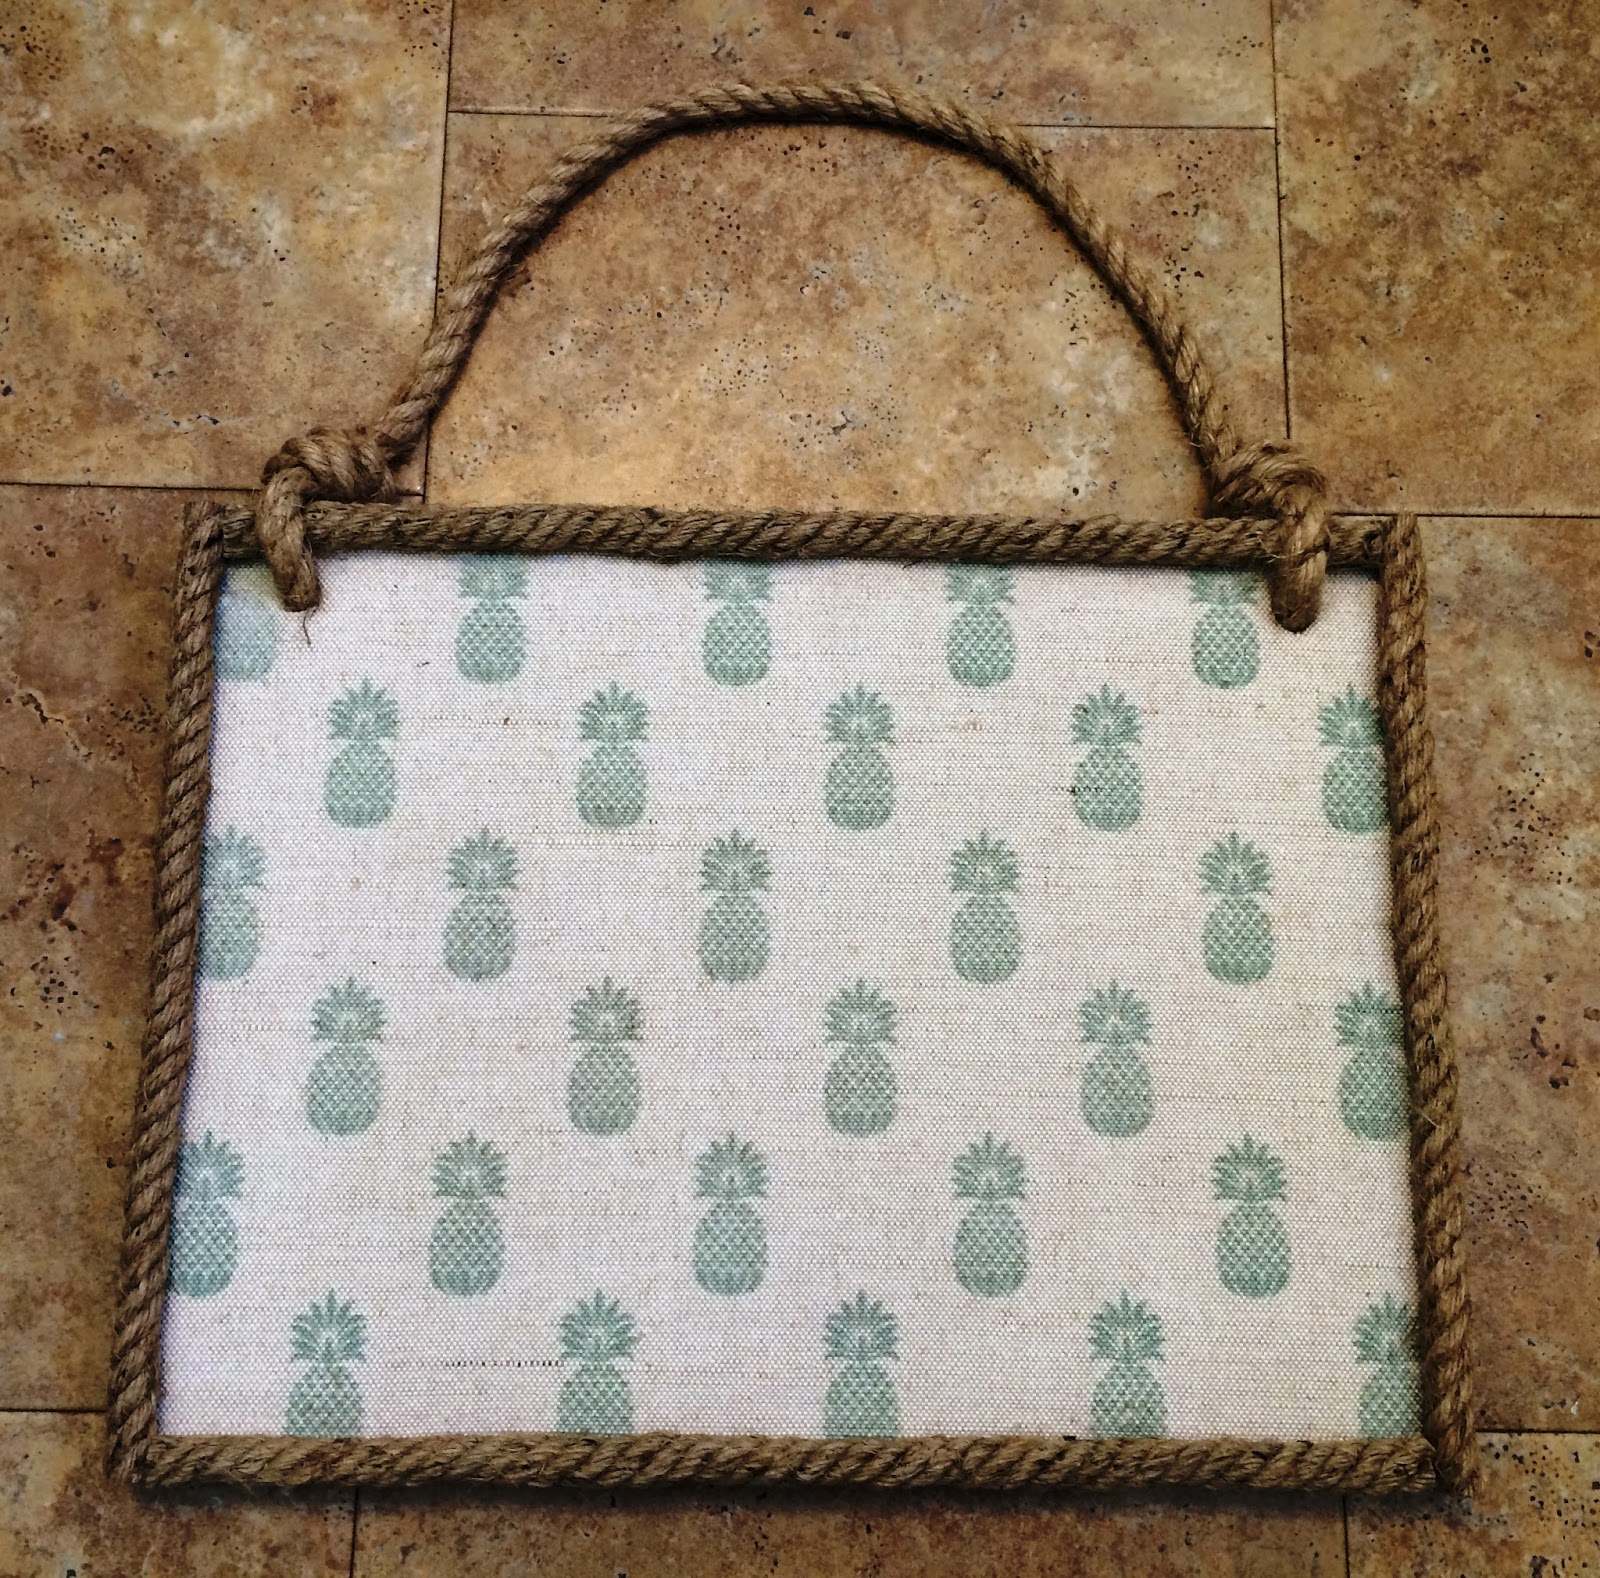
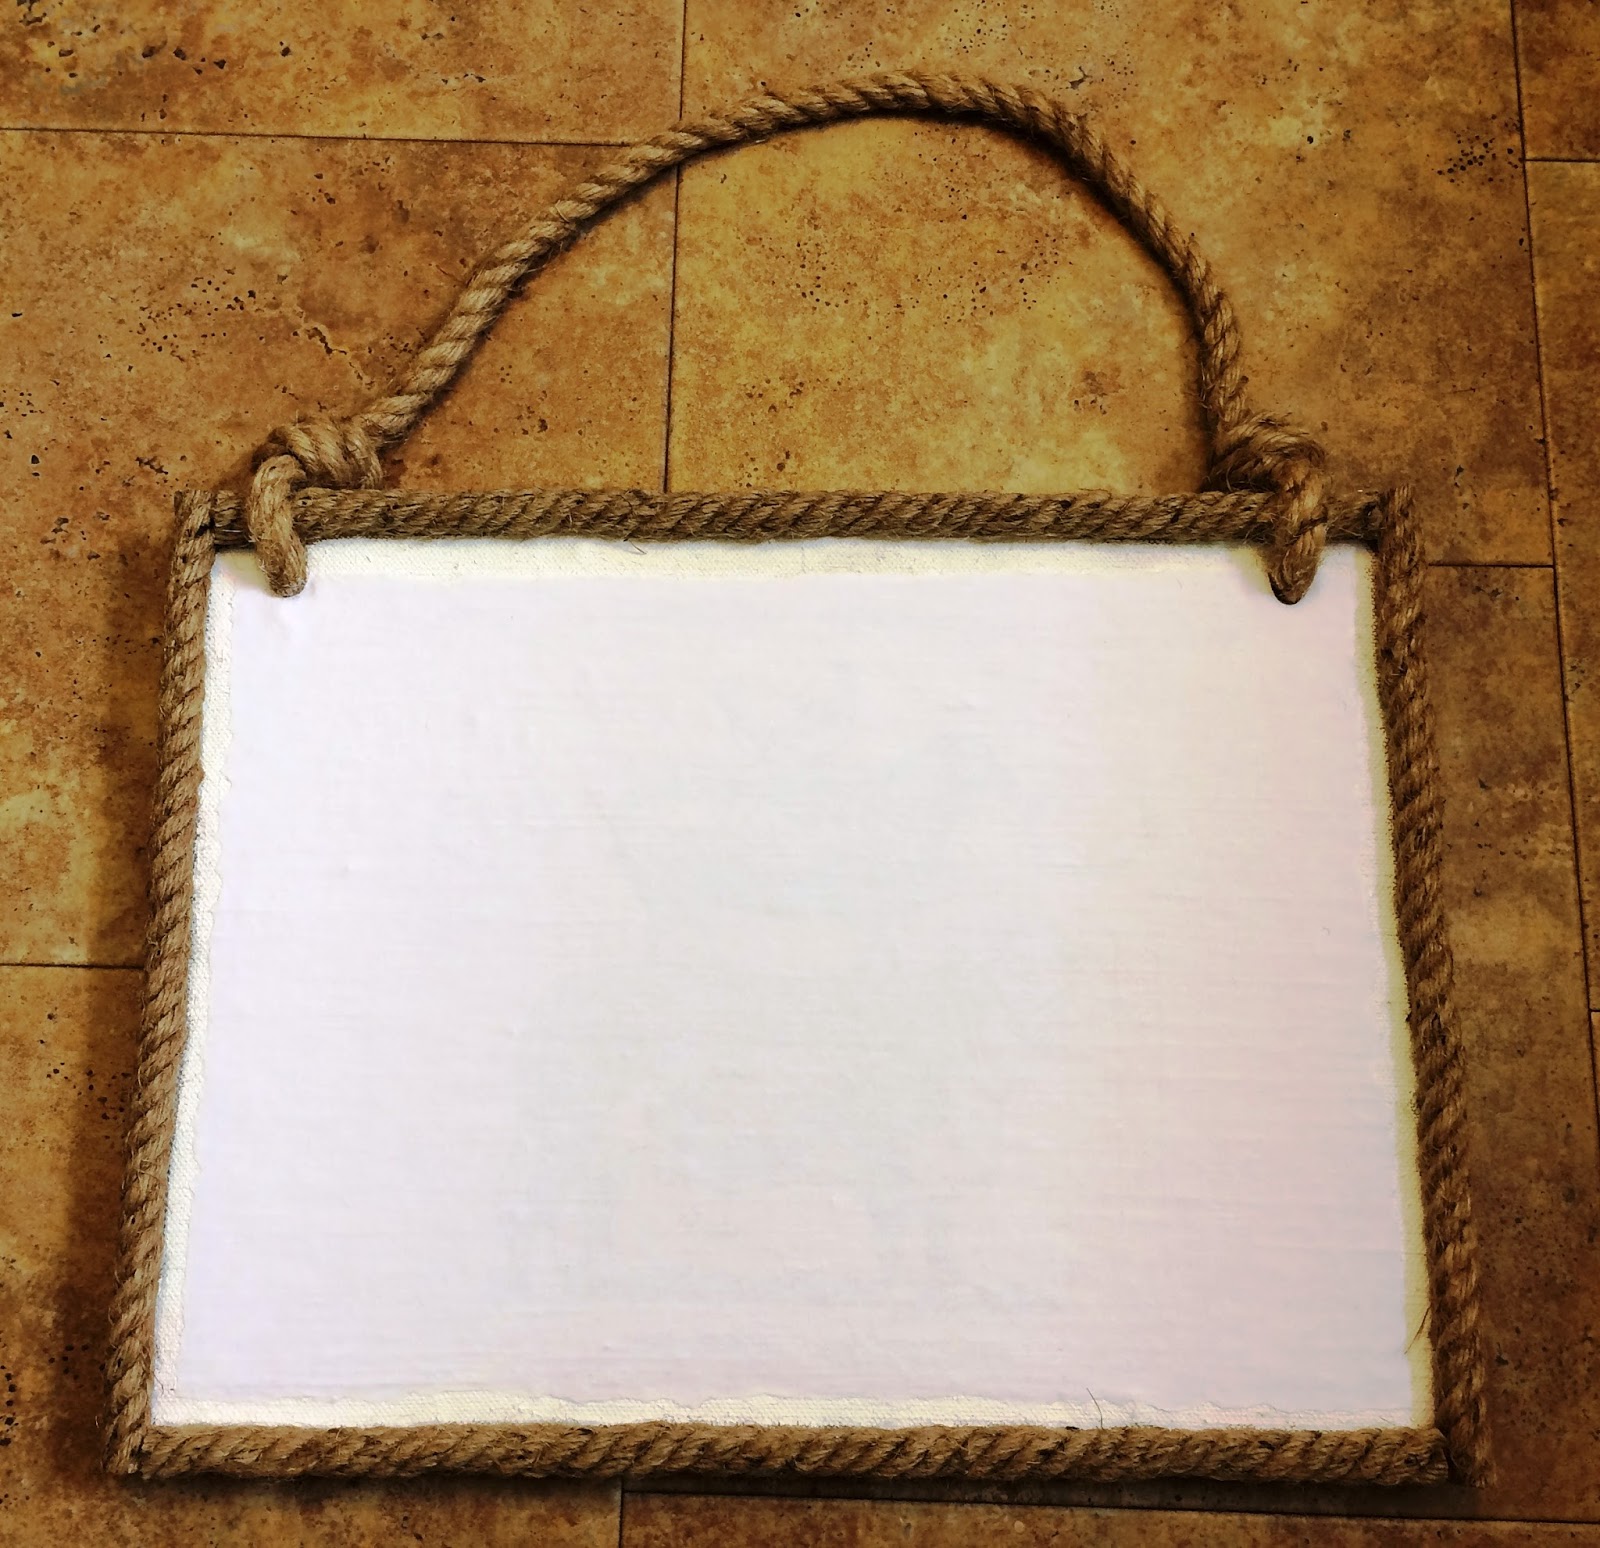
2. Something you want to transfer onto. Almost any surface will work - wood, glass, metal, clothing material, etc. I found this peg board note organizer at Homesense. It has a burlap backing on it and it was exactly what I was looking for.

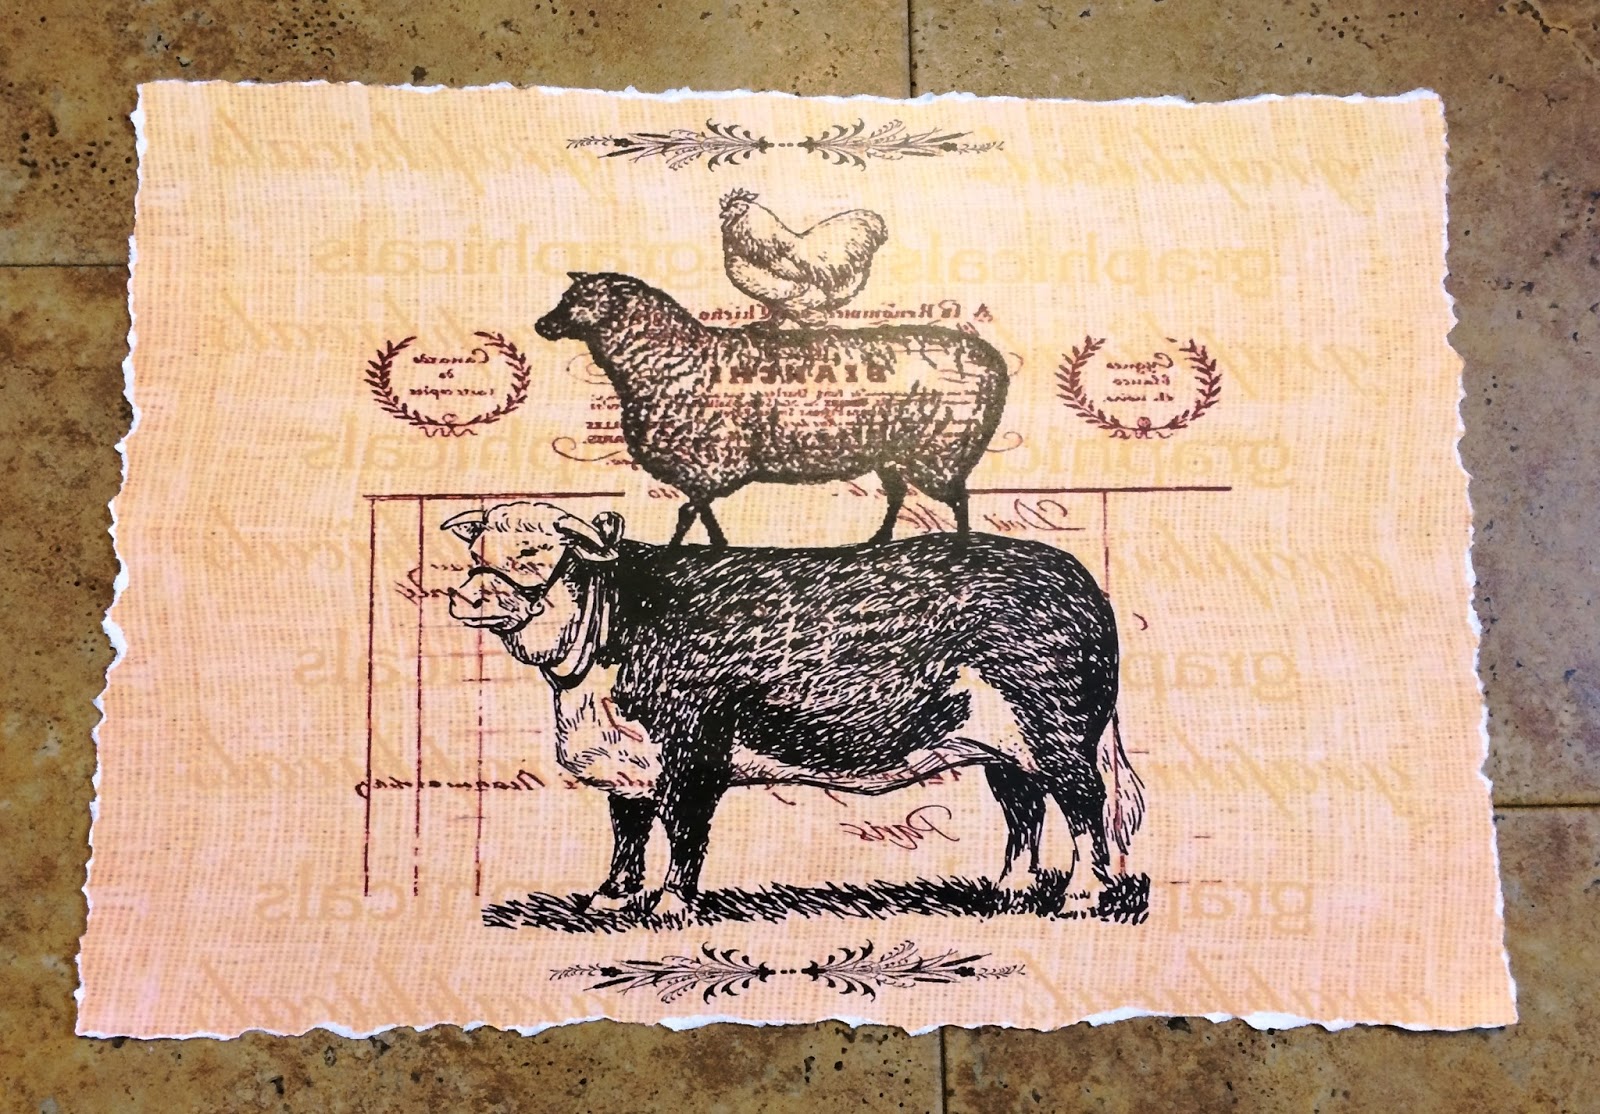
3. An image cropped and scaled to the size you need. If there are any words or letters on the picture, you will need to make a mirror image before printing. You will also need to have it printed with a dry toner printer (laser printer), NOT ink jet. For a rustic look, I teared the edges of the image.

4. (optional items):
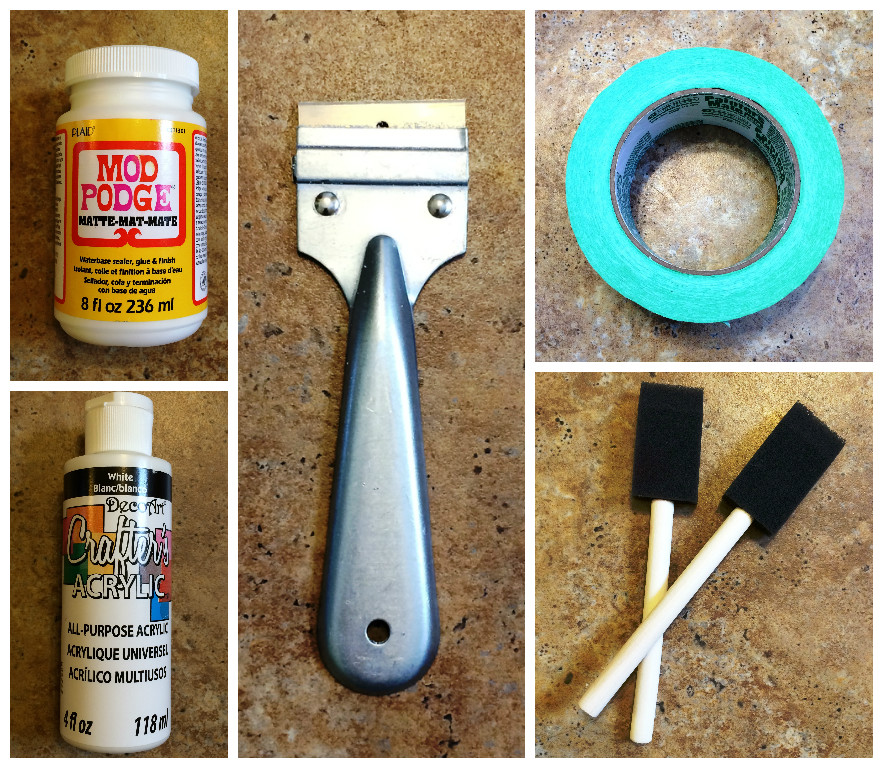
Mod Podge Sealer; acrylic paint; razor blade; painters tape; extra brushes.

The Steps:

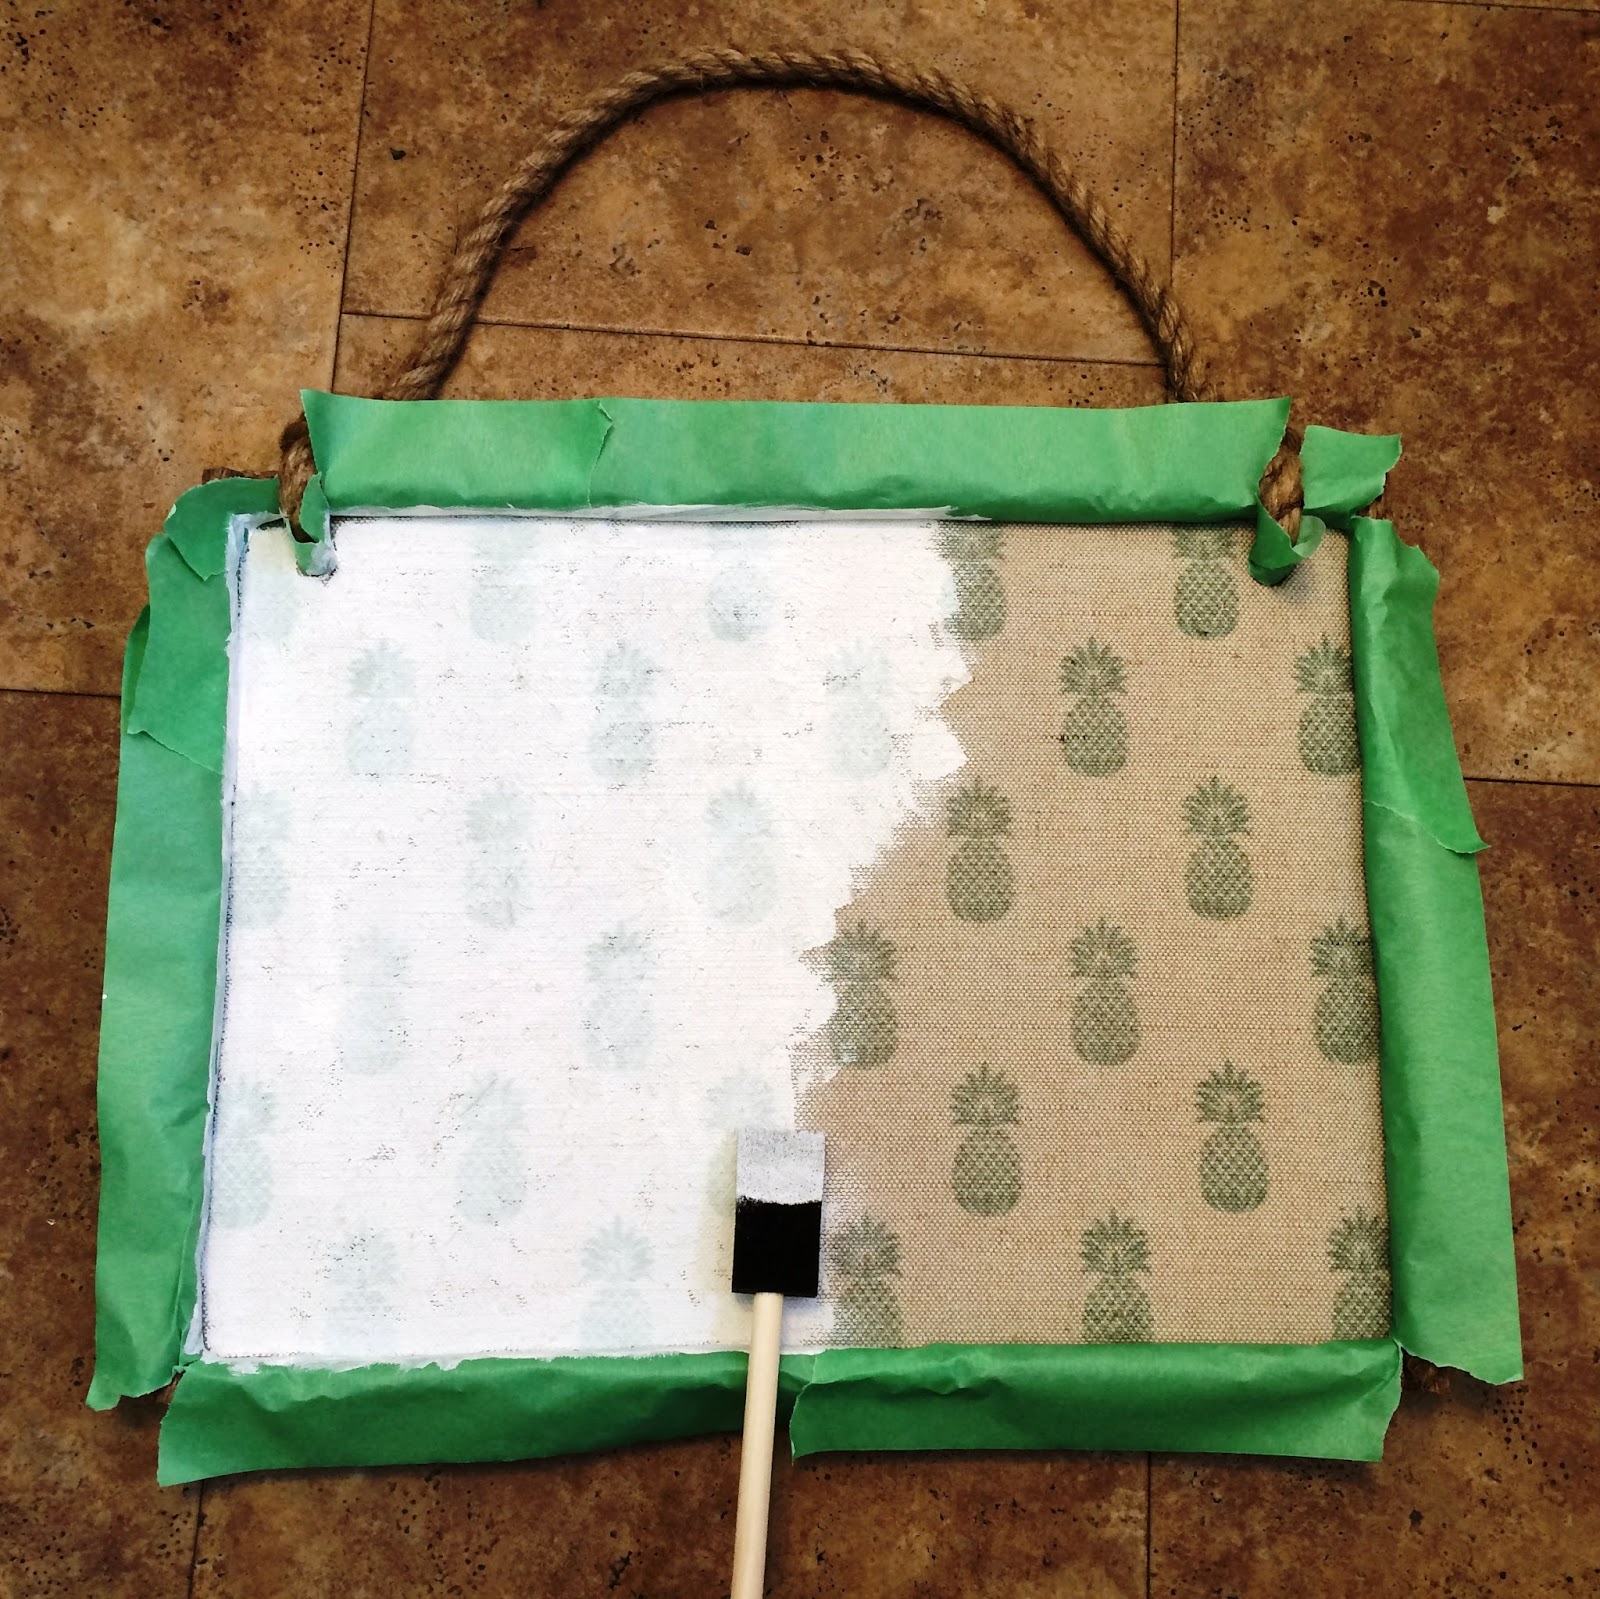
1. (optional): paint the item you will be transferring onto with acrylic paint in the colour you choose. I did two coats.

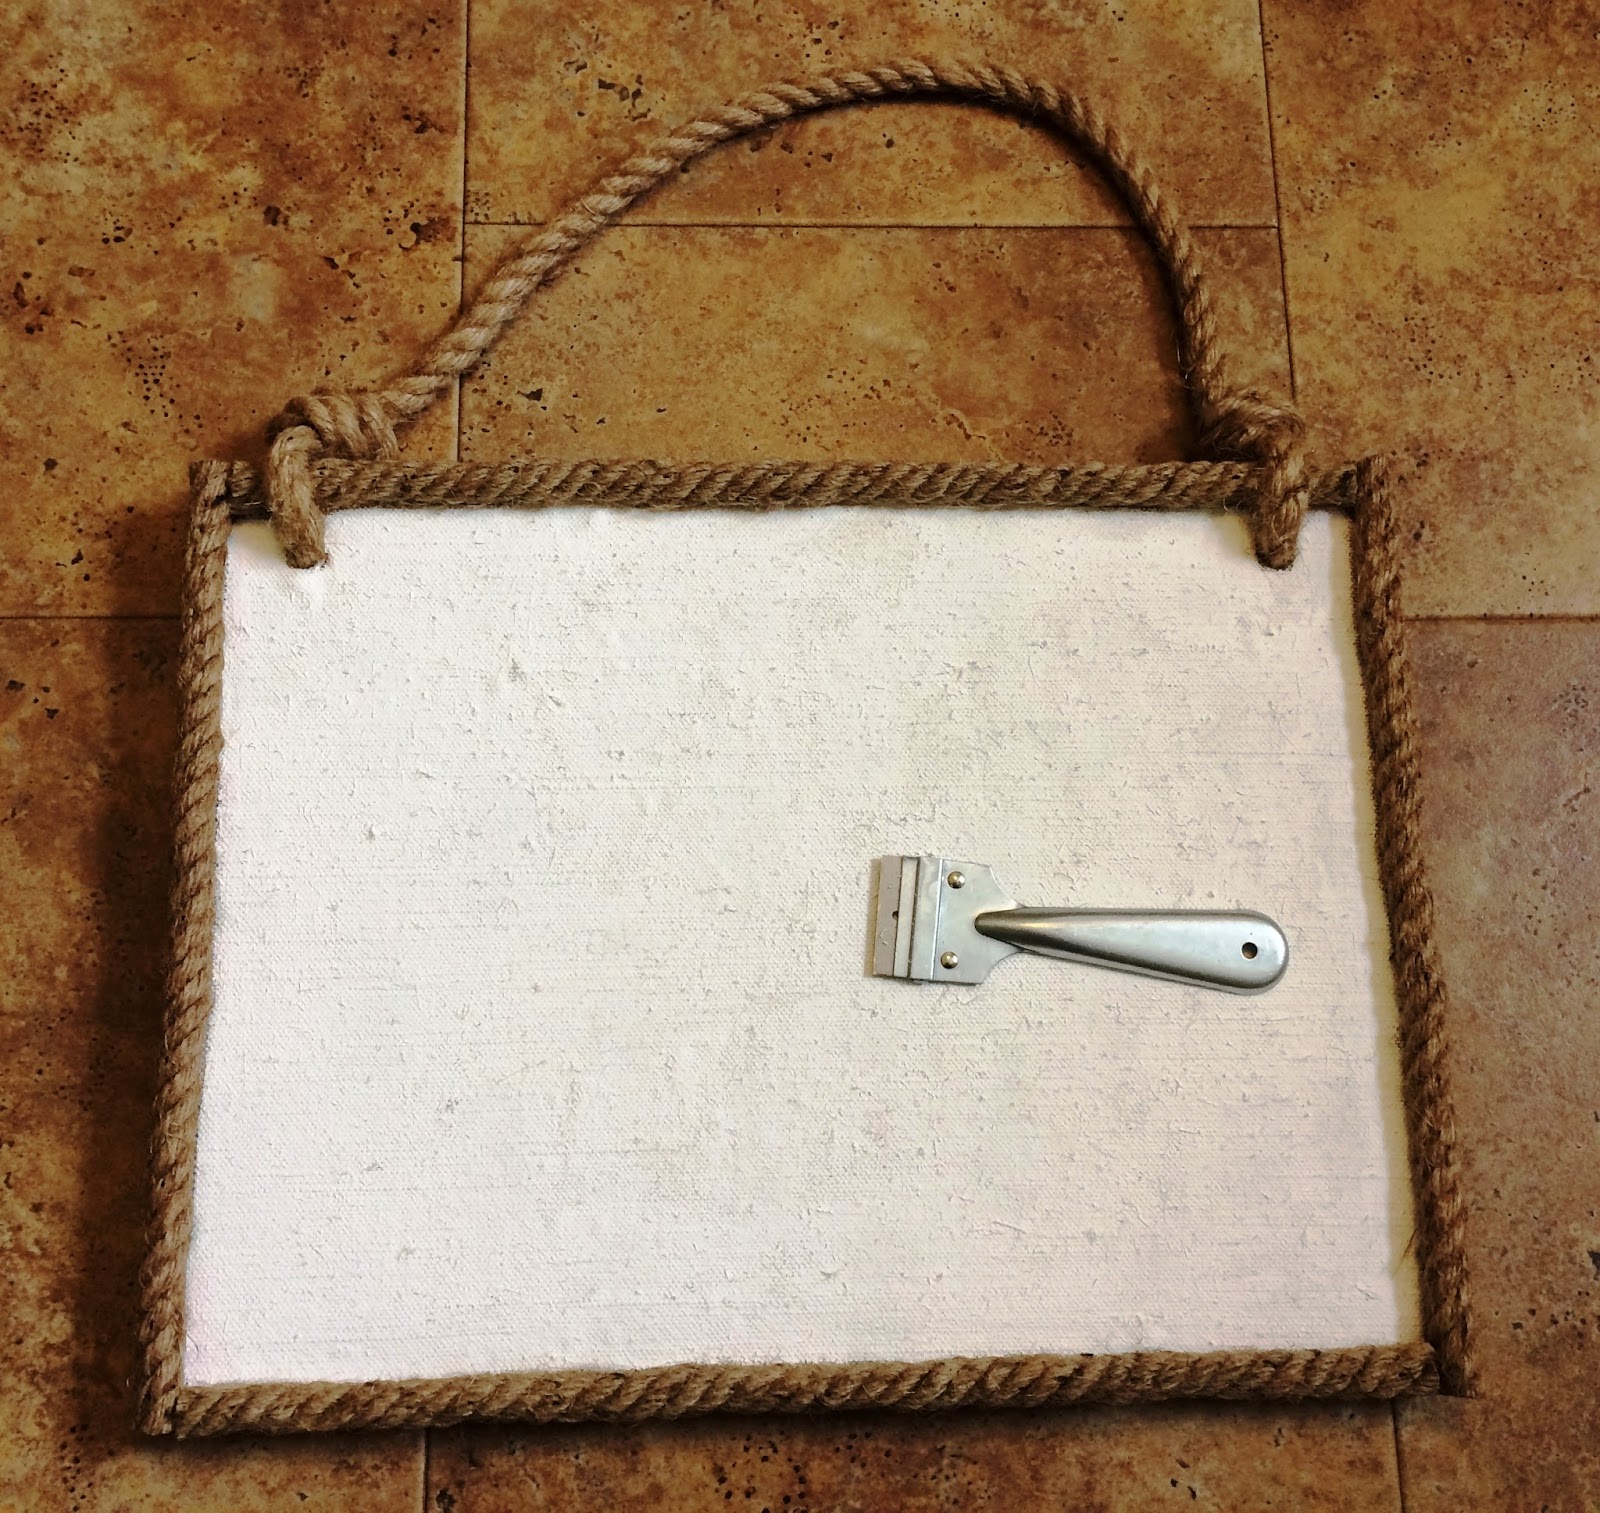
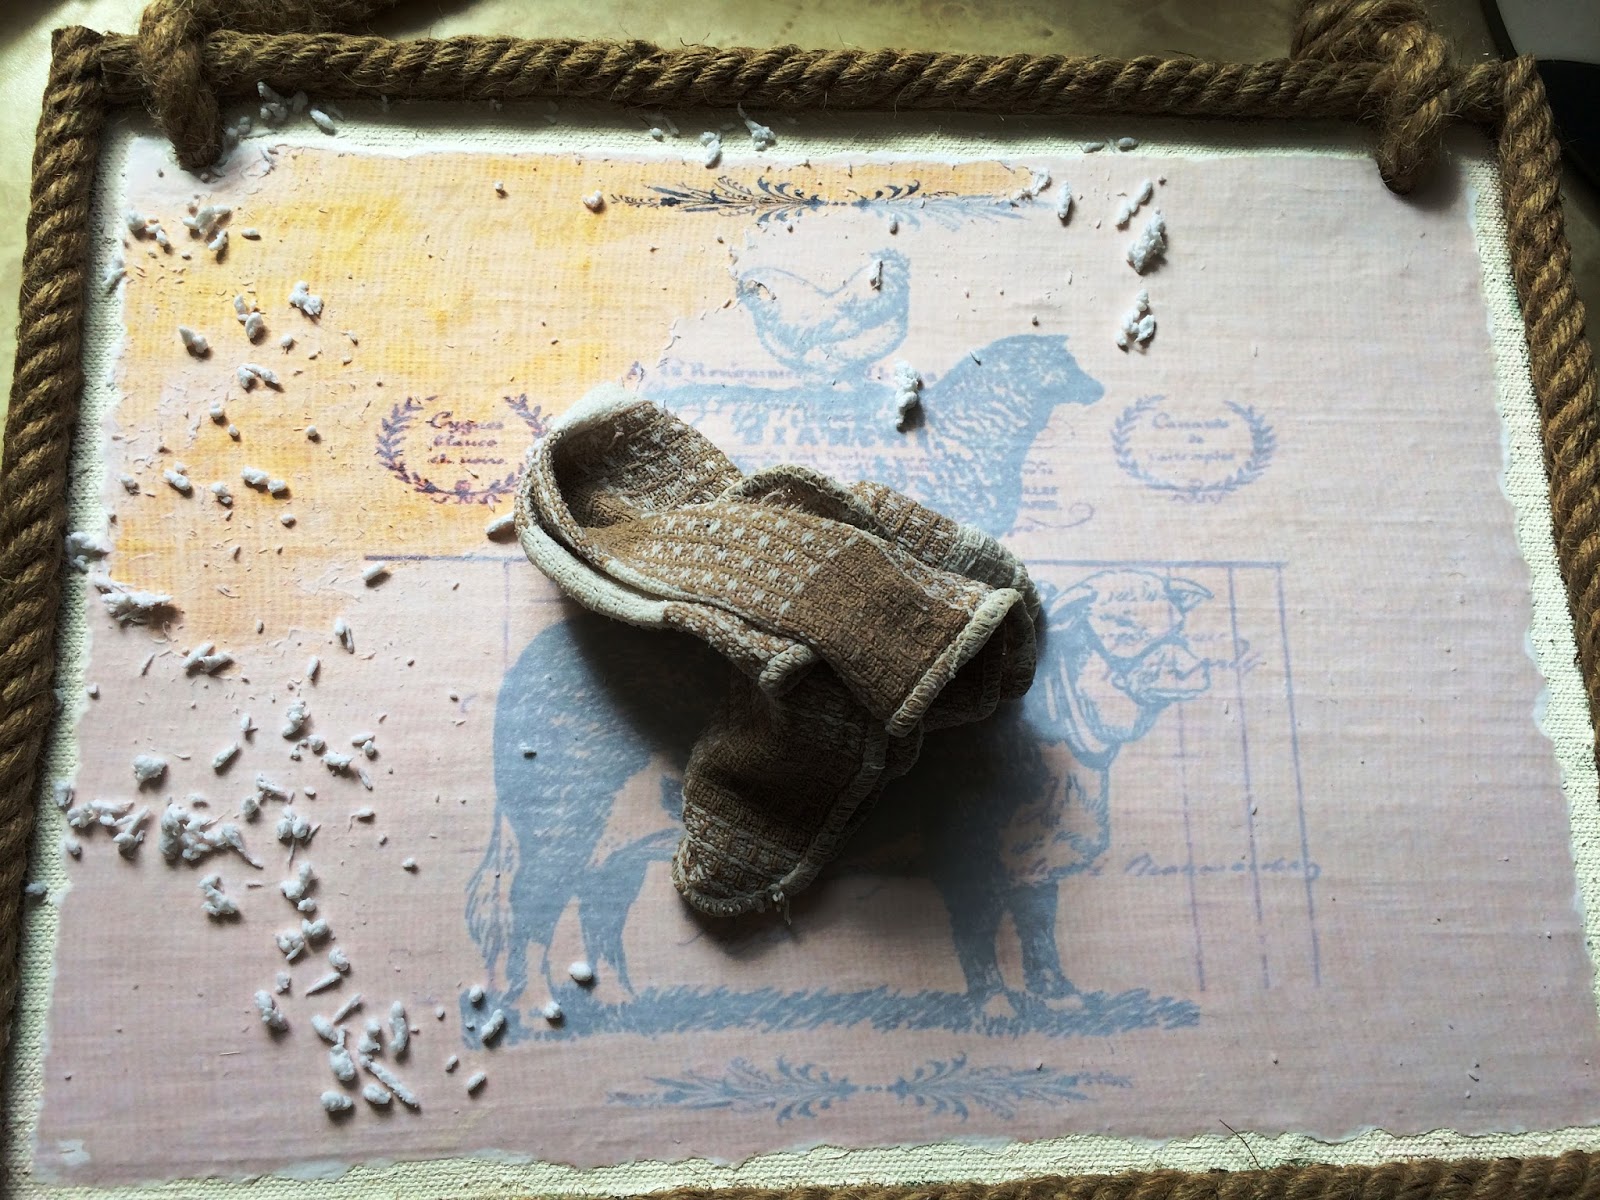
Painting the burlap left it sharp and bumpy. Scraping with a razor and then vacuuming it off made it smooth.

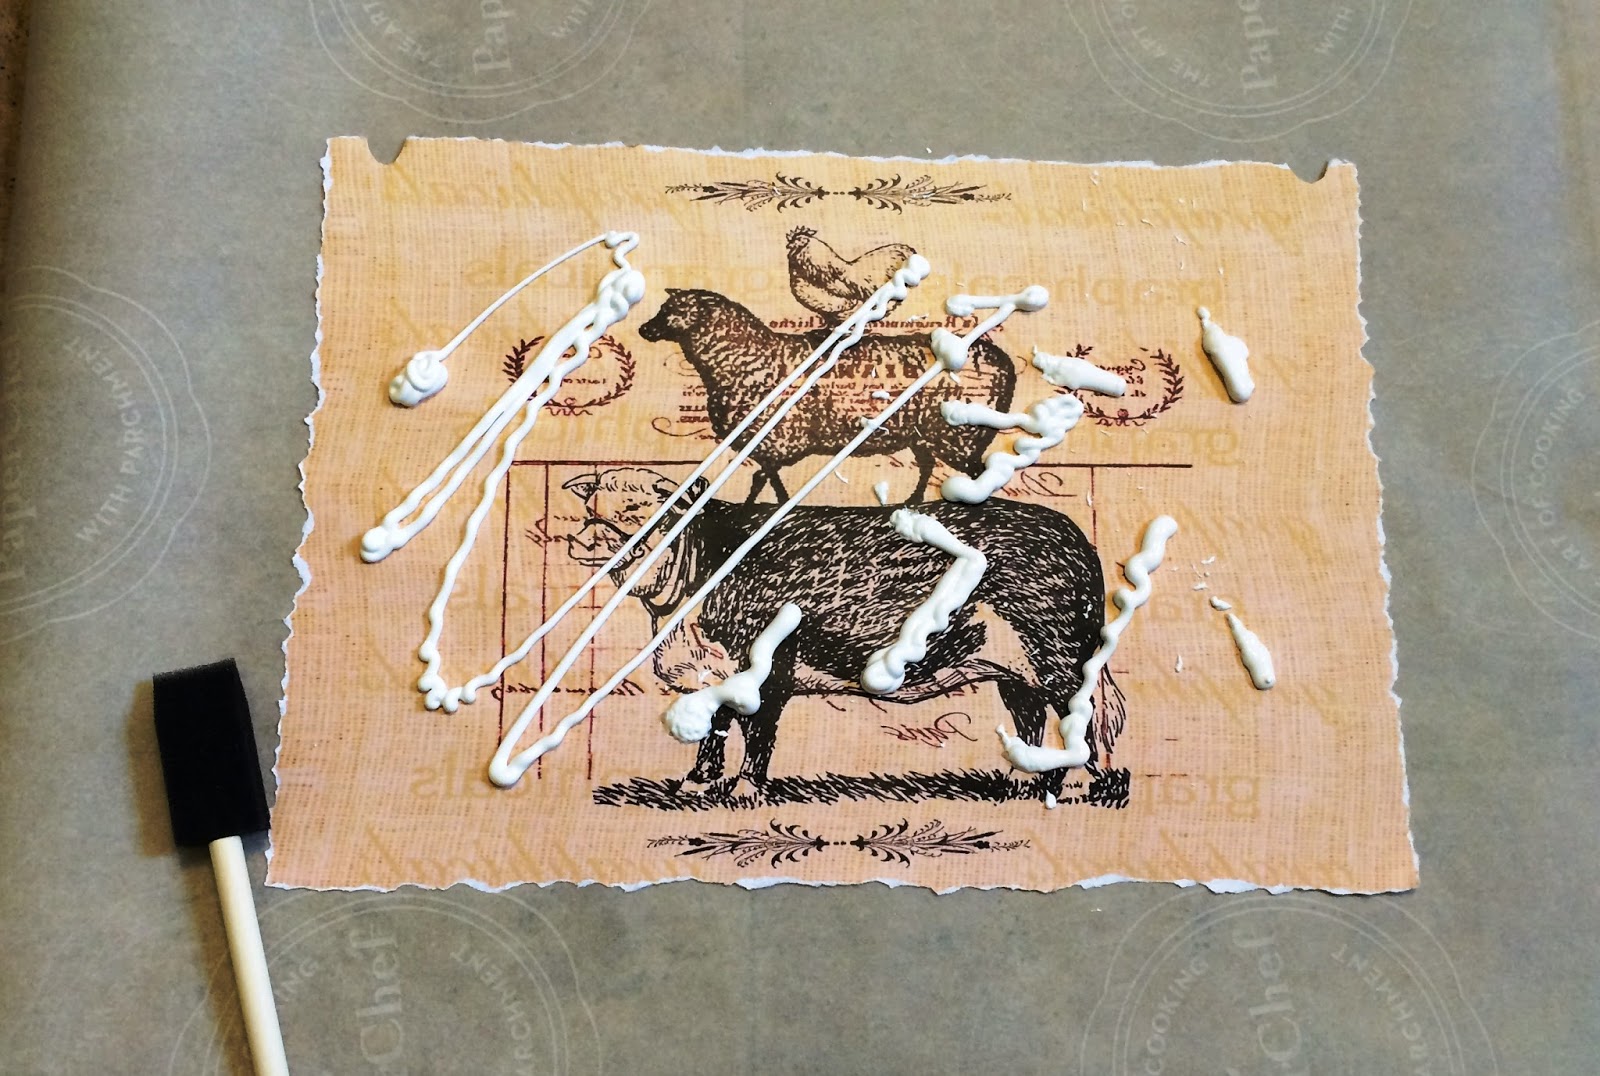
2. Prepare your image and cover with Photo Transfer Medium. I cut out two semi-circles for the image to fit centered on the board. (*remember, to make adjustments like this, you'll need to lay the image face down and measure or cut because that's how it will be transferred).

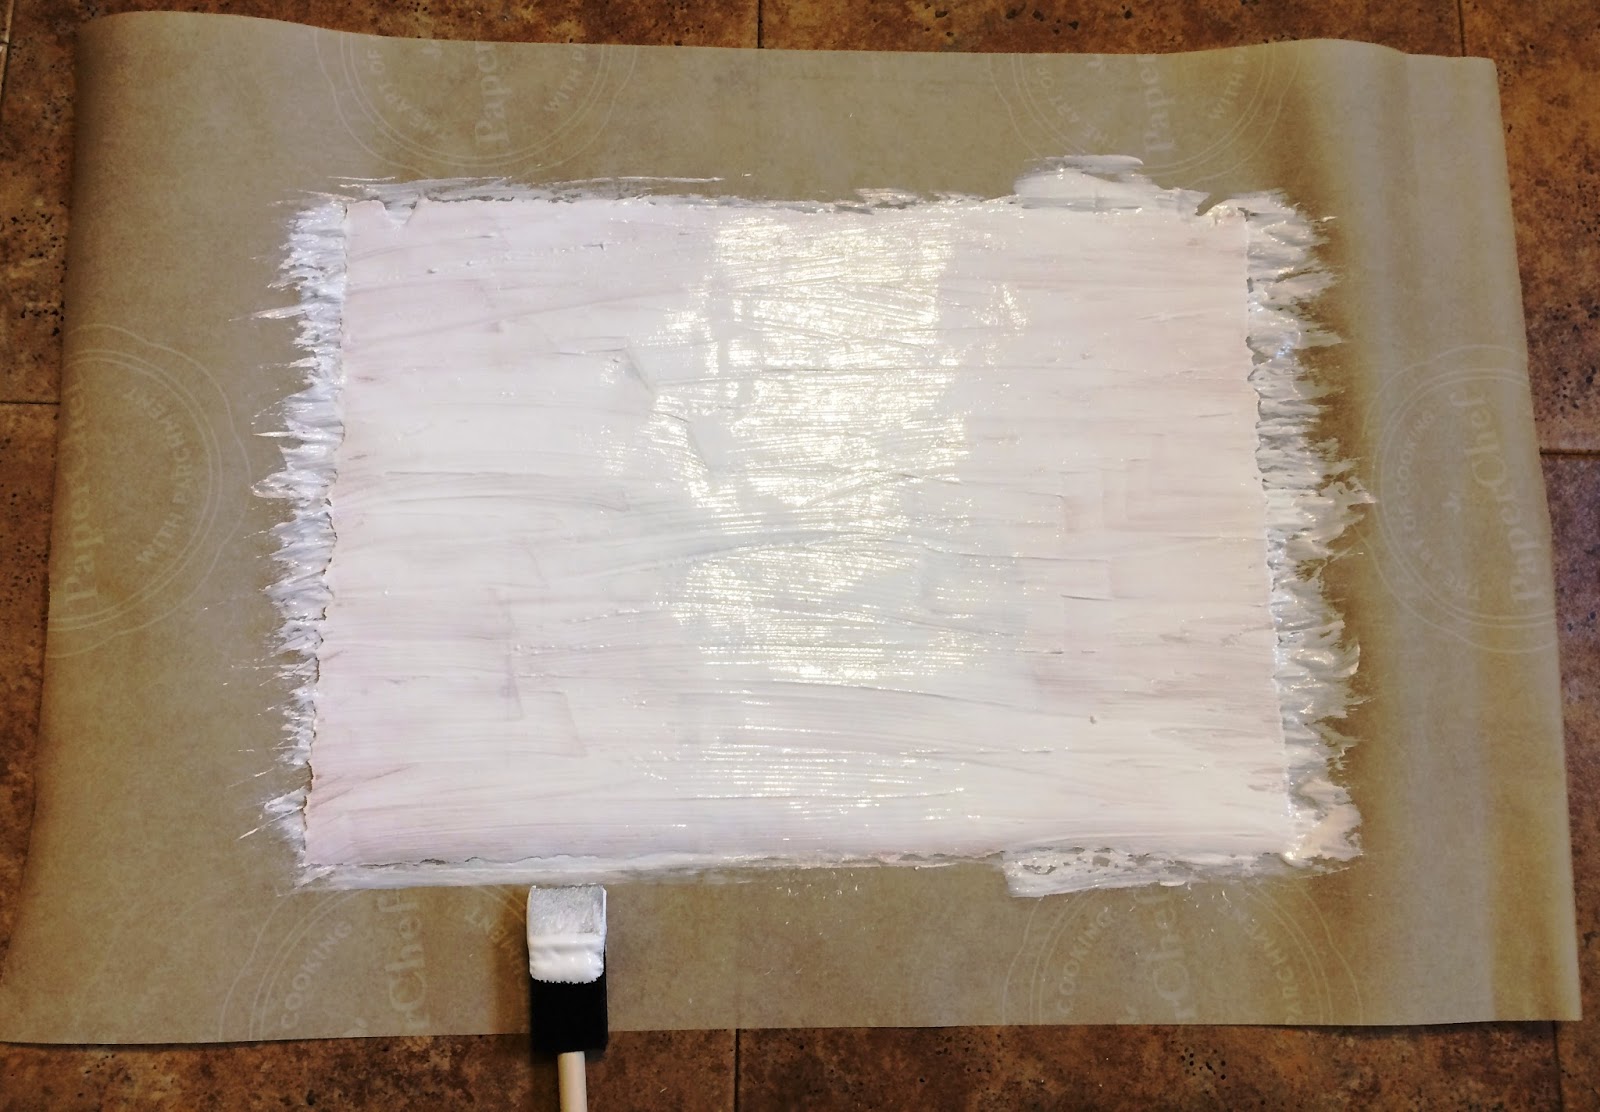
Lay newspaper or parchment paper down and spread the Medium over all edges. You need to spread down enough to cover the image completely - you shouldn't see much of the image through the Medium. My image was about 11"x17" and I used almost a whole bottle of Medium.

3. You may need help if you have a large image like mine, but carefully lay the transfer face down on the object, being careful not to touch the image side that has the Medium. Gently smooth out air bubbles and wipe off excess Medium with a paper towel. Let it sit for AT LEAST 12 hours, 24 hours if you live in high humidity.

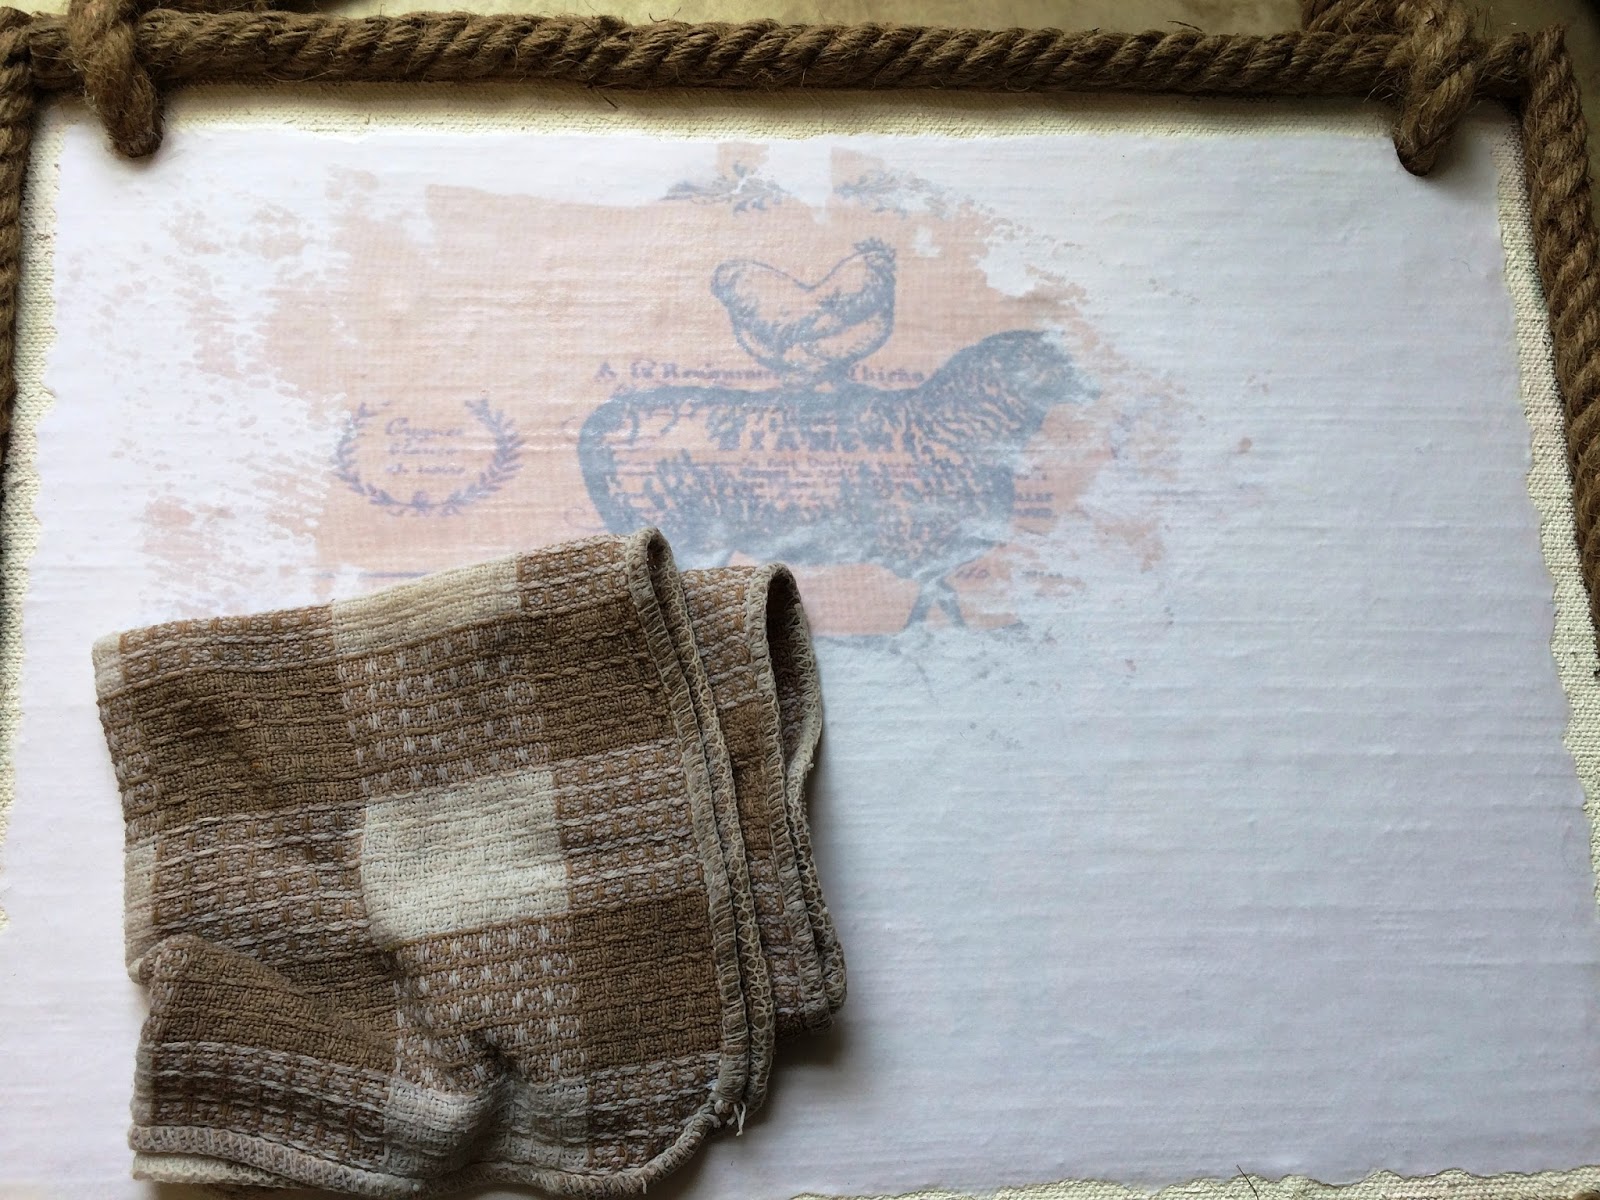
4. After you've left it to completely dry, dampen the entire area with a clean cloth or sponge and let sit for 1-2 minutes.


5. Using a gentle, circular motion, start rubbing the paper off the image with the damp cloth or sponge. If you don't get it all off completely at first, dampen the areas and rub again. You'll be able to see any spots you missed.

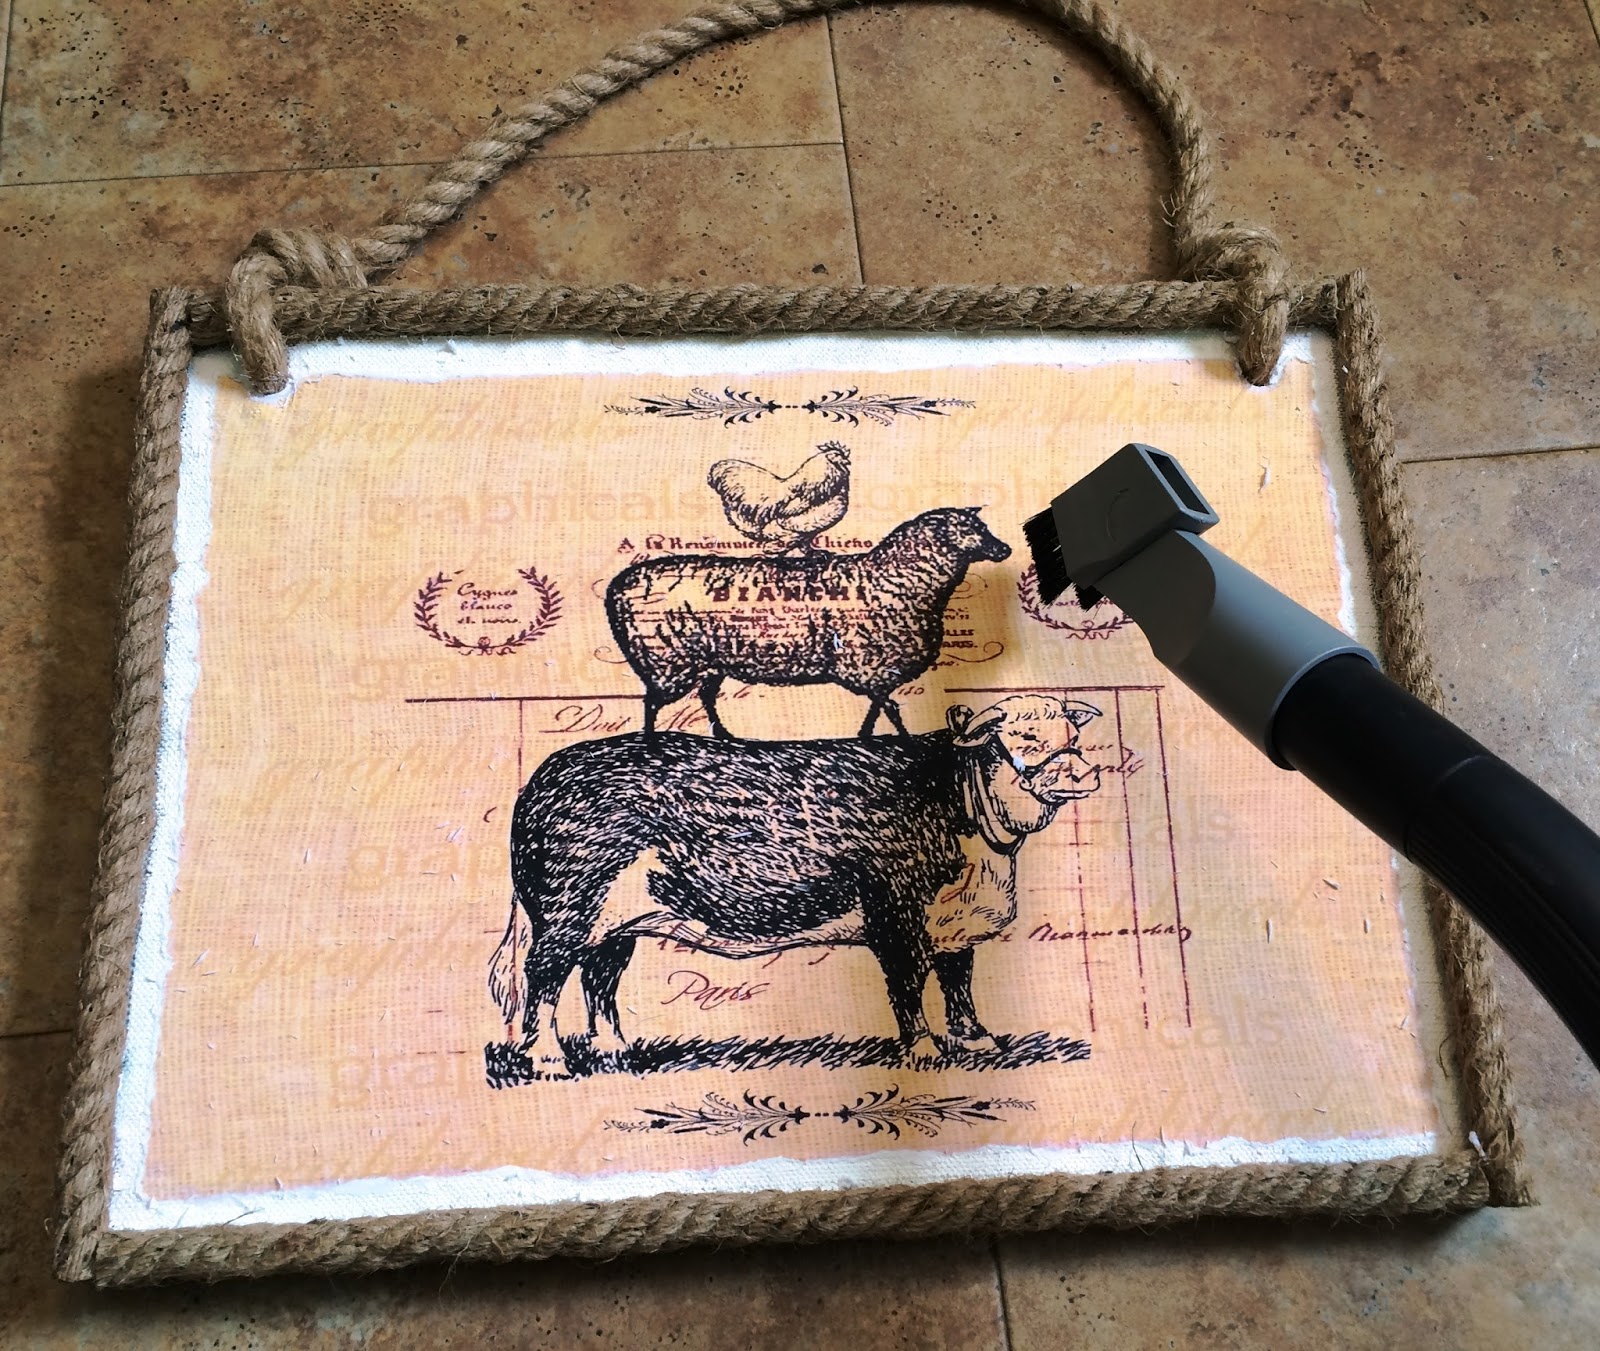
6. Wipe completely clean with a soft cloth or vacuum with a brush (I had to vacuum because of the rope frame). Make sure you use a clean, soft vacuum brush and that the transfer is mostly dry.

7. And that's it, it's done. You could coat it with a thin layer of Mod Podge Sealer for extra durability.

8. I made this as a gift and to add a personal touch to it, I ordered a metallic gold decal from Bright Swan Creations and stuck that over the photo transfer. Then I added in shadow lines with a black Sharpie to make the words pop.
Note:
If you didn't tear the edges of the image and still want a rustic look, this can be done at the rubbing stage. Just rub extra hard and the image will come off.

This was a fairly big project to use Photo Transfer Medium with, and I wouldn't recommend it unless you were wanting it to look like it was made as part of the object you were transferring to. I could have just used Mod Podge Sealer over the image and that would have likely done the job. But it was still fun to experiment with Photo Transfer Medium! There are so many techniques for sign making, and it's really just trial and error.

And, if you're really good with computers, you could edit the image in Photoshop to have a watercolour paint look to it and transfer onto canvas. Experiment with the image and objects you can transfer to.

Friday, July 03, 2015

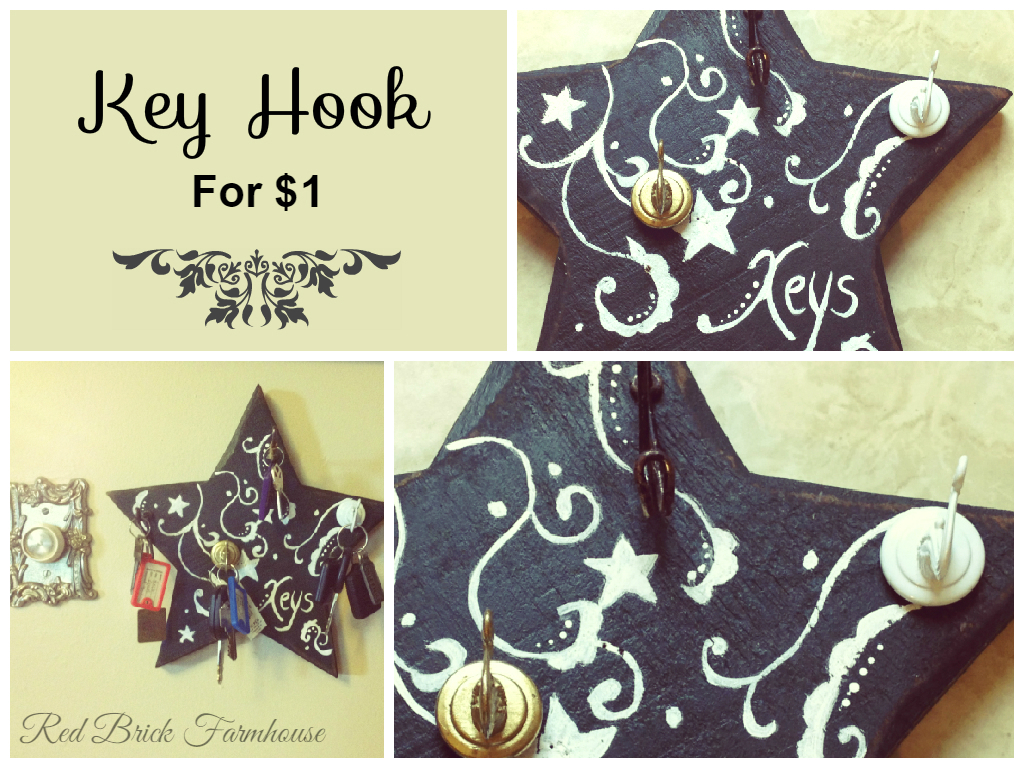
My $1 Key Hook

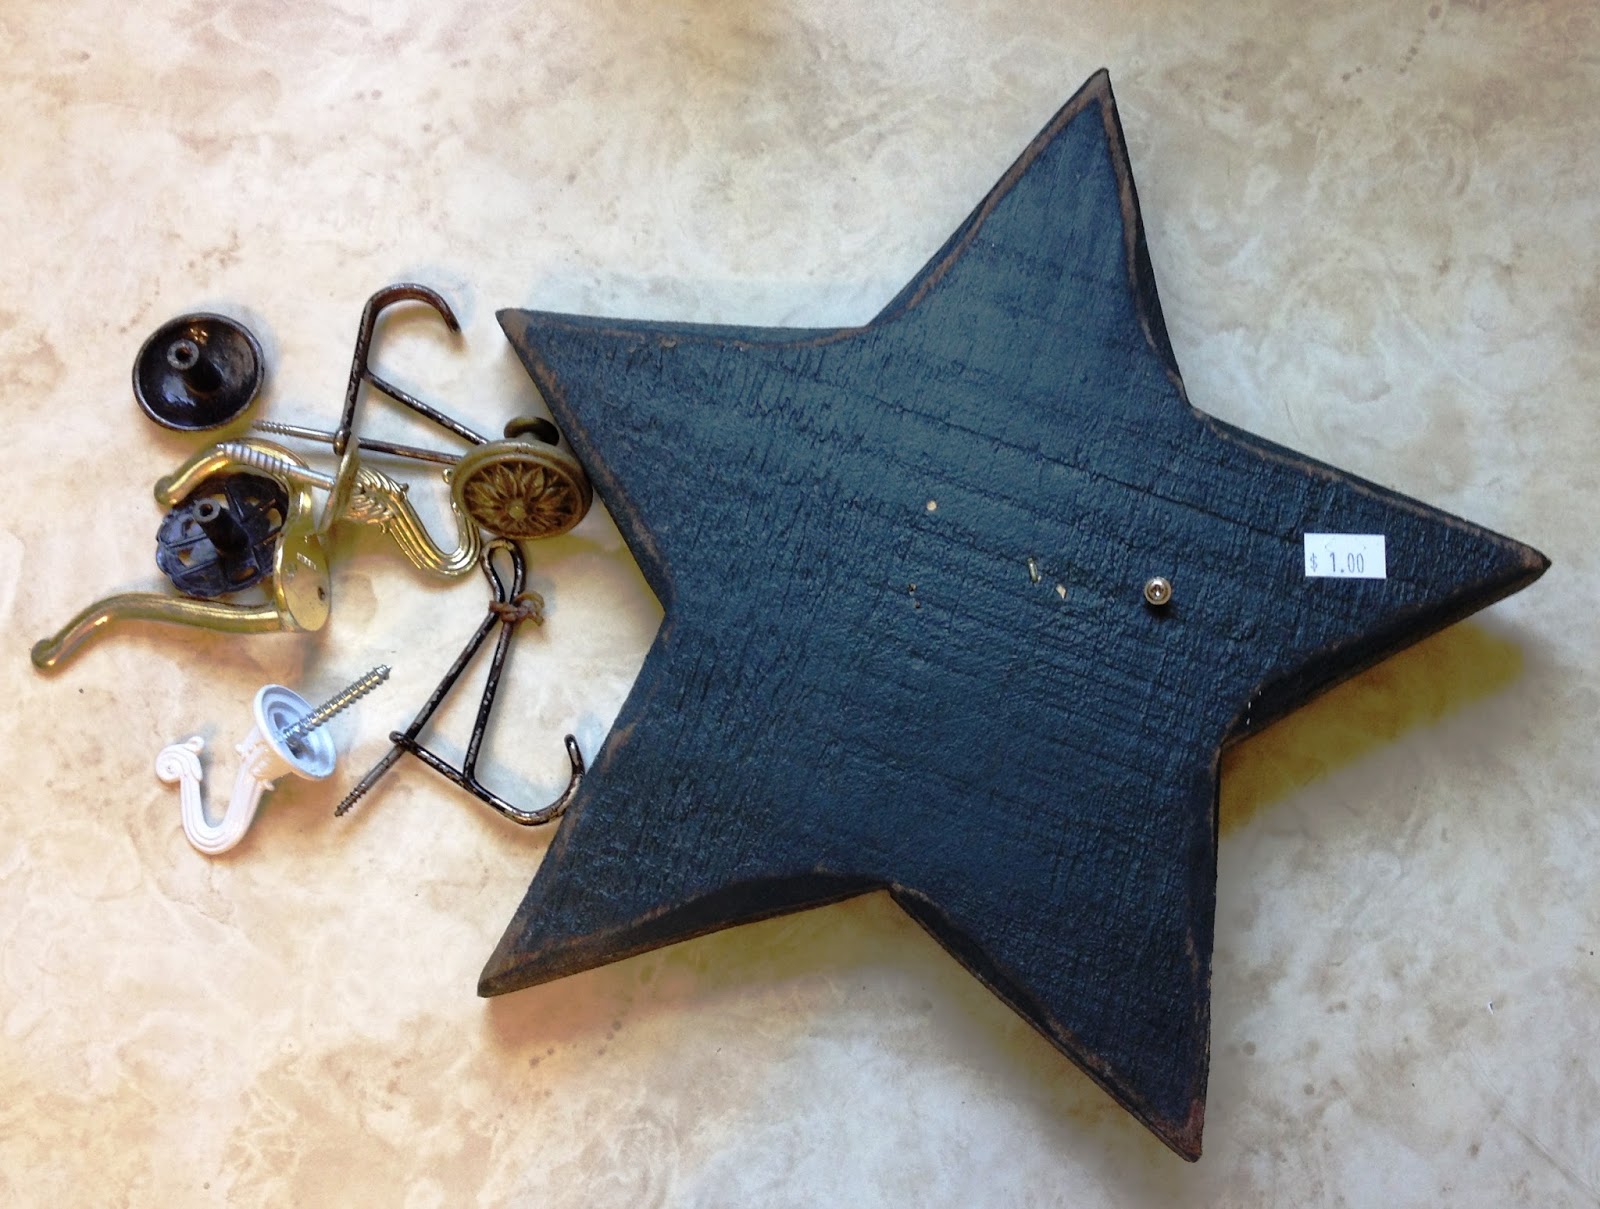
Thrift store shopping: it's so much fun and you find the weirdest and most wonderful things. Every time. A few weeks ago I found this black wooden star for $1. Yes $1!!! I also found a cute little upholstered stool and its lid opens up (the kids love it), and a macrame plant hanger. A good haul in my opinion.
I moved some things on my walls to make room for a new-to-me antique hoosier cupboard (more on that in a future post) and that meant I had to get rid of my peg hook where I hung keys before (a garage sale find). After searching Homesense for a replacement, unsuccessfully I might add, this idea came to me.

My $1 wooden star(!) and some hooks I removed from walls of the farmhouse when we moved in.
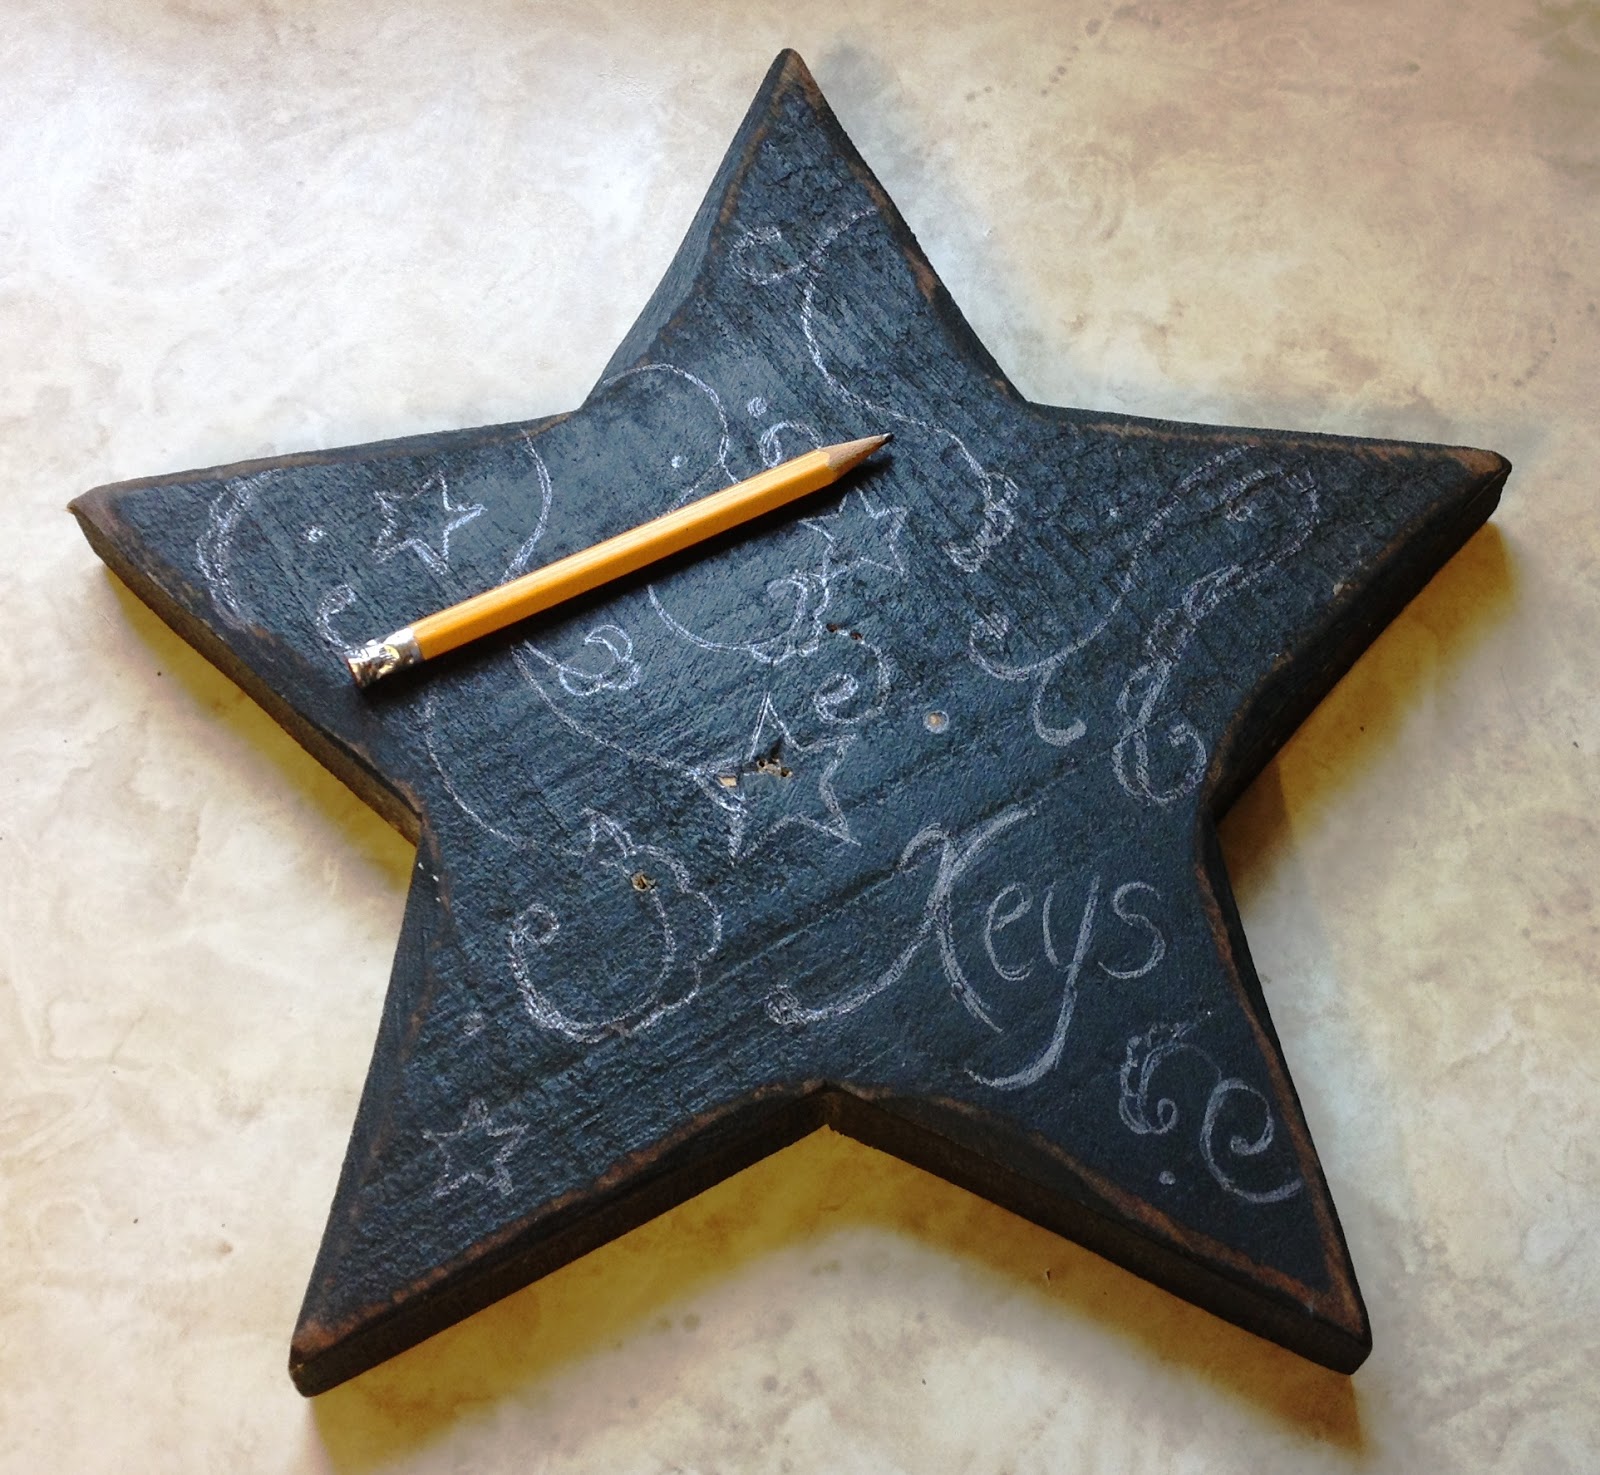
Drawing my design on. I used the idea here for inspiration.
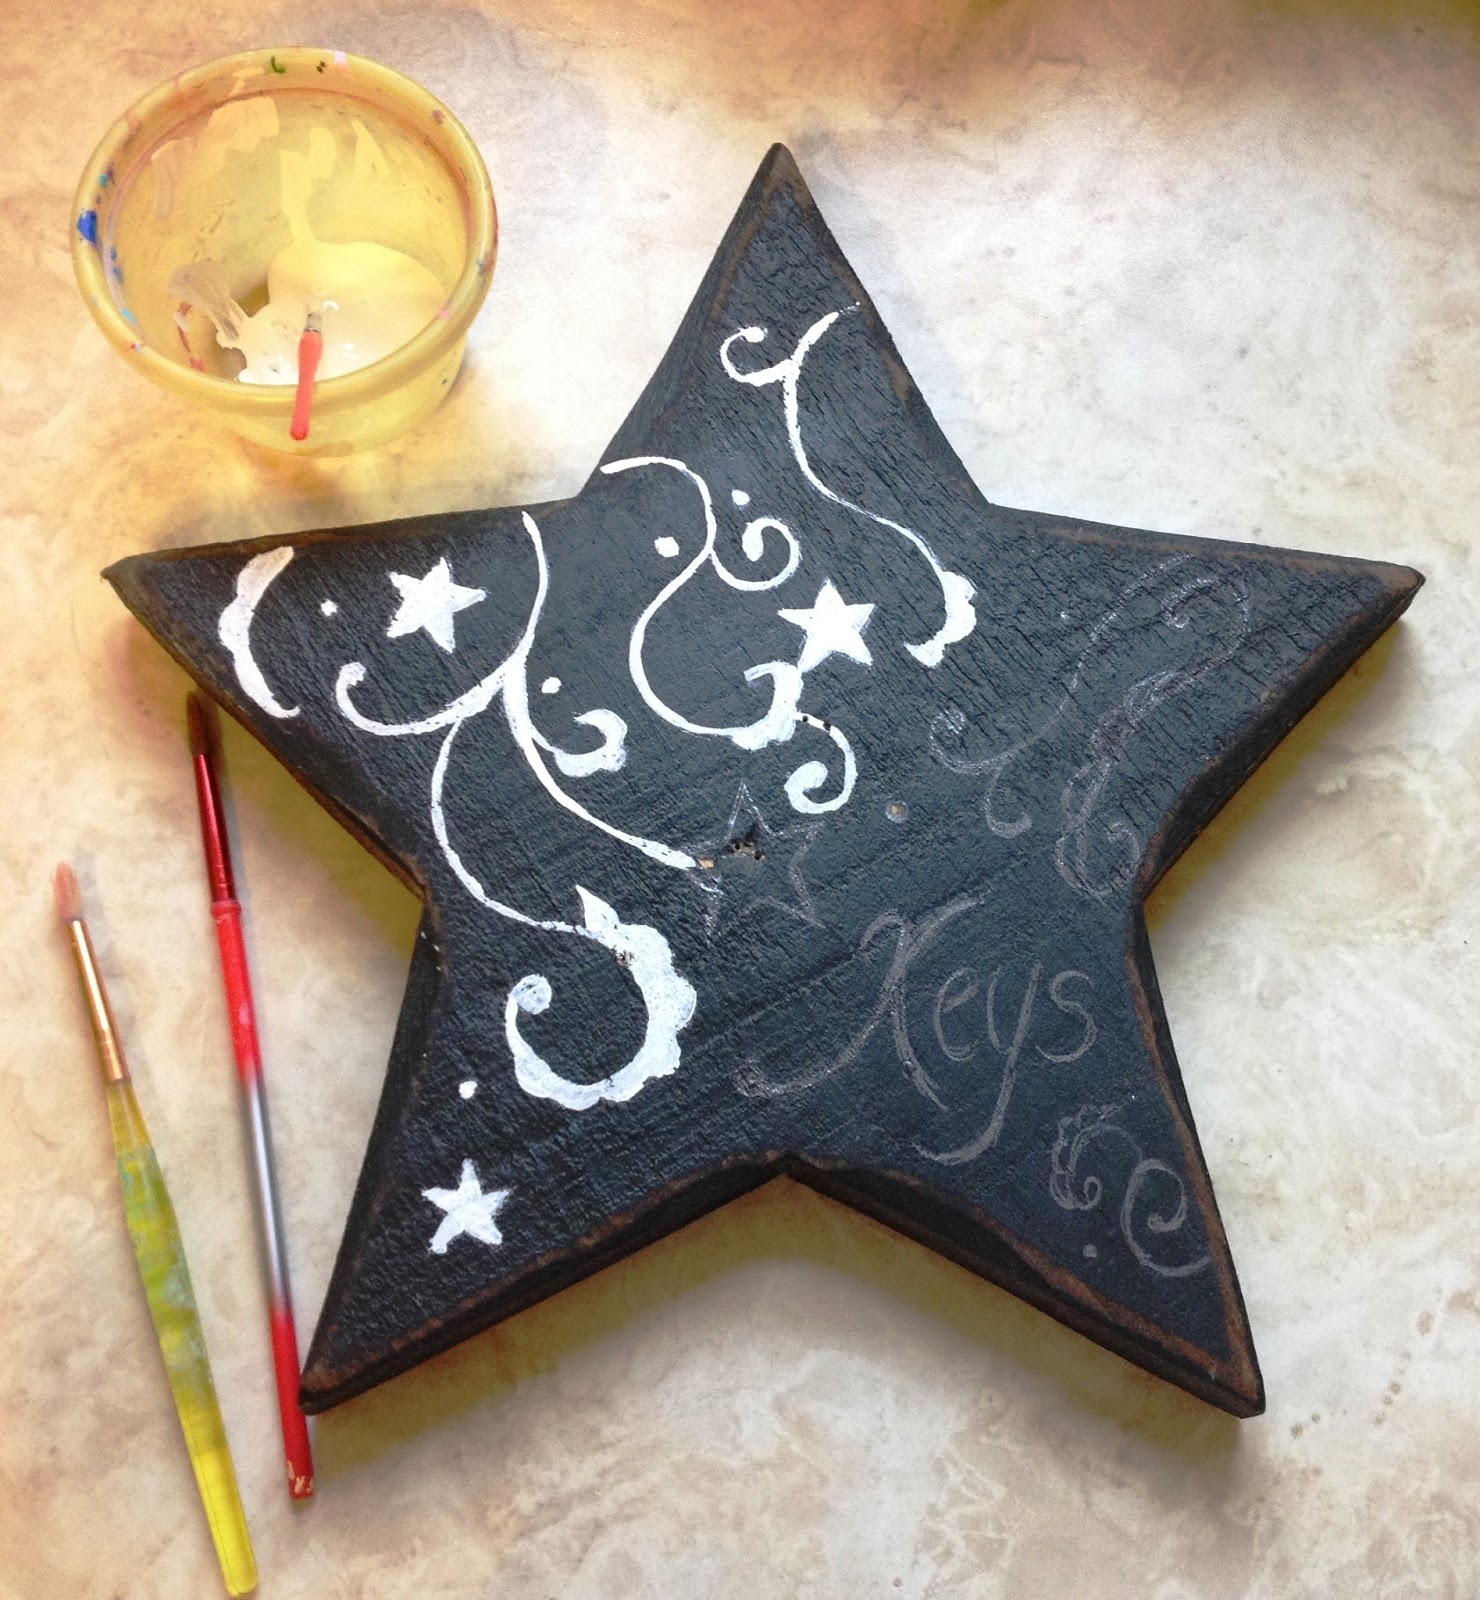
Painting the design with acrylic paint - a work in progress.
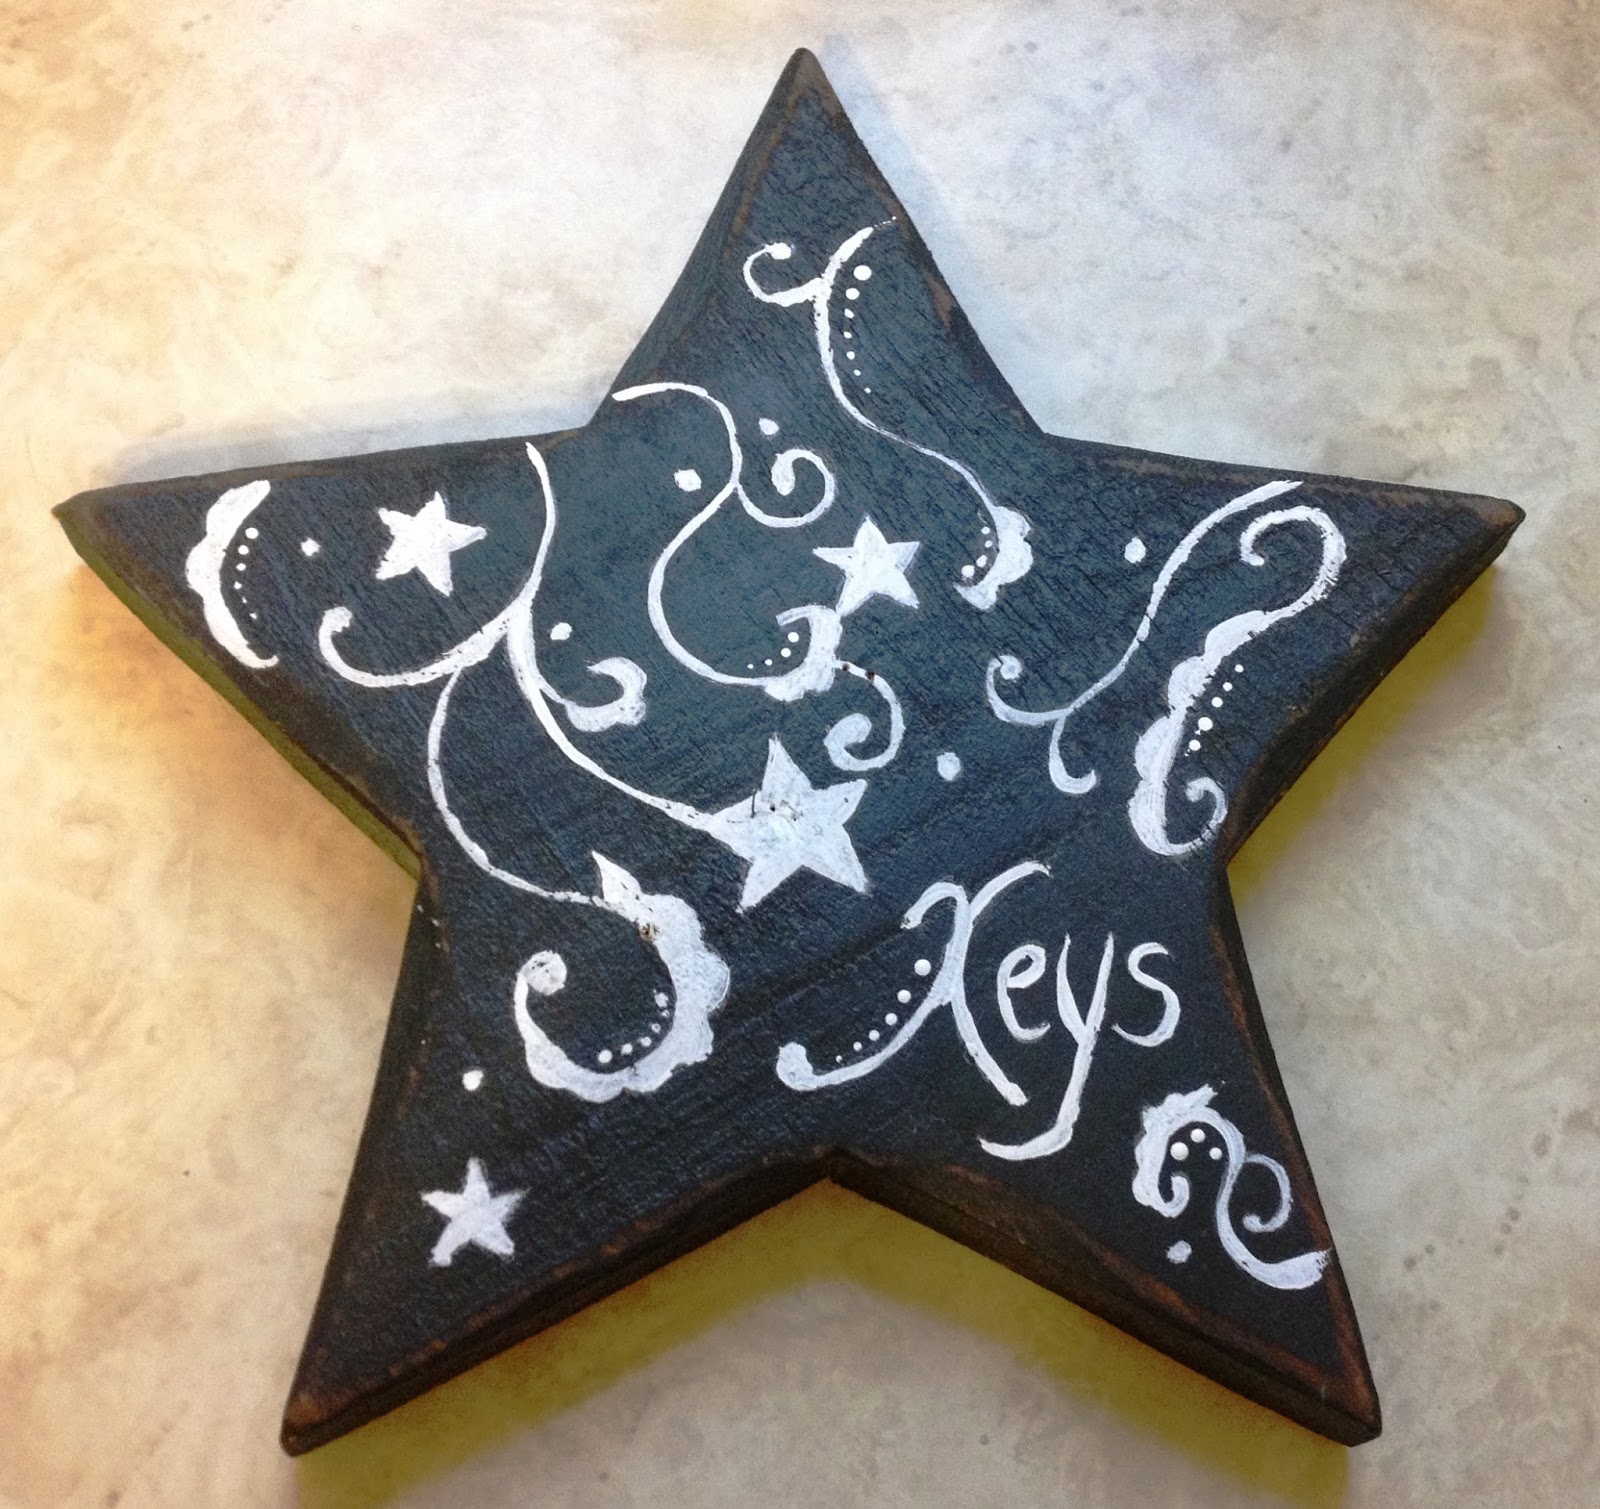
The finished design.
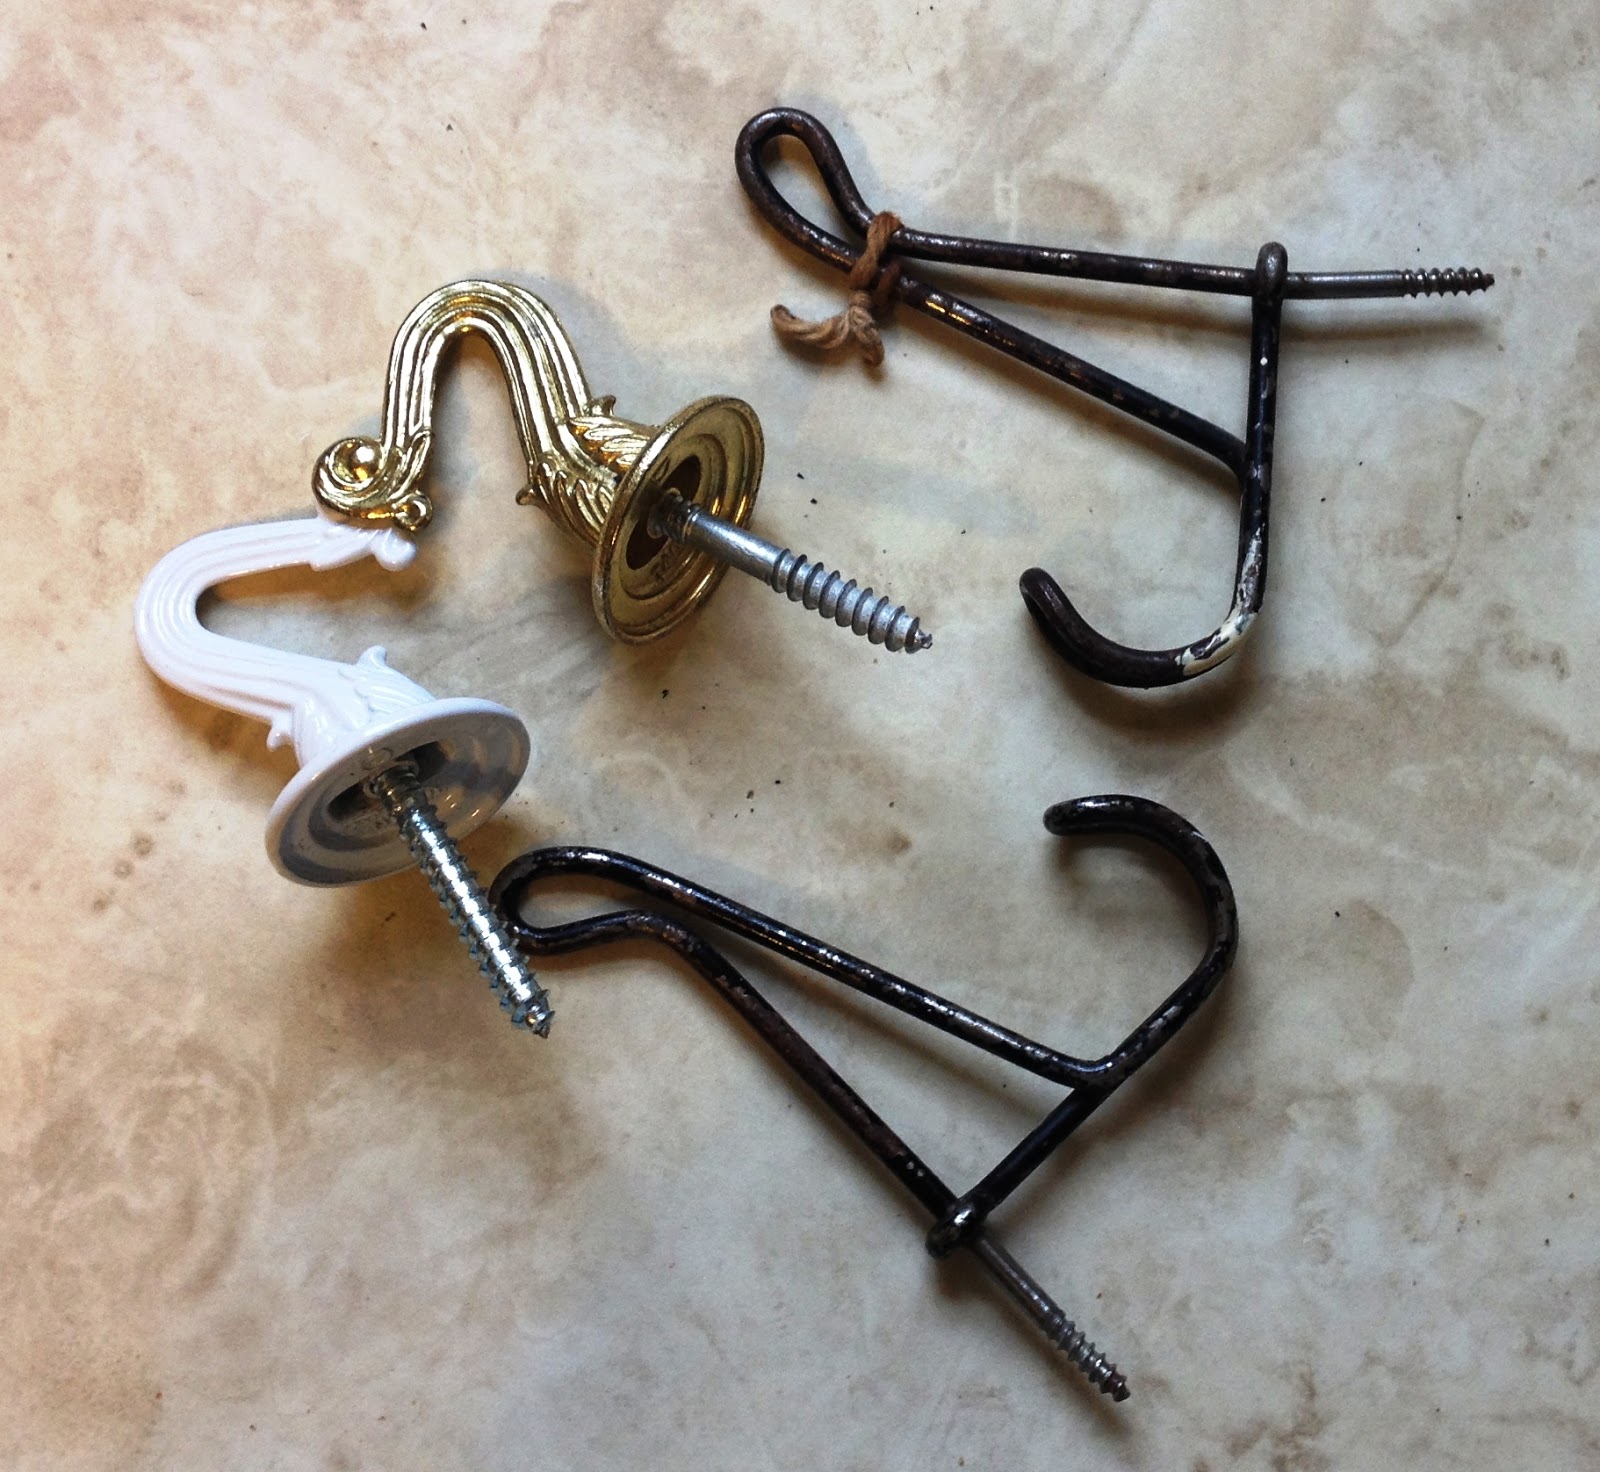
The hooks I decided to use. Then I laid them out and marked the positions on the star. I just had to hand screw them in.

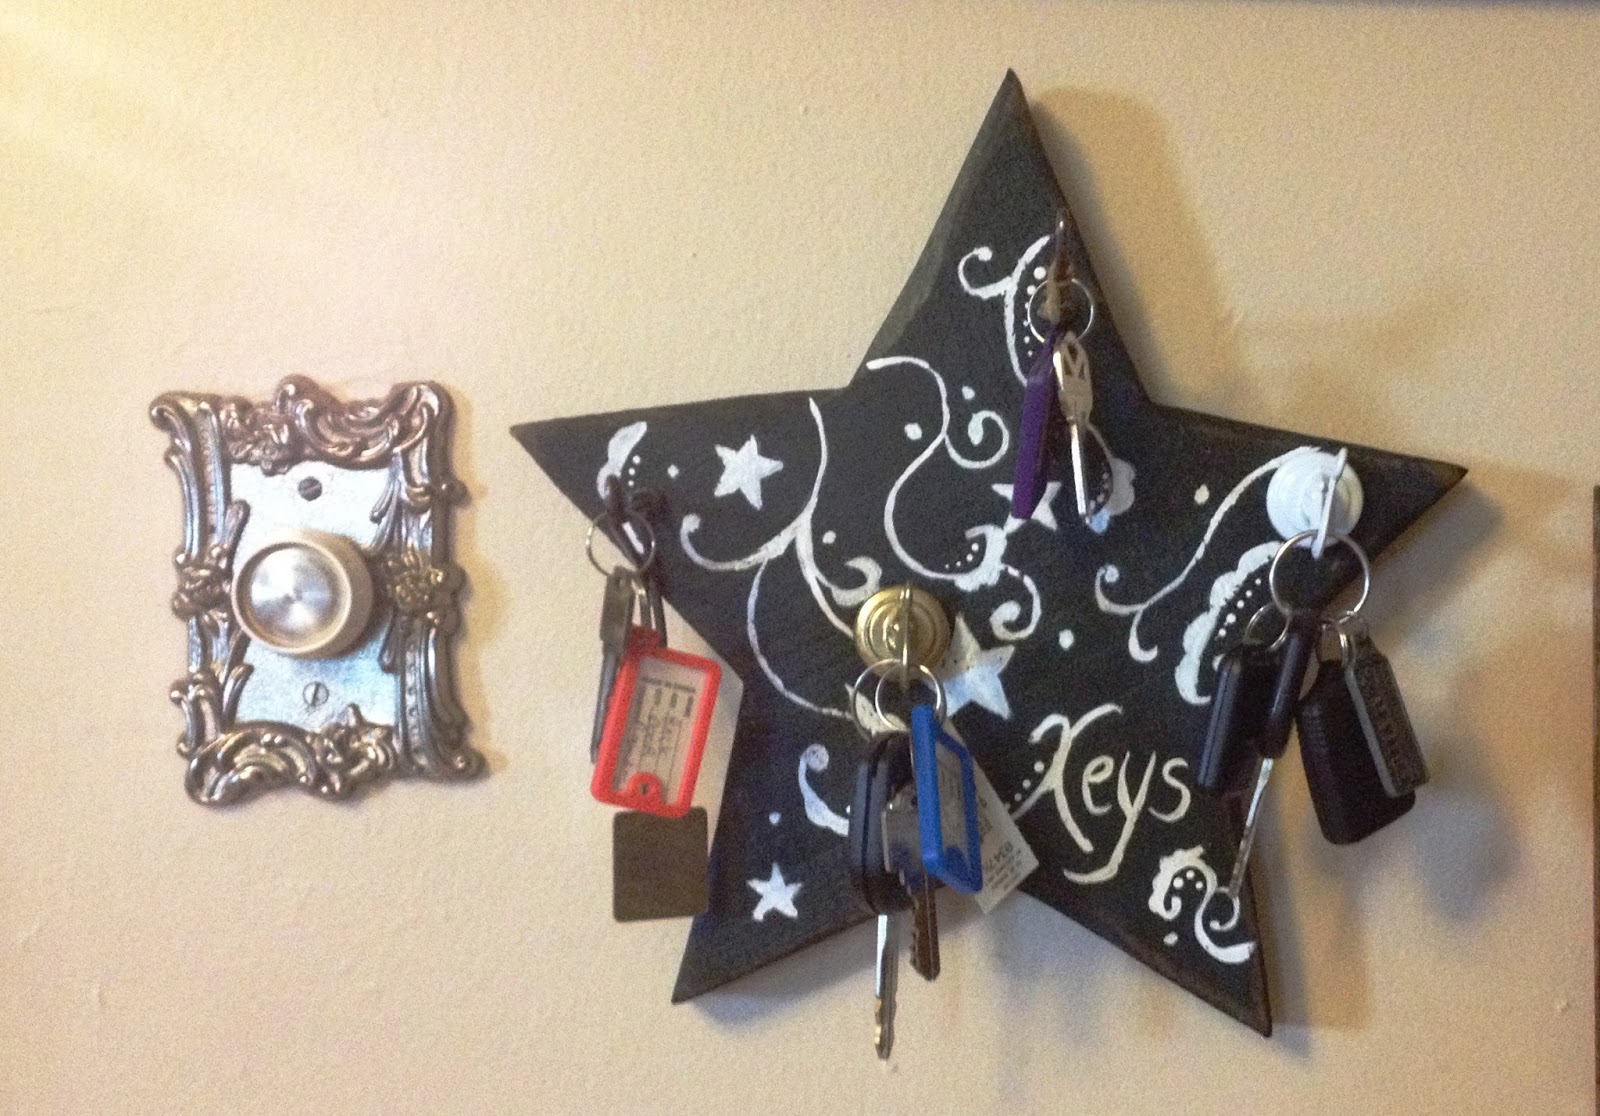
The finished product.

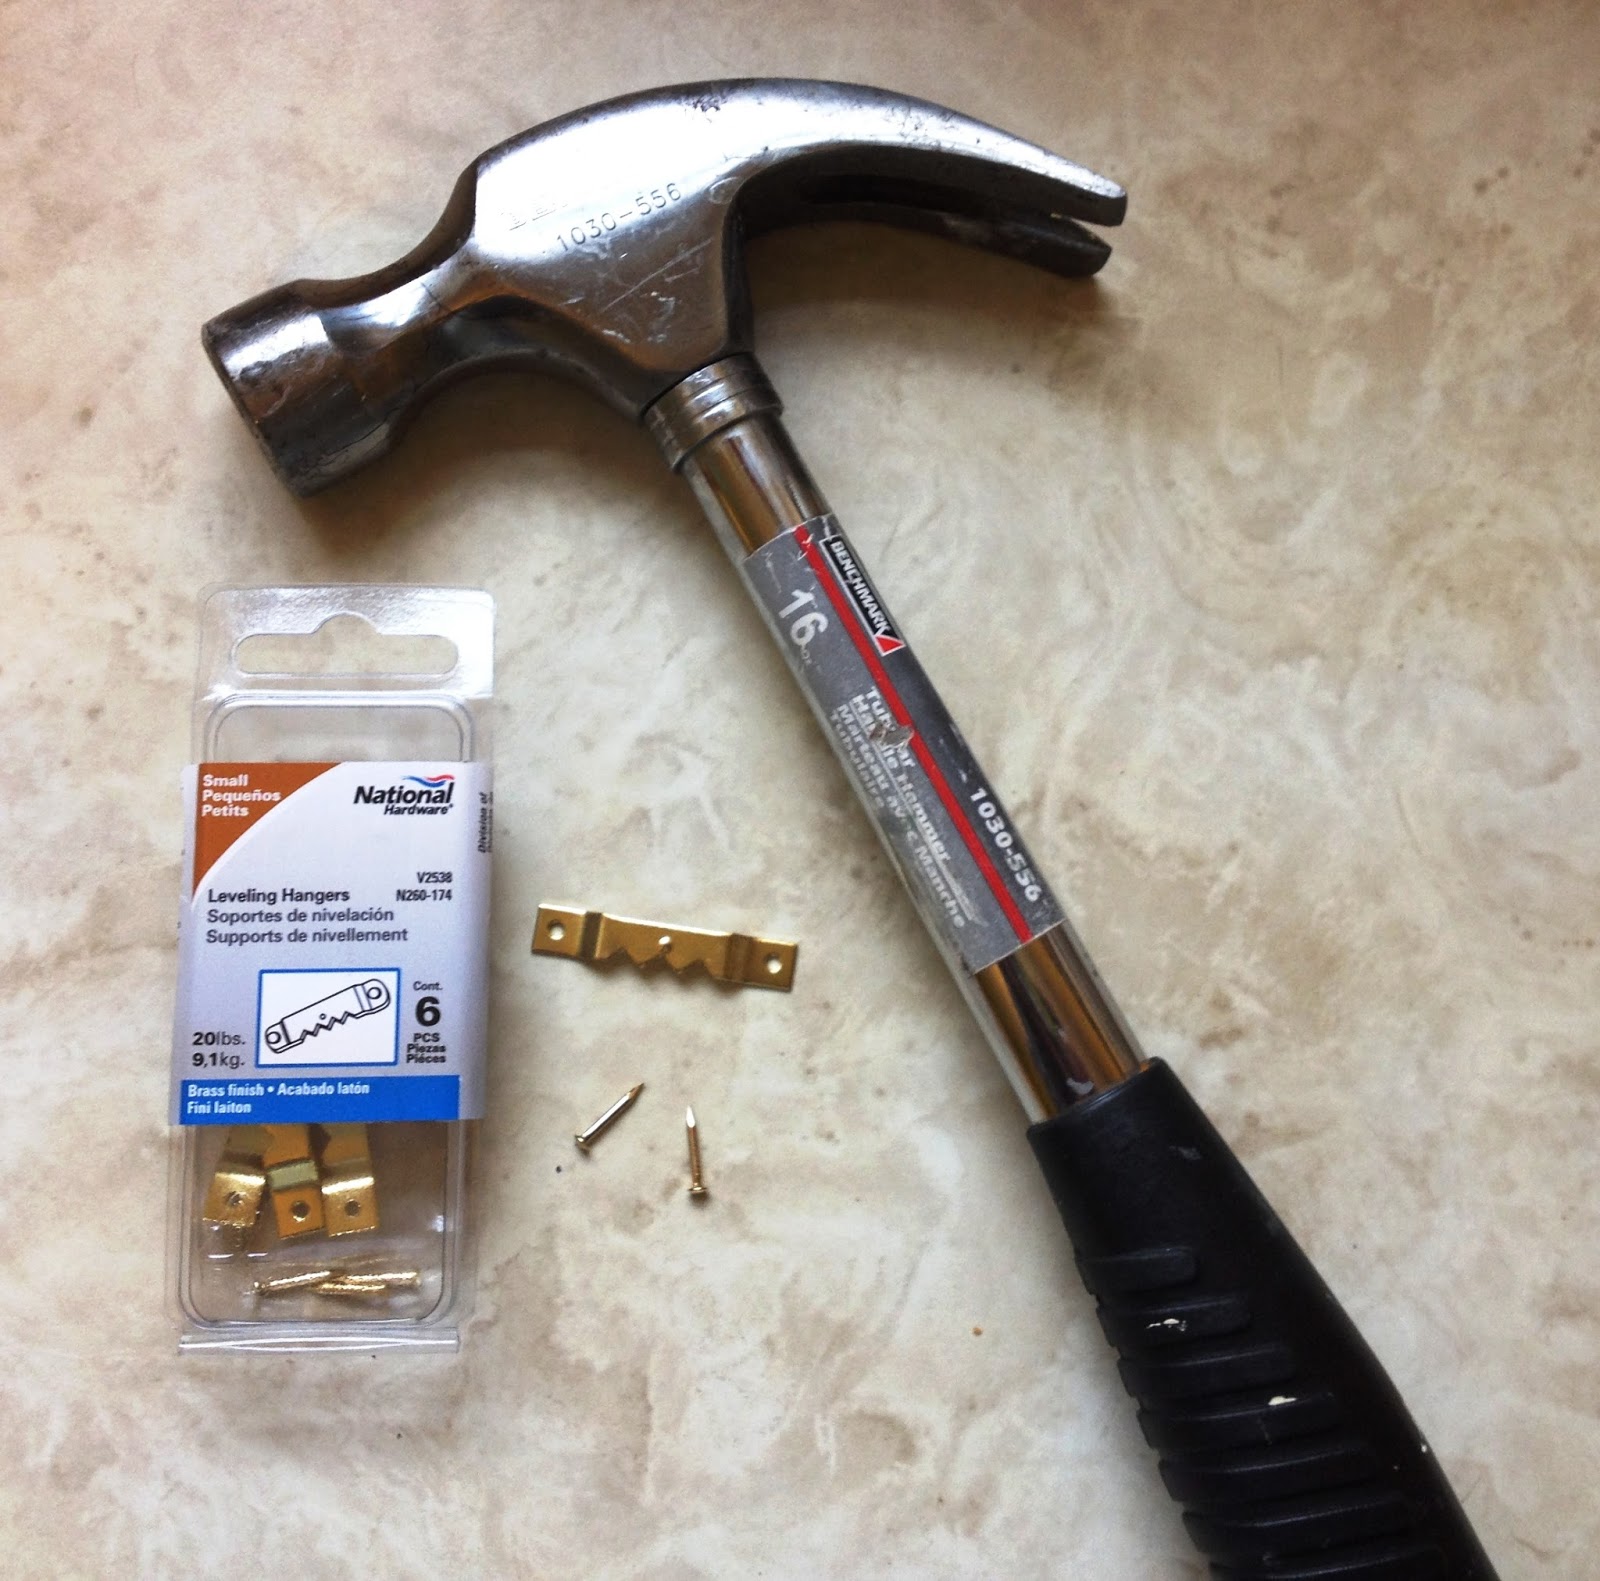
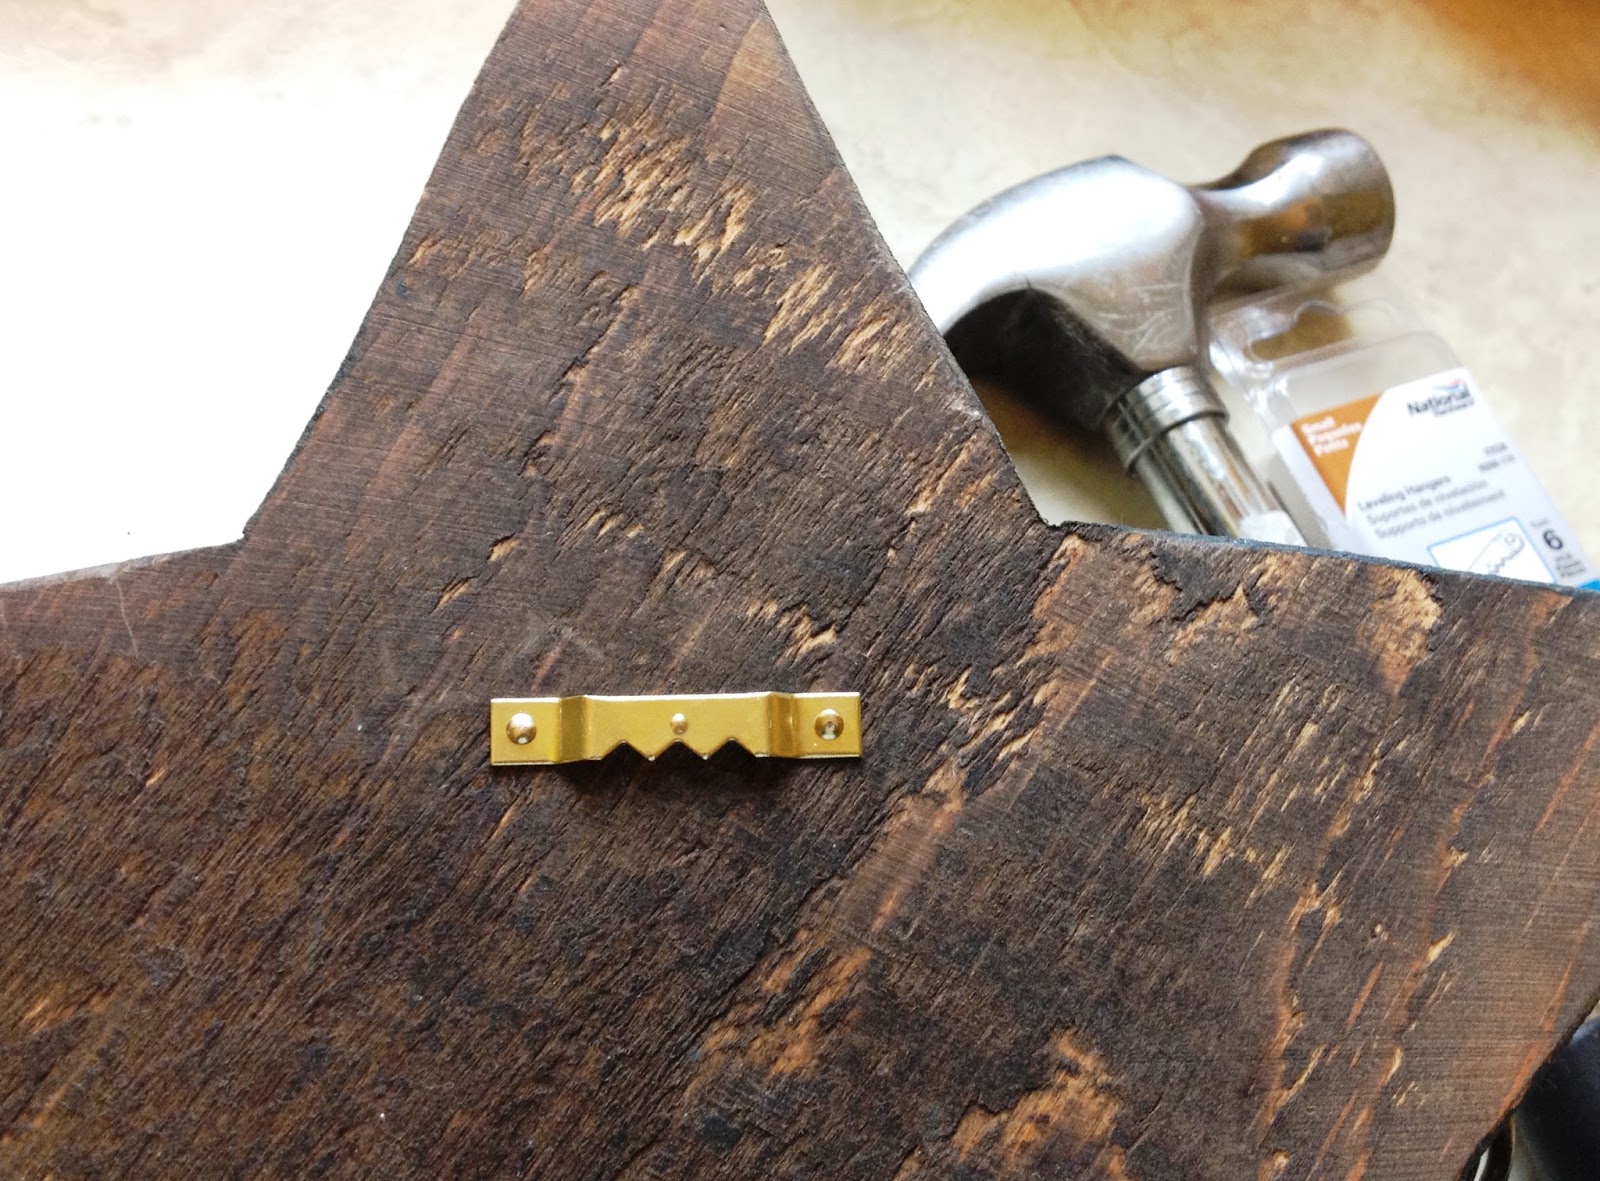
I always keep picture hanging supplies around and it was simple to install this one.


And now I have a one of a kind key hook that cost me $1, and completed it with things I already had around the house.