Farming Life by the Farmer's Wife

Showing posts with label Create. Show all posts

Thursday, October 20, 2016

Easy Playdough Recipe

The Kindergarten classes at my kids school always asks for volunteer's to make playdough for the class. Of course I try to help out where I can and making playdough takes very little of my time, and besides, the kids enjoy playing with it. Since it's been four years since my oldest child has been in Kindergarten, I discovered this recipe I was given back then has become outdated! To colour the playdough, the recipe calls for the little packets of unsweetened Kool-Aid powder. I've always liked to use it because 1. it's easy and 2. the playdough is scented in the flavour of Kool-Aid you chose. Apparently unsweetened Kool-Aid powder is no longer sold (that I could find in our local grocery store), but it's now sold in a sweetened liquid form and you can add how ever many drops to a big jug of water or a small water bottle. I don't recommend using this to colour the playdough, but rather food colouring.


Ingredients:
2 cups all-purpose flour
1 cup table salt
4 tsp. cream of tartar or alum (found in the spice/baking aisle)
2 cups water
2 tbsp. vegetable oil
Food colouring or 1 packet Kool-Aid powder (if you can find it)

Instructions:
1. Mix flour, salt, cream of tartar (or alum) and Kool-Aid powder (if you have it) together in a large cooking pot.

2. Mix water and cooking oil together in a separate bowl. Mix in food colouring in this step if you are using it.

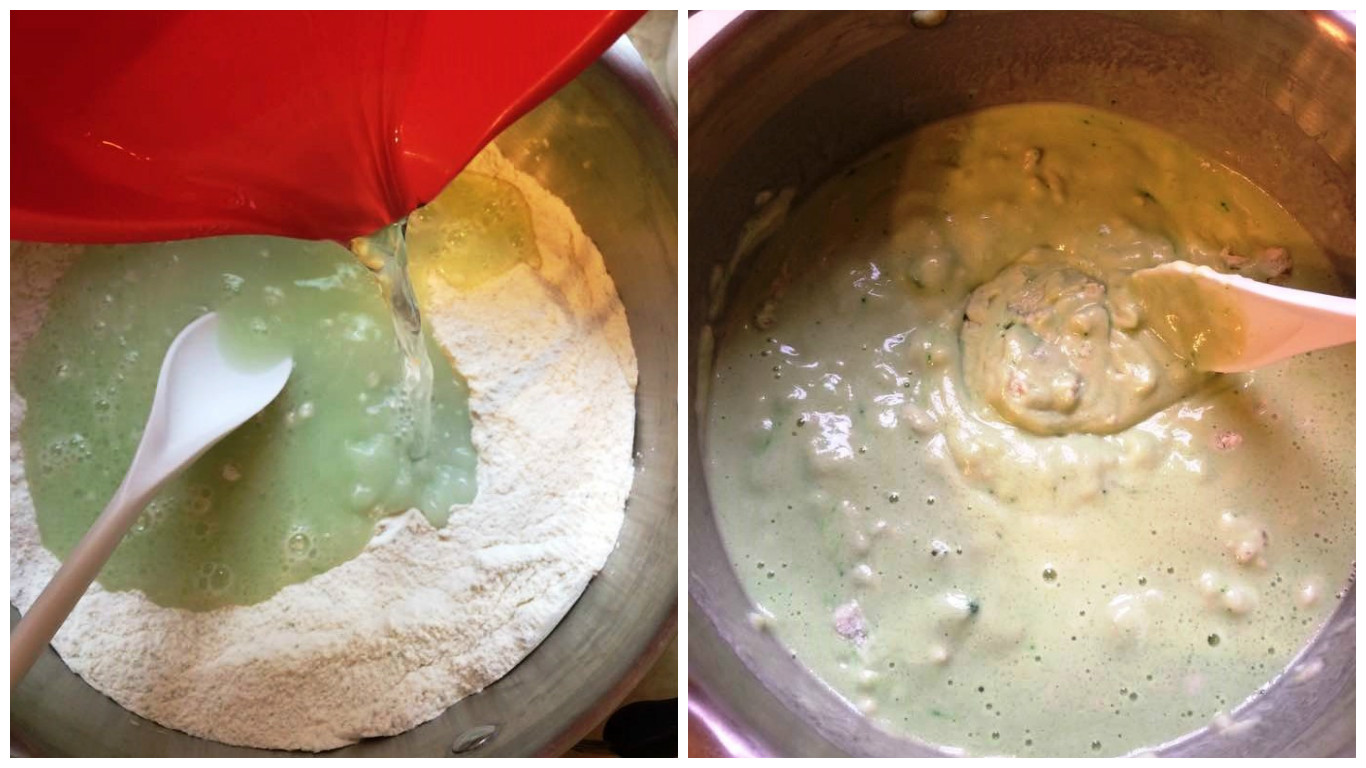
3. Add the wet ingredients to the dry ingredients. Stir to mix.
4. Cook over medium-low heat, stirring occasionally until it forms a ball-like shape. Do not overcook (about 5-7 minutes).
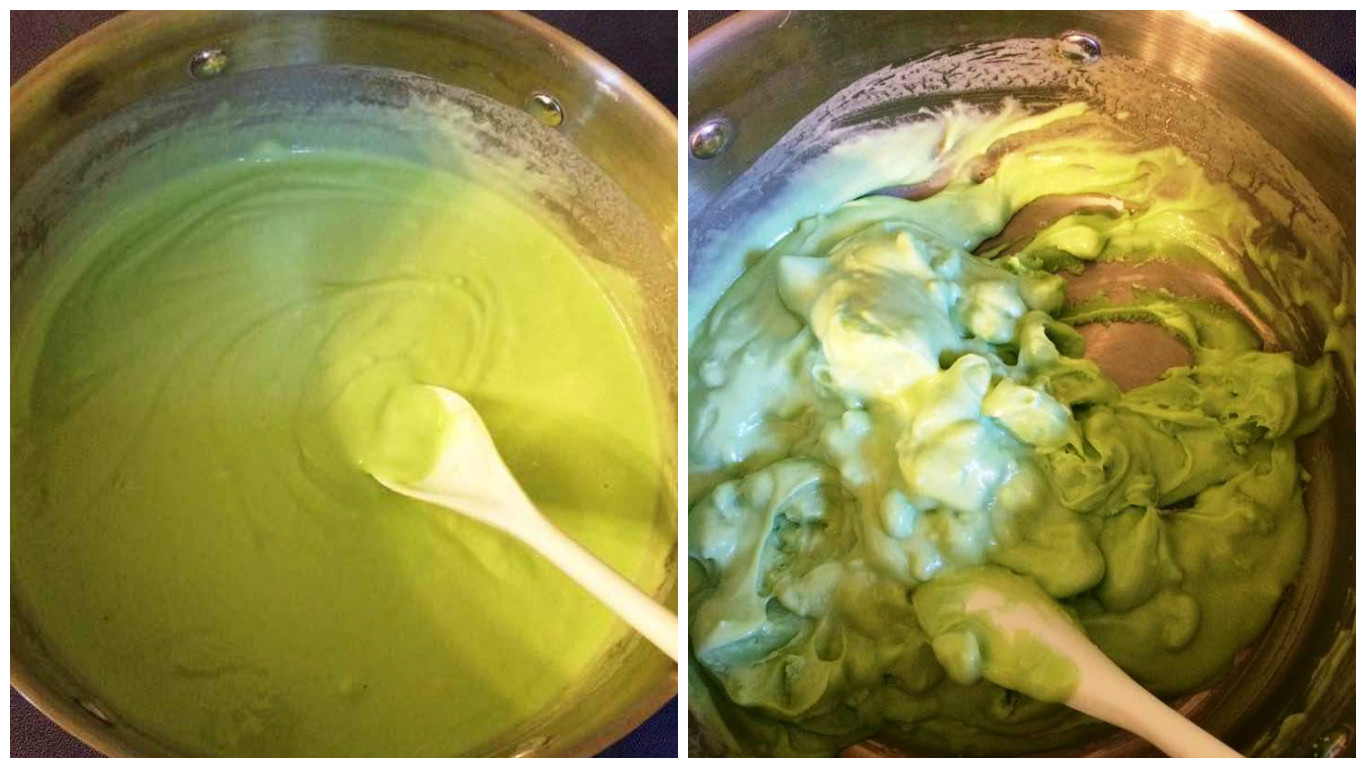
5. Turn dough onto clean, dry counter surface and finish mixing/kneading by hand. Putting the dough on parchment or waxed paper works really well. For protection if you have sensitive hands, you can wear dish gloves for this step but it's not required.
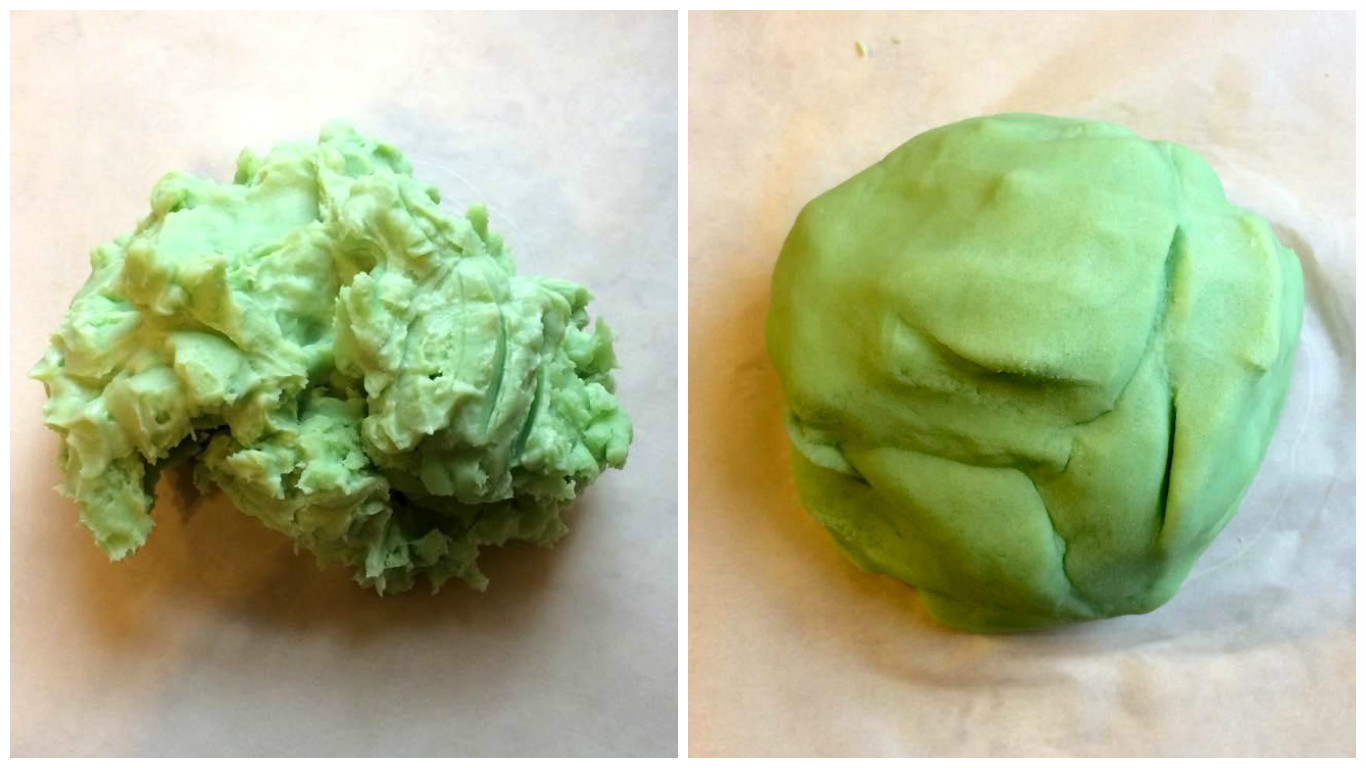
6. Allow dough to cool. If you can, lightly wrap the parchment paper around the playdough so it doesn't dry while cooling. Store playdough wrapped in parchment paper in a Ziplock bag.

7. Have fun playing! If you don't have playdough toys, kitchen utensils work great and create fun patterns. Just make sure to supervise your kids.

Monday, May 16, 2016

Tips for Raising a Creative Child

It's always nice to receive a special home-made gift or picture from your child, but what do you do with all these creations? My oldest child is always creating and crafting something. Usually it's just with a piece of blank computer paper and some tape. Empty Kleenex boxes become a home for a stuffed animal or a hat for her little brother. Sometimes I find myself hiding the empty boxes or cardboard rolls from toilet paper, so Jenna doesn't see they're available to use. Eventually these creations start to pile up and I just don't know what to do with them. I hate having clutter around and I would really just love to throw them in the burn barrel, but that would hurt her feelings.

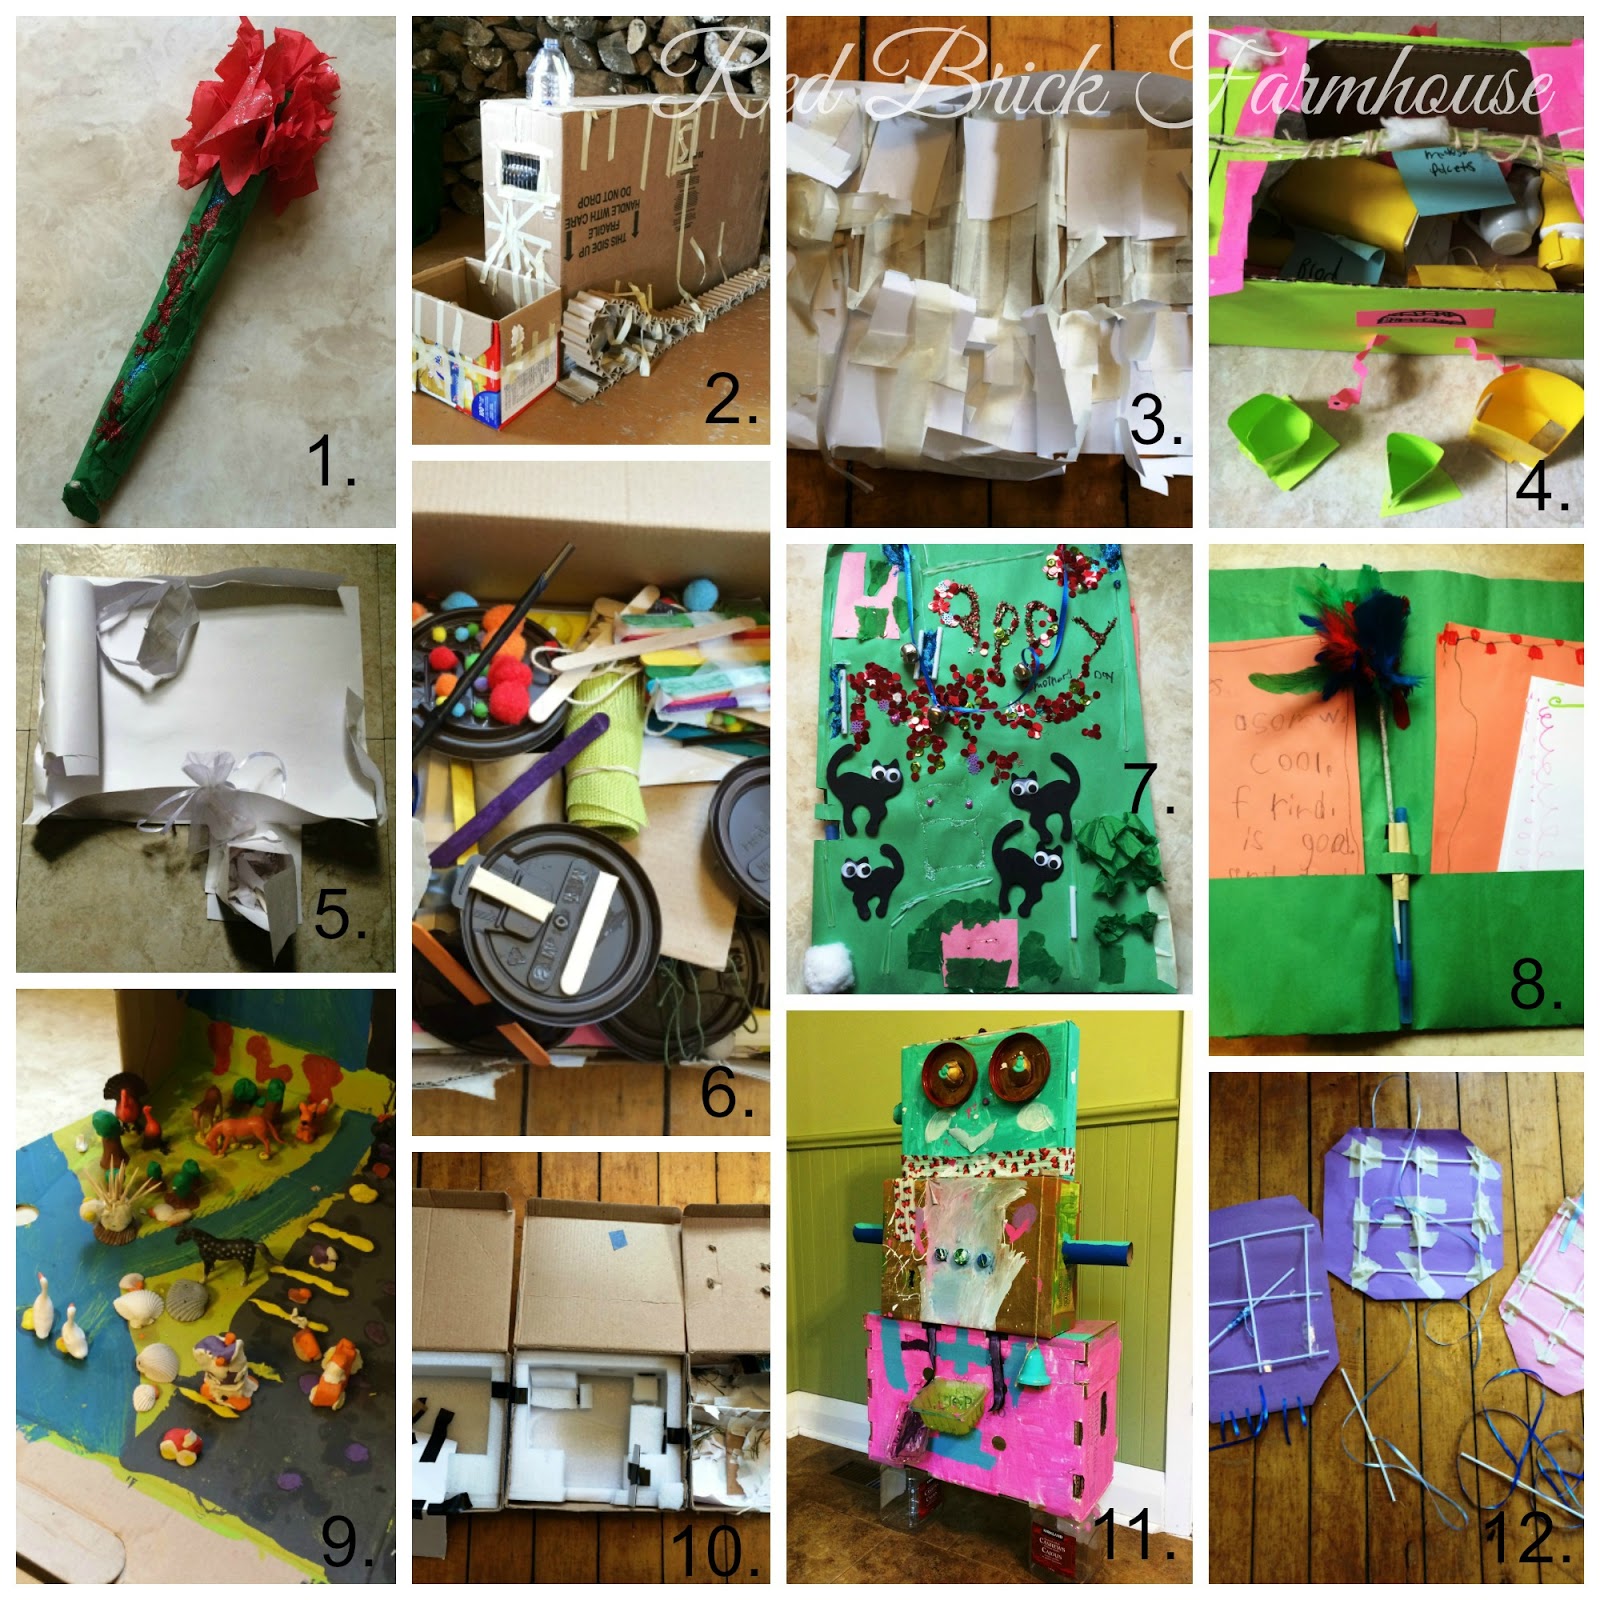
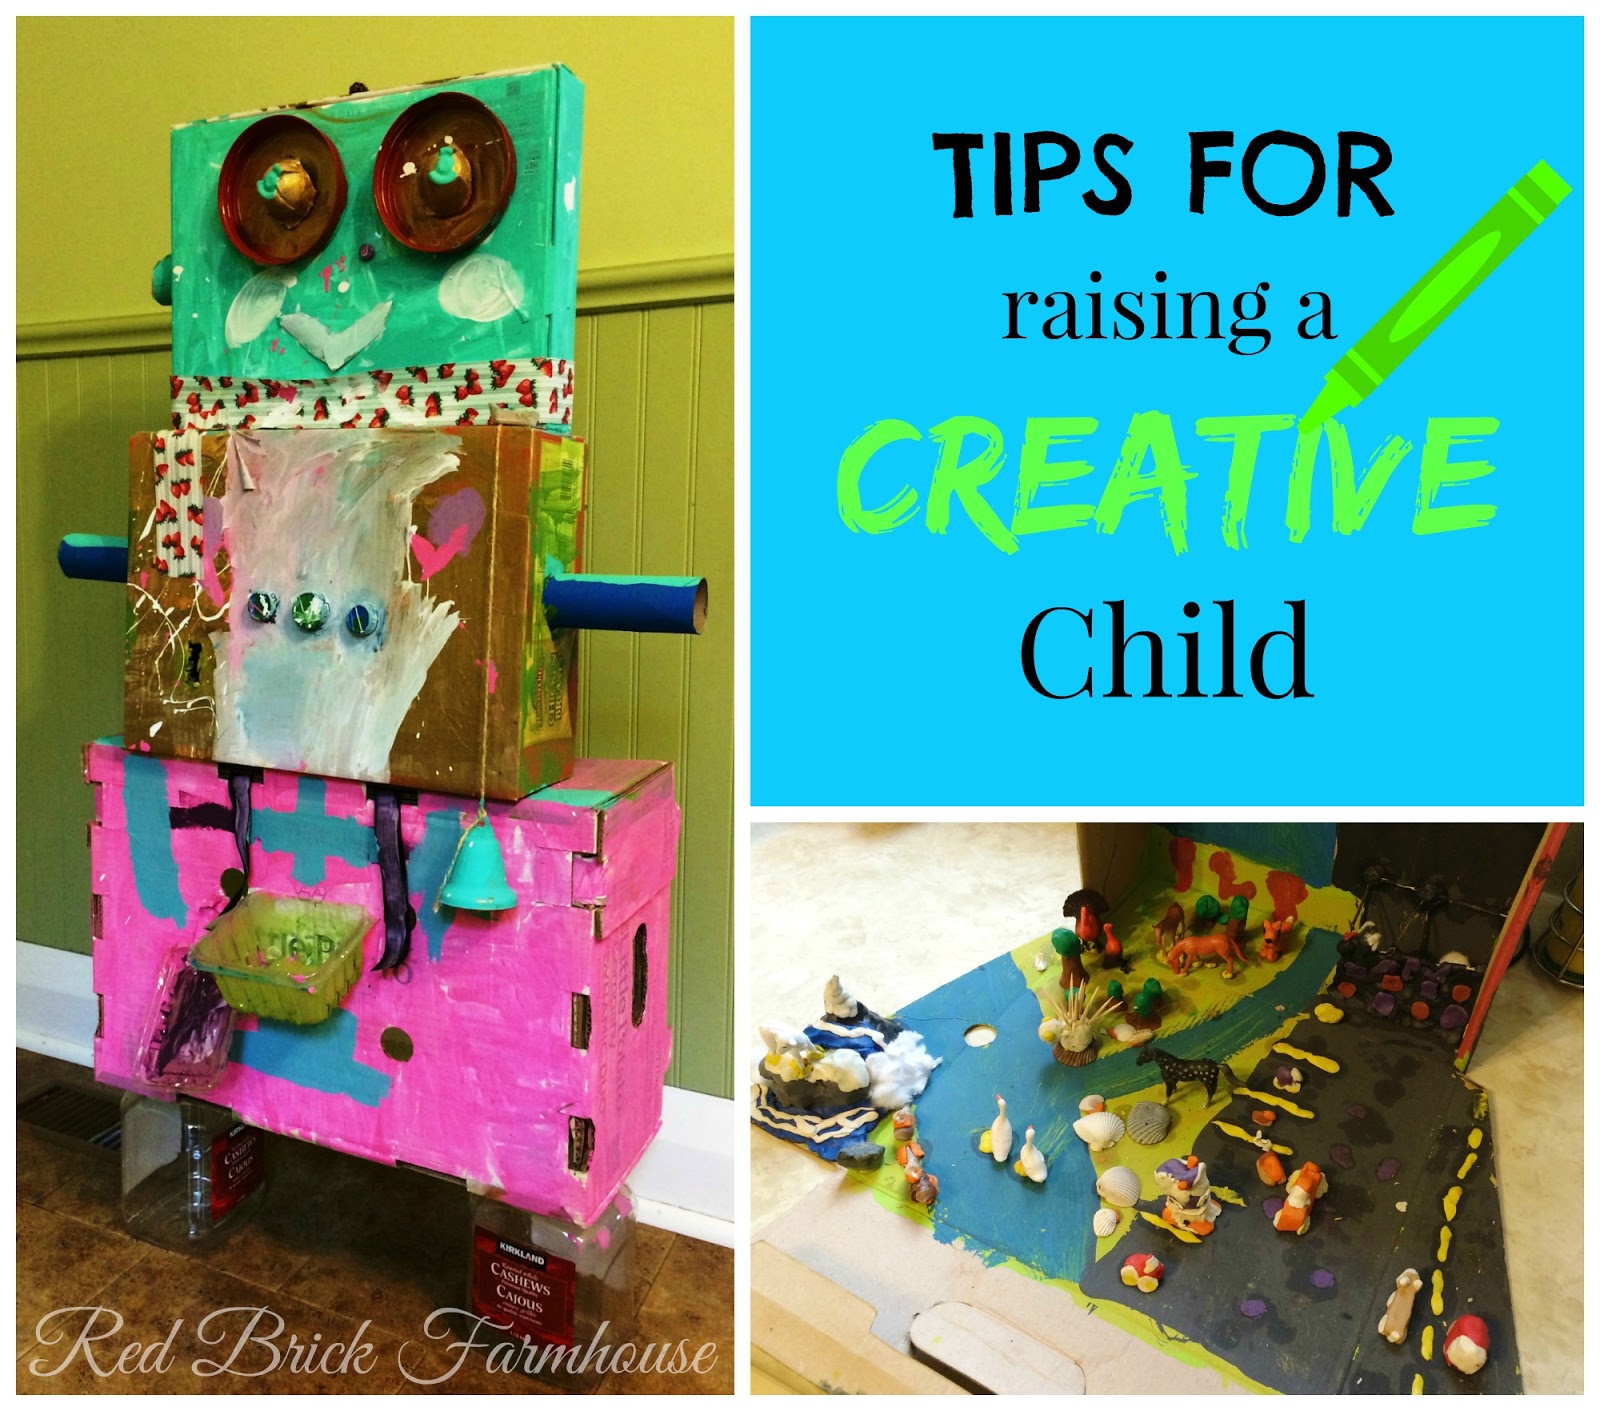
An example of what we have around the house at any given time: 1. Mother's Day tissue paper flower; 2. Bulldozer (too big to be in the house);
3. Littlest Pet Shop house; 4. Doctor kit; 5. Bed for a stuffed animal; 6. A shoe box filled with Tim Horton's lid creations; 7. & 8. My Mother's Day gift - a stationary set; 9. School project - diorama of man vs. nature; 10. Bug homes made from tractor light boxes; 11. Robot made at March Break camp;
12. Kites

Some of my tips for dealing with a child
who likes to create a little too much:


1. Ask first:

Mom or dad, grandma or grandpa, babysitter or caregiver should be the first to ok a new project. Keep supplies out of reach and out of sight. Our craft supplies are locked in a cabinet. Set limits: teach your child that he or she shouldn't start a new project if there isn't time to finish it or if there is already another one on the go. Always finish what you start. For the longest time, Jenna would have a pile of papers with one sticker or one crayon mark and notebooks upon notebooks only half-filled. She insisted we had to keep them all.

2. Waste not want not:

As good as it is to recycle unused items to create something with, if you have to use new items for the creation, then it doesn't always make sense to make it. Sometimes Jenna will have gone through an entire roll of tape for one creation before I can stop her. She understands the concept of reusing and recycling, but needs reminded of the reducing aspect.

3. You can't keep it all: 

If you have to start limiting what creations (and especially school projects) you need to keep, I always do a 3:1 ratio. Out of three things, I keep only one. Usually it's the one thing I know she worked hard on, or did the best job at colouring it, etc. At the end of the school year I lay it all out in front of me and do the same again. Then you're left with a manageable amount to put away in storage. For any larger projects you don't have room to keep, you could take a picture of and then dispose of properly. Keep it all labelled by age/grade if you want. Your child may appreciate this in the future, or they may wonder why you kept all that "stuff." My mom kept a small bin of my school papers, and so far in the almost 9 years of my oldest child's life, I've kept a fairly large bin of papers. I might have some work ahead of me.

4. Your supplies:

Buying crafts in kits and limiting your supply stash is a good way to keep your child from getting overwhelmed by all the items they can use. The dollar store is a great place to find reasonably priced craft kits. Then your child can create away with only what comes in the package. You don't really need a pack of construction paper plus scrapbook paper or glitter crayons and regular crayons. One or the other is probably more than enough. I'm all for options, but if it means more clean-up afterward, then less is more. Keep supplies organized so you can see what you have or need or need to get rid of. If you already have a supply problem, it's a good idea to set some things aside to use down the road, or even donate to a daycare or childhood centre. We somehow managed to collect a plastic shopping bag full of toilet paper rolls, so I donated them to a local daycare centre.

Following some of these tips should help you to make, and hold on to, special memories with your creative child (or at the least make the clean-up a little easier when it's all said and done).

Sunday, June 28, 2015

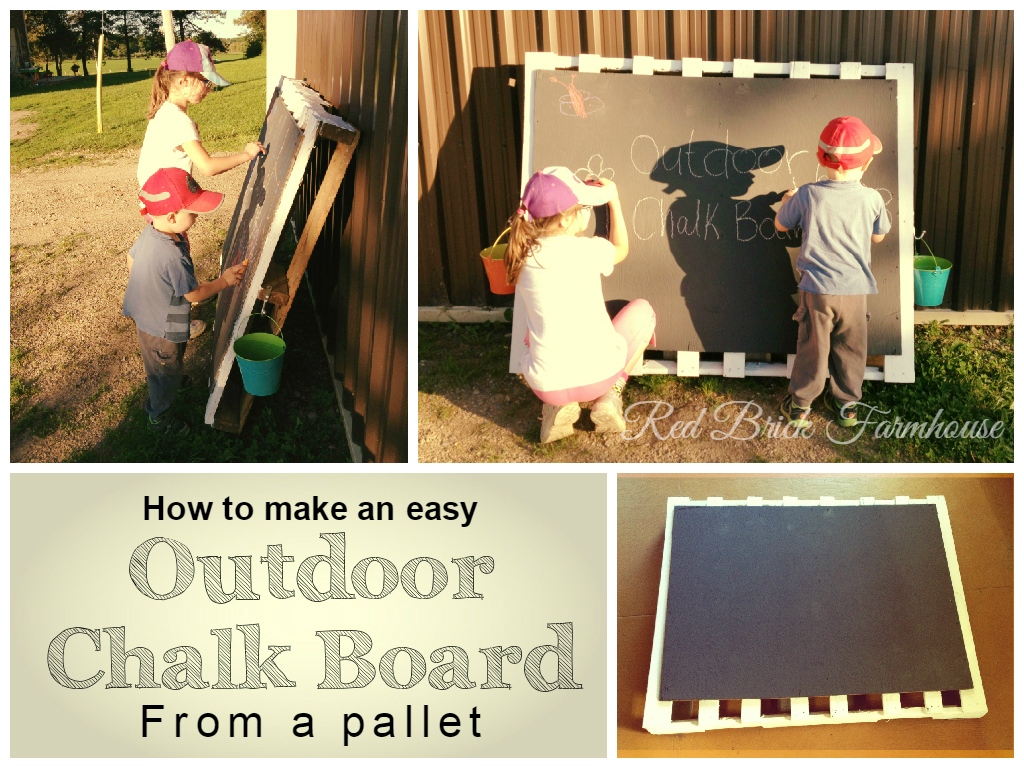
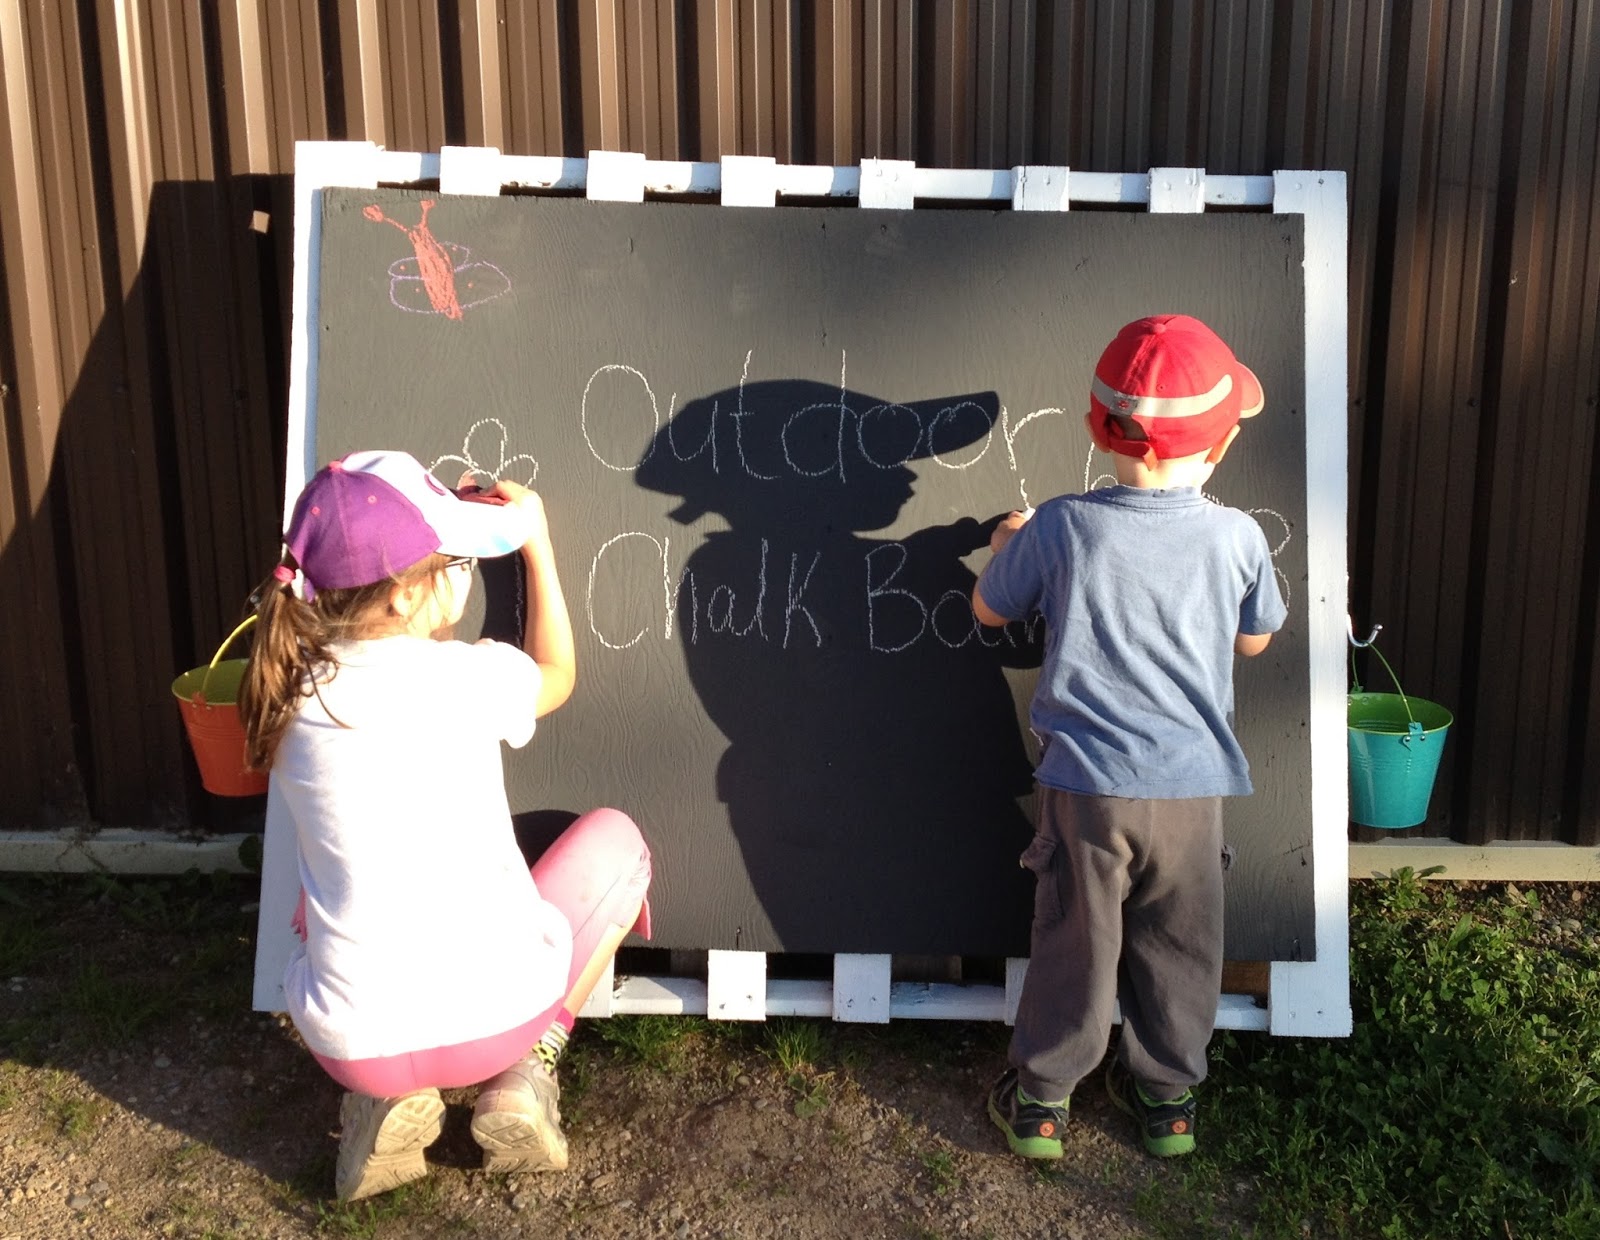
Easy Outdoor Chalk Board

So don't forget we live on a farm and we have an endless supply of pallets at our disposal. There's lots of ideas out there for what you can do with them. Last summer I tried a pallet garden (it worked, well, just okay). I happened to remember I kept an old piece of plywood around for covering a window where we stack firewood, put two and two together, and came up with this idea. The kids also have absolutely nowhere to use sidewalk chalk because we have a gravel lane. This option allows me to set the chalk board wherever I want (I can even lay it down); I can tie it to something for extra support; it's heavy enough it won't blow away (it's windy up here!) - but not too heavy so I can bring it in out of the rain and snow.


Here's how I did it:

Outdoor Chalk Board from a pallet:

What you need:

1. A space to paint or something to cover your space with

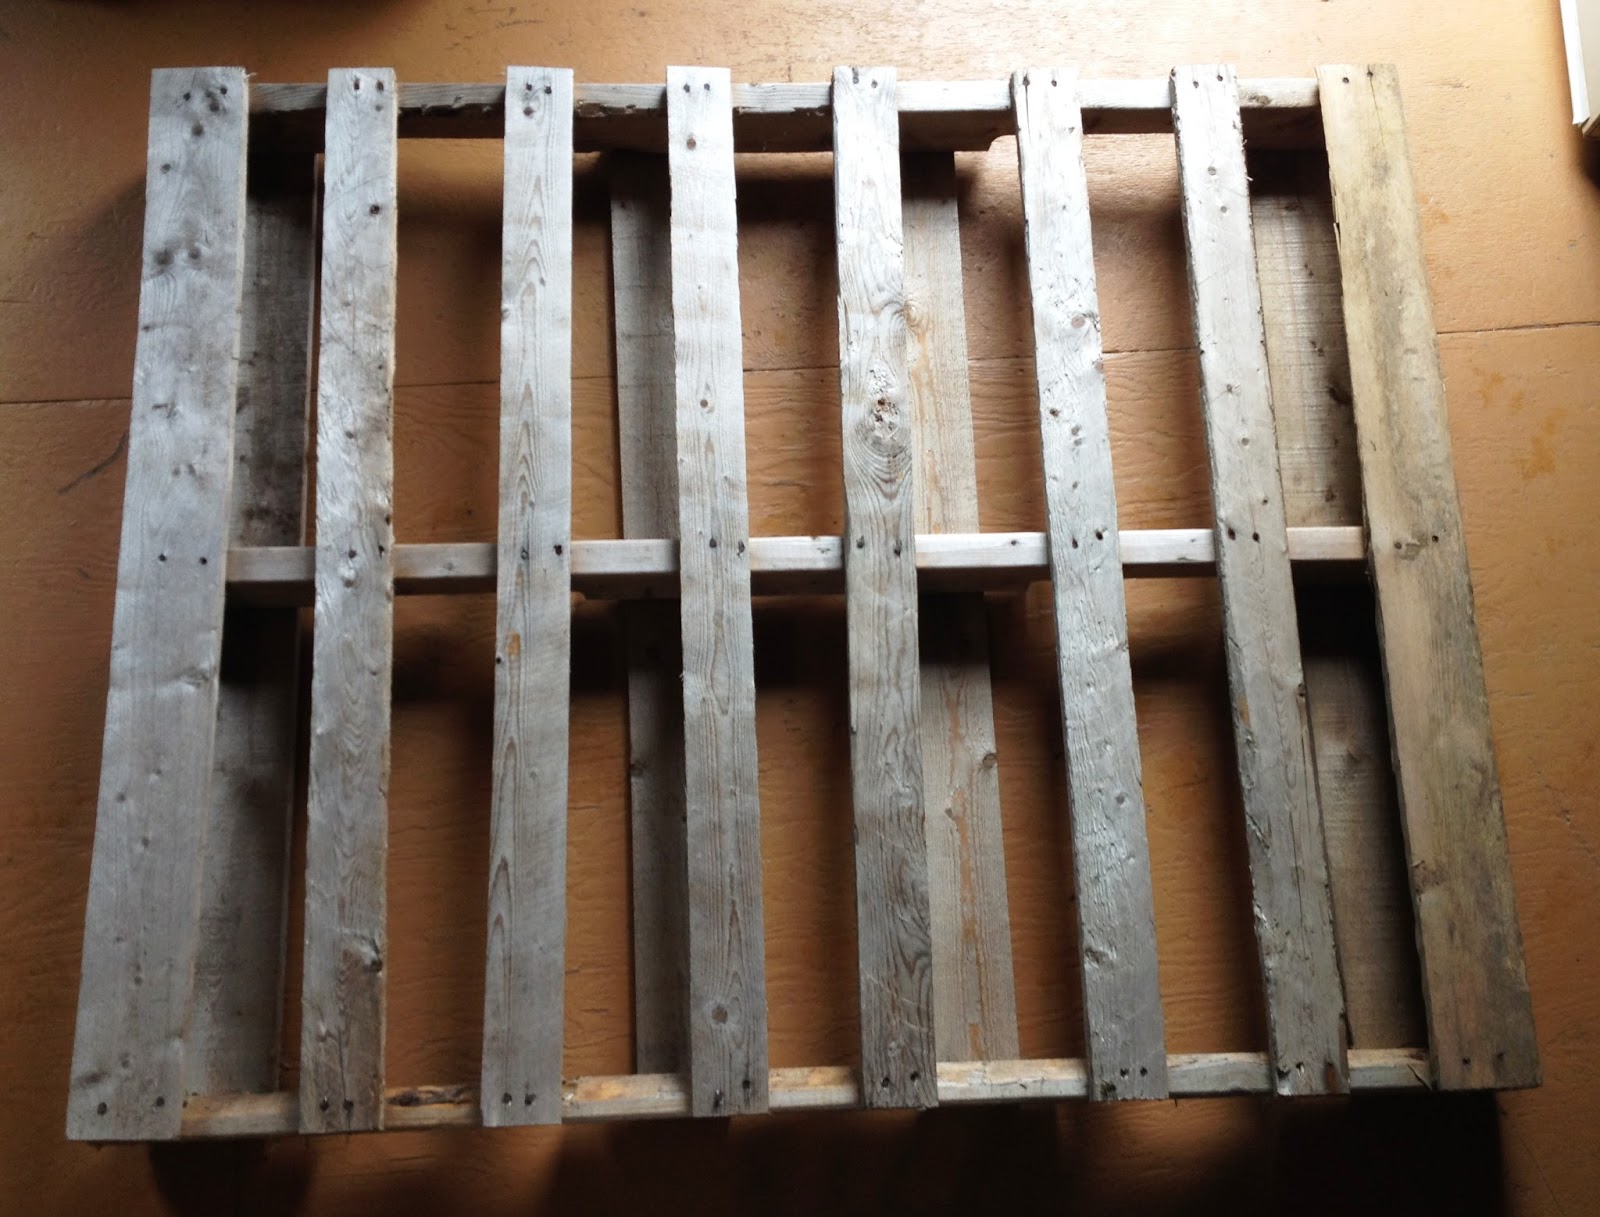
2. An old pallet. Scrub it with soap and water and a brush if needed.

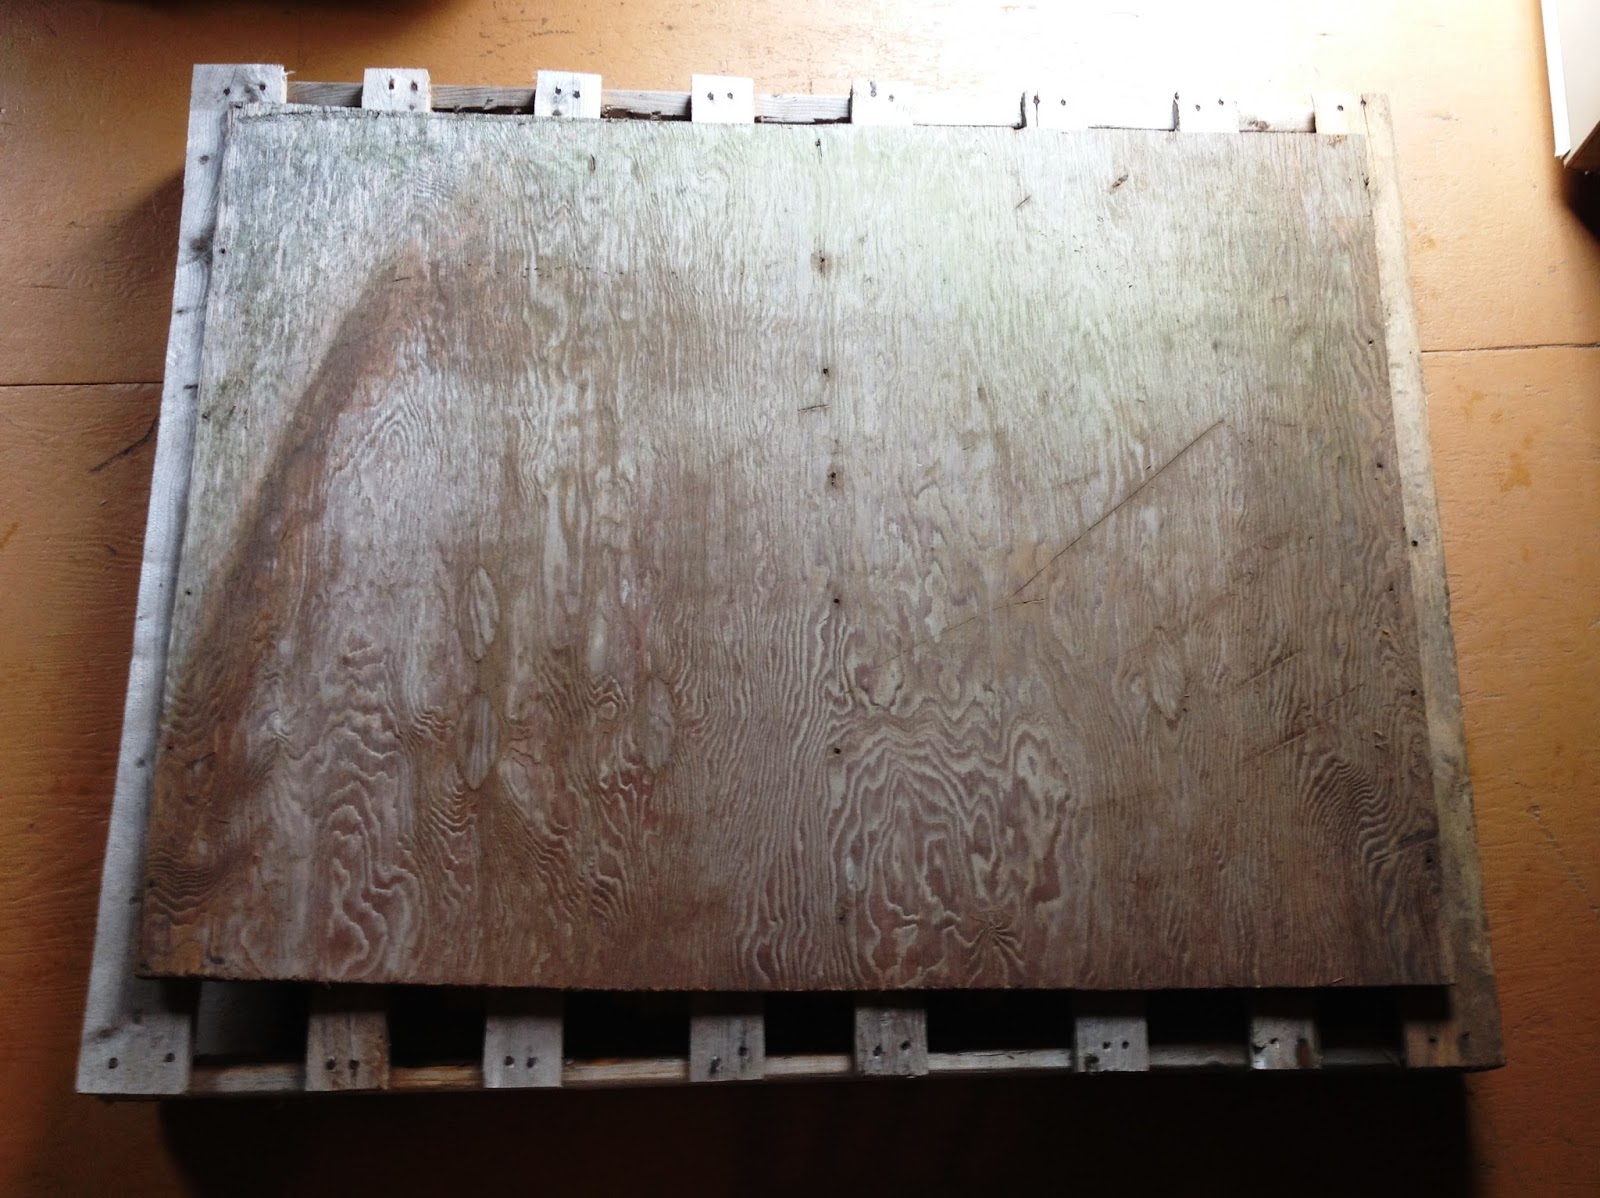
3. A piece of plywood to fit on the pallet. I was lucky and this one just fit. You may have to cut one to size. Sand rough edges if needed. Plywood is the least expensive material to use, but it is rough. Particle board may also work if you can find one big enough.

4. An exterior primer paint for longevity. I used Zinsser Peel Stop Plus - it helps to seal the old plywood; And a chalk paint in whatever colour you want. I found both of these at Canadian Tire.
Or for a homemade chalk paint option, go here for instructions.

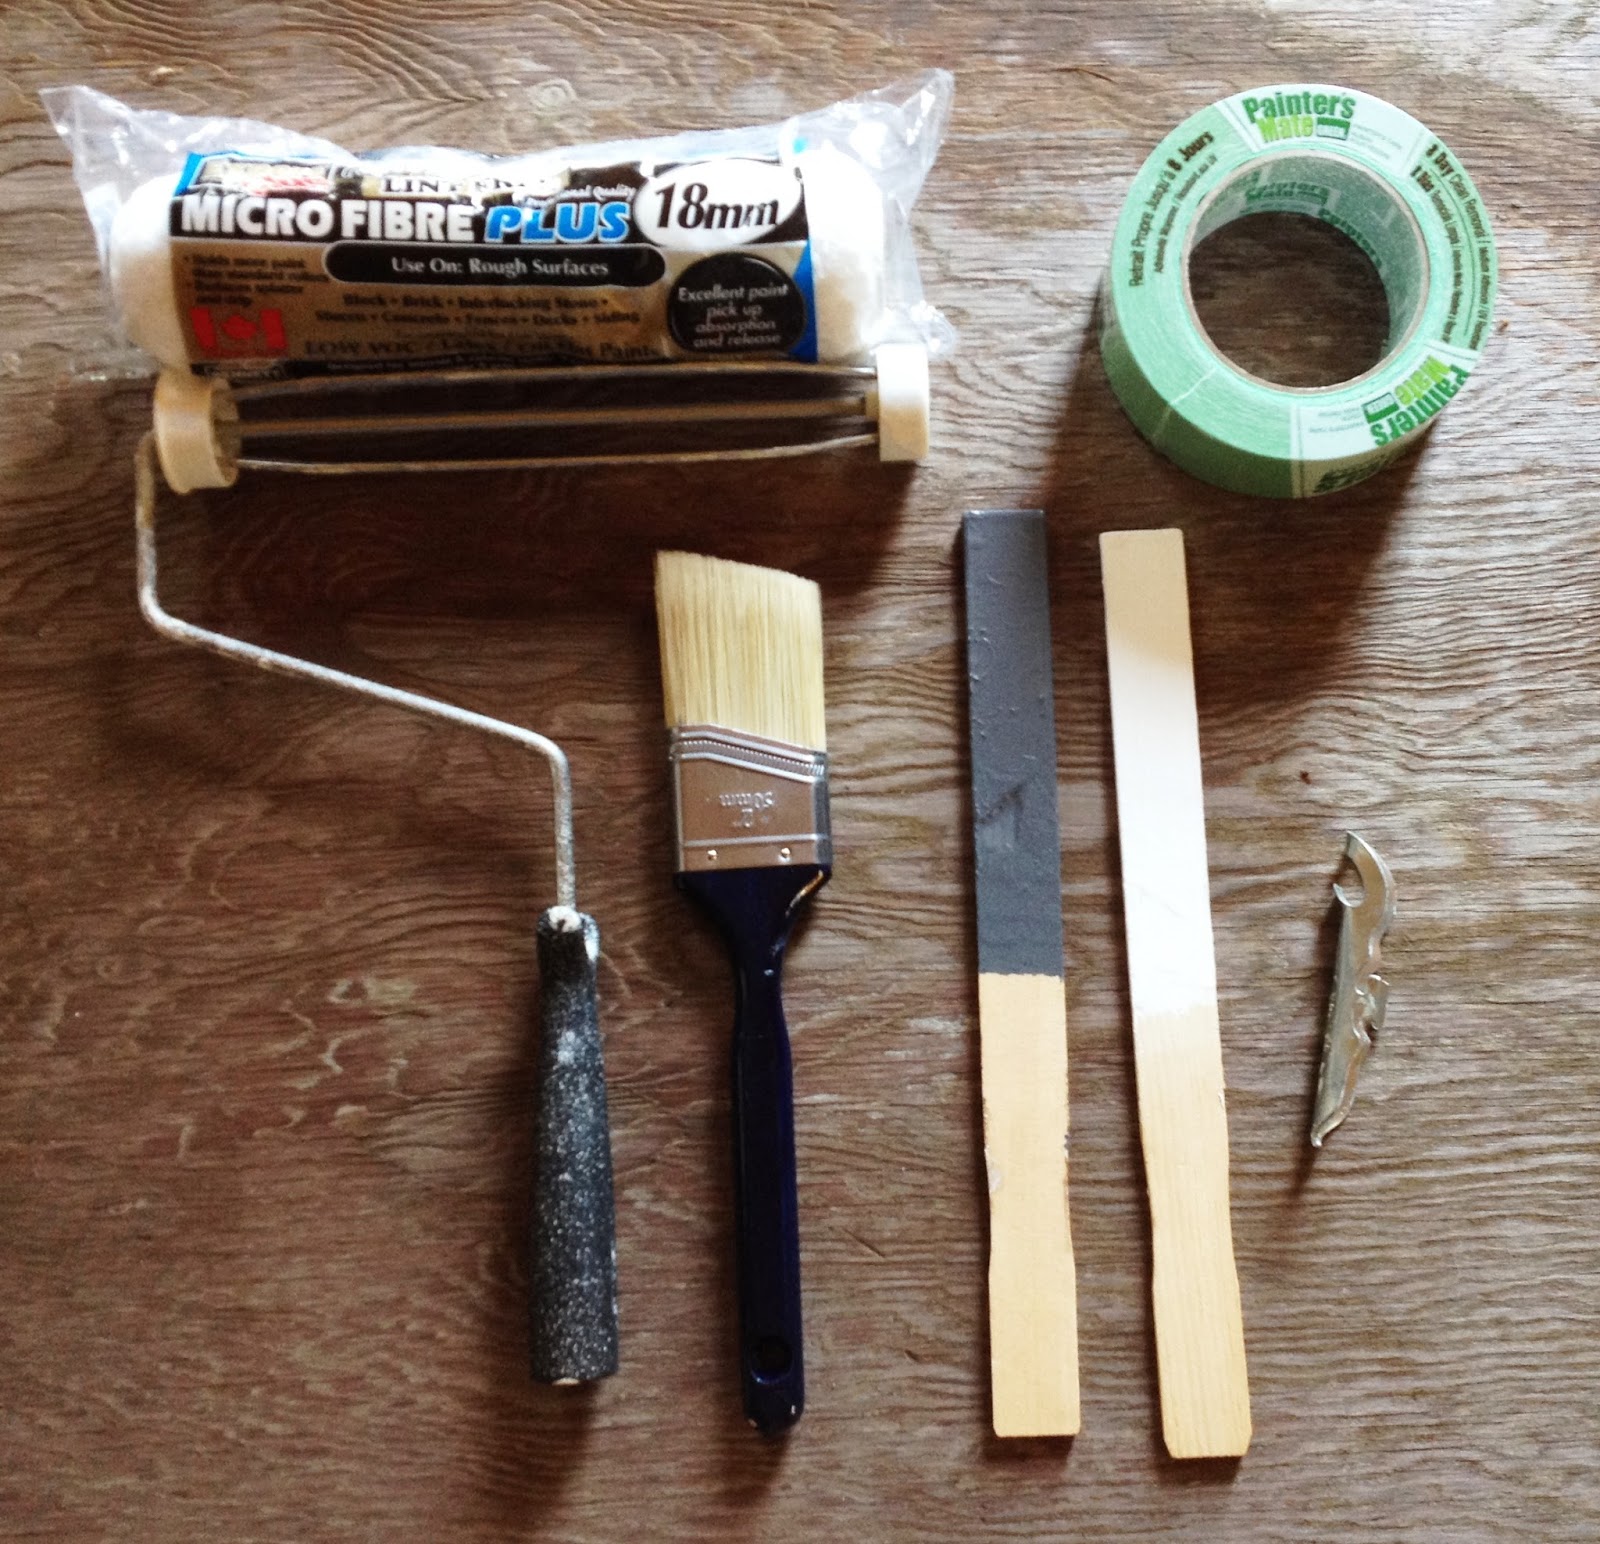
5. Paint roller (see next photo) and roller frame; medium size paint brush; stir sticks; painter's tape and paint can opener. 

The other how-to's I looked at recommended a rough service paint roller to help get the paint in all the nooks and crannies of the plywood. I found this one at Canadian Tire:

6. A cordless power drill and wood screws long enough to go through the plywood and pallet. I happened to have these screws from a previous project.

7. Two hooks (from Canadian Tire); two buckets (from any Dollar Store) and side walk chalk. I found this huge box of chalk at WalMart for only $6!!! The hooks will hold the buckets where the chalk will go. One bucket will do fine if you're making it for one child to use.

8. (Optional) Plastic wrap to wrap brush and roller between coats of paint; hammer to help close paint can lids.

The Steps:

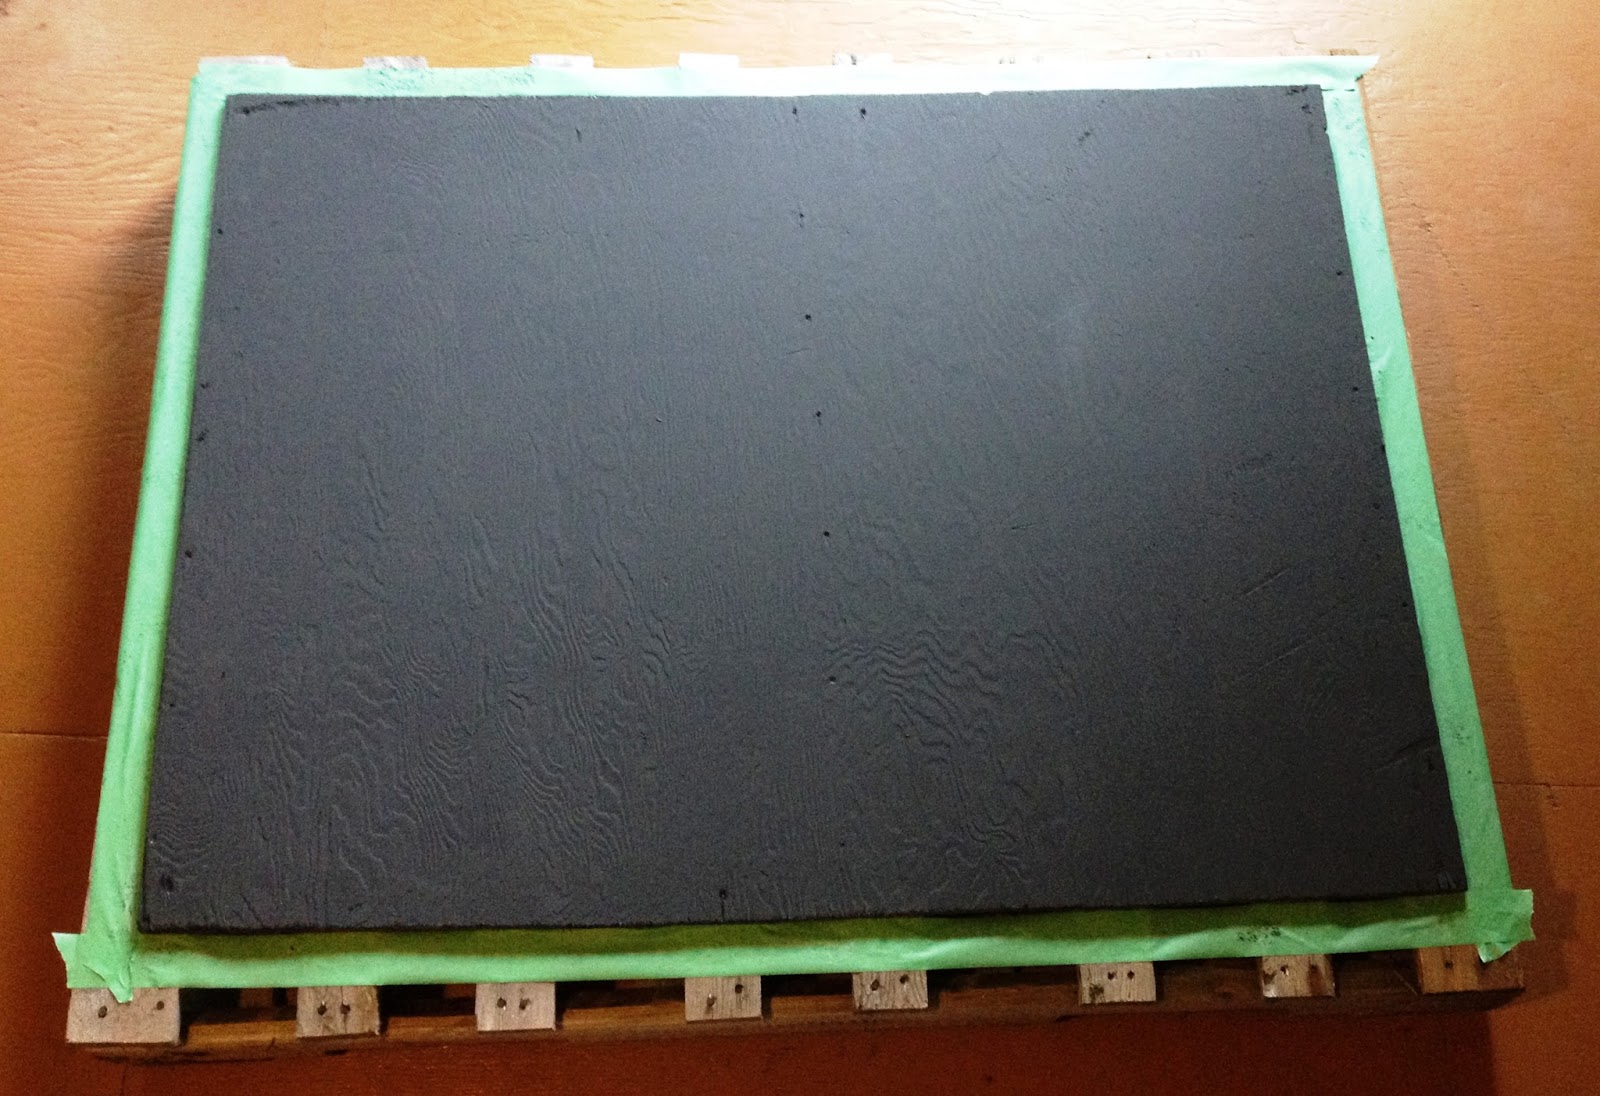
1. Tape around the plywood and paint on two coats of primer with the roller, waiting the recommended time between coats. 

2. Paint two to three coats of chalk board paint with the roller, waiting the recommended time between coats.

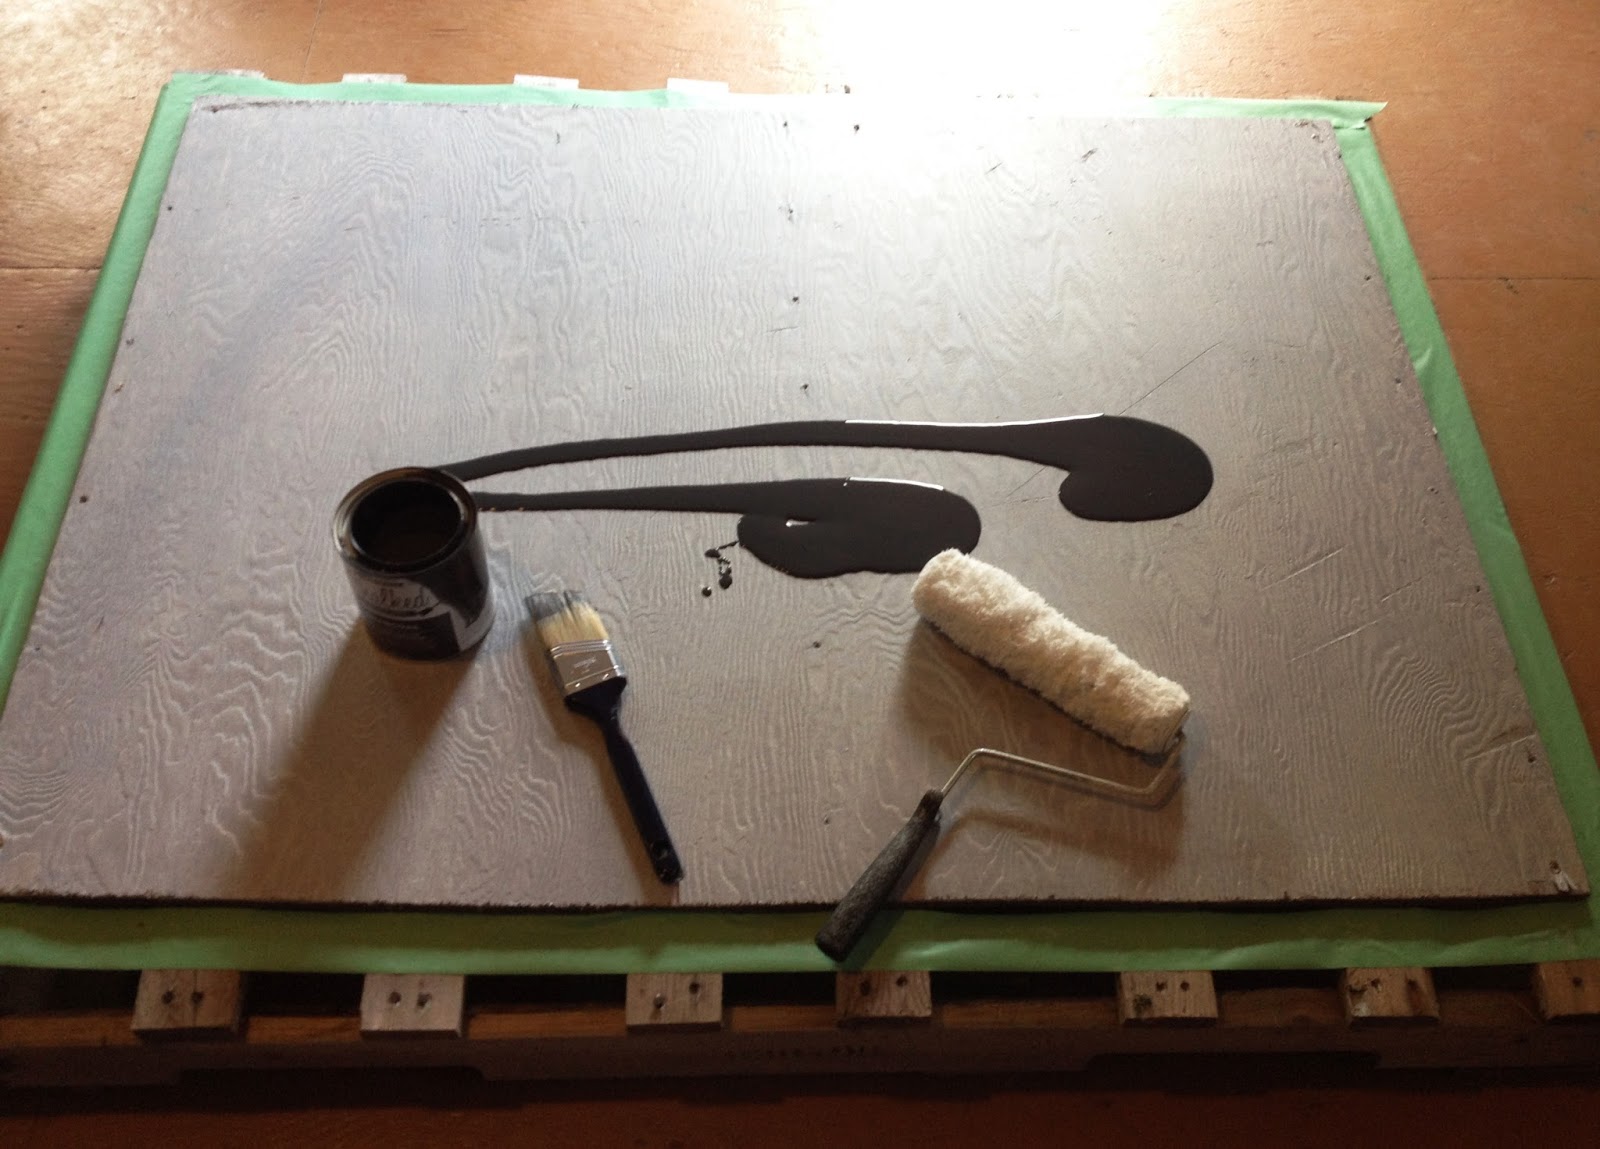
For the primer and the chalk board paint, I never used a paint tray, I just poured it on the plywood:

TIP: Just make sure you pour out onto the French side so you don't cover the English instructions:

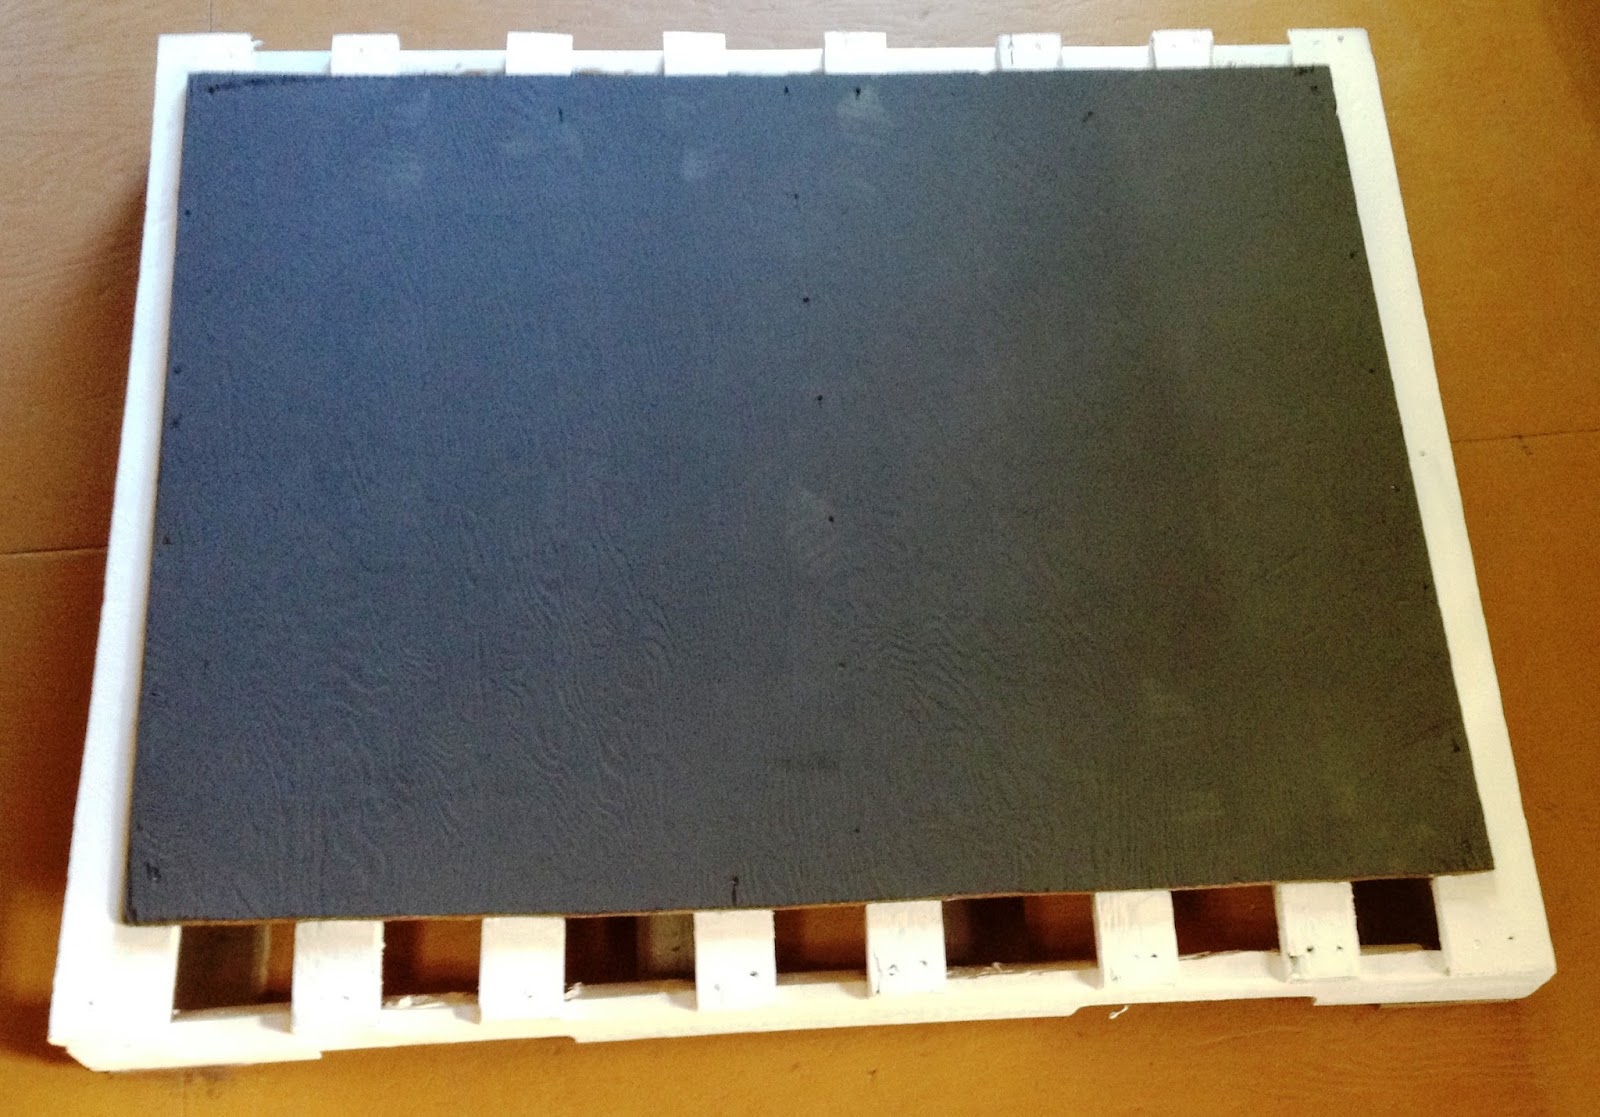
3. Remove the painter's tape, paint with brush around the space left on the pallet with the primer (I did one coat). Then I painted two coats of a leftover white exterior paint. You can use whatever colour you want, or leave this step out completely (your plywood may fill the whole pallet).

4. Set up in an area where your kids like to play. You could hammer some steel bars into the ground and wire the chalk board to that. You can also lay it flat on the ground. I could also see it working as a restaurant sign/menu board!

UPDATED:
Ideally, you should wait 12-24 hours before using the chalkboard. Some people say 48 hours. After this period you should prime it. Do this by laying a piece of chalk on its side and cover the entire board with chalk. Wipe with a dry rag and then erase. If you leave out this step, it's possible the chalk you first write with will not erase. I didn't wait quite 12 hours nor did I prime it before we used it. This step is entirely up to you, but I have read that the longevity and durability increases if you follow the above steps. And as long as there is no dirt on the chalkboard, you can cover with another coat of paint if there is chalk staining you want to hide.