Farming Life by the Farmer's Wife

Showing posts with label Chalkboard. Show all posts

Tuesday, June 13, 2017

Make Perfect Chalkboard Art

I purchased this great framed chalkboard second hand and instantly knew it needed to go in my kitchen. The kitchen also happens to be the entrance to our home, so I loved the idea of hanging something customizable and to have it where people can see it. 


You have to be a bit computer savvy to create the template for the chalkboard in the way I have. I'm using simple and common software programs that most people should know enough about. If you have Photoshop, you're using more advanced programs than I am and should know what you're doing. I also did also look at stencils in stores and either couldn't find what I wanted, or they were too expensive. You do have the option to shop for one if you wish. My way also allows for customization of the size according to the dimensions of your chalkboard (you can't with a pre-made stencil). You can also reuse the designs with the way I'm going to show you.
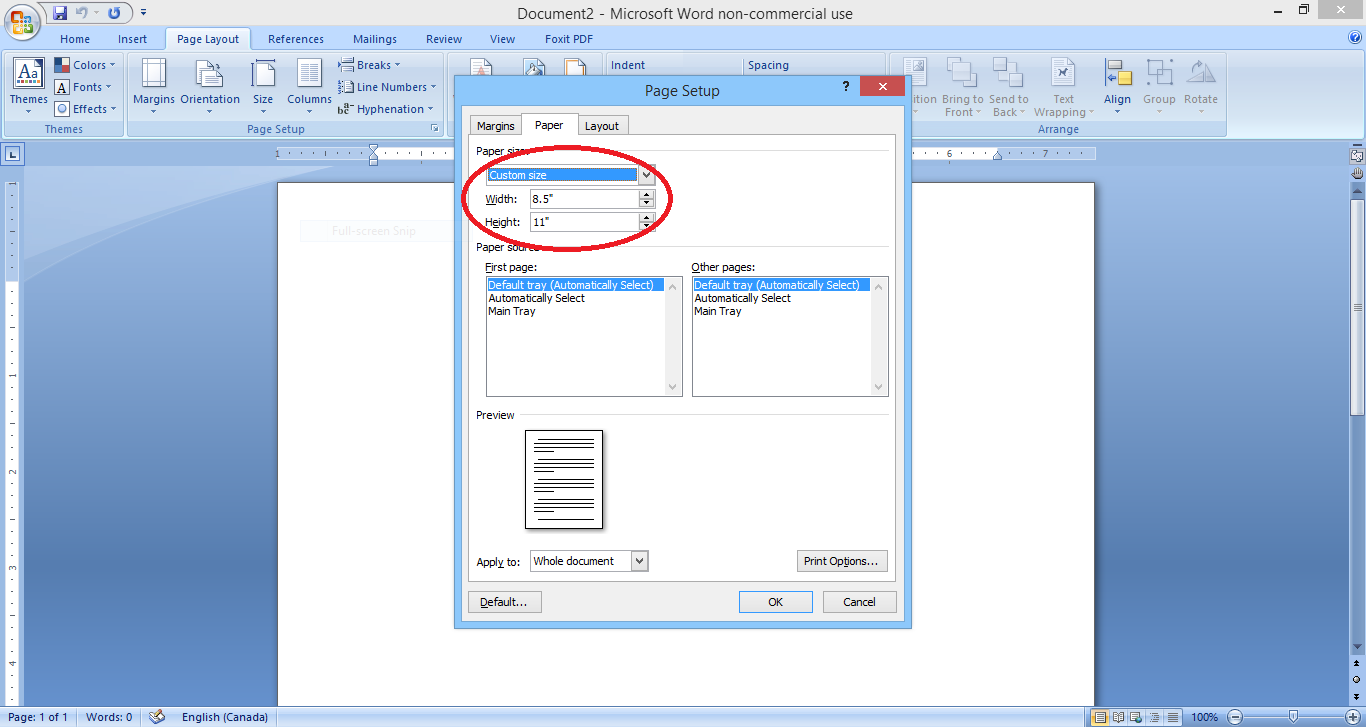
Step 1: Preparing the template - create a Word document

First you need to start by measuring your chalkboard area. Create a new Word document and size the document to match the size of your chalkboard. Mine is 19"x19". When designing within the Word document, remember the edge of the Word page is also the edge of your chalkboard - you don't want the design to be too big/too small.


Search the Internet for chalkboard design templates and ideas, making sure to find some fairly large in size and resolution. Some designs come outlined already. The design I liked was filled with black and I needed to print it to a fairly large size, so I didn't want to waste black ink.

Crop any watermarks or borders you don't want and insert your template into Word and stretch it to size, remembering to not get too close to the edge. If you lose quality (lines become pixilated or blurry), you'll need to find a design in a larger resolution. Right click the image and find "Format Picture". You'll want to adjust the Brightness and Contrast until just the outline is left. You can ignore this step if your template already has an outline. Save the Word document as a PDF.
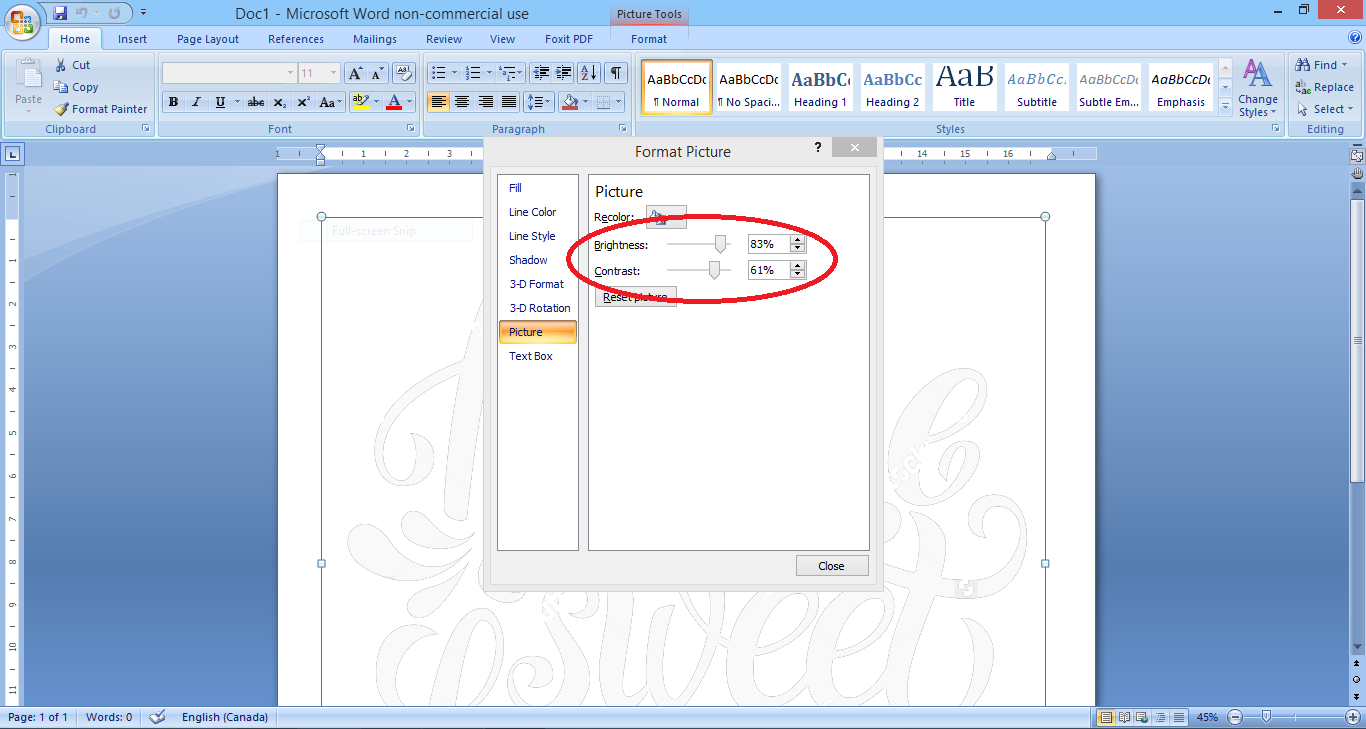
Adjust brightness and contrast so just outlines are left.
Template should look like this after editing.


Step 2: Print the template and tile the pages for large chalkboards

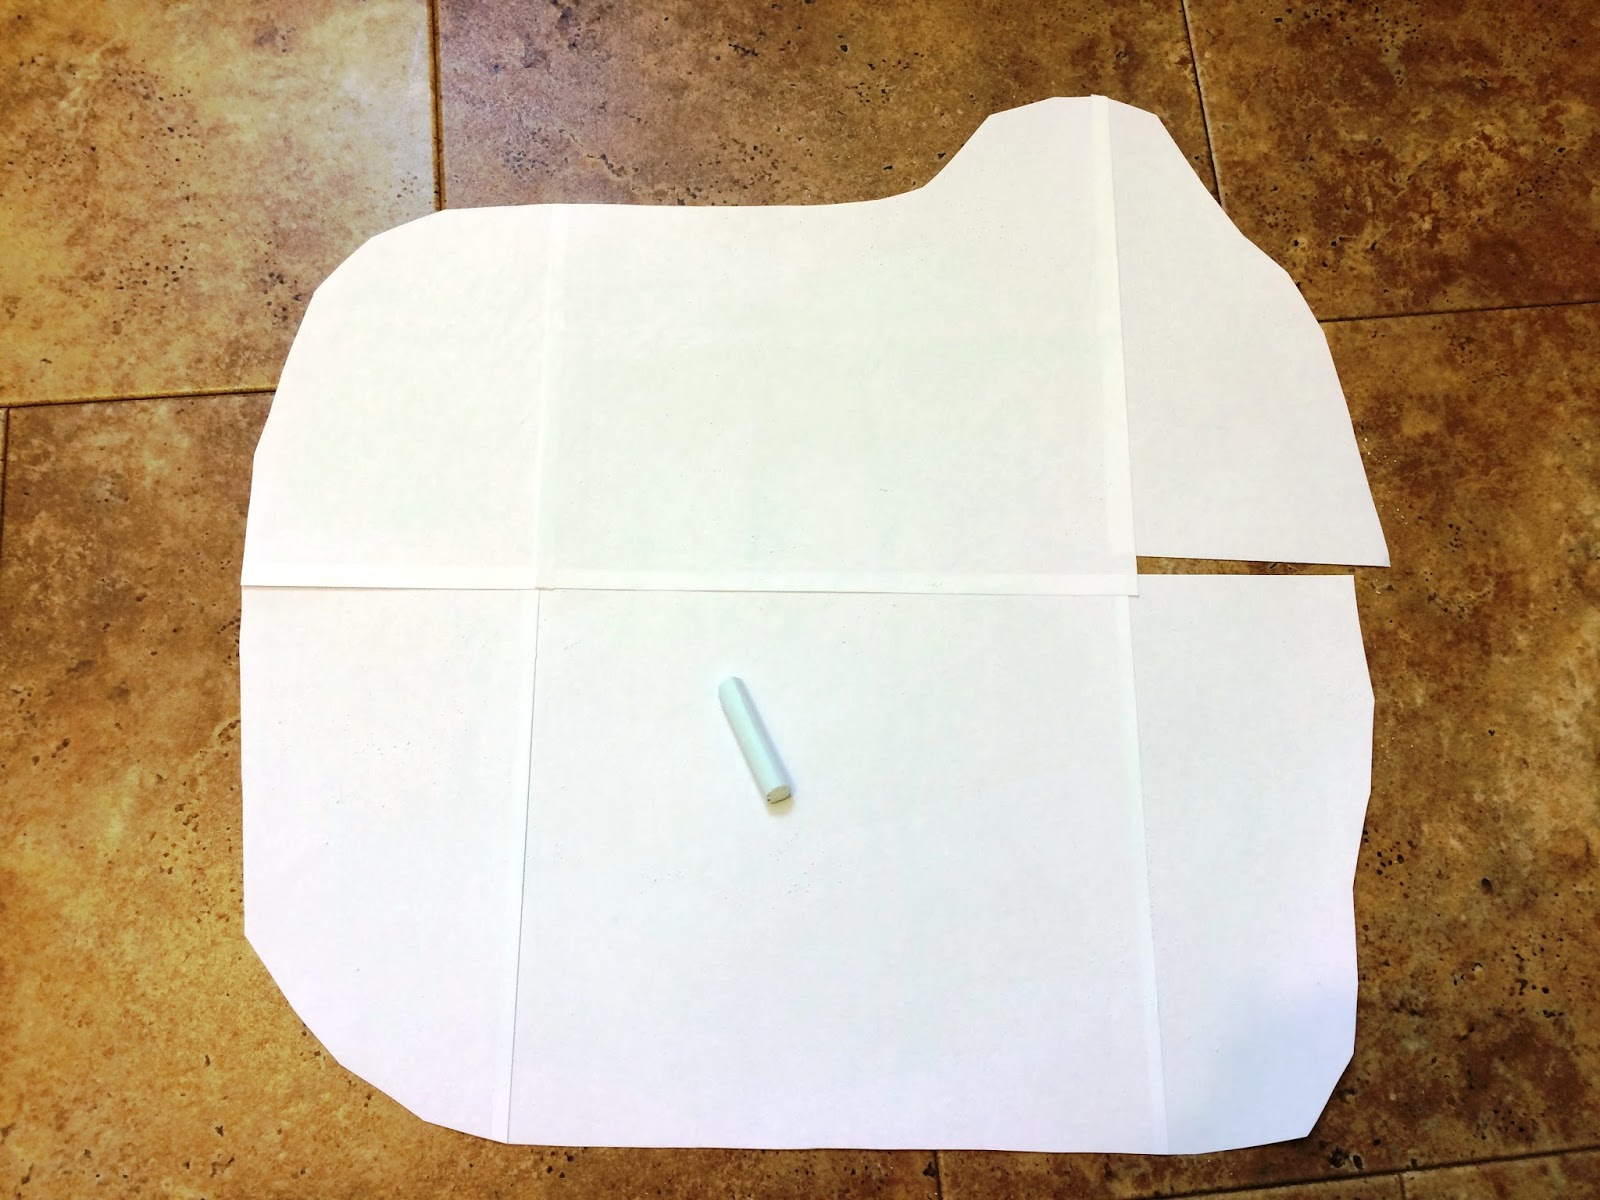
You'll need to print the PDF file and tile the pages if the design is larger than the paper size your printer can print. Arrange the tiled pages and put them together like a puzzle. There will be some cutting and taping involved and I suggest using scotch tape because you'll need to trace over the tape in a later step. Trim any excess paper from around the design and see if it will fit on your chalkboard.
Left: Taping and cutting the template; Right: It fits!

Step 3: Next you'll need to have the design facing down and colour with a stick of chalk on its side, all over the back of the printed design. This is my easy way of making "carbon paper". Coat it really good and if you can, use a dark coloured chalk so you can see what you're doing. Place the design chalk side down, carefully where you want it on the chalkboard, and secure with masking tape or painters tape. With a pencil (not too sharp), you'll need to start tracing the entire design. Hopefully when the tracing is complete, you'll be left with a copy in chalk on the chalkboard. I could just barely make out my design but was able to freehand some missing spots by having a smaller version of the design beside me.
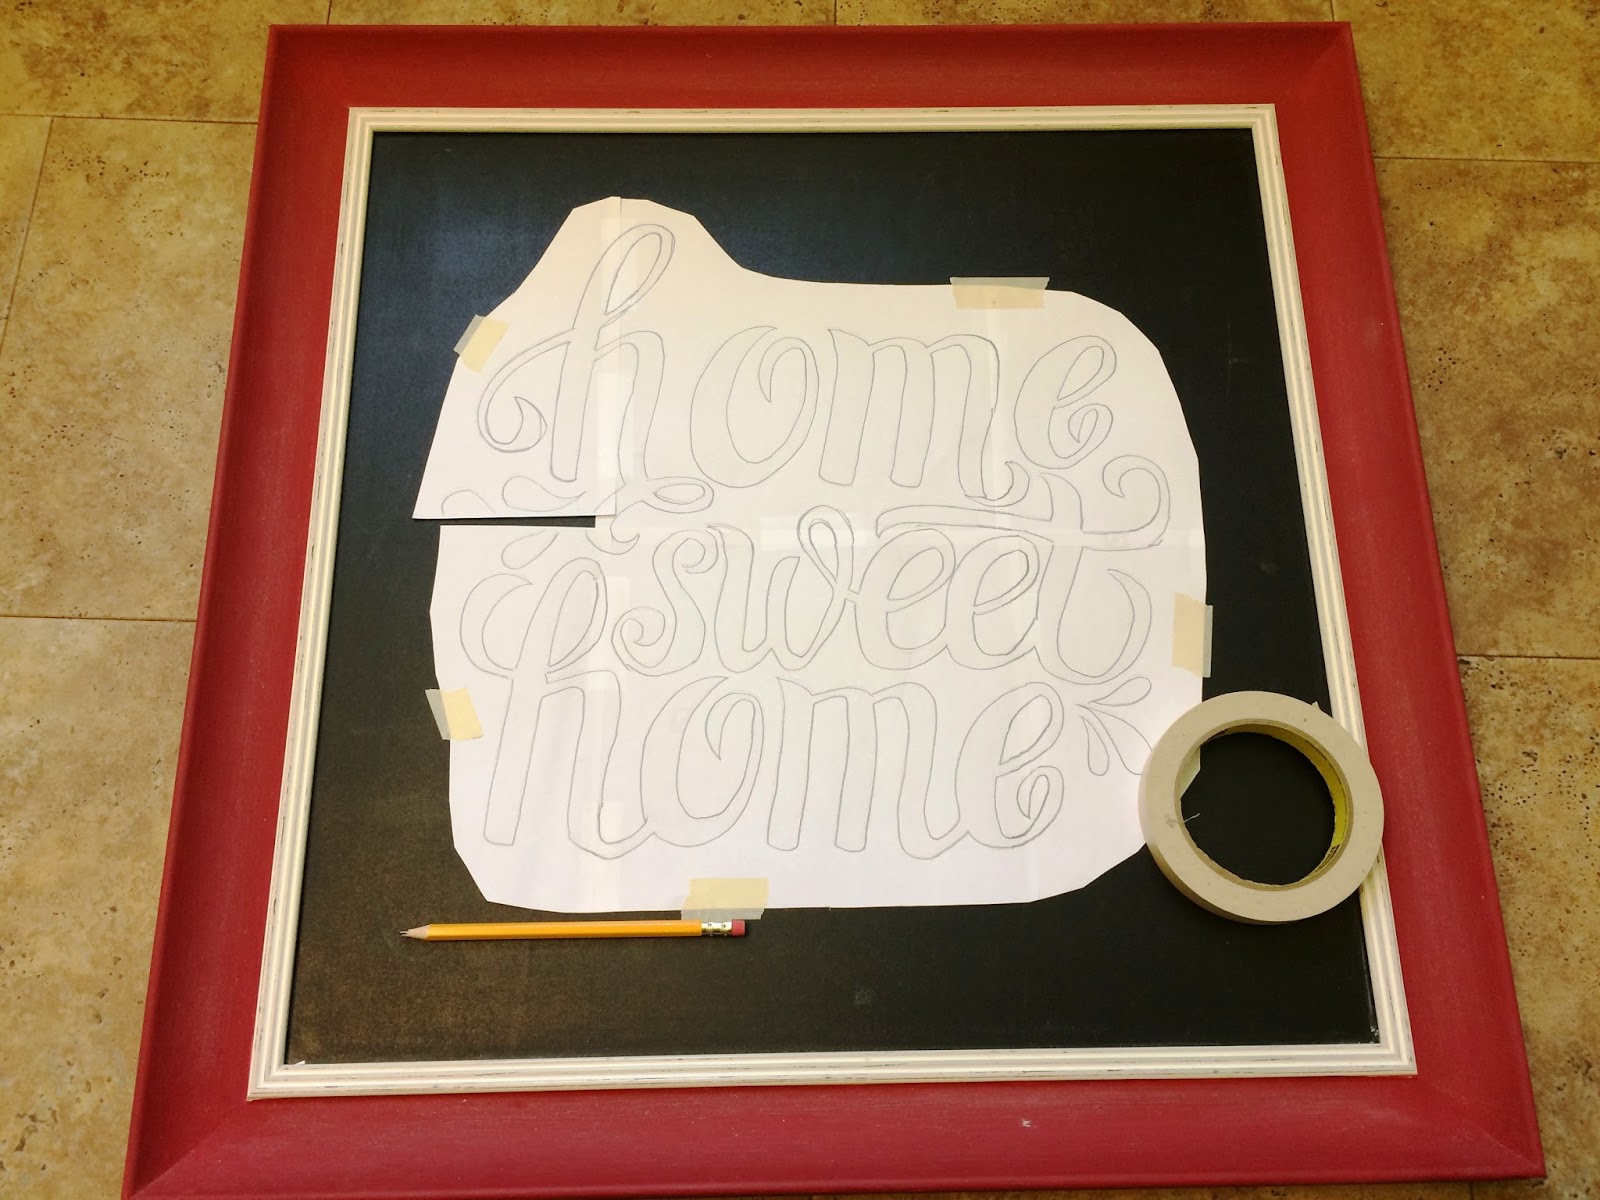
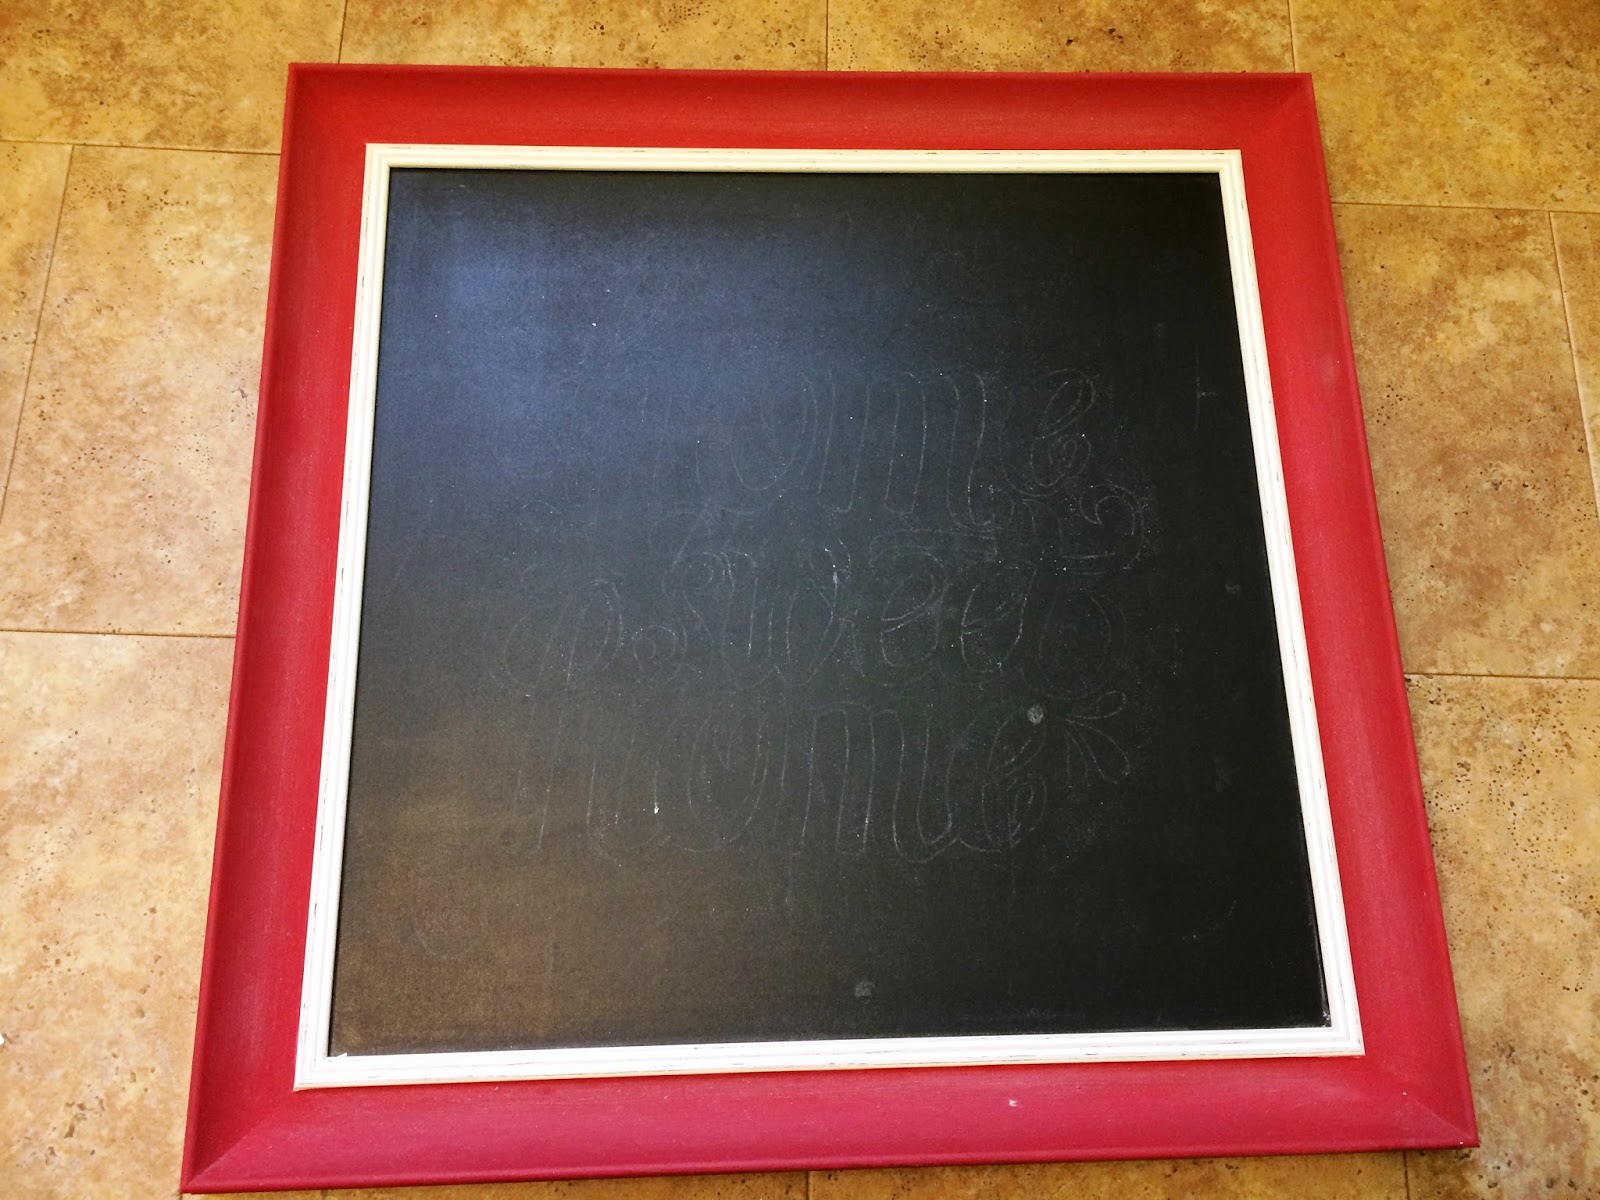

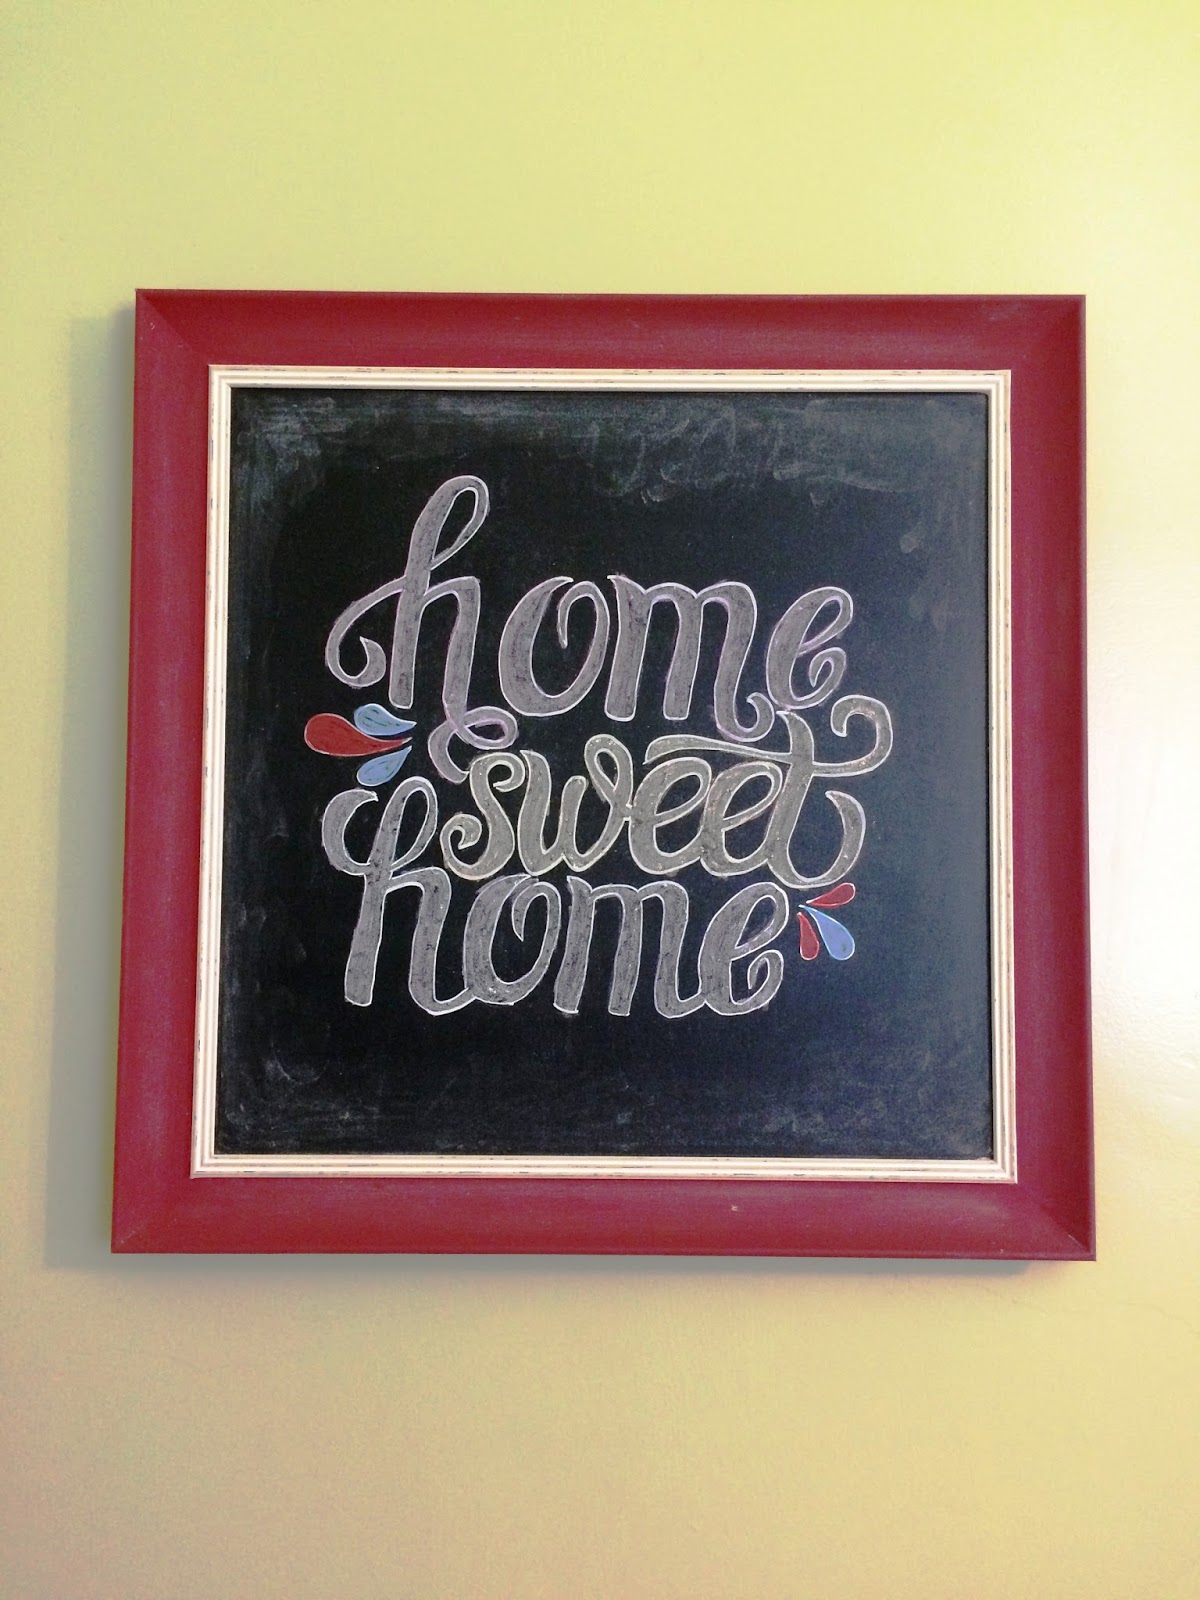
Step 4: Now for the fun part! I bought this (expensive enough) chalk marker at Michaels ($5.79) by Craft Smart and I have to say, I wasn't overly impressed with it. I would compare it to using paint - you need to keep fluid motions and not stop when drawing or it's hard to make end and beginning lines look similar. I'm right handed, and I had to work from left to right and top to bottom because chalk pens do smudge. It did the job fine but maybe a bit more practice and I can get it to look the way I want. I also decided to not fill my design in with this chalk marker because I didn't want to "waste" it. I opted to fill in the words with plain old chalk and used a blow dryer to remove the excess chalk. For colouring the shapes, I tried the very inexpensive chalk crayons I bought from a dollar store ($2.50), and they worked the best of everything and next time I'd like to fill letters with these. The colours came out vibrant and with nice textures. Using my fingers I smeared chalk from my "carbon copy" template around the outside of the chalkboard to finish the look. All the chalk pens and crayons claim to be washable from a chalkboard with a bit of soapy water, so we shall see about that.

I'm sure there are other techniques you can try to create chalkboard art. I had fun doing this anyway and can't wait to change my chalkboard in a few months.

Saturday, July 25, 2015

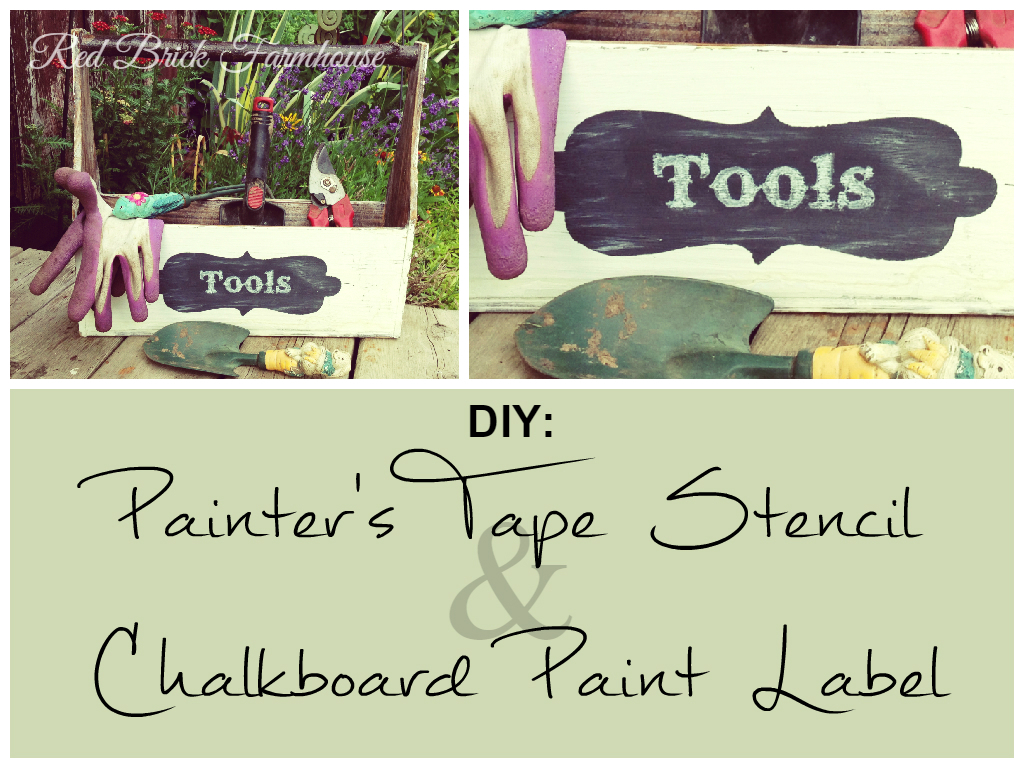
Painter's Tape Stencil & Chalkboard Paint Label

After my first chalkboard paint project as seen here was complete, I had lots of paint left over and wanted to try something else with it. The old wooden caddy I found at a yard sale and knew my garden tools would fit perfectly. Since chalk is non-permanent, I won't take this outside but instead use the caddy to store the tools inside.


Here's how I did it:

Painter's Tape Stencil:

What you need:

1. A space to paint or something to cover your space with.

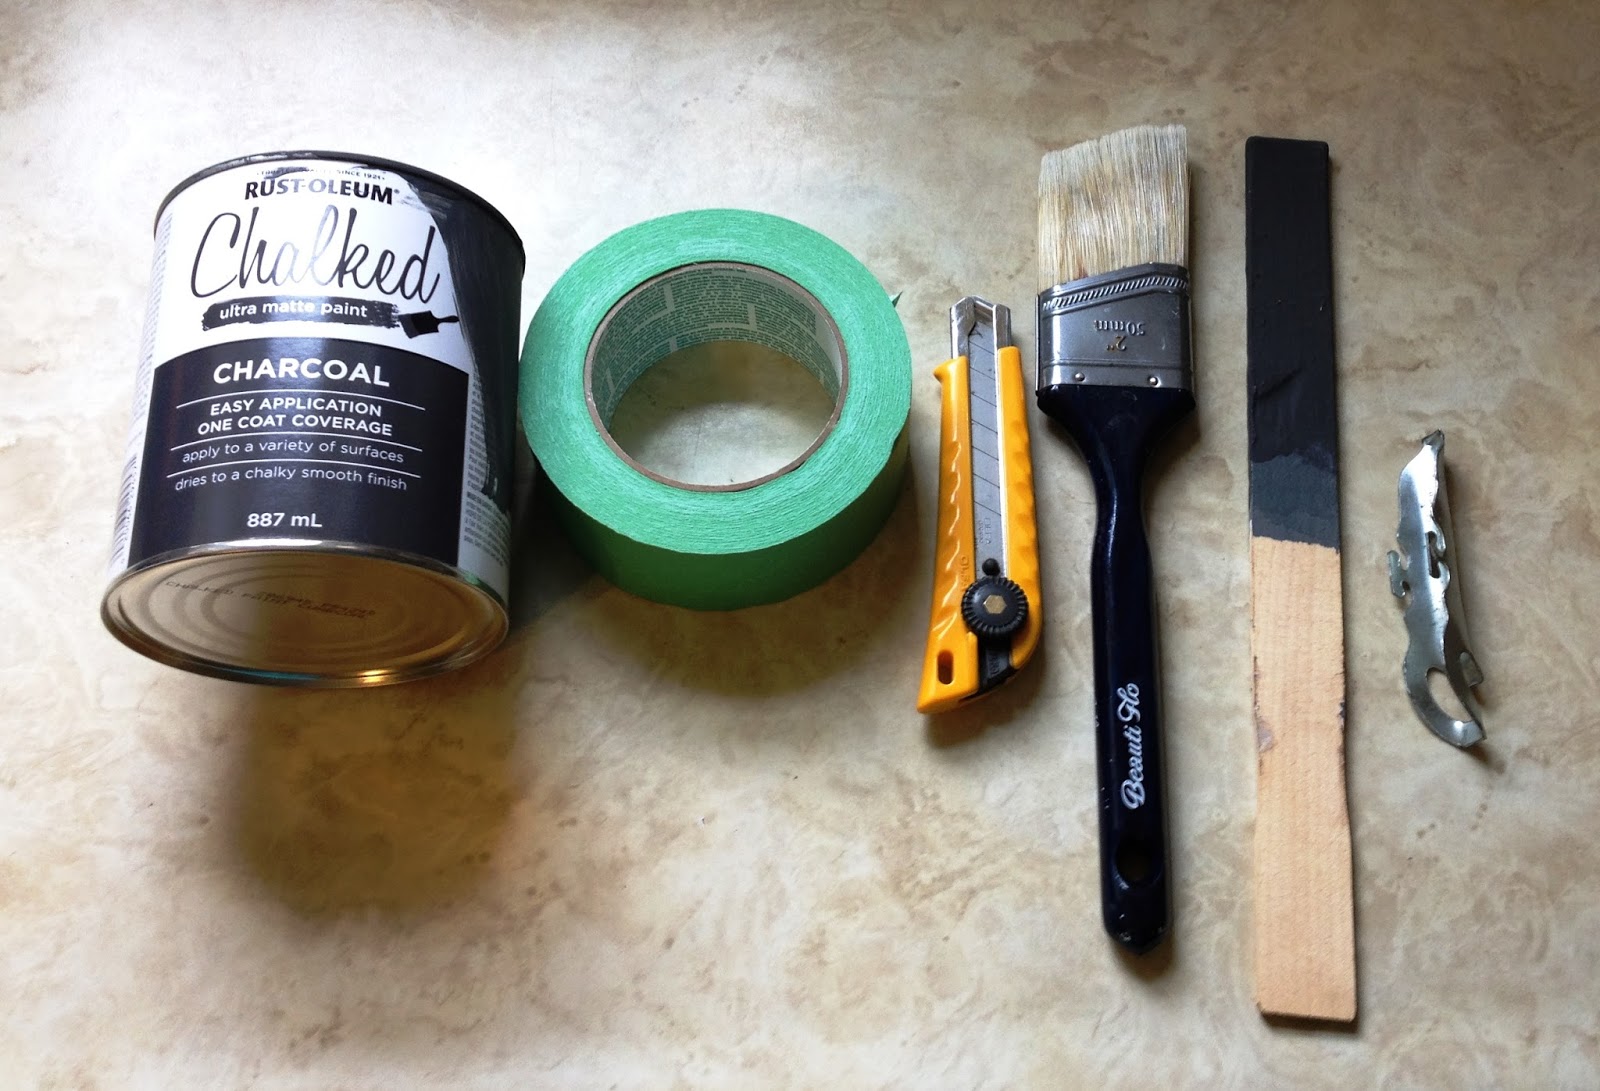
2. Chalkboard paint (see this post for details); painter's tape; Xacto knife; paint brush; stir stick and paint can opener. You'll also need a pencil.

3. (Optional) Hammer to close paint can; scissors.
4. A label template (see number 5); something to cut on that is transparent (I used the glass from a broken picture frame)

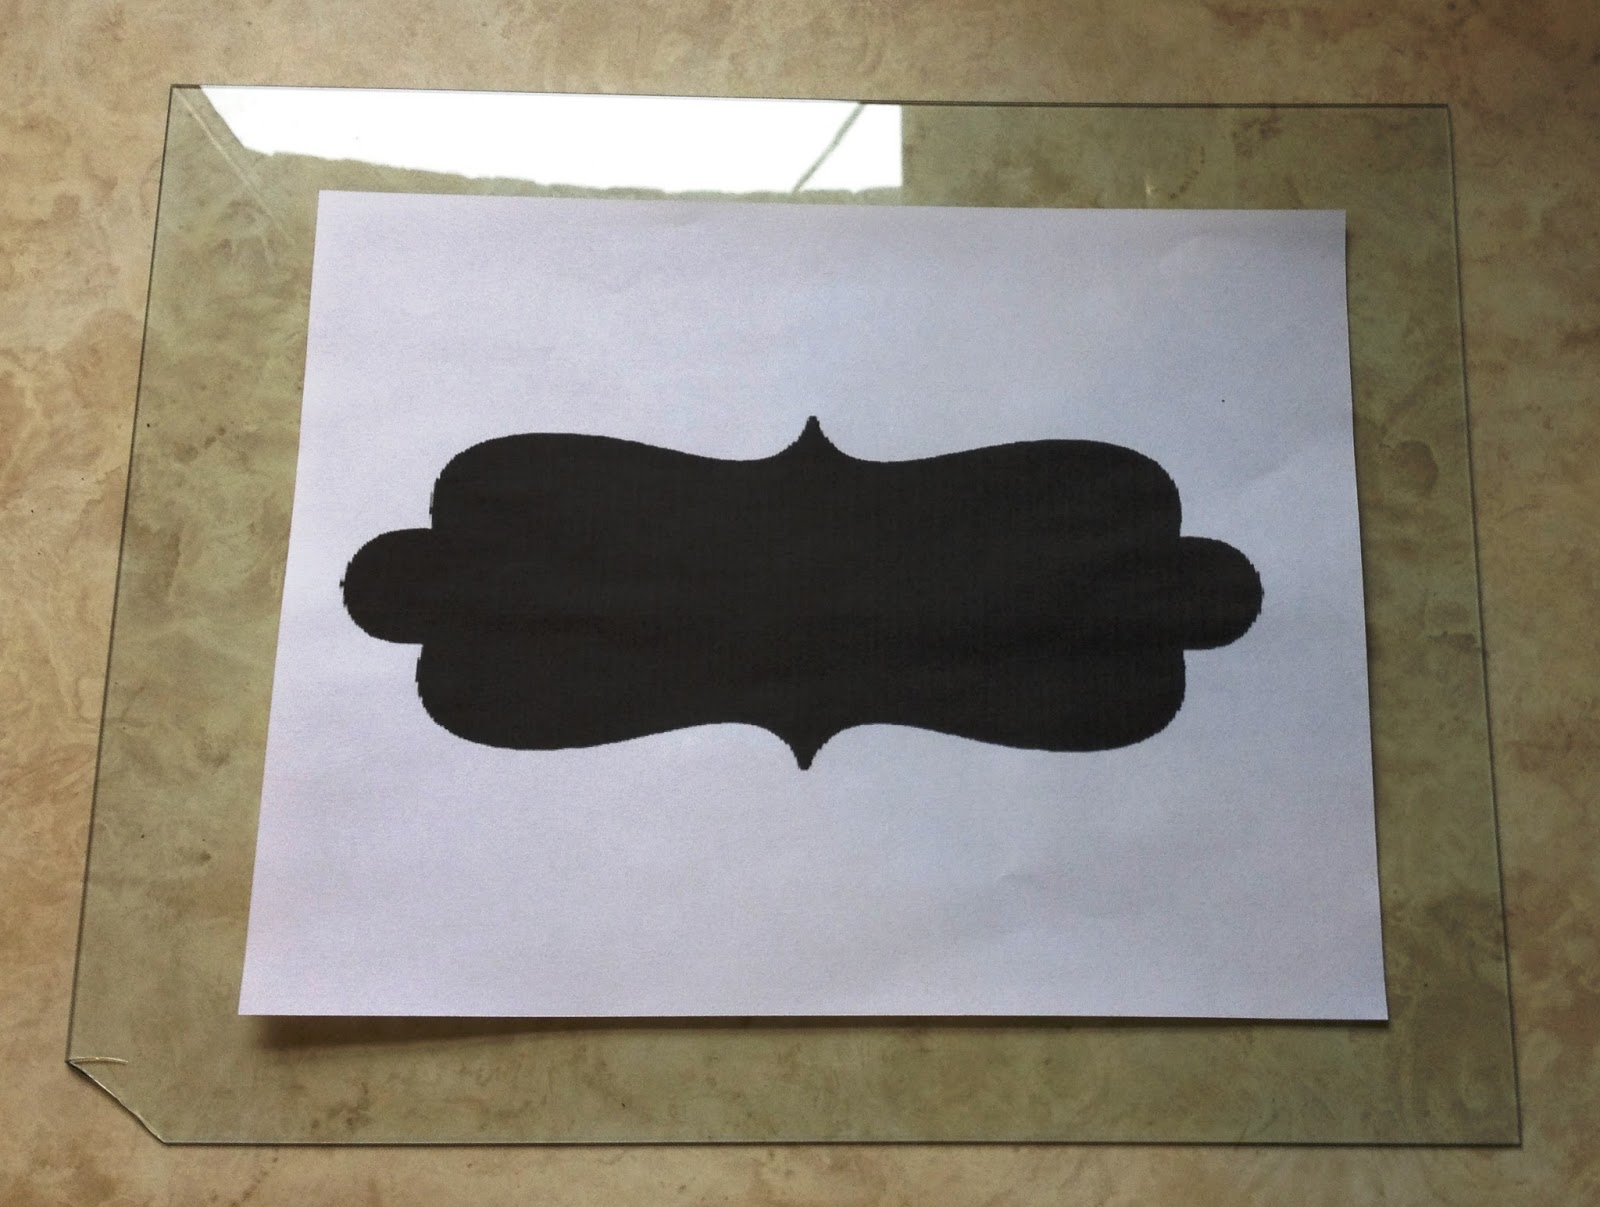
5. The template: I found this on Pinterest and picked one I liked.

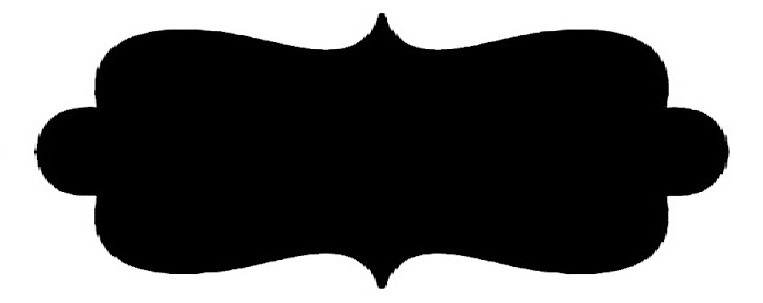
Then I cropped it:

And stretched it in photo editing software because the caddy front is rectangular:
TIP: I used the editing software that came with my computer to stretch the image. There are lots of free websites you can use to accomplish this too.

The Steps:

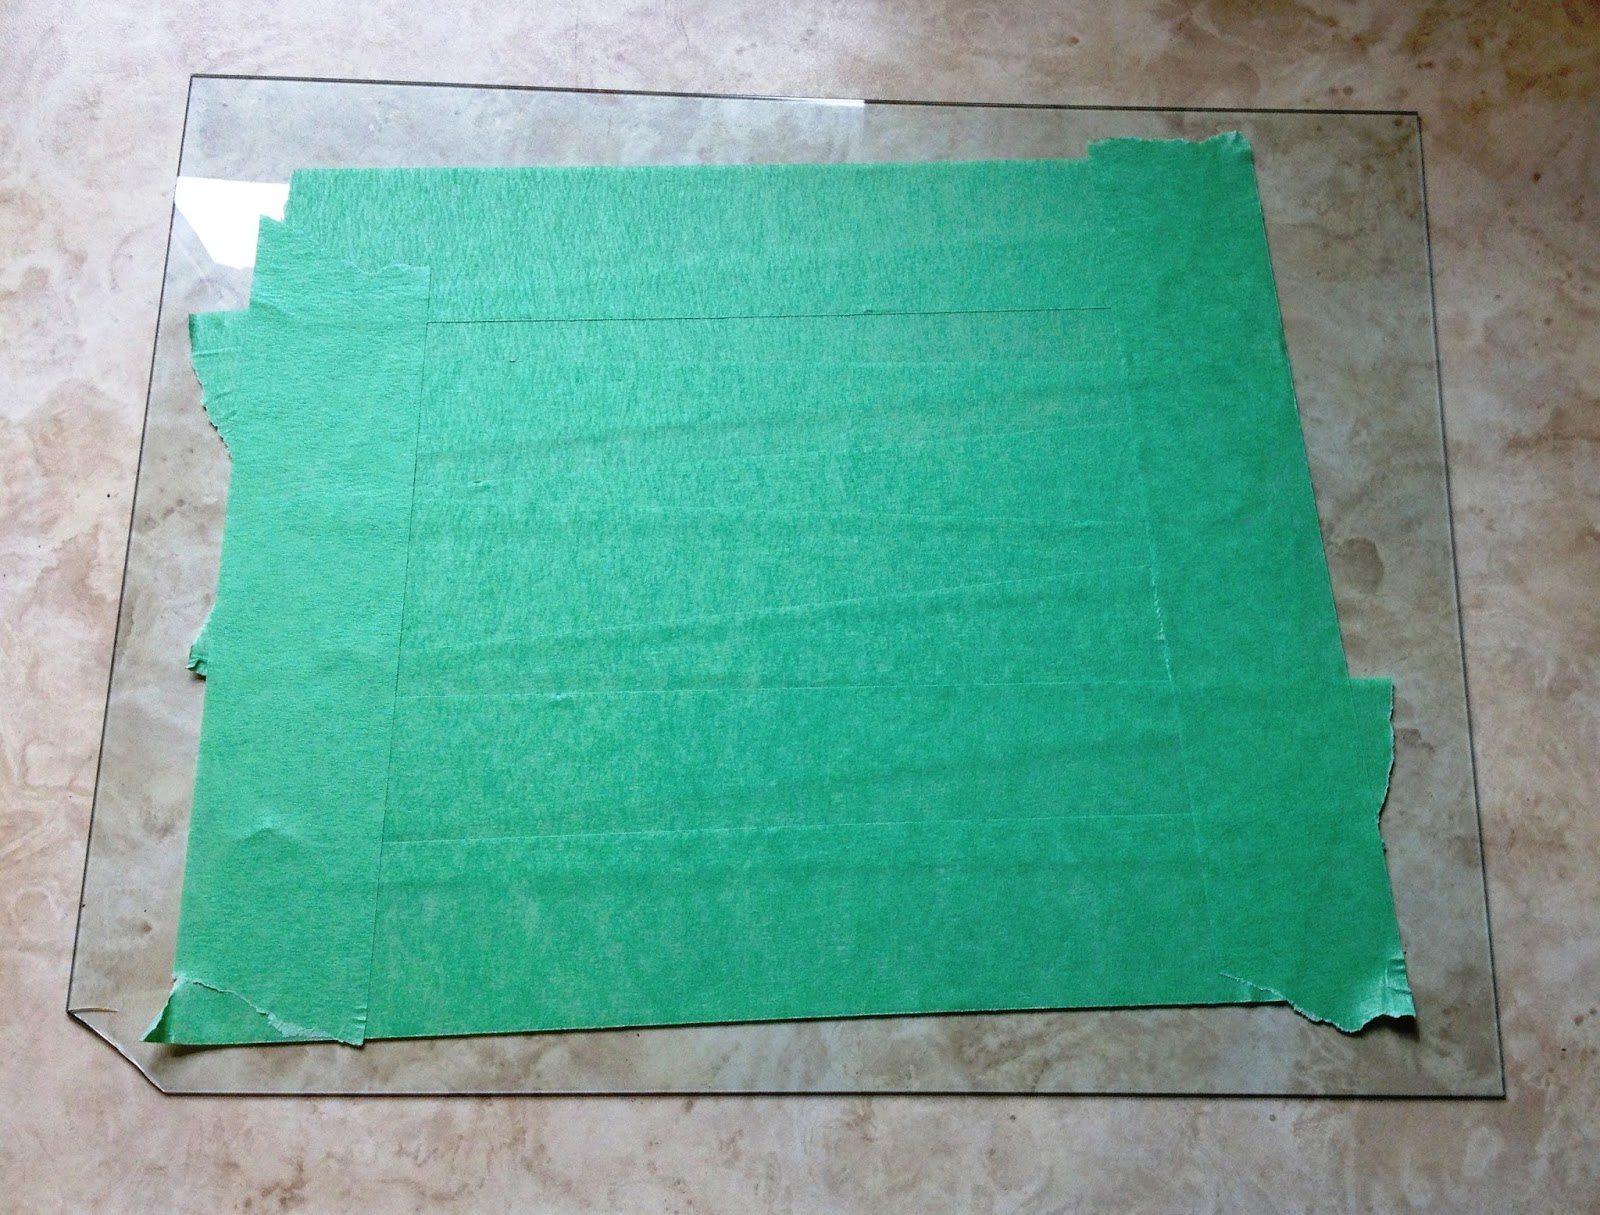
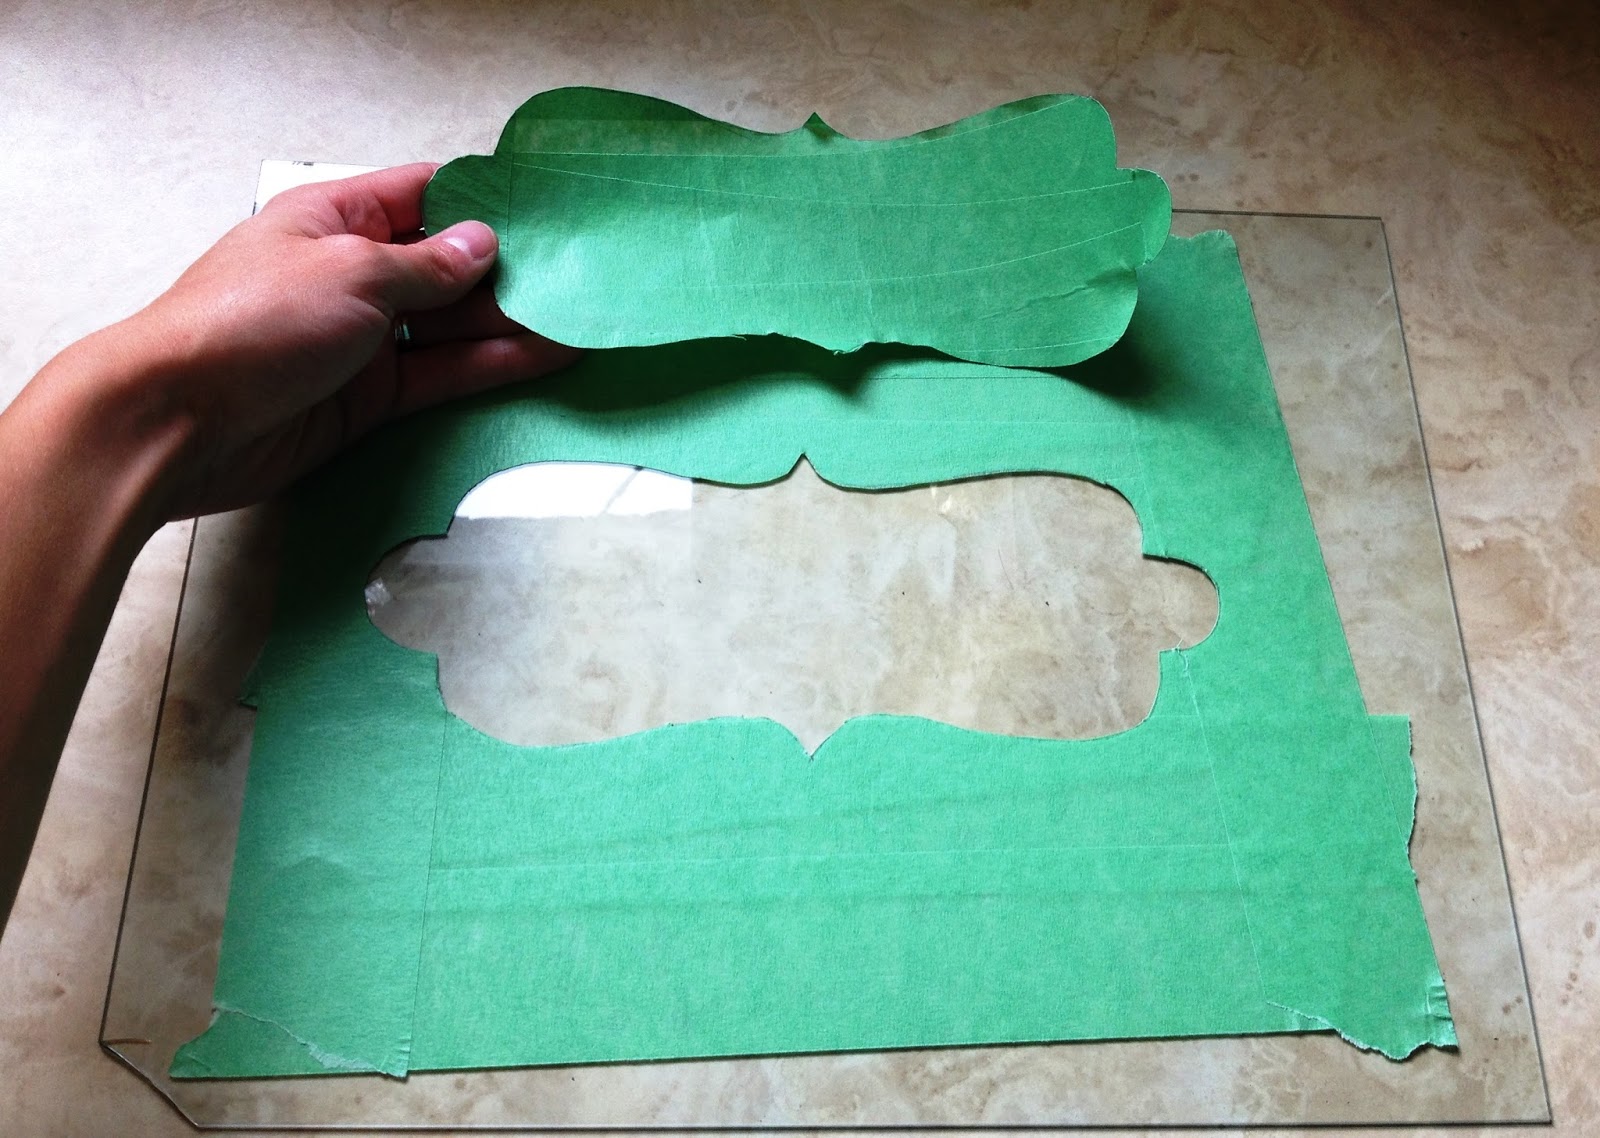
1. Cover the glass with painter's tape:

Tape the template to the back so it can be traced onto the painter's tape:

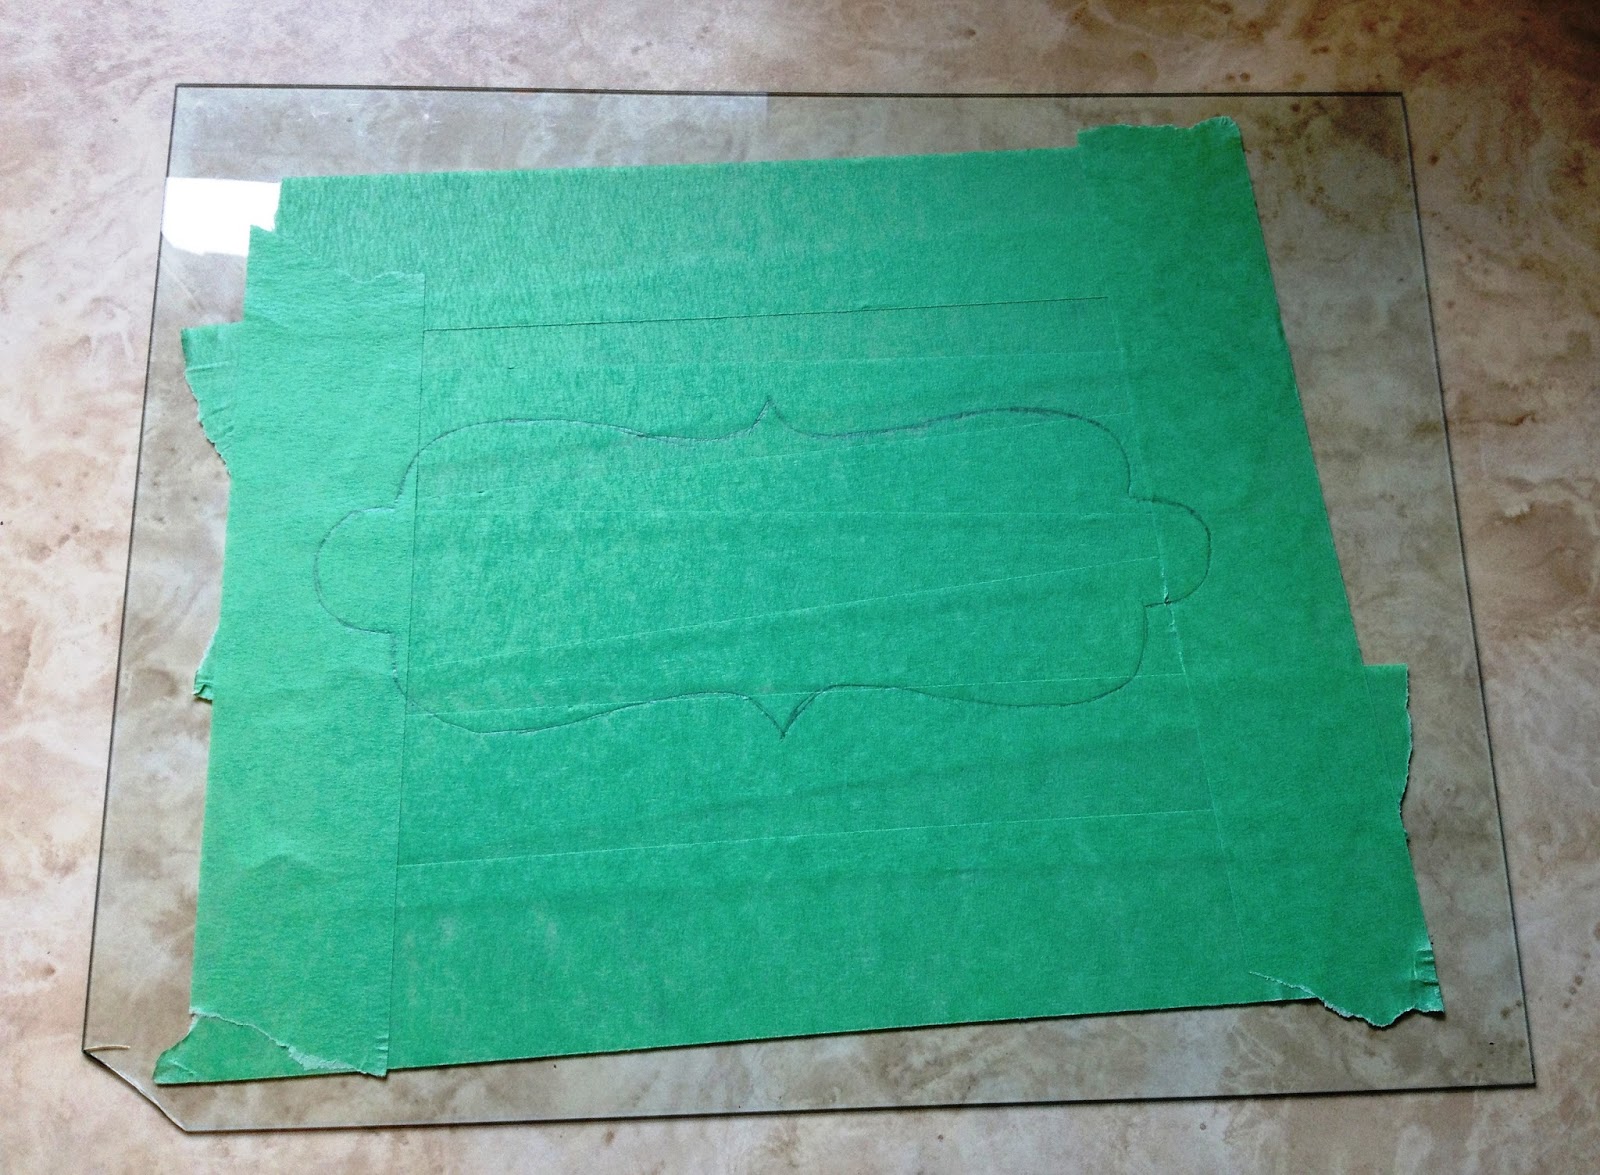
2. Trace the template:

3. Cut out the template with your Xacto knife. I found holding it like a pencil worked for accuracy around the curves.

4. You could save the piece you cut out for something else. I threw mine away.

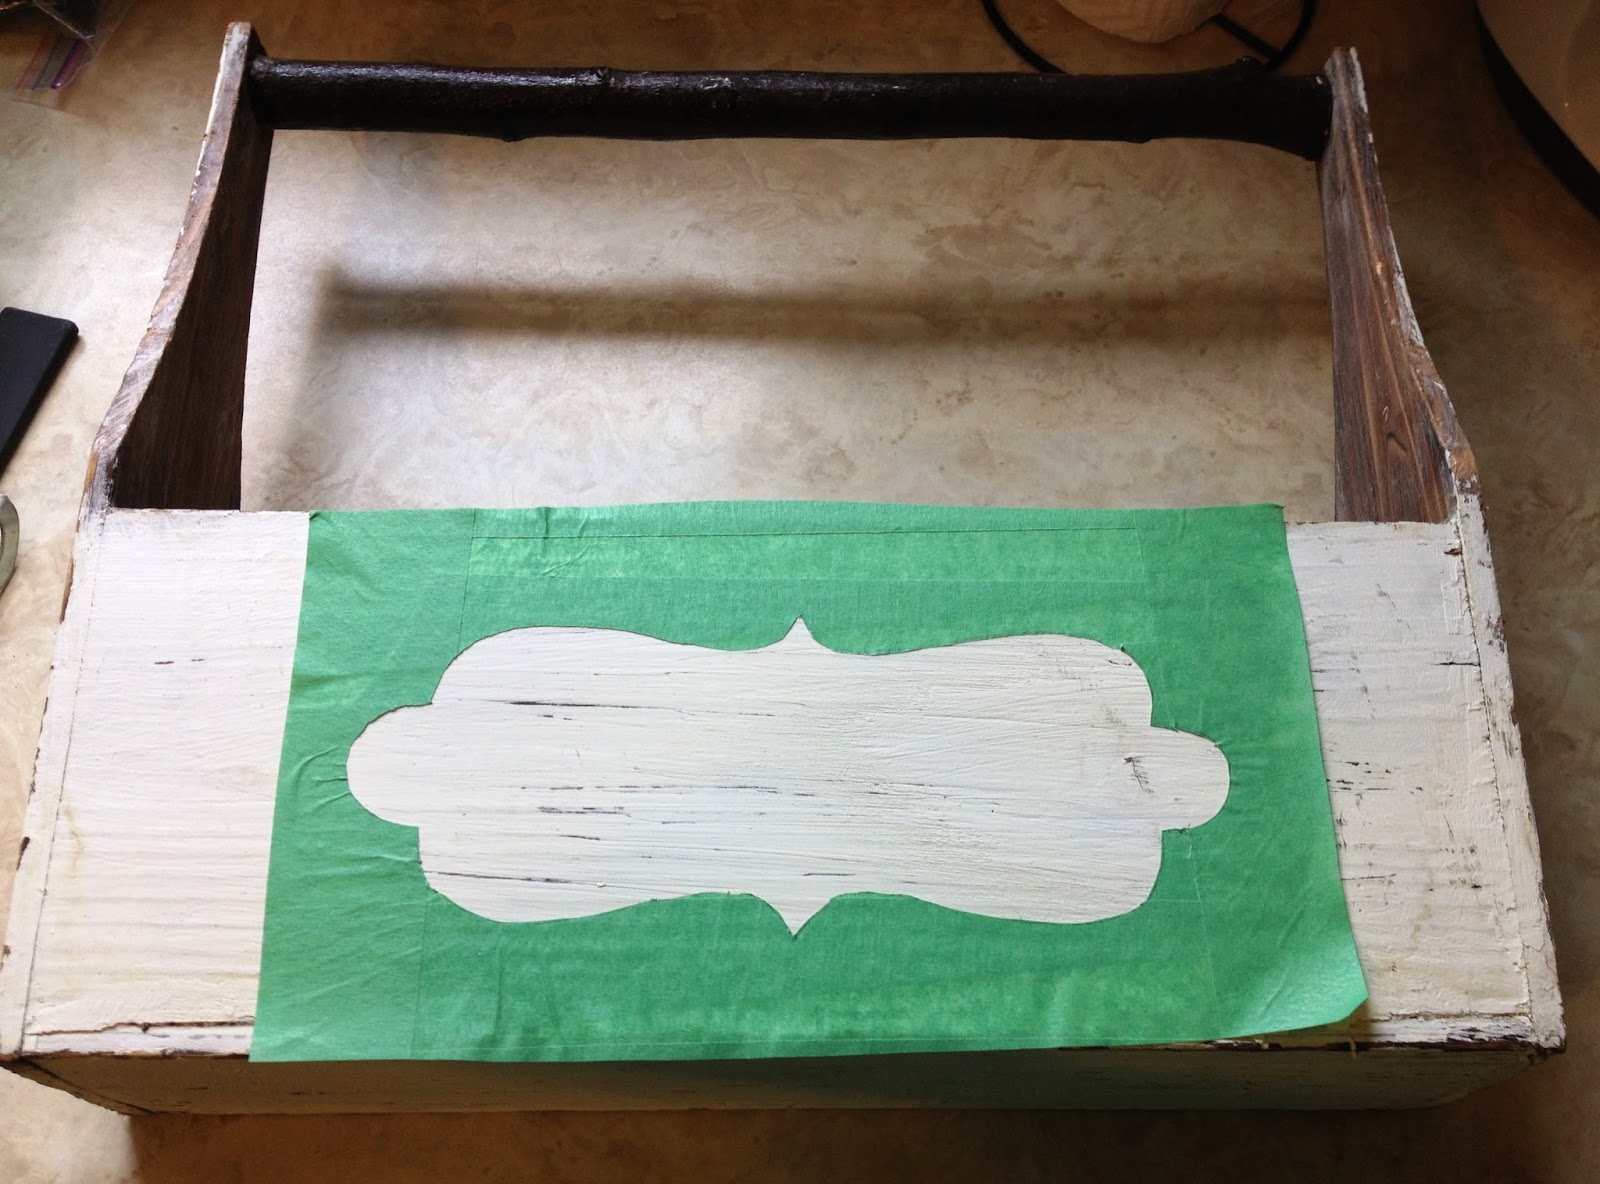
5. Square off the edges of the stencil.

6. VERY CAREFULLY peel the stencil off the glass, trying not to stretch the tape or it won't lay flat on what you're painting. Make sure the edges of the stencil are flat against the surface or paint will get behind the tape.

Chalkboard Paint Label:

1. Paint with you chalkboard paint and wait for it to dry. I waited until it was tacky for this particular item because I didn't want the tape to sit for too long and peel paint with removal. The tape did peel off some of the old paint on the caddy anyway.

2. You can save the stencil by sticking it to some wax paper and rolling it up. I held the roll together with a paperclip.

3. To write on the label, I made and printed this off of PicMonkey:
4. Lay a piece if chalk on its side and cover the back of the paper with chalk.

5. Trace with your pencil and fill in the letters if you like. There is also a product called Liquid Chalk Markers which gives a cleaner look.


Sunday, June 28, 2015

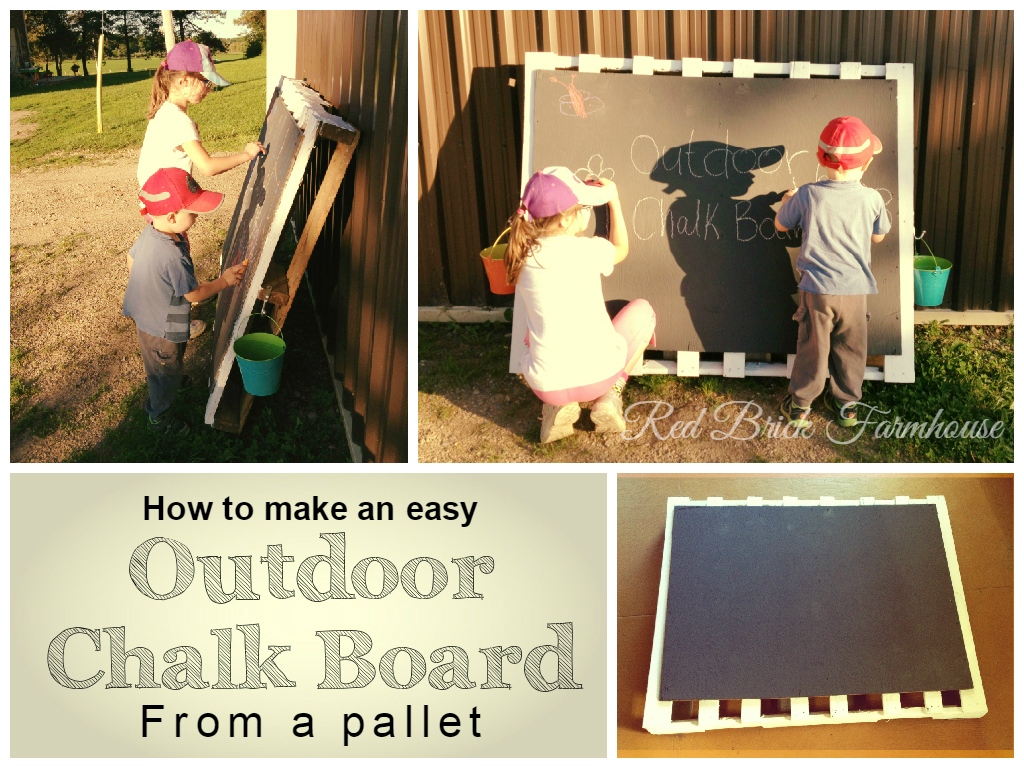
Easy Outdoor Chalk Board

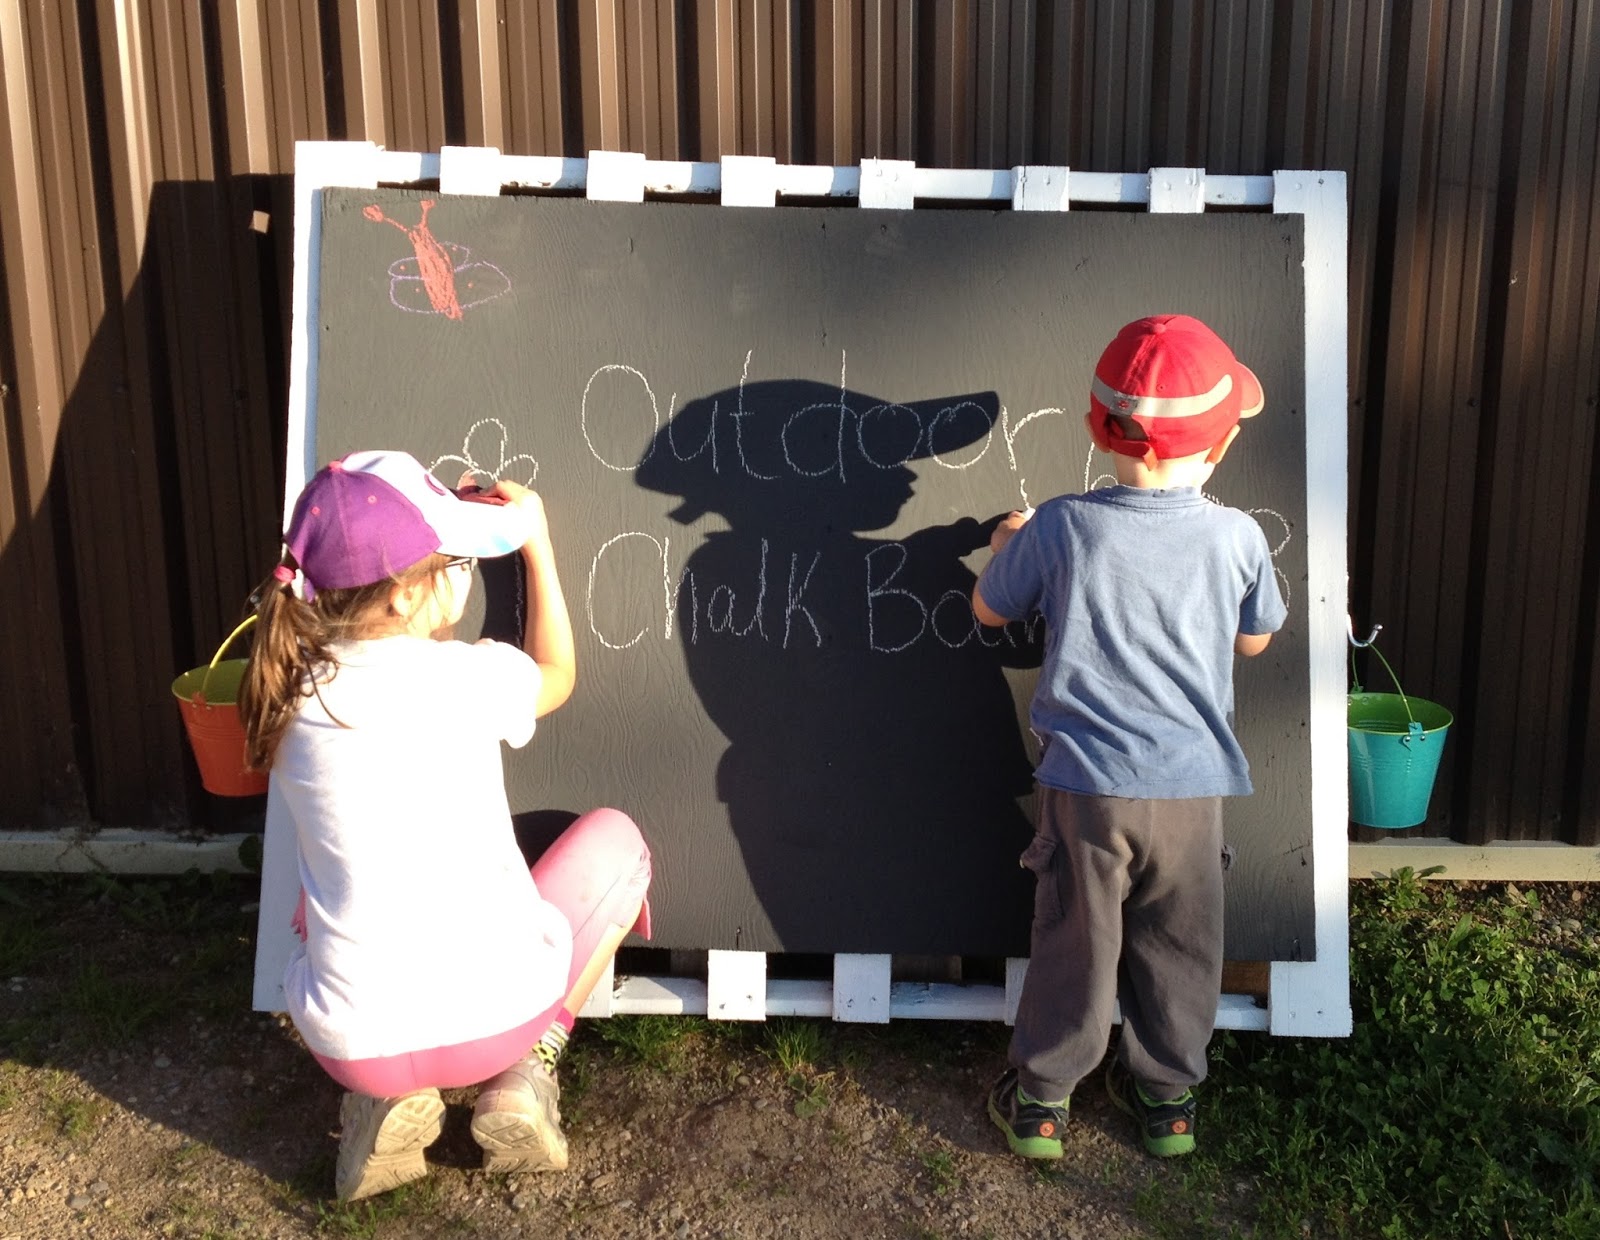
So don't forget we live on a farm and we have an endless supply of pallets at our disposal. There's lots of ideas out there for what you can do with them. Last summer I tried a pallet garden (it worked, well, just okay). I happened to remember I kept an old piece of plywood around for covering a window where we stack firewood, put two and two together, and came up with this idea. The kids also have absolutely nowhere to use sidewalk chalk because we have a gravel lane. This option allows me to set the chalk board wherever I want (I can even lay it down); I can tie it to something for extra support; it's heavy enough it won't blow away (it's windy up here!) - but not too heavy so I can bring it in out of the rain and snow.


Here's how I did it:

Outdoor Chalk Board from a pallet:

What you need:

1. A space to paint or something to cover your space with

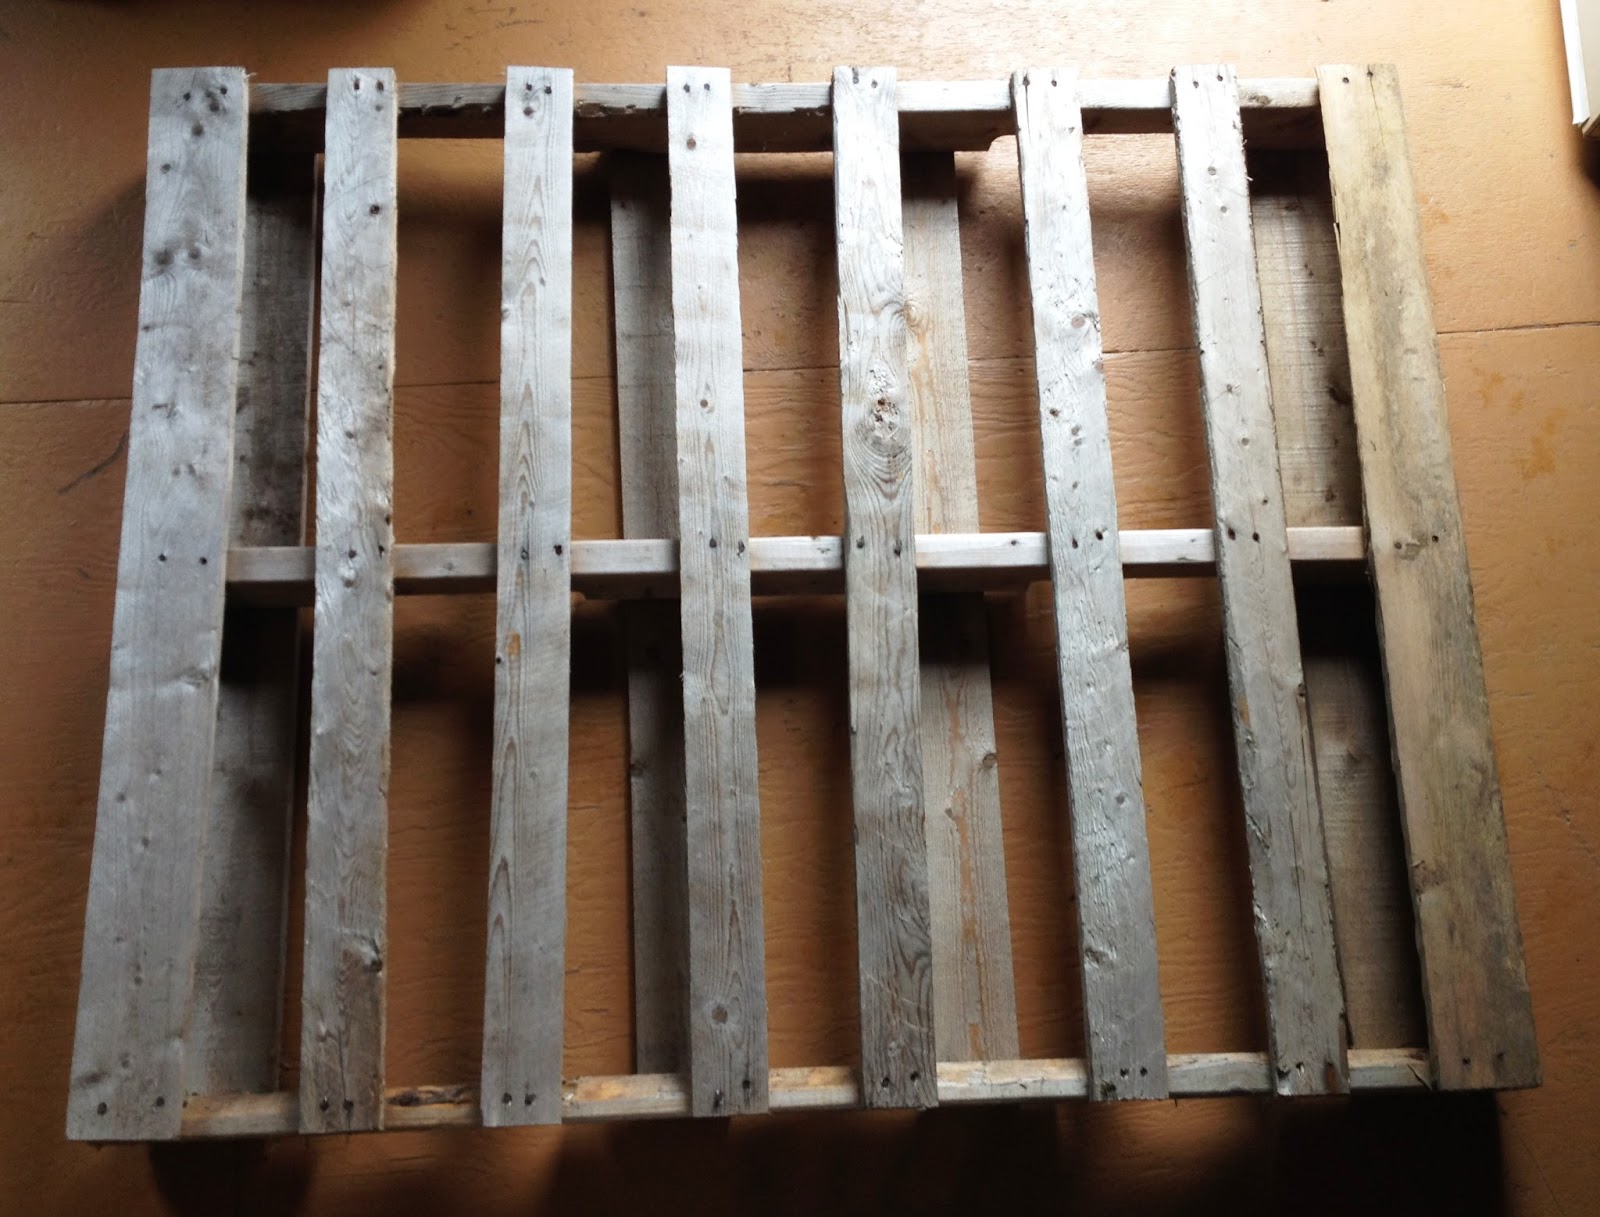
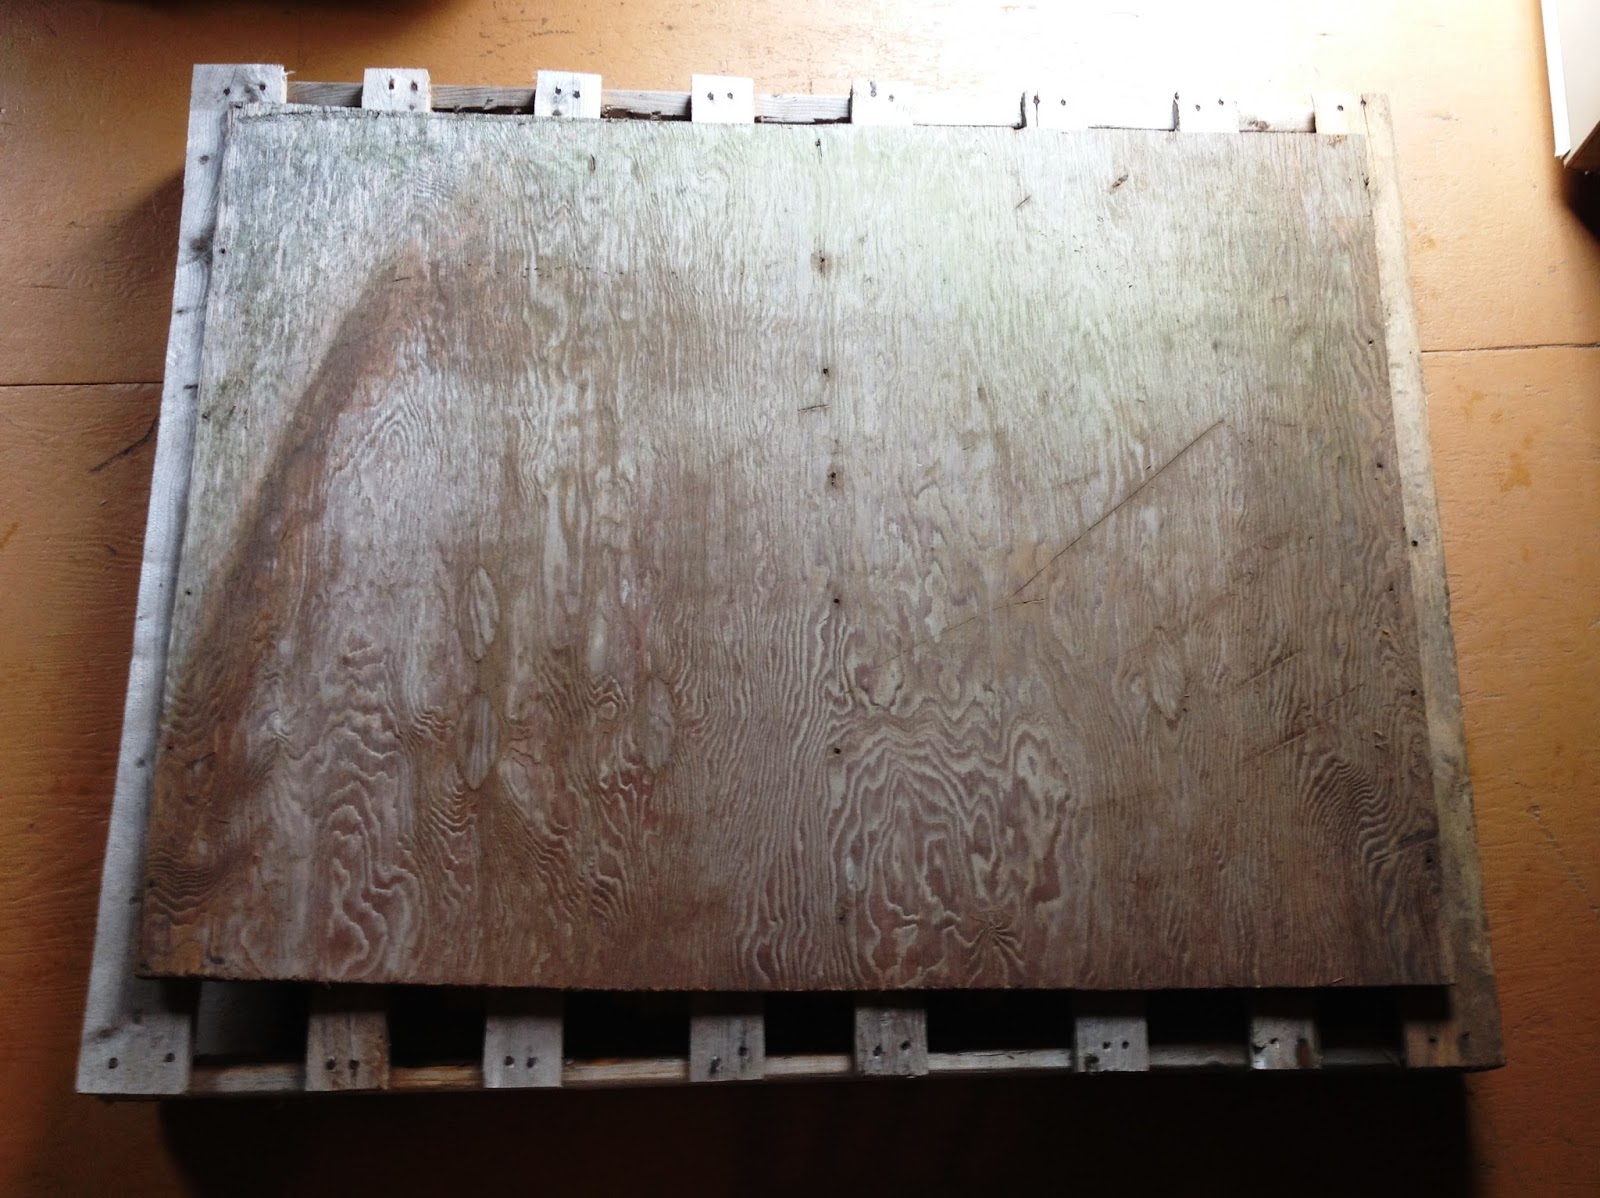
2. An old pallet. Scrub it with soap and water and a brush if needed.

3. A piece of plywood to fit on the pallet. I was lucky and this one just fit. You may have to cut one to size. Sand rough edges if needed. Plywood is the least expensive material to use, but it is rough. Particle board may also work if you can find one big enough.

4. An exterior primer paint for longevity. I used Zinsser Peel Stop Plus - it helps to seal the old plywood; And a chalk paint in whatever colour you want. I found both of these at Canadian Tire.
Or for a homemade chalk paint option, go here for instructions.

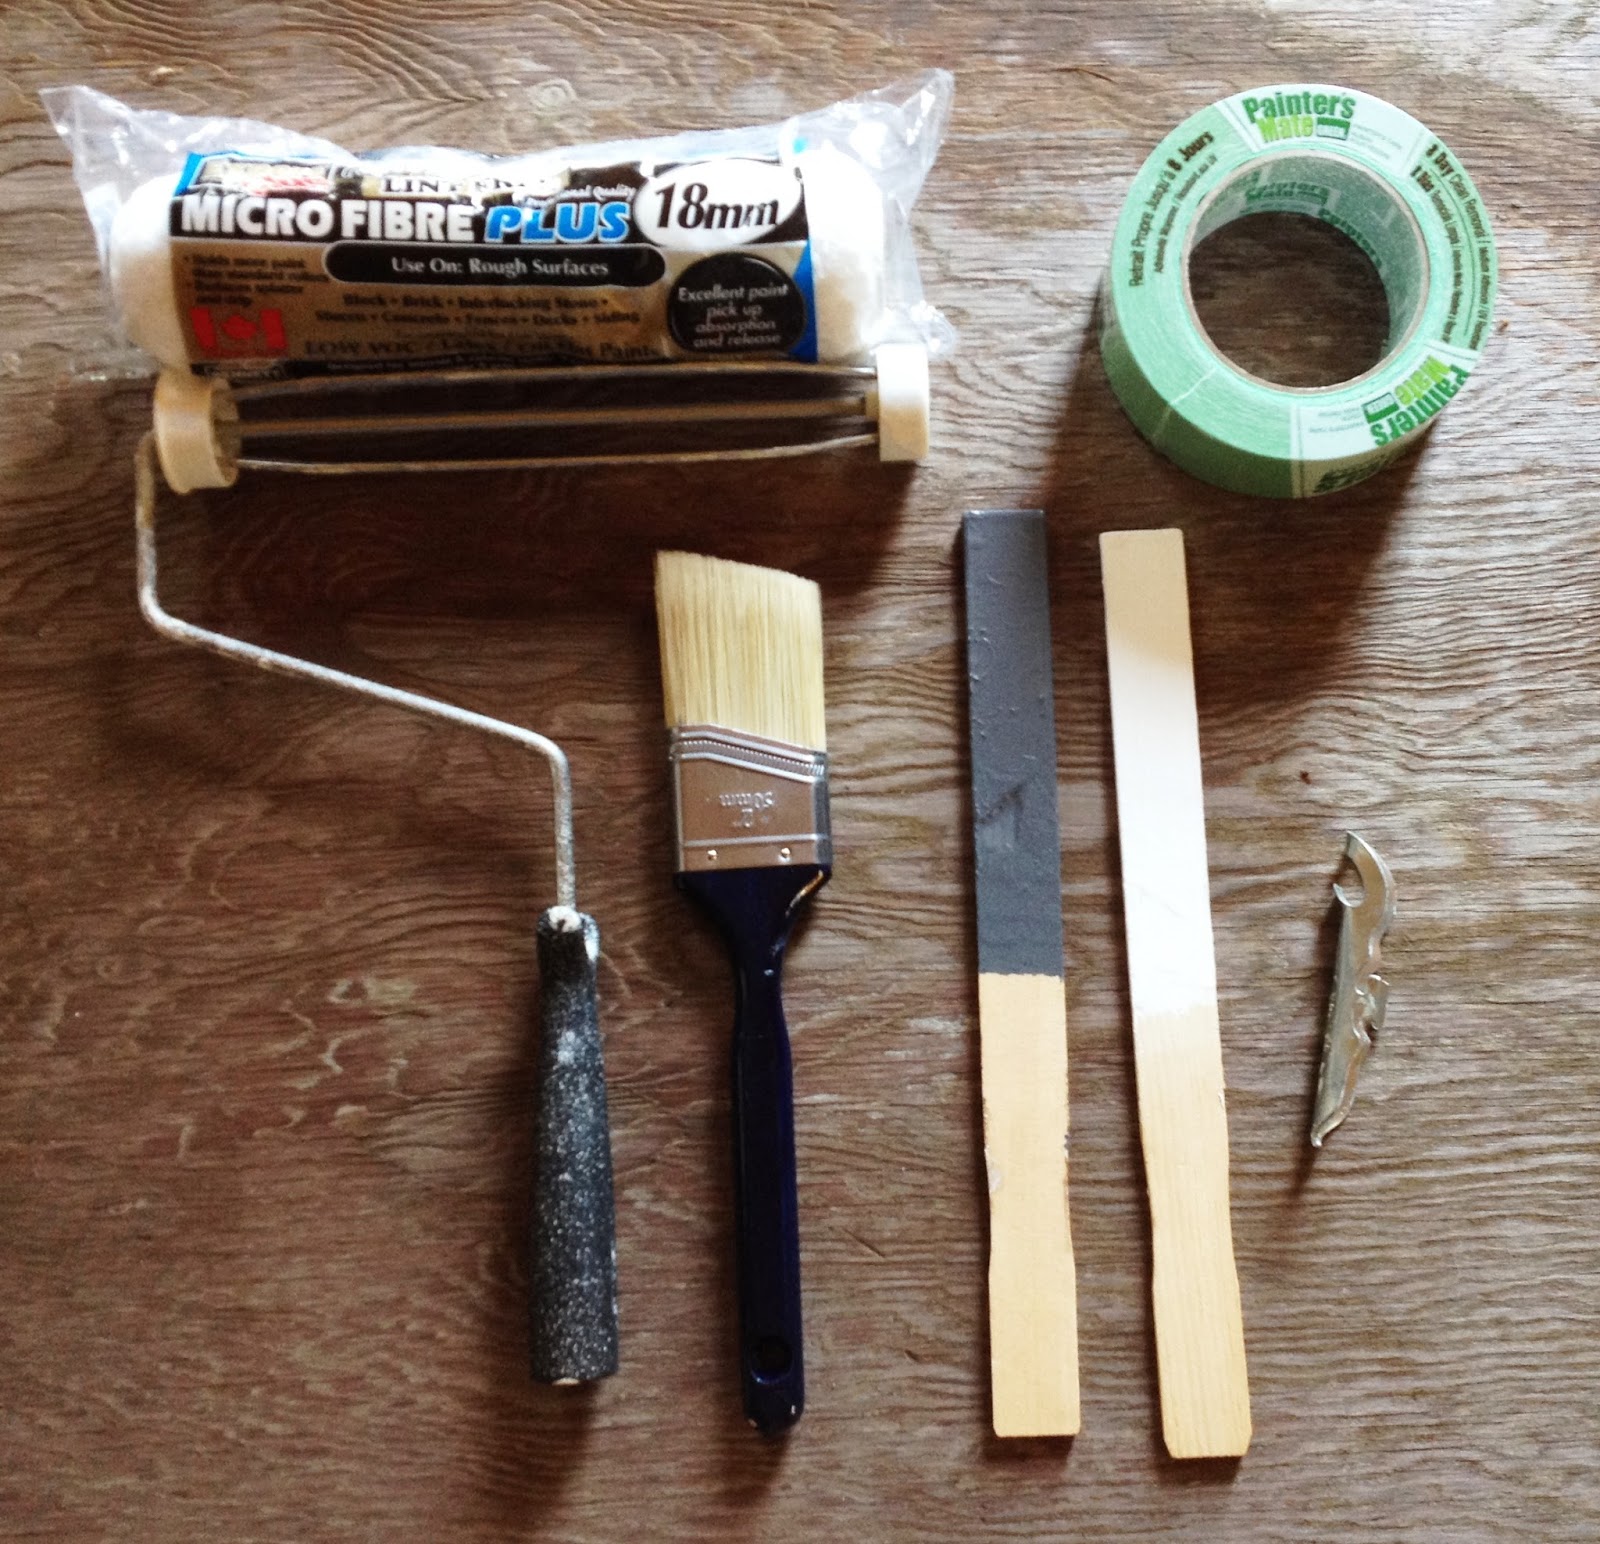
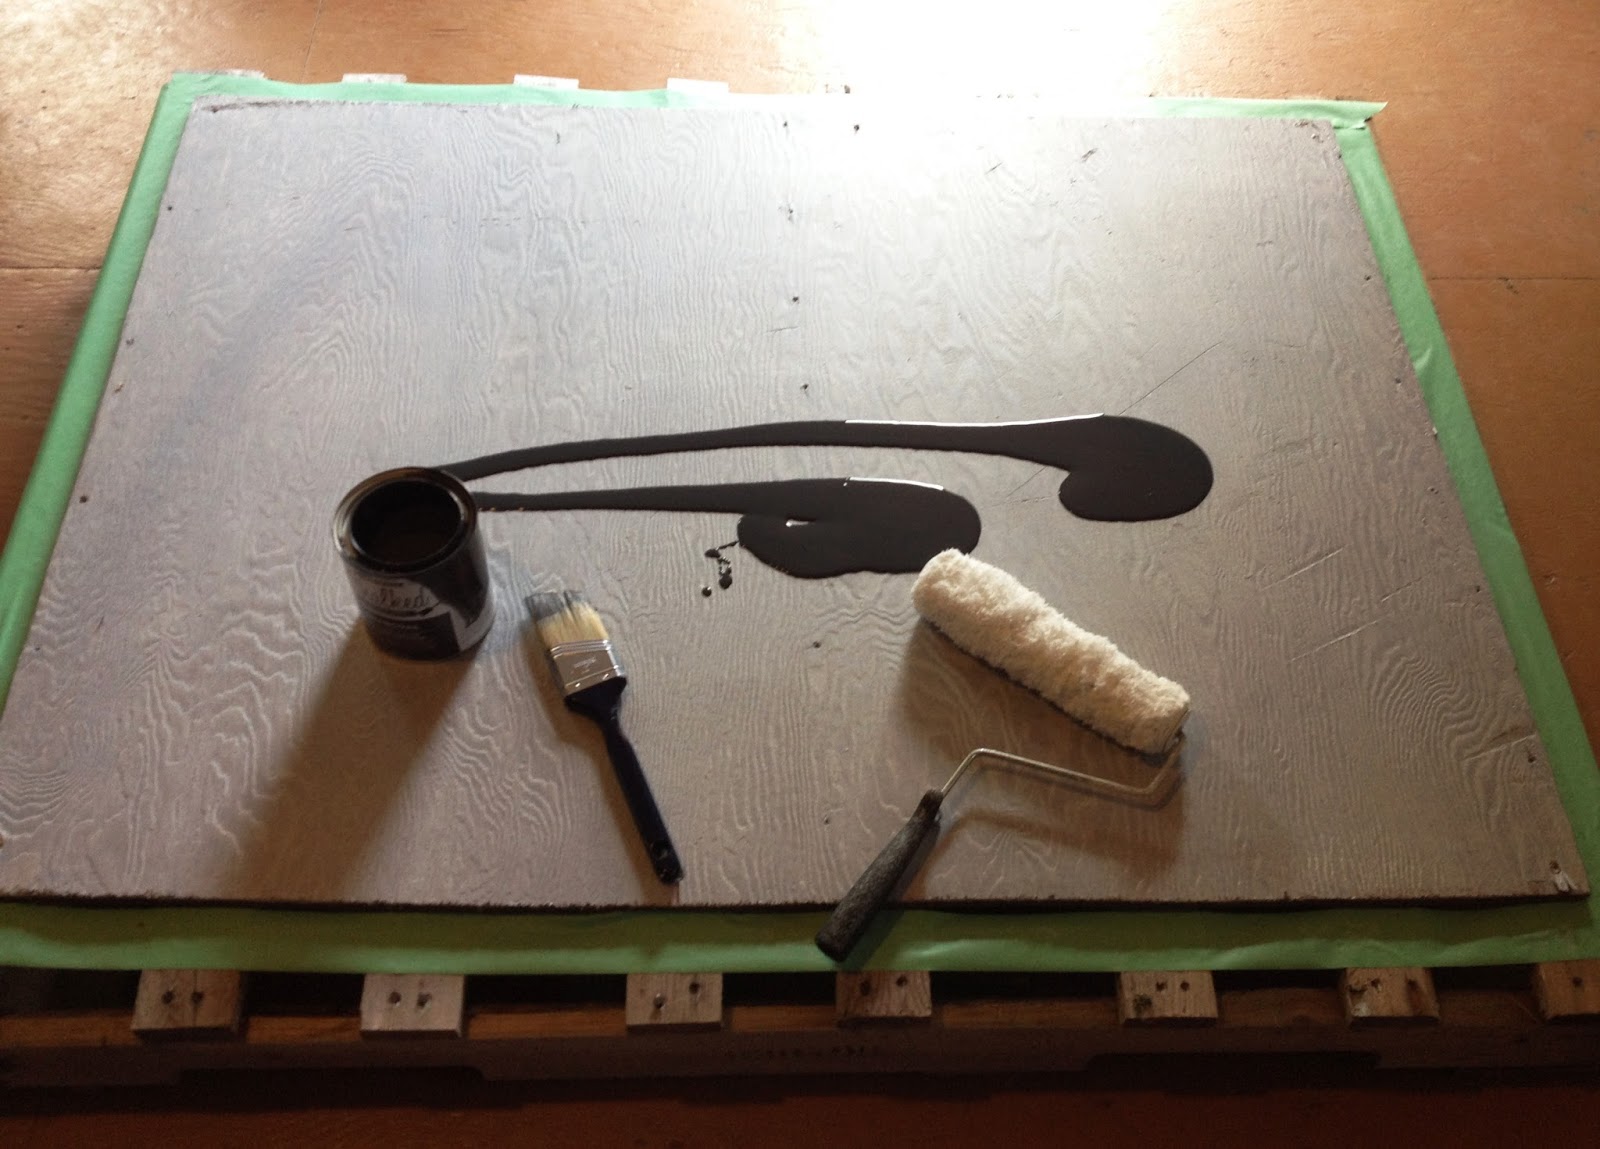
5. Paint roller (see next photo) and roller frame; medium size paint brush; stir sticks; painter's tape and paint can opener. 

The other how-to's I looked at recommended a rough service paint roller to help get the paint in all the nooks and crannies of the plywood. I found this one at Canadian Tire:

6. A cordless power drill and wood screws long enough to go through the plywood and pallet. I happened to have these screws from a previous project.

7. Two hooks (from Canadian Tire); two buckets (from any Dollar Store) and side walk chalk. I found this huge box of chalk at WalMart for only $6!!! The hooks will hold the buckets where the chalk will go. One bucket will do fine if you're making it for one child to use.

8. (Optional) Plastic wrap to wrap brush and roller between coats of paint; hammer to help close paint can lids.

The Steps:

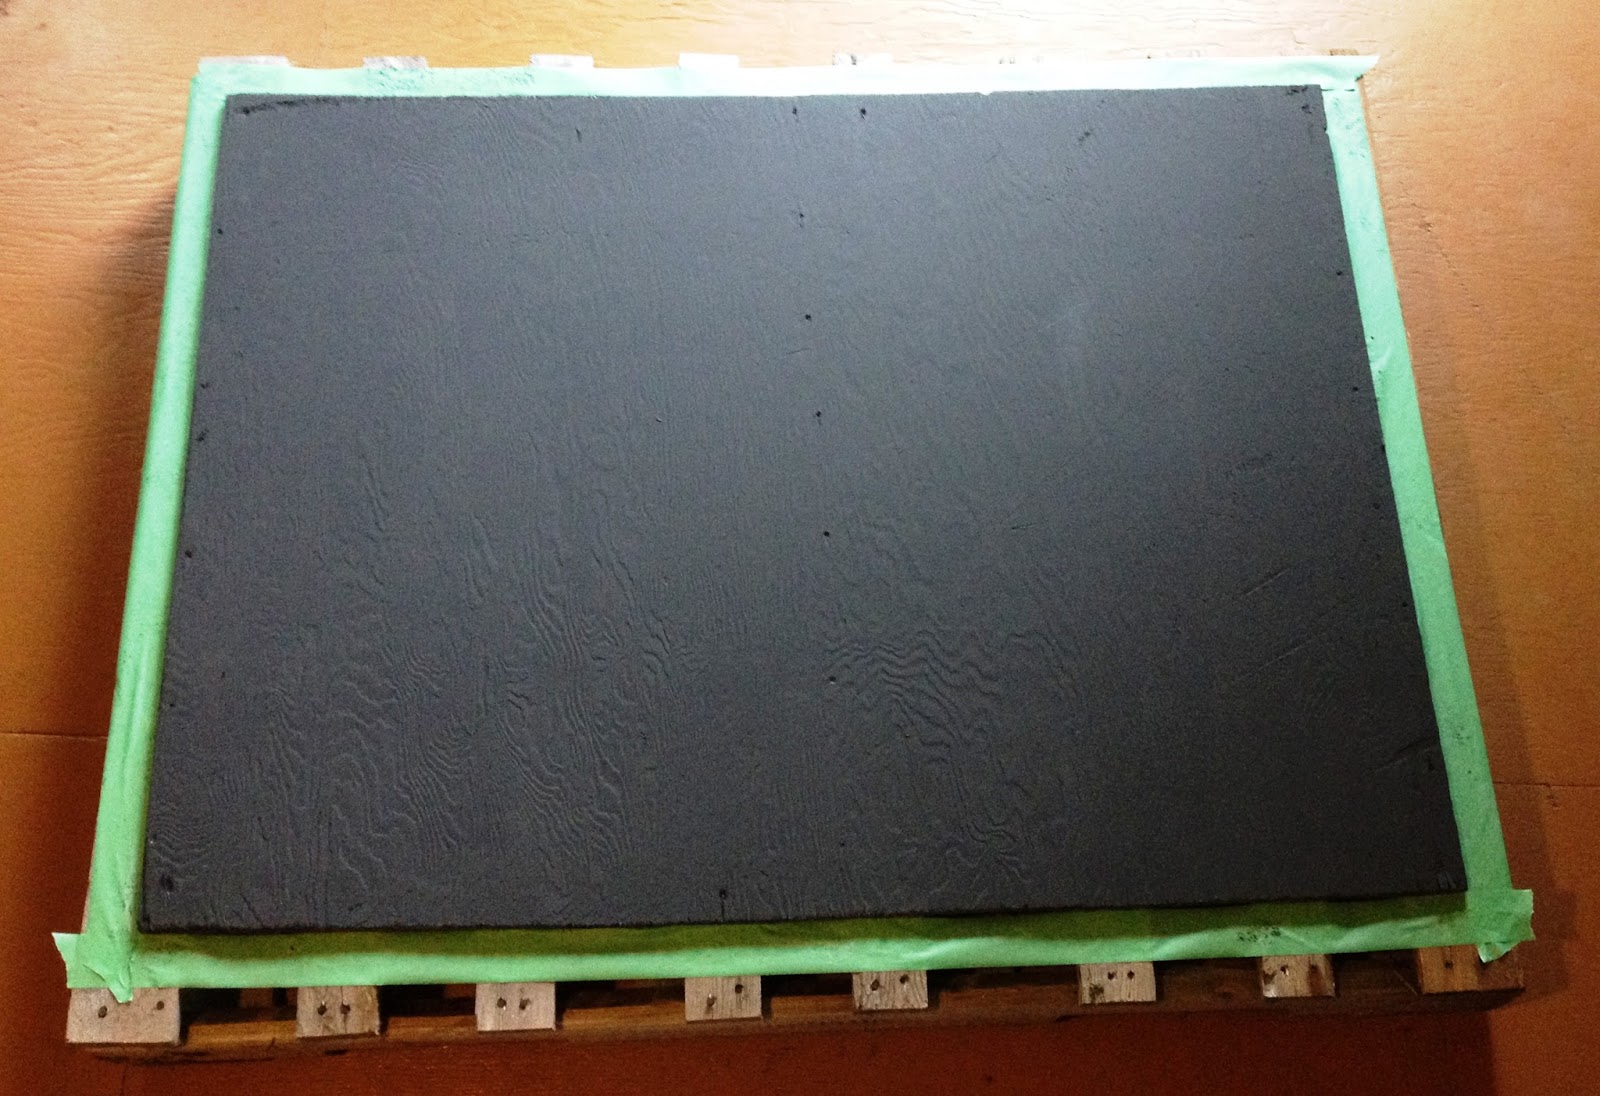
1. Tape around the plywood and paint on two coats of primer with the roller, waiting the recommended time between coats. 

2. Paint two to three coats of chalk board paint with the roller, waiting the recommended time between coats.

For the primer and the chalk board paint, I never used a paint tray, I just poured it on the plywood:

TIP: Just make sure you pour out onto the French side so you don't cover the English instructions:

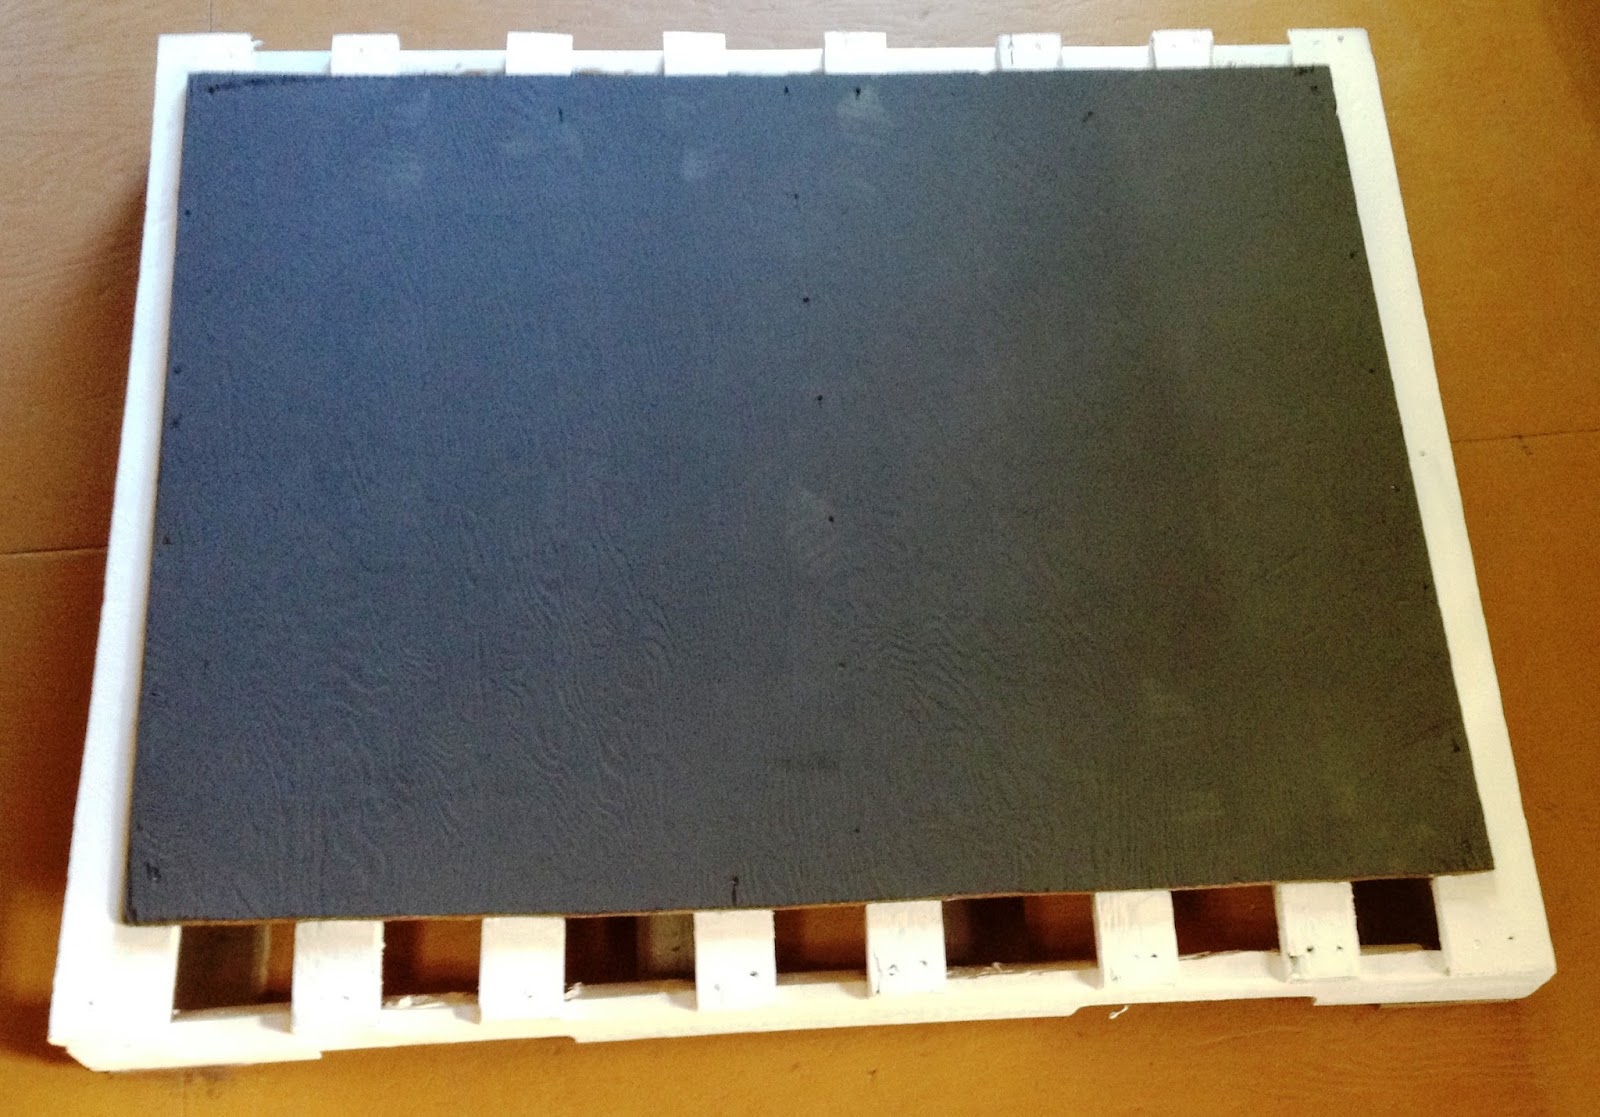
3. Remove the painter's tape, paint with brush around the space left on the pallet with the primer (I did one coat). Then I painted two coats of a leftover white exterior paint. You can use whatever colour you want, or leave this step out completely (your plywood may fill the whole pallet).

4. Set up in an area where your kids like to play. You could hammer some steel bars into the ground and wire the chalk board to that. You can also lay it flat on the ground. I could also see it working as a restaurant sign/menu board!

UPDATED:
Ideally, you should wait 12-24 hours before using the chalkboard. Some people say 48 hours. After this period you should prime it. Do this by laying a piece of chalk on its side and cover the entire board with chalk. Wipe with a dry rag and then erase. If you leave out this step, it's possible the chalk you first write with will not erase. I didn't wait quite 12 hours nor did I prime it before we used it. This step is entirely up to you, but I have read that the longevity and durability increases if you follow the above steps. And as long as there is no dirt on the chalkboard, you can cover with another coat of paint if there is chalk staining you want to hide.