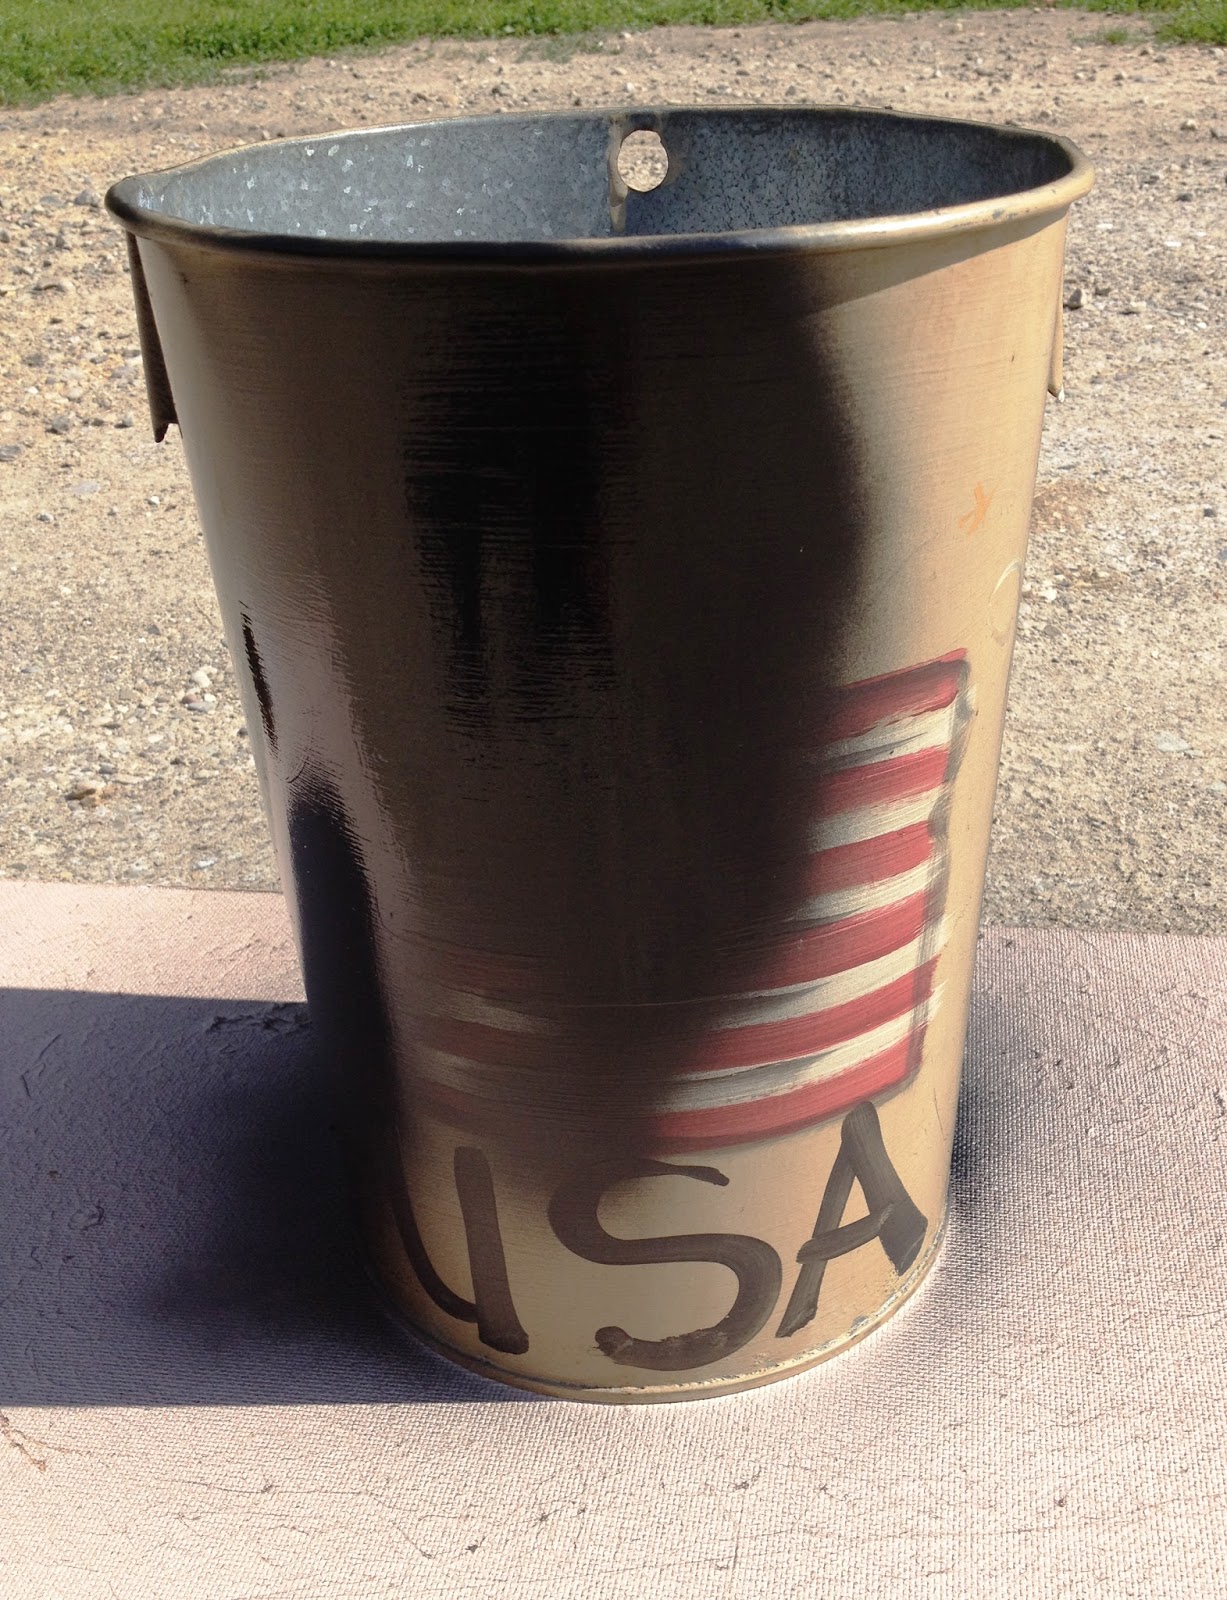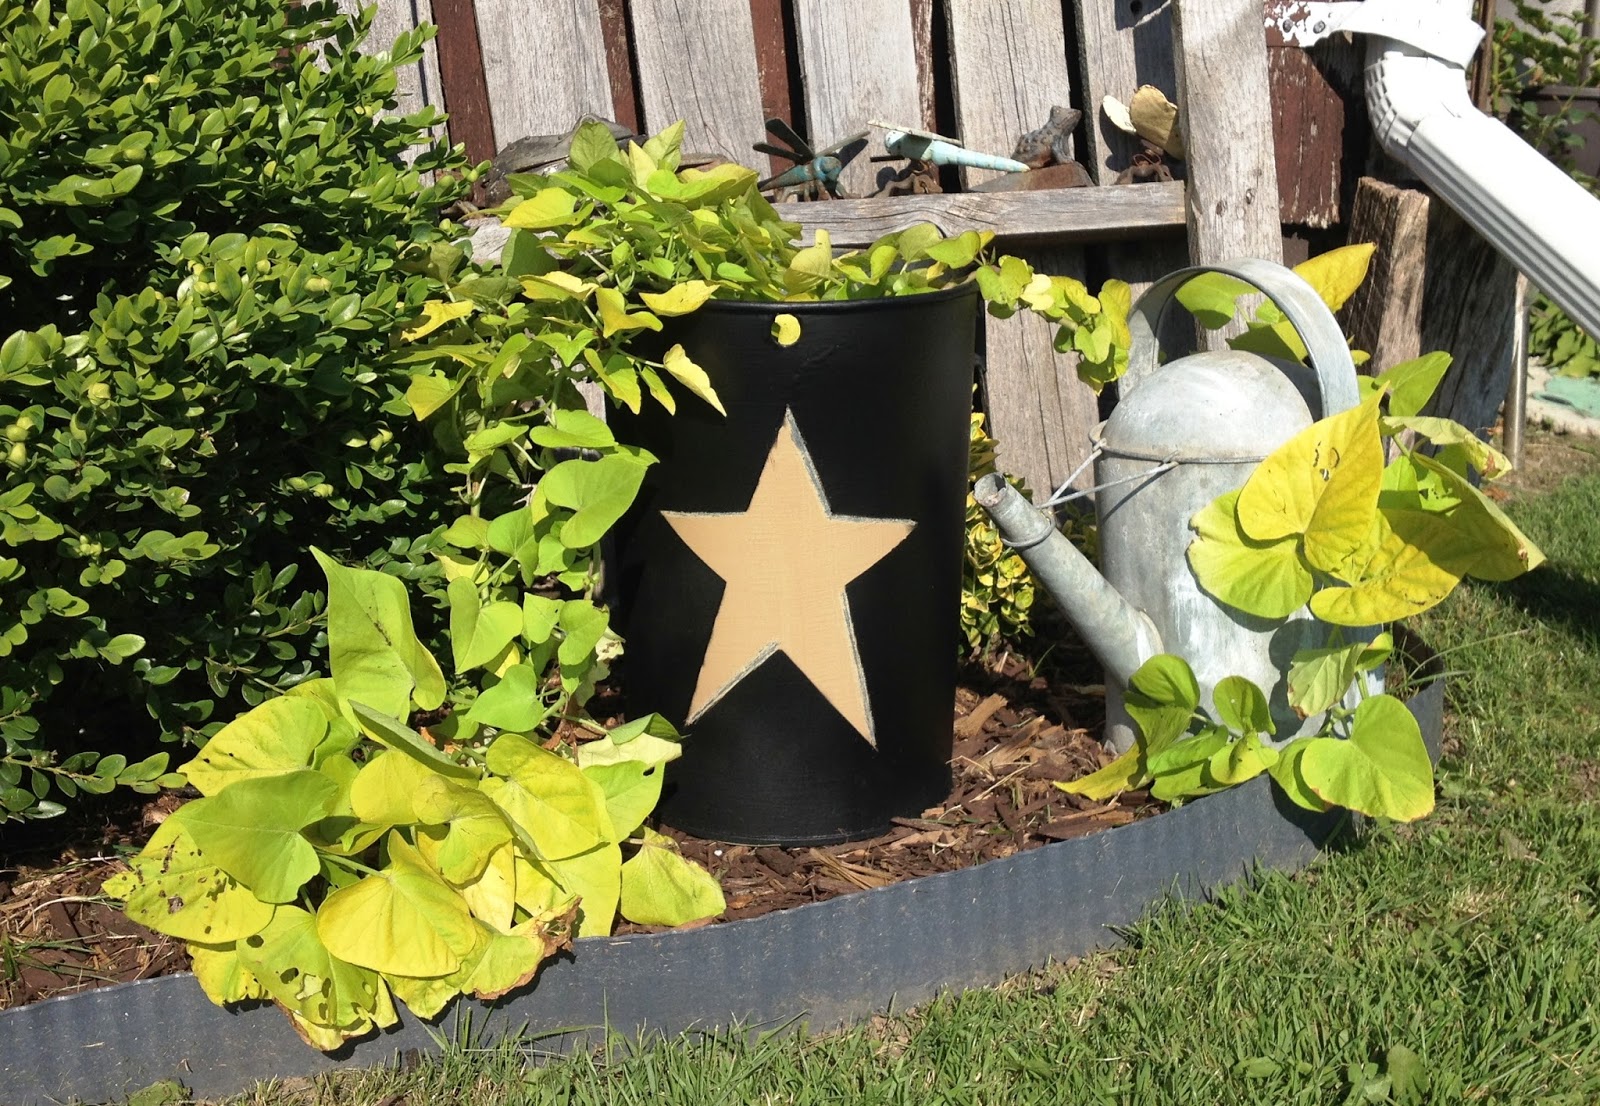


After my first chalkboard paint project as seen here was complete, I had lots of paint left over and wanted to try something else with it. The old wooden caddy I found at a yard sale and knew my garden tools would fit perfectly. Since chalk is non-permanent, I won't take this outside but instead use the caddy to store the tools inside.
Painter's Tape Stencil:
What you need:
1. A space to paint or something to cover your space with.
2. Chalkboard paint (see this post for details); painter's tape; Xacto knife; paint brush; stir stick and paint can opener. You'll also need a pencil.
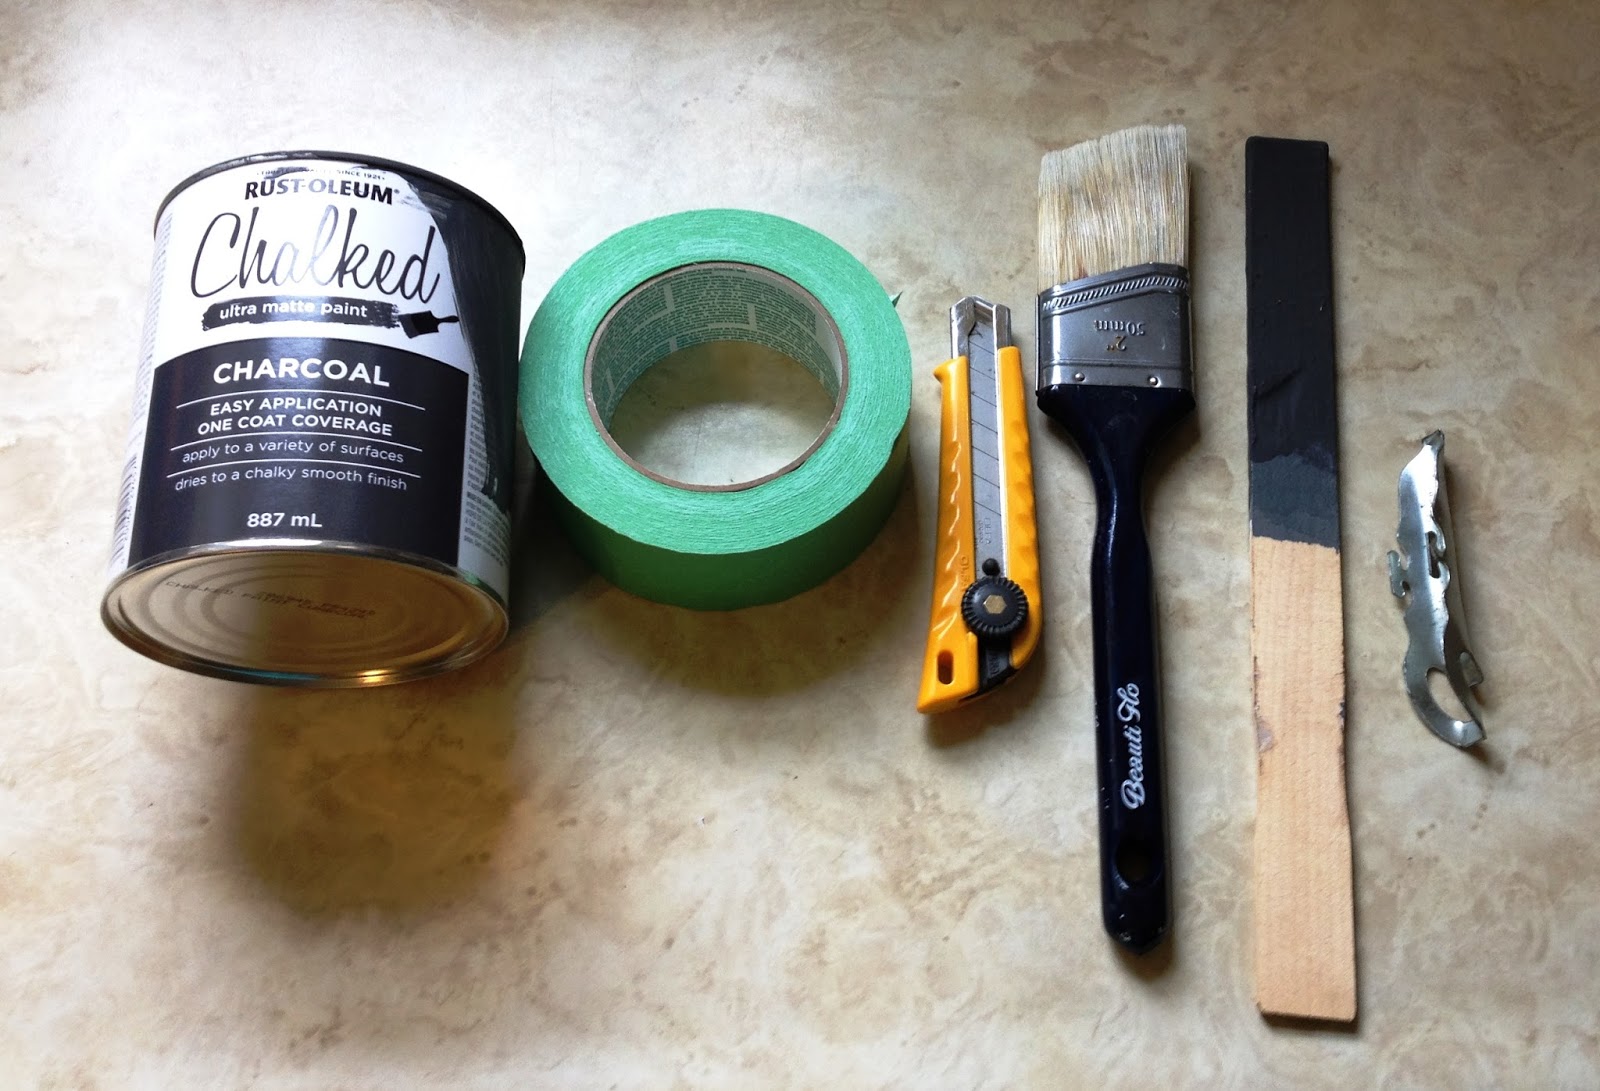
3. (Optional) Hammer to close paint can; scissors.

4. A label template (see number 5); something to cut on that is transparent (I used the glass from a broken picture frame)
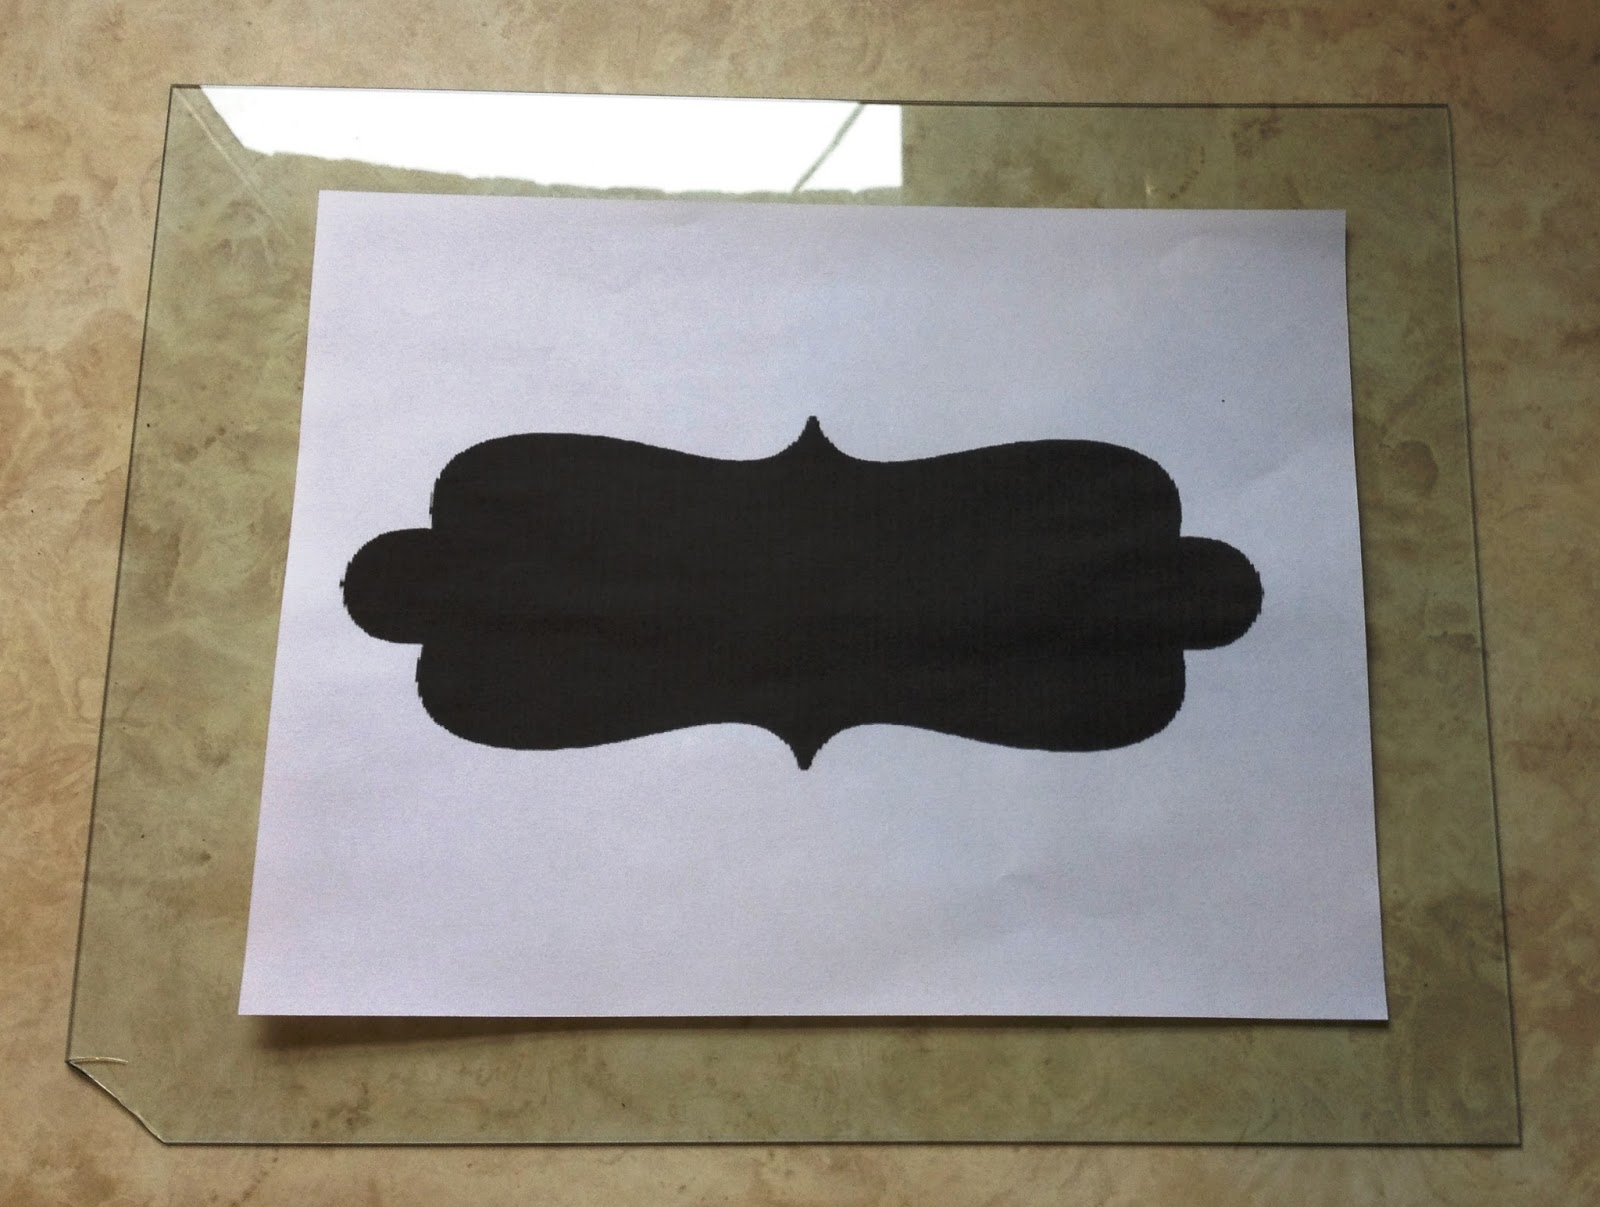
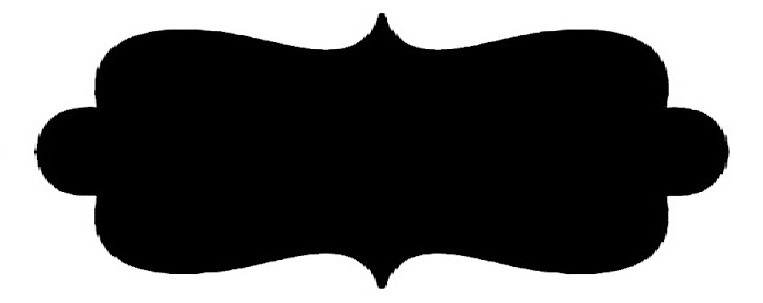
5. The template: I found this on Pinterest and picked one I liked.

Then I cropped it:

And stretched it in photo editing software because the caddy front is rectangular:
TIP: I used the editing software that came with my computer to stretch the image. There are lots of free websites you can use to accomplish this too.
The Steps:
1. Cover the glass with painter's tape:
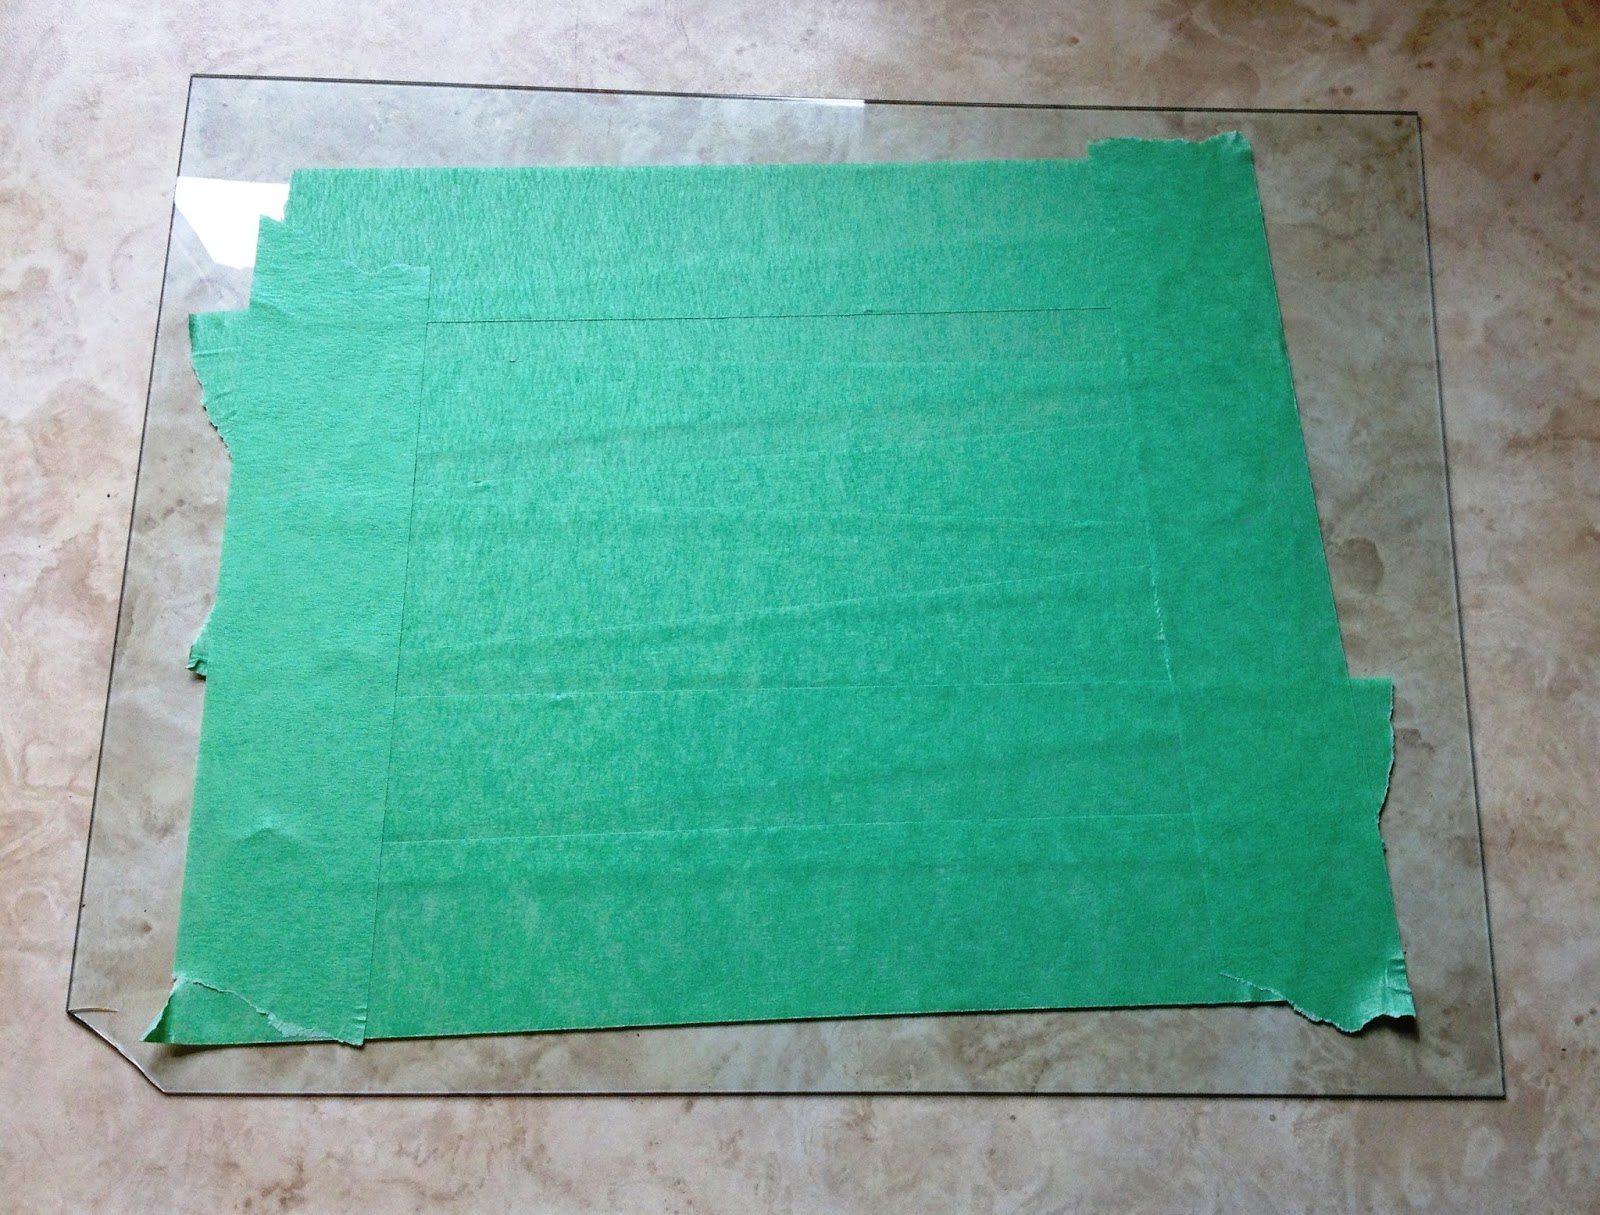
Tape the template to the back so it can be traced onto the painter's tape:

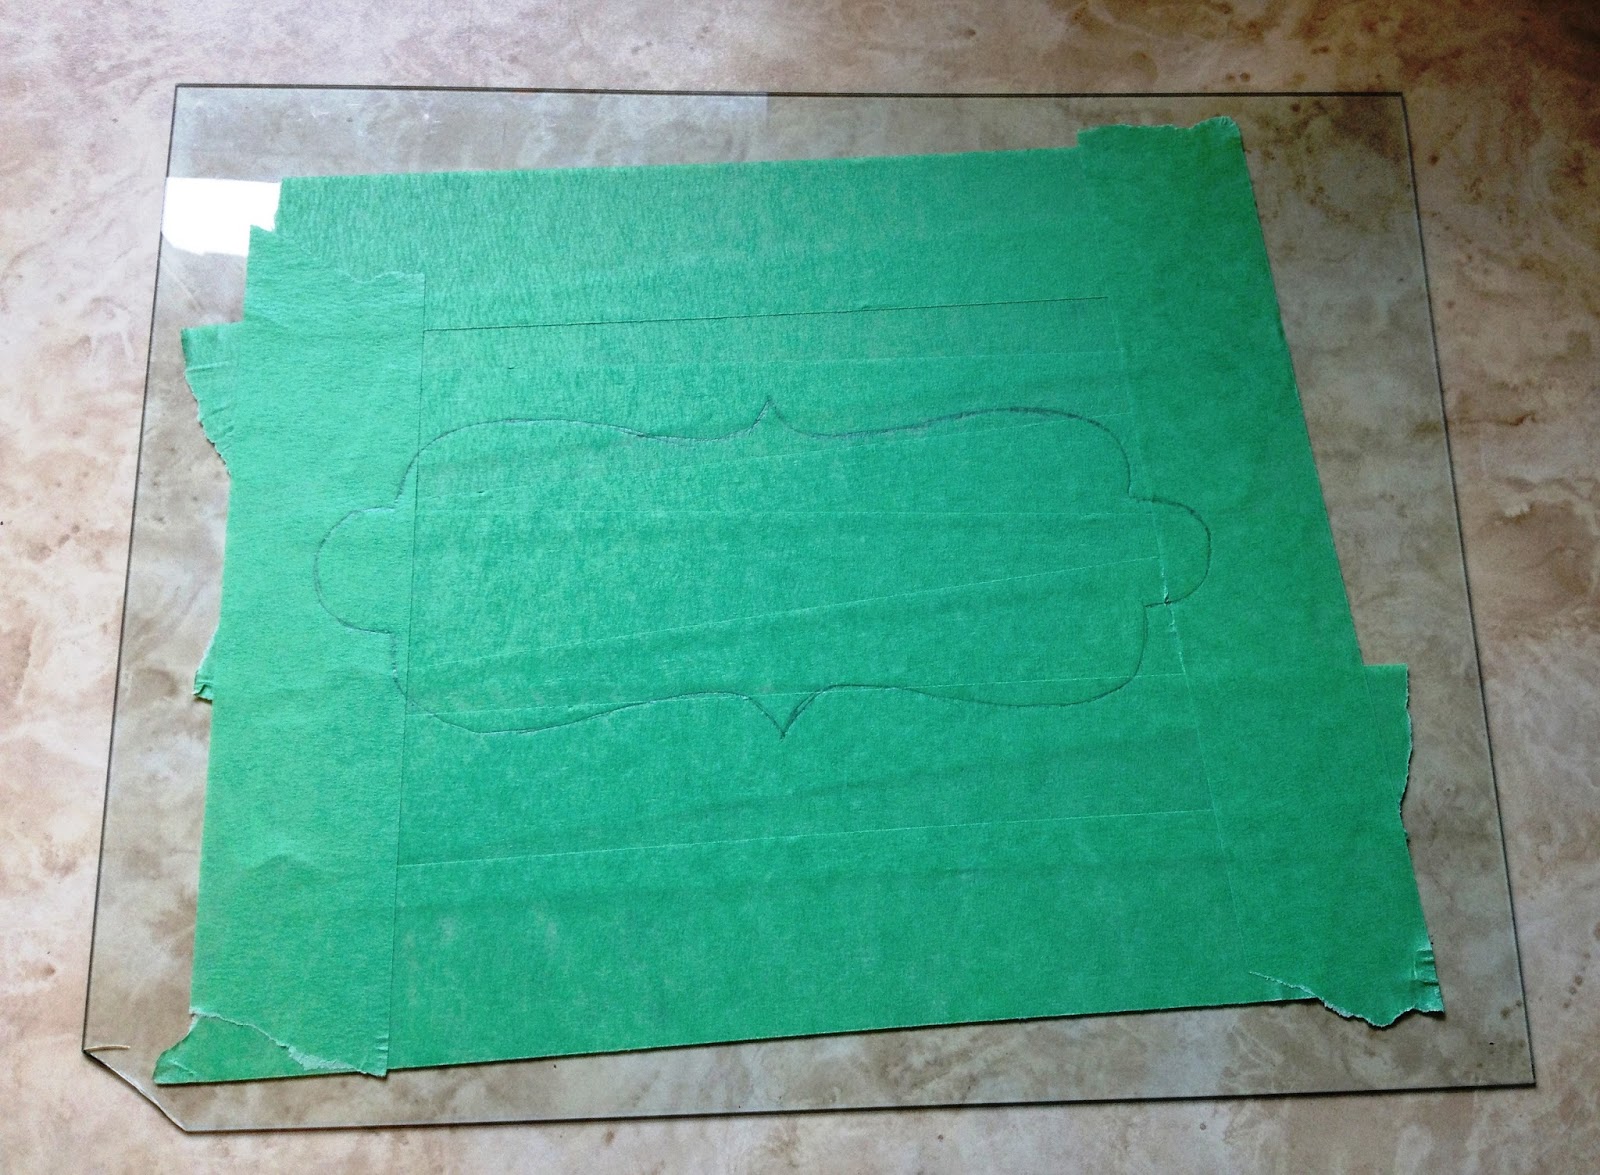
2. Trace the template:

3. Cut out the template with your Xacto knife. I found holding it like a pencil worked for accuracy around the curves.

4. You could save the piece you cut out for something else. I threw mine away.
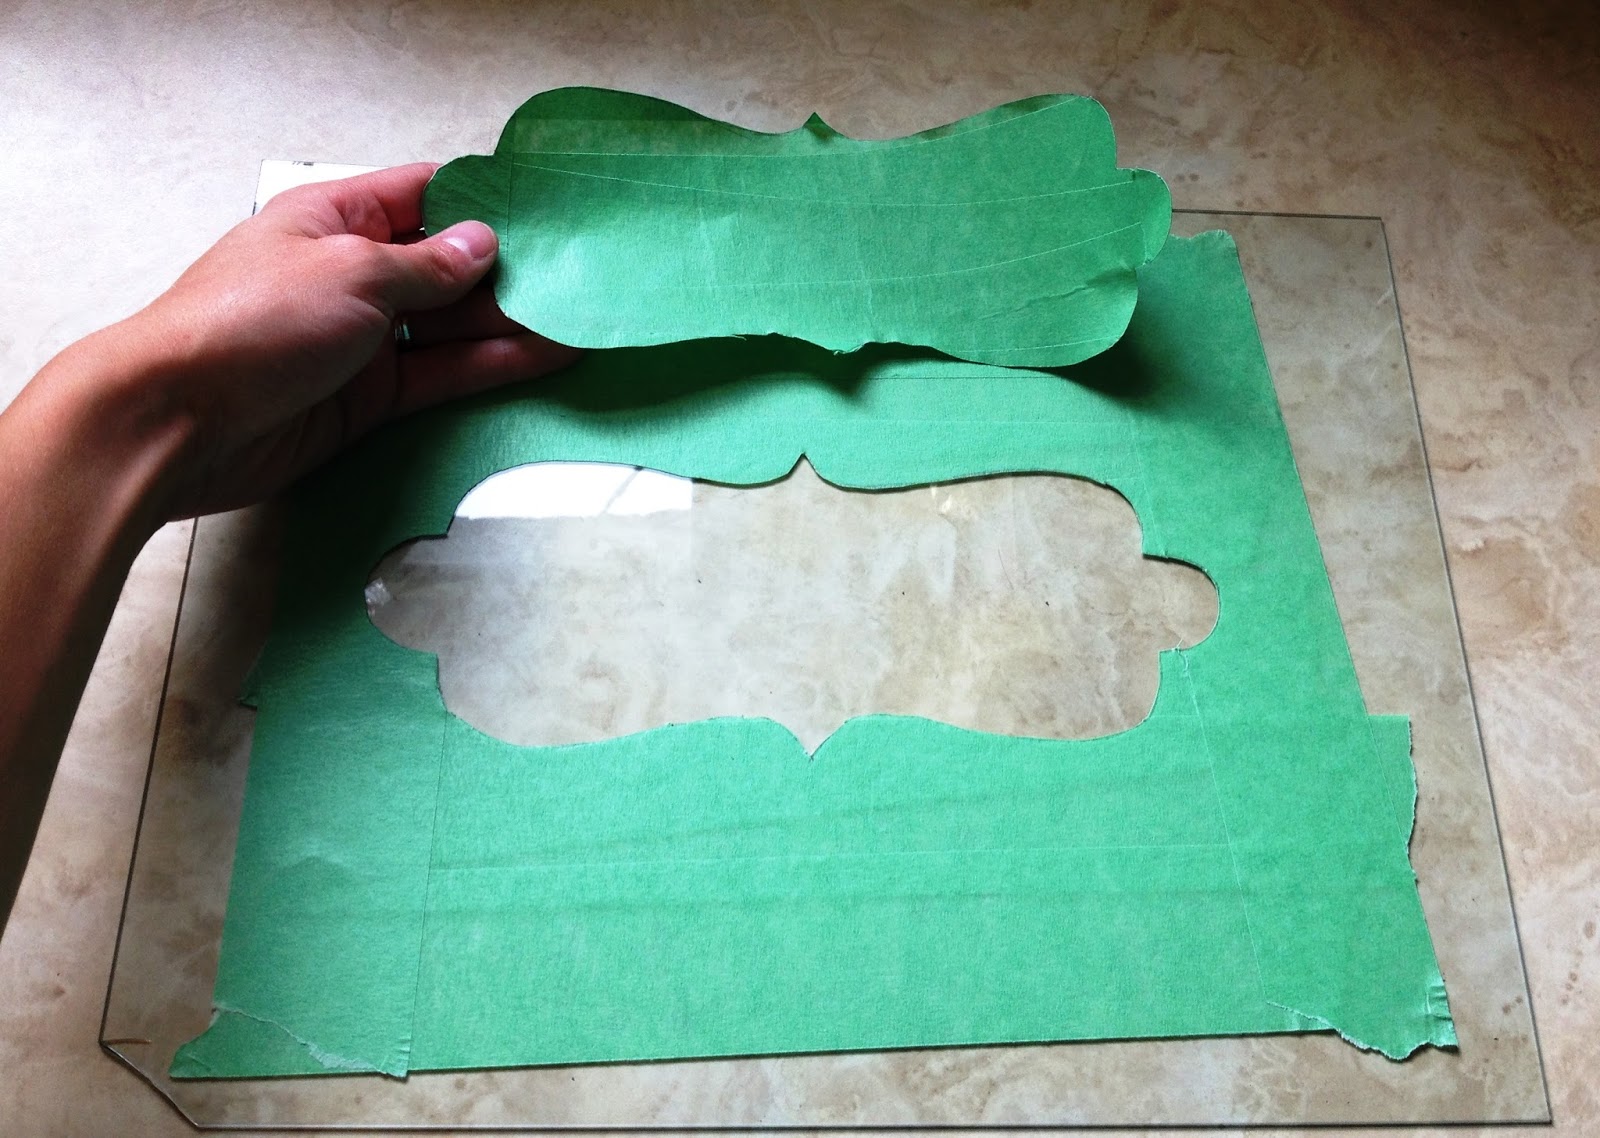
5. Square off the edges of the stencil.

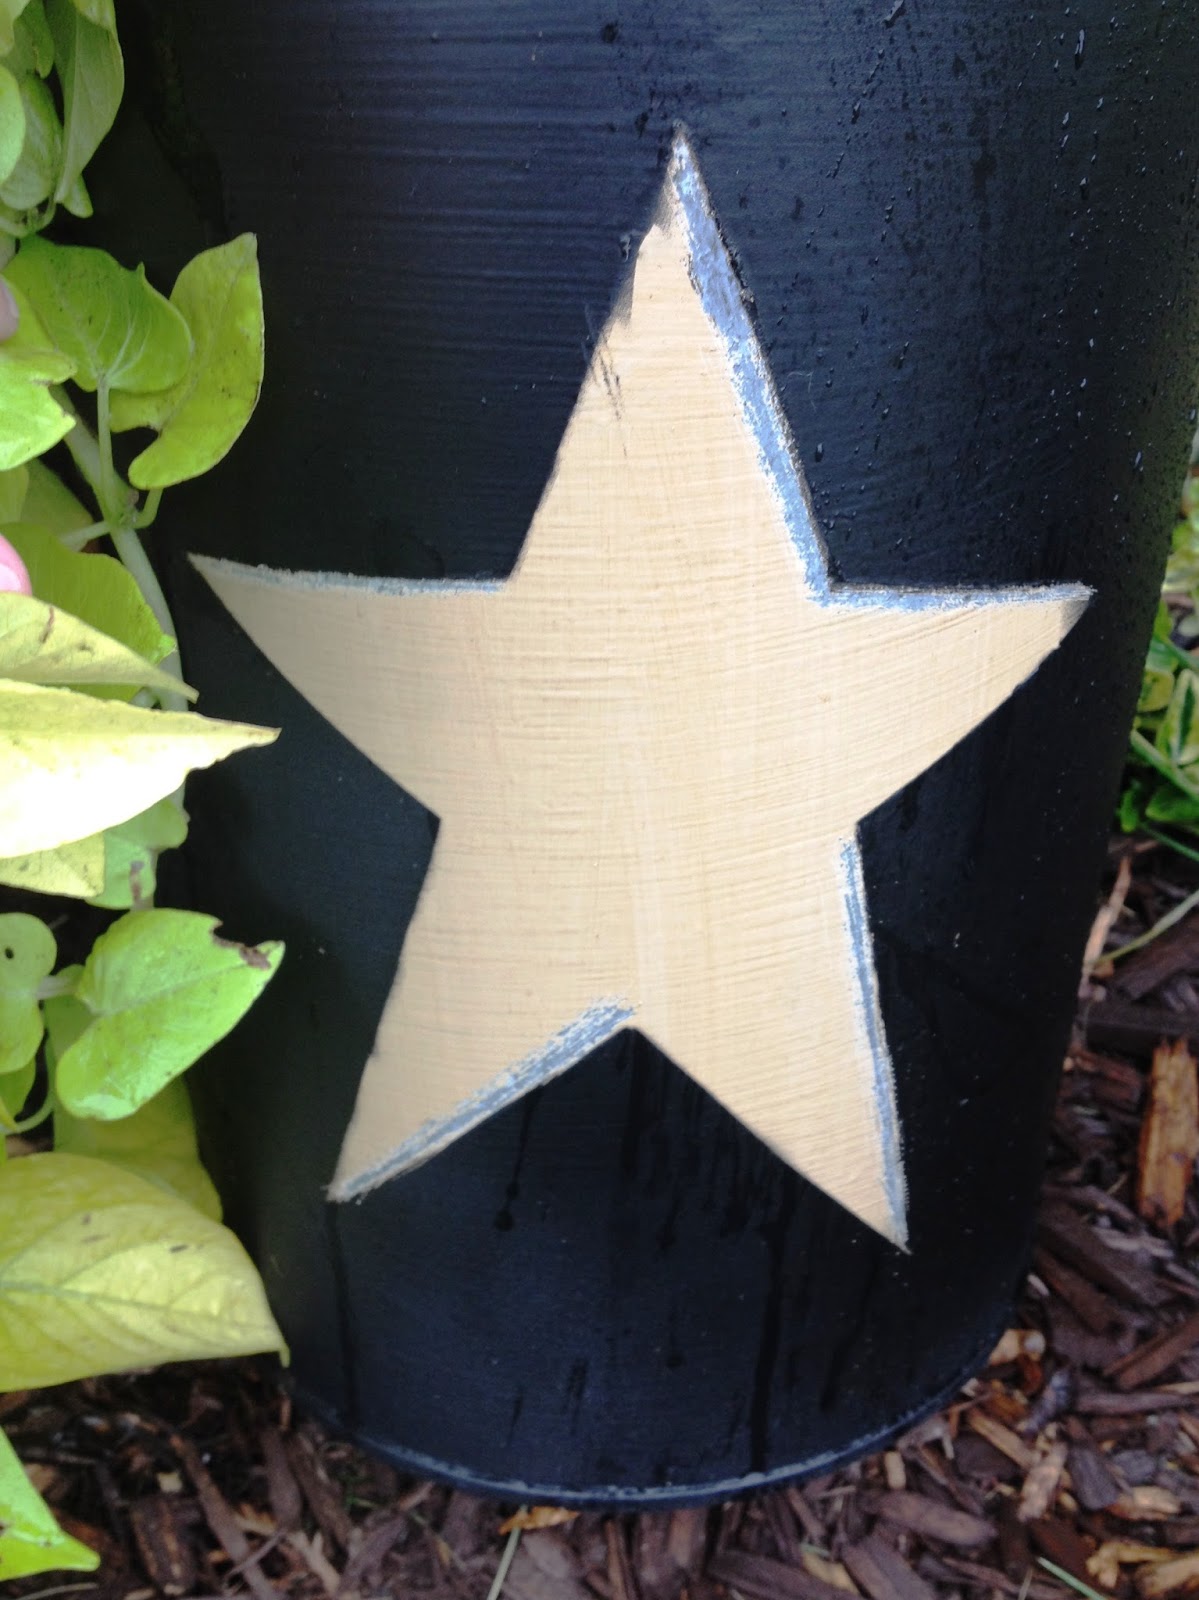
6. VERY CAREFULLY peel the stencil off the glass, trying not to stretch the tape or it won't lay flat on what you're painting. Make sure the edges of the stencil are flat against the surface or paint will get behind the tape.

Chalkboard Paint Label:
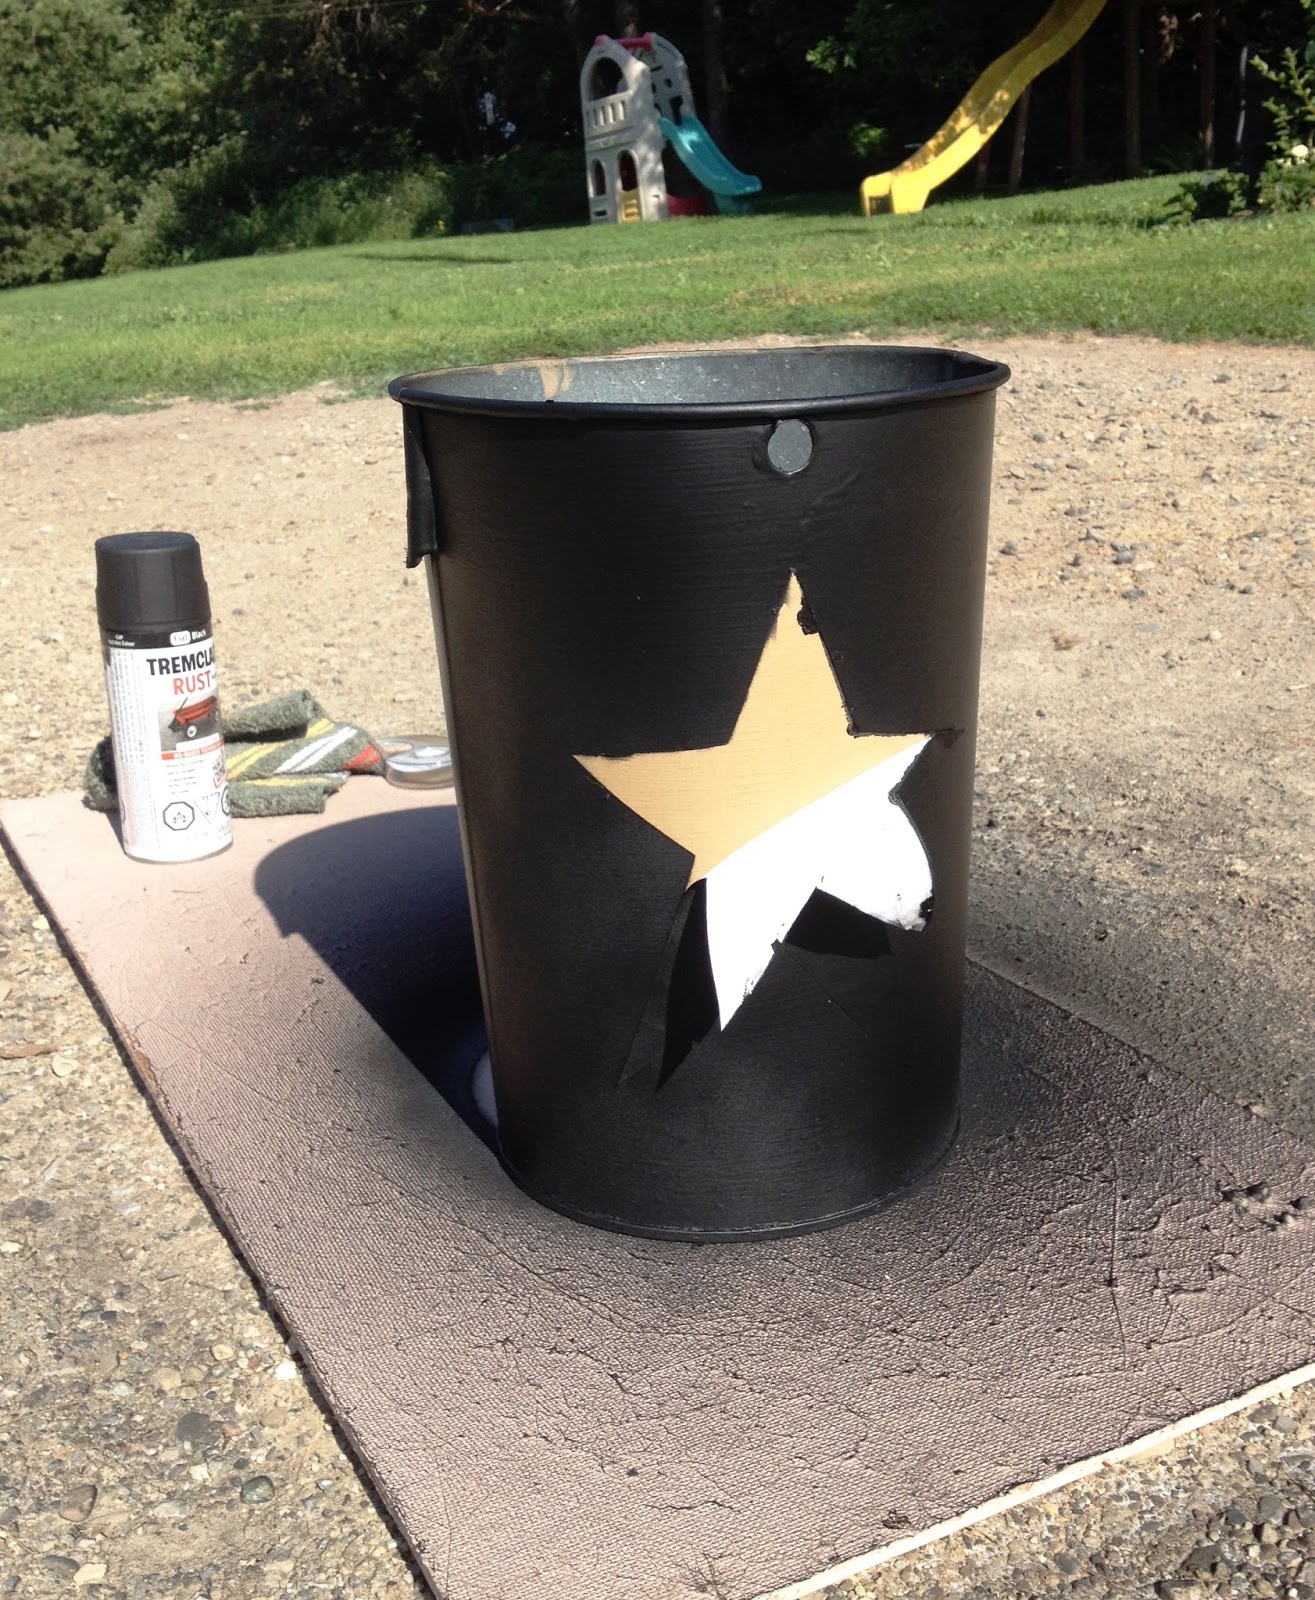
1. Paint with you chalkboard paint and wait for it to dry. I waited until it was tacky for this particular item because I didn't want the tape to sit for too long and peel paint with removal. The tape did peel off some of the old paint on the caddy anyway.

2. You can save the stencil by sticking it to some wax paper and rolling it up. I held the roll together with a paperclip.

3. To write on the label, I made and printed this off of PicMonkey:

4. Lay a piece if chalk on its side and cover the back of the paper with chalk.

5. Trace with your pencil and fill in the letters if you like. There is also a product called Liquid Chalk Markers which gives a cleaner look.