Farming Life by the Farmer's Wife

Showing posts with label Recipe. Show all posts

Thursday, October 20, 2016

Easy Playdough Recipe

The Kindergarten classes at my kids school always asks for volunteer's to make playdough for the class. Of course I try to help out where I can and making playdough takes very little of my time, and besides, the kids enjoy playing with it. Since it's been four years since my oldest child has been in Kindergarten, I discovered this recipe I was given back then has become outdated! To colour the playdough, the recipe calls for the little packets of unsweetened Kool-Aid powder. I've always liked to use it because 1. it's easy and 2. the playdough is scented in the flavour of Kool-Aid you chose. Apparently unsweetened Kool-Aid powder is no longer sold (that I could find in our local grocery store), but it's now sold in a sweetened liquid form and you can add how ever many drops to a big jug of water or a small water bottle. I don't recommend using this to colour the playdough, but rather food colouring.


Ingredients:
2 cups all-purpose flour
1 cup table salt
4 tsp. cream of tartar or alum (found in the spice/baking aisle)
2 cups water
2 tbsp. vegetable oil
Food colouring or 1 packet Kool-Aid powder (if you can find it)

Instructions:
1. Mix flour, salt, cream of tartar (or alum) and Kool-Aid powder (if you have it) together in a large cooking pot.

2. Mix water and cooking oil together in a separate bowl. Mix in food colouring in this step if you are using it.

3. Add the wet ingredients to the dry ingredients. Stir to mix.
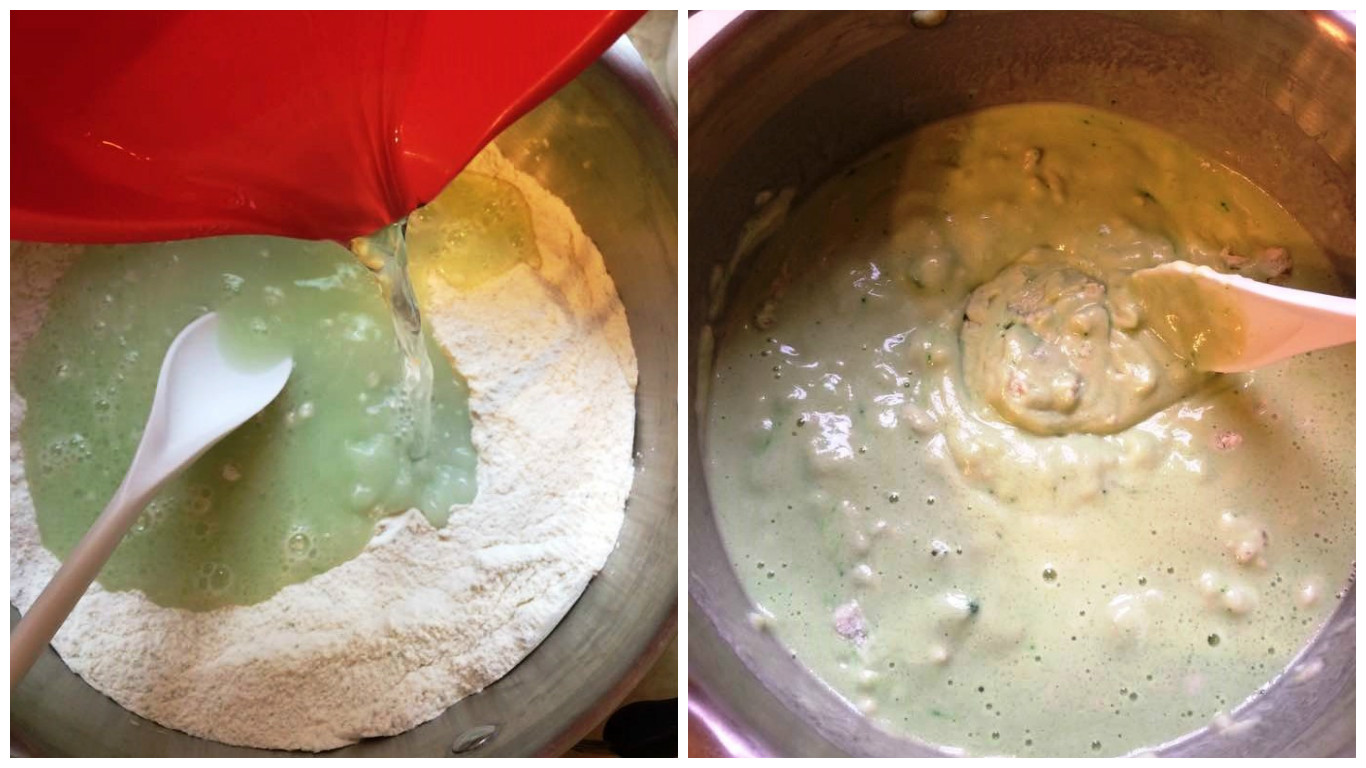
4. Cook over medium-low heat, stirring occasionally until it forms a ball-like shape. Do not overcook (about 5-7 minutes).
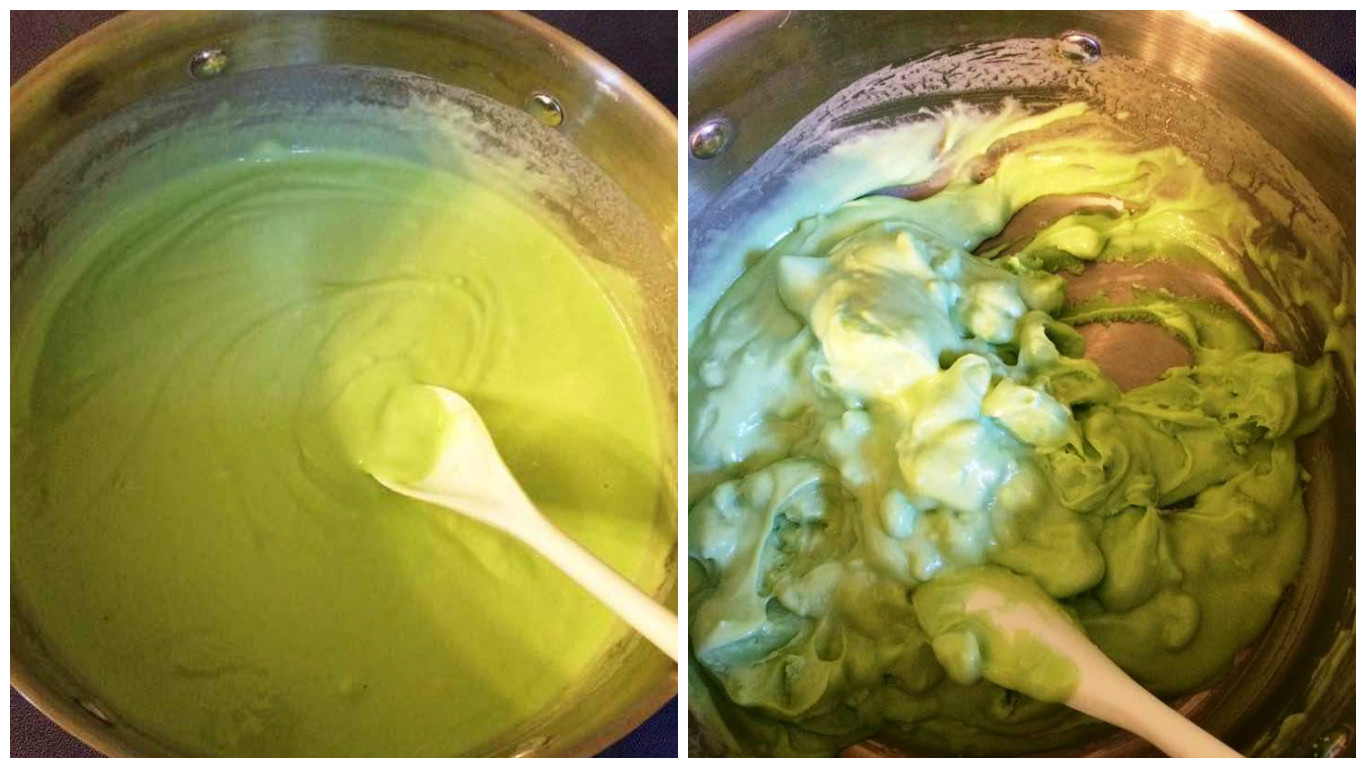
5. Turn dough onto clean, dry counter surface and finish mixing/kneading by hand. Putting the dough on parchment or waxed paper works really well. For protection if you have sensitive hands, you can wear dish gloves for this step but it's not required.
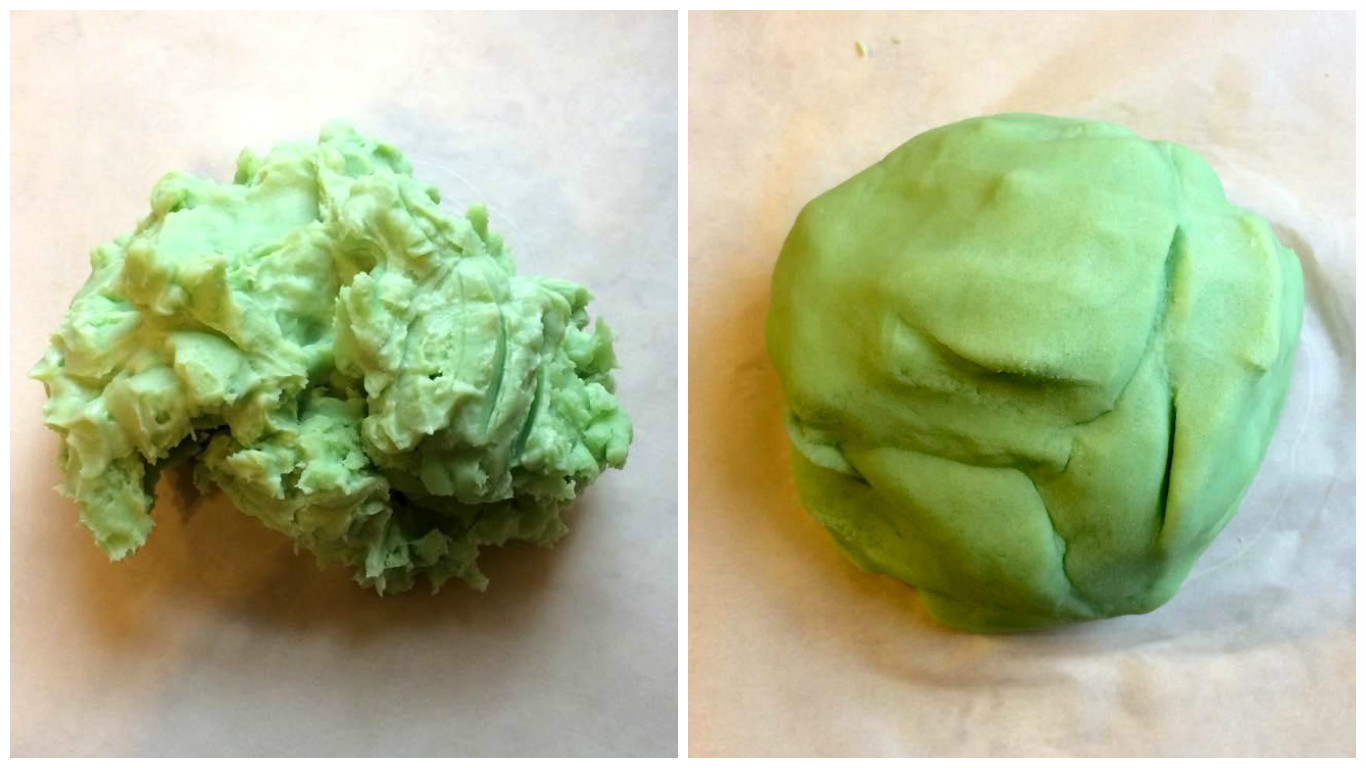
6. Allow dough to cool. If you can, lightly wrap the parchment paper around the playdough so it doesn't dry while cooling. Store playdough wrapped in parchment paper in a Ziplock bag.

7. Have fun playing! If you don't have playdough toys, kitchen utensils work great and create fun patterns. Just make sure to supervise your kids.

Sunday, April 24, 2016

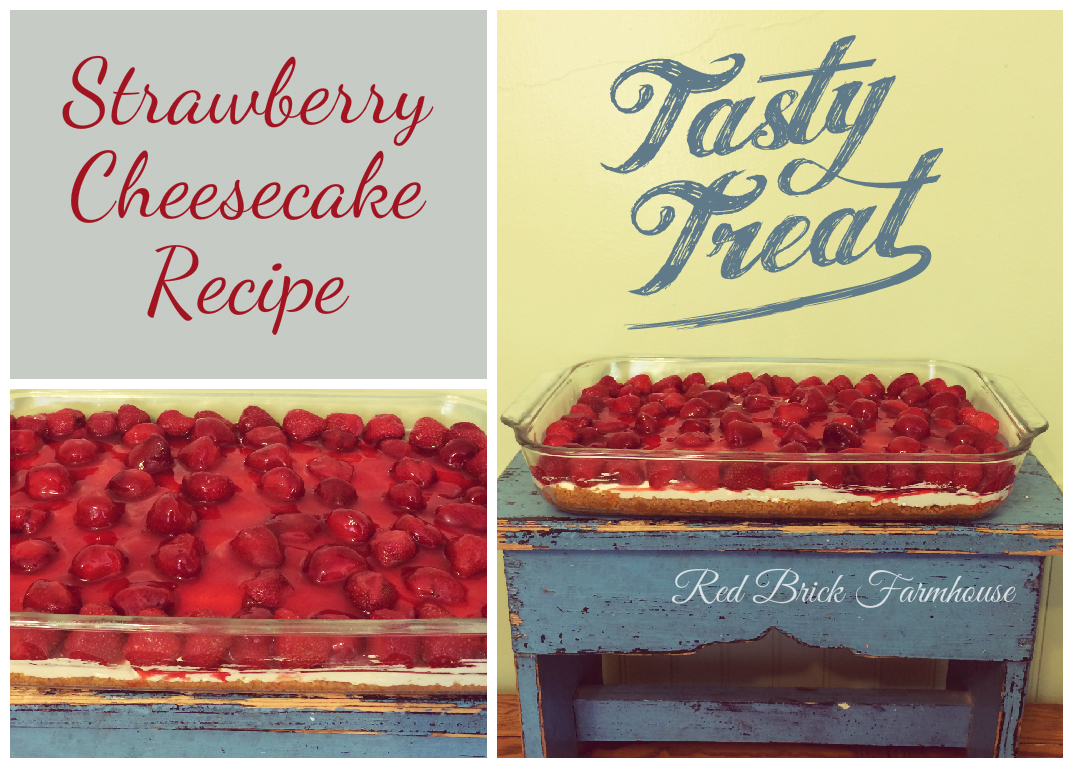
Strawberry Cheesecake


So I'm forgetful and whoops: forgot I picked a ton of strawberries last year and found them in the freezer. And I needed to make something for a potluck at church so it was perfect timing. But I have no idea why I was originally digging through the freezer. So anyway, here's a recipe I came up with by combining a few other recipes to suit my needs.


Strawberry Cheesecake

Makes a 9x13 pan

You need to start by preparing the fruit topping and allowing it to cool completely. While you wait for it to cool, you can start on the other layers. If the fruit topping is ready before the layers, store it in an airtight container and refrigerate if needed but bring to room temperature before spreading on the cream cheese layer.
...................................................................................................................................................................

Fruit Topping:
6 cups frozen and thawed strawberries, reserve the juice
Approx. 3 cups strawberry juice from thawed strawberries (you can also get juice from fresh strawberries by following the instructions below)
4-6 tbsp. sugar
2 tsp. cornstarch
4-6 tbsp. water
1 part package of pectin

Instructions  Follow all steps for fresh or frozen berries
1. (fresh berries): cut strawberries into halves and add to a pot along with sugar; (reserved juice): add the sugar to the juice and stir
2. Cook over medium-low heat until the sugar melts, then turn up the heat to medium and bring to a boil.
3. (fresh berries): once it boils, remove from heat and lightly mash the strawberries using a potato masher, or a fork or wooden spoon.
4. (fresh berries): return to heat and bring back to a boil; (reserved juice): continue boiling.
5. Dissolve 1 tsp. of cornstarch in water and add to the pot. Stir continually so it doesn't burn while it boils.
6. You can stop here if you would like a runny syrup to pour over the cheesecake.
7. Continue boiling and stirring, add another 1 tsp. cornstarch dissolved in water.
8. Sprinkle in pectin and boil until desired consistency is reached.
Note: the topping will thicken as it cools.
...................................................................................................................................................................

Crust:

2 cups graham crumbs
1/4 cup sugar
1/2 cup melted butter

Mix all ingredients until crumbly and press lightly with a fork into a greased 9x13 glass pan.

Bake at 350°F for approx. 15 minutes. Allow to fully cool. While you're waiting for it to cool, remove cream cheese for filling from fridge and bring to room temperature to soften.
................................................................................................................................................................

Cream Cheese Filling:
2 packages 250 g. cream cheese
1 cup powdered sugar
1 tsp. vanilla extract
1 carton whipping cream, whipped or 1 L tub of pre-made whipped cream

Beat cream cheese, sugar and vanilla in a bowl until smooth. Fold in whipped cream until combined. Spread onto prepared crust and smooth evenly. Refrigerate 1-2 hours.

When the fruit topping has cooled, carefully spread over cream cheese filling. Place reserved strawberries on top. Refrigerate until ready to serve; cut into squares.

NOTE: You will have lots of berries left. These work well in milk shakes and on ice cream. (YUM!)

You can also substitute blueberries or cherries (frozen or fresh) and get the same result.

Saturday, September 19, 2015

Banana Blondies Recipe

This recipe works so well and it's so tasty and addictive (but sweet!). It's also a great way to use up ripe banana's if you're sick of chocolate chip banana bread (like our family is). Sit down with a friend and a cup of tea on a rainy day and enjoy a few of these squares. Recipe by Cookies and Cups.


Banana Blondies
Makes 16 blondies

Ingredients
Blondies:
  • 1/2 cup butter, melted and if desired browned
  • 1 cup light brown sugar
  • 1 egg
  • 1 1/2 tsp. vanilla extract
  • 1/4 tsp. salt
  • 1 cup flour
  • 1/2 cup mashed banana (1 medium banana)
Brown Sugar Frosting:
  • 1/4 cup butter
  • 1/2 cup light brown sugar
  • 2 Tbsp. milk
  • 1 cup powdered sugar

PREHEAT oven to 350°F. Line an 8x8 baking dish with foil and spray with cooking spray. Set aside.

MIX in a bowl or stand mixer, melted (or browned) butter and sugar. Mix until combined. Add in egg and vanilla and continue mixing until incorporated. Stir in salt, flour and banana until batter is smooth and even. Spread in prepared pan.

BAKE for 25-30 minutes until center is set.

TRANSFER pan to wire rack to cool.

FROST the blondies when they are mostly cooled

Frosting:
1. In a medium saucepan melt butter. Add brown sugar and milk and stir until mixture comes to just a boil. Remove from heat, allow to cool for 5 minutes.
2. Stir in powdered sugar with a whisk adding more or less for desired consistency.
3. Spread on top of blondies and allow frosting to set and blondies to cool completely before cutting into squares.

NOTE: If you choose to brown the butter, melt butter in saucepan and continue cooking, once it's melted by swirling the butter in the pan until butter reaches a deep golden brown colour.
You can double the recipe and frosting easily if you need to use more than one banana. Just line a 9x13 pan with tin foil.


Thursday, August 06, 2015

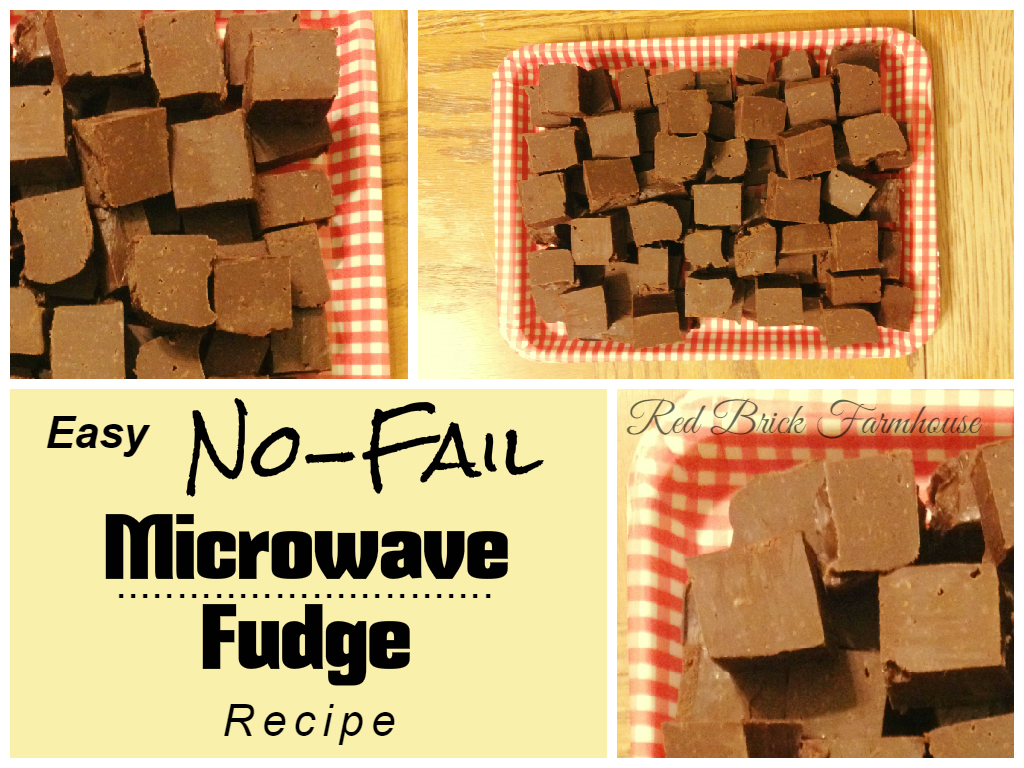
Easy No-Fail Microwave Fudge Recipe

I discovered this tasty recipe on about.com/food by Elizabeth LaBau. I modified it once to make a butterscotch peanut butter fudge (it tasted like the butterscotch coloured marshmallow squares the old ladies like to make!) This recipe makes semi-sweet chocolate fudge, but I'll make a note of where to change the recipe.


Easy No-Fail Microwave Fudge
Prep: 5 min  |  Total: 5 min.
  • 3 cups semi-sweet chocolate chips (or 2 cups caramel chips & 1 cup peanut butter chips)
  • 1 14-oz can condensed milk
  • 1/4 cup (4 tbsp) butter
  • 1 tsp vanilla extract
  • 1/4 tsp salt

1. Prepare an 8x8 pan by lining it with aluminum foil and spraying the foil with nonstick cooking spray.

2. In a large microwave-safe bowl, combine the chocolate chips, condensed milk, and butter. Microwave in one-minute increments until melted, about 2-3 minutes.

3. Stir to ensure all the chocolate is melted, then add the vanilla and salt. Stir until the candy is smooth and well-mixed. I omitted the vanilla and salt for the butterscotch fudge.

4. Pour the fudge into the prepared pan and smooth it into an even layer.

5. Place the fudge in the refrigerator to set for at least 2 hours. Once set, cut into 1-inch squares and serve at room temperature. Store excess fudge in an airtight container in the refrigerator.

Monday, July 27, 2015

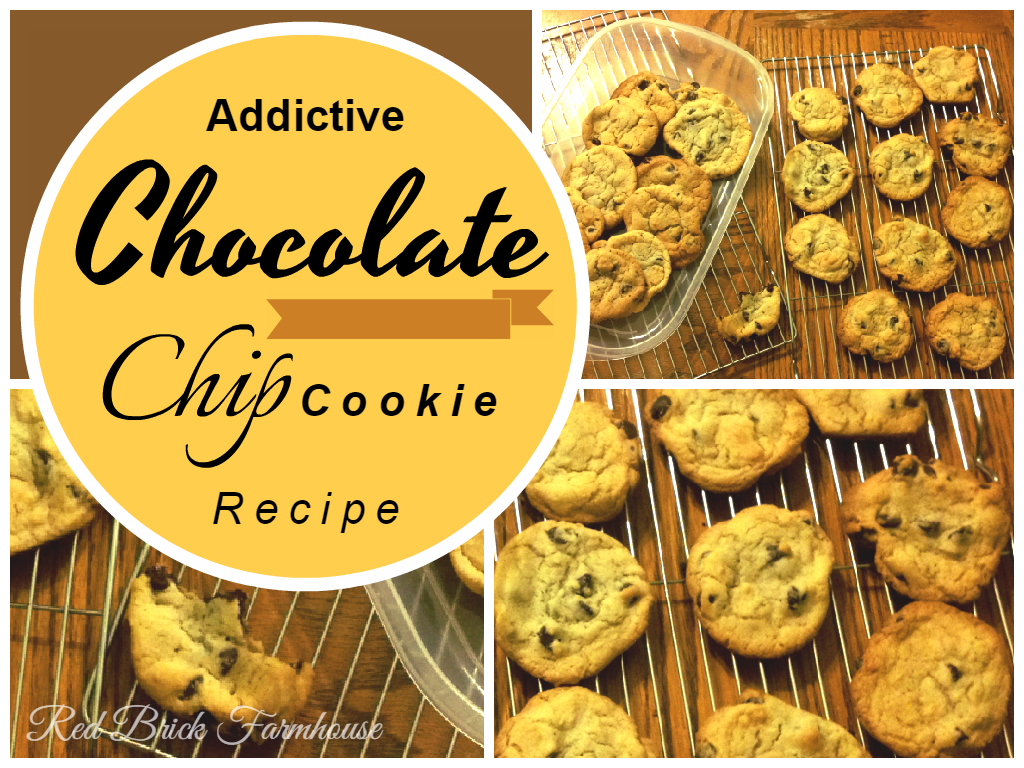
Addictive Chocolate Chip Cookie Recipe

A very seriously addictive and sugar-filled cookie. You can always omit one full cup of granulated sugar if you need to.


Addictive Chocolate Chip Cookies
  • 2 ½ cups all-purpose flour
  • 1 tsp. baking soda
  • ½ tsp. salt
  • ½ cup butter or margarine
  • ½ cup shortening
  • 1 cup packed brown sugar
  • 2 cups granulated sugar
  • 2 eggs
  • 1 ½ tsp. vanilla extract
  • 12-oz. package (2 cups) semisweet choc. Pieces
  • 1 cup chopped walnuts or pecans (optional)
In a med. bowl, stir together flour, soda, salt and set aside.

In a large bowl, mix on med. speed with mixer, butter/margarine and shortening for 30 sec. Add brown sugar and granulated sugar and beat till fluffy. Add eggs and vanilla; beat well. Add dry ingredients to beaten mixture, beating till well blended. Stir in chocolate chips and nuts. Drop from a tsp. 2 in. apart on an ungreased cookie sheet. Bake in a 375° oven for 8-10 min. Remove; cool.

Makes about 48 cookies (4-doz.)

Saturday, June 27, 2015

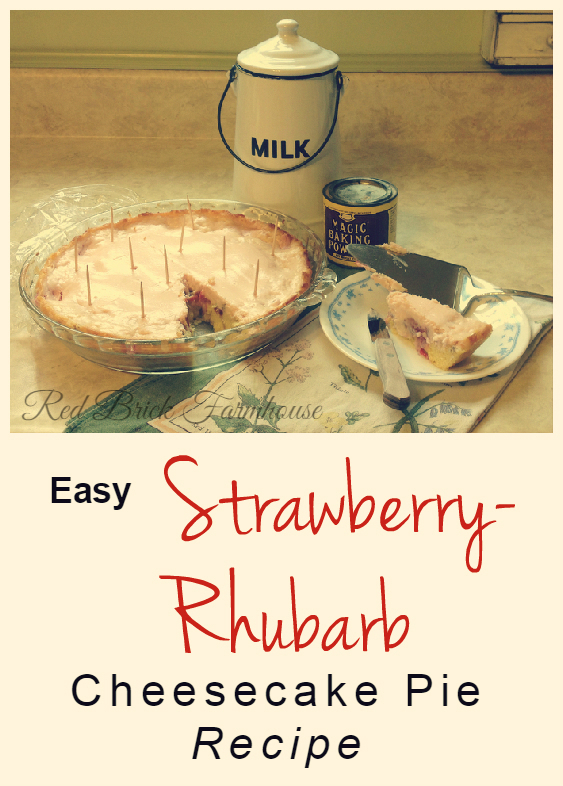
Strawberry-Rhubarb Cheesecake Pie Recipe

So this recipe was originally called "Peaches and Cream Pie" taken from Kraft's What's Cooking Magazine, Fall 2007, by Stella Martin. I made it so much that we got sick of peaches, so I modified it to this Strawberry-Rhubarb recipe. But really, any frozen or fresh fruit will work. I prefer to use frozen fruit because the liquid needs to be reserved.


Strawberry-Rhubarb Cheesecake Pie
Prep. 15 min  |  Total: 50 min
  • 3/4 cup flour
  • 1 pkg. (6-serving size) Jell-O Vanilla Pudding and Pie Filling (the powder kind)
  • 1 tsp. baking powder
  • 1 egg
  • 1/2 cup milk
  • 3 Tbsp. butter, melted
  • Max 1/2 cup strawberries and 1/2 cup rhubarb (fresh or frozen), liquid reserved (from frozen) or 1 can (19 fl. oz/540 ml - med. size can) peach slices or canned fruit of choice, drained, liquid reserved
  • 1 pkg. (250 g) brick of cream cheese, softened
  • 1/2 cup sugar
  • 1/2 tsp. ground cinnamon (for peaches)

PREHEAT oven to 350°F. Mix flour, dry pudding mix and baking powder in medium bowl; set aside. In another bowl, beat egg, milk and butter with a wire whisk until well blended. Add to flour mixture; mix well. Pour into a greased 9.5-inch pie plate (glass works best); top with fruit.

MIX with a blender the cream cheese, sugar and the reserved fruit liquid until well blended. Pour slowly over fruit. If using peaches, sprinkle cinnamon over top.

BAKE 30 to 35 min. or until wooden toothpick inserted in centre comes out clean (I bake until the "crust" is golden brown). Cool 15 min. before cutting into slices to serve. Store any leftovers in refrigerator.

NOTE: This pie is equally delicious served warm or chilled.