Farming Life by the Farmer's Wife

Friday, May 13, 2016

There is a Time for Everything

I have been planning in my mind over these last few weeks about what topic my next post would be about and then I came across another bloggers post. I learned a new term after reading it: "farm widow." Farm widows are the wives of husbands who farm and are left alone most of the time during planting season because their husbands are busy getting crops in the ground. The particular blogger who wrote this post doesn't like the term (and either do I), but I'll get back to that in a minute.
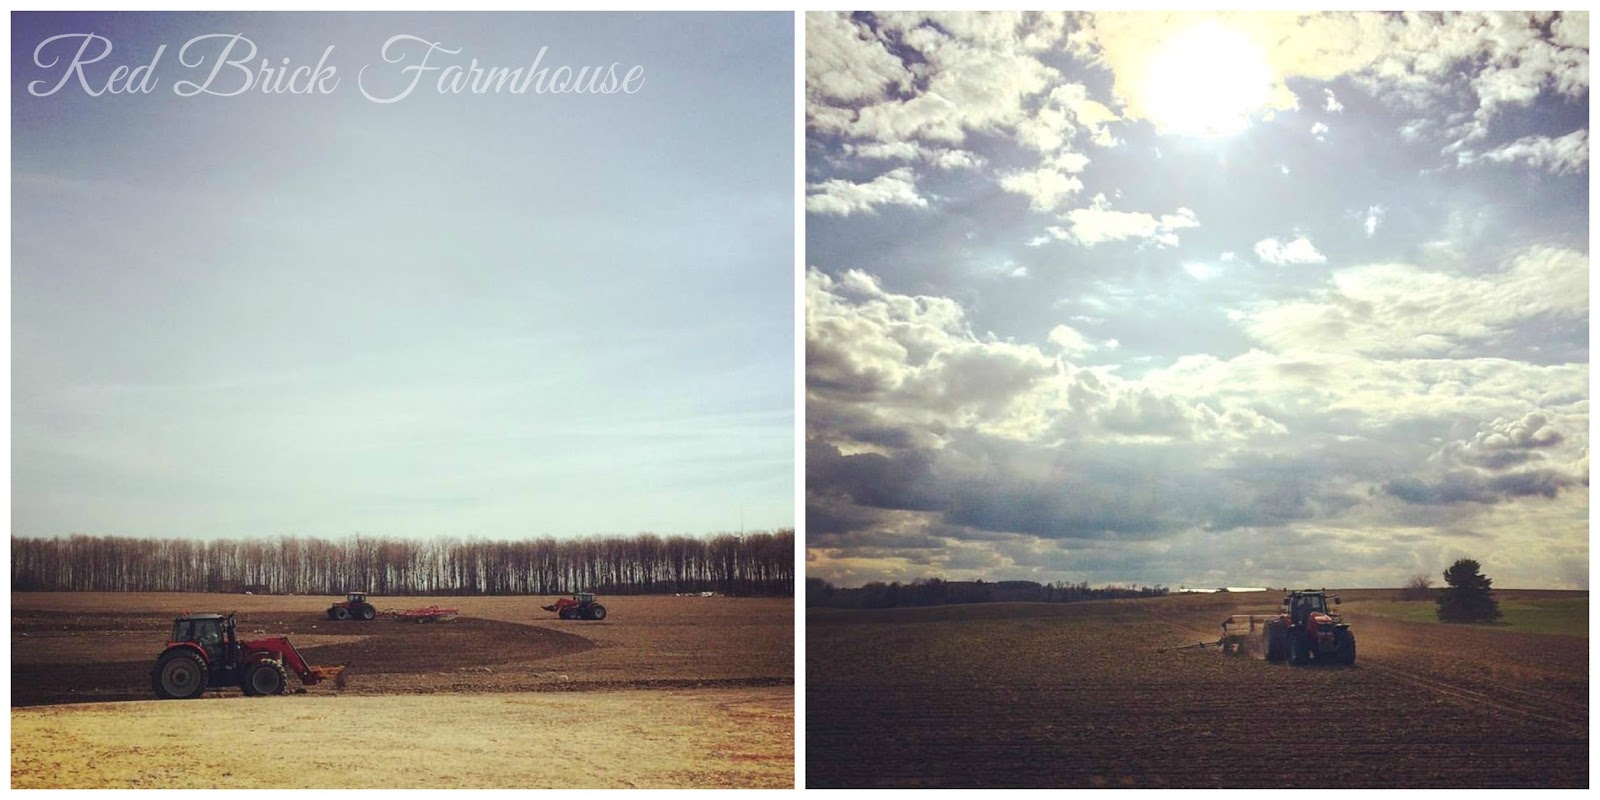

A few weeks ago, the start of a week was particularly stressful for my husband - things just weren't working out as they should and he was trying so hard to organize everyone so he could get the seed drill and corn planter into the fields. And then I had a ton of yard work I needed him to help me with, and the kids weren't helping matters with the fighting and getting into all sorts of trouble. This was all happening after I had a previous rotten week (potty training spiraled downward, things broke, pets died and kids got into mischief).

So the beginning of that week we were texting back and forth. I think I had a question for him about an invoice or something. He told me how his day was going (which remember, was not good), and he asked how mine was going. I felt bad things weren't going good for him and replied that we were fine at home (but obviously I was pulling my hair out). I never bothered to ask him when he was going to get fertilizing the lawn (from the bags we bought two years ago - still sitting in the same spot), or that I needed a limb moved, or ask him I needed a garden tool rack built or that Jacob had 3 accidents already that day. It just didn't, and doesn't, seem right to bother him with these insignificant things. So maybe significant to me but on the grand scheme of things (ie. hundreds of acres of seed that needs to be planted), not at all important.

Now back to "farm widow." The obvious is that it's like saying your husband has died. I can't believe that some people use this term for that reason. It can also most definitely be interpreted the wrong way and it's so disrespectful to your husband. Besides, I am the one who married a farmer and I don't do the field work, so what else is to be expected when planting season is here? But hats off to all the women out there who help in the fields, plus look after the kids and paperwork, or even do all that and have off-farm employment. I guess my point is that the farm husband is out there working hard to support his family and it's never an easy or simple job. There is great passion, sweat, blood and perseverance put forth. How could I get in the way of that?

After being married to a farmer now for almost 10 years (on June 3rd!), I know that things get done all in good time. Usually things are timed in such a way that it all works out in the end. And if not, then it can always wait for another day, or even another year like those bags of lawn fertilizer. I think I pestered him about that on more than one occasion last year and I've only mentioned it once this year. I don't think he needs a reminder about that job because 1. the bags are sitting beside the back door where he can see them and 2. if it gets done, it just means the grass will grow much quicker and I'll have to cut it more often!

Always remember to love and support your husband through planting season. 

Jacob waving to one of our hired guys.

I'm reminded by this scripture verse:

What do workers gain from their toil? I have seen the burden God has laid on the human race. He has made everything beautiful in its time. He has also set eternity in the human heart; yet no one can fathom what God has done from beginning to end. I know that there is nothing better for people than to be happy and to do good while they live. That each of them may eat and drink, and find satisfaction in all their toil—this is the gift of God. Ecclesiastes 3: 9-13

Sunday, April 24, 2016

Strawberry Cheesecake


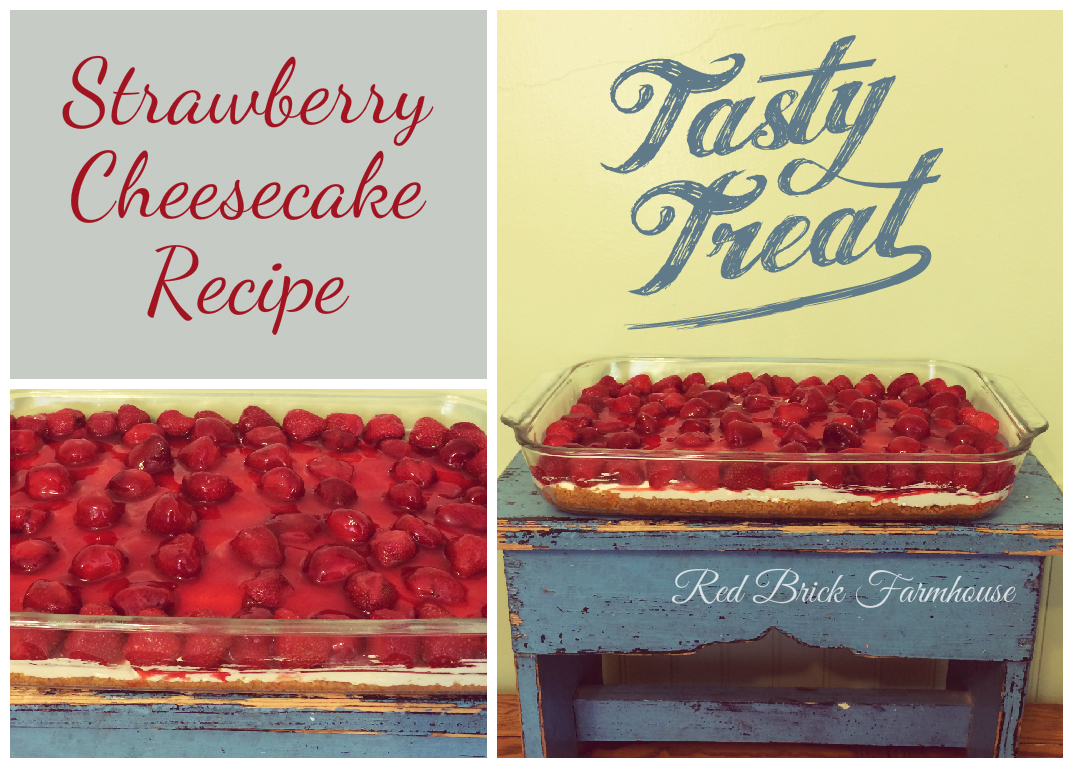
So I'm forgetful and whoops: forgot I picked a ton of strawberries last year and found them in the freezer. And I needed to make something for a potluck at church so it was perfect timing. But I have no idea why I was originally digging through the freezer. So anyway, here's a recipe I came up with by combining a few other recipes to suit my needs.


Strawberry Cheesecake

Makes a 9x13 pan

You need to start by preparing the fruit topping and allowing it to cool completely. While you wait for it to cool, you can start on the other layers. If the fruit topping is ready before the layers, store it in an airtight container and refrigerate if needed but bring to room temperature before spreading on the cream cheese layer.
...................................................................................................................................................................

Fruit Topping:
6 cups frozen and thawed strawberries, reserve the juice
Approx. 3 cups strawberry juice from thawed strawberries (you can also get juice from fresh strawberries by following the instructions below)
4-6 tbsp. sugar
2 tsp. cornstarch
4-6 tbsp. water
1 part package of pectin

Instructions  Follow all steps for fresh or frozen berries
1. (fresh berries): cut strawberries into halves and add to a pot along with sugar; (reserved juice): add the sugar to the juice and stir
2. Cook over medium-low heat until the sugar melts, then turn up the heat to medium and bring to a boil.
3. (fresh berries): once it boils, remove from heat and lightly mash the strawberries using a potato masher, or a fork or wooden spoon.
4. (fresh berries): return to heat and bring back to a boil; (reserved juice): continue boiling.
5. Dissolve 1 tsp. of cornstarch in water and add to the pot. Stir continually so it doesn't burn while it boils.
6. You can stop here if you would like a runny syrup to pour over the cheesecake.
7. Continue boiling and stirring, add another 1 tsp. cornstarch dissolved in water.
8. Sprinkle in pectin and boil until desired consistency is reached.
Note: the topping will thicken as it cools.
...................................................................................................................................................................

Crust:

2 cups graham crumbs
1/4 cup sugar
1/2 cup melted butter

Mix all ingredients until crumbly and press lightly with a fork into a greased 9x13 glass pan.

Bake at 350°F for approx. 15 minutes. Allow to fully cool. While you're waiting for it to cool, remove cream cheese for filling from fridge and bring to room temperature to soften.
................................................................................................................................................................

Cream Cheese Filling:
2 packages 250 g. cream cheese
1 cup powdered sugar
1 tsp. vanilla extract
1 carton whipping cream, whipped or 1 L tub of pre-made whipped cream

Beat cream cheese, sugar and vanilla in a bowl until smooth. Fold in whipped cream until combined. Spread onto prepared crust and smooth evenly. Refrigerate 1-2 hours.

When the fruit topping has cooled, carefully spread over cream cheese filling. Place reserved strawberries on top. Refrigerate until ready to serve; cut into squares.

NOTE: You will have lots of berries left. These work well in milk shakes and on ice cream. (YUM!)

You can also substitute blueberries or cherries (frozen or fresh) and get the same result.

Friday, April 22, 2016

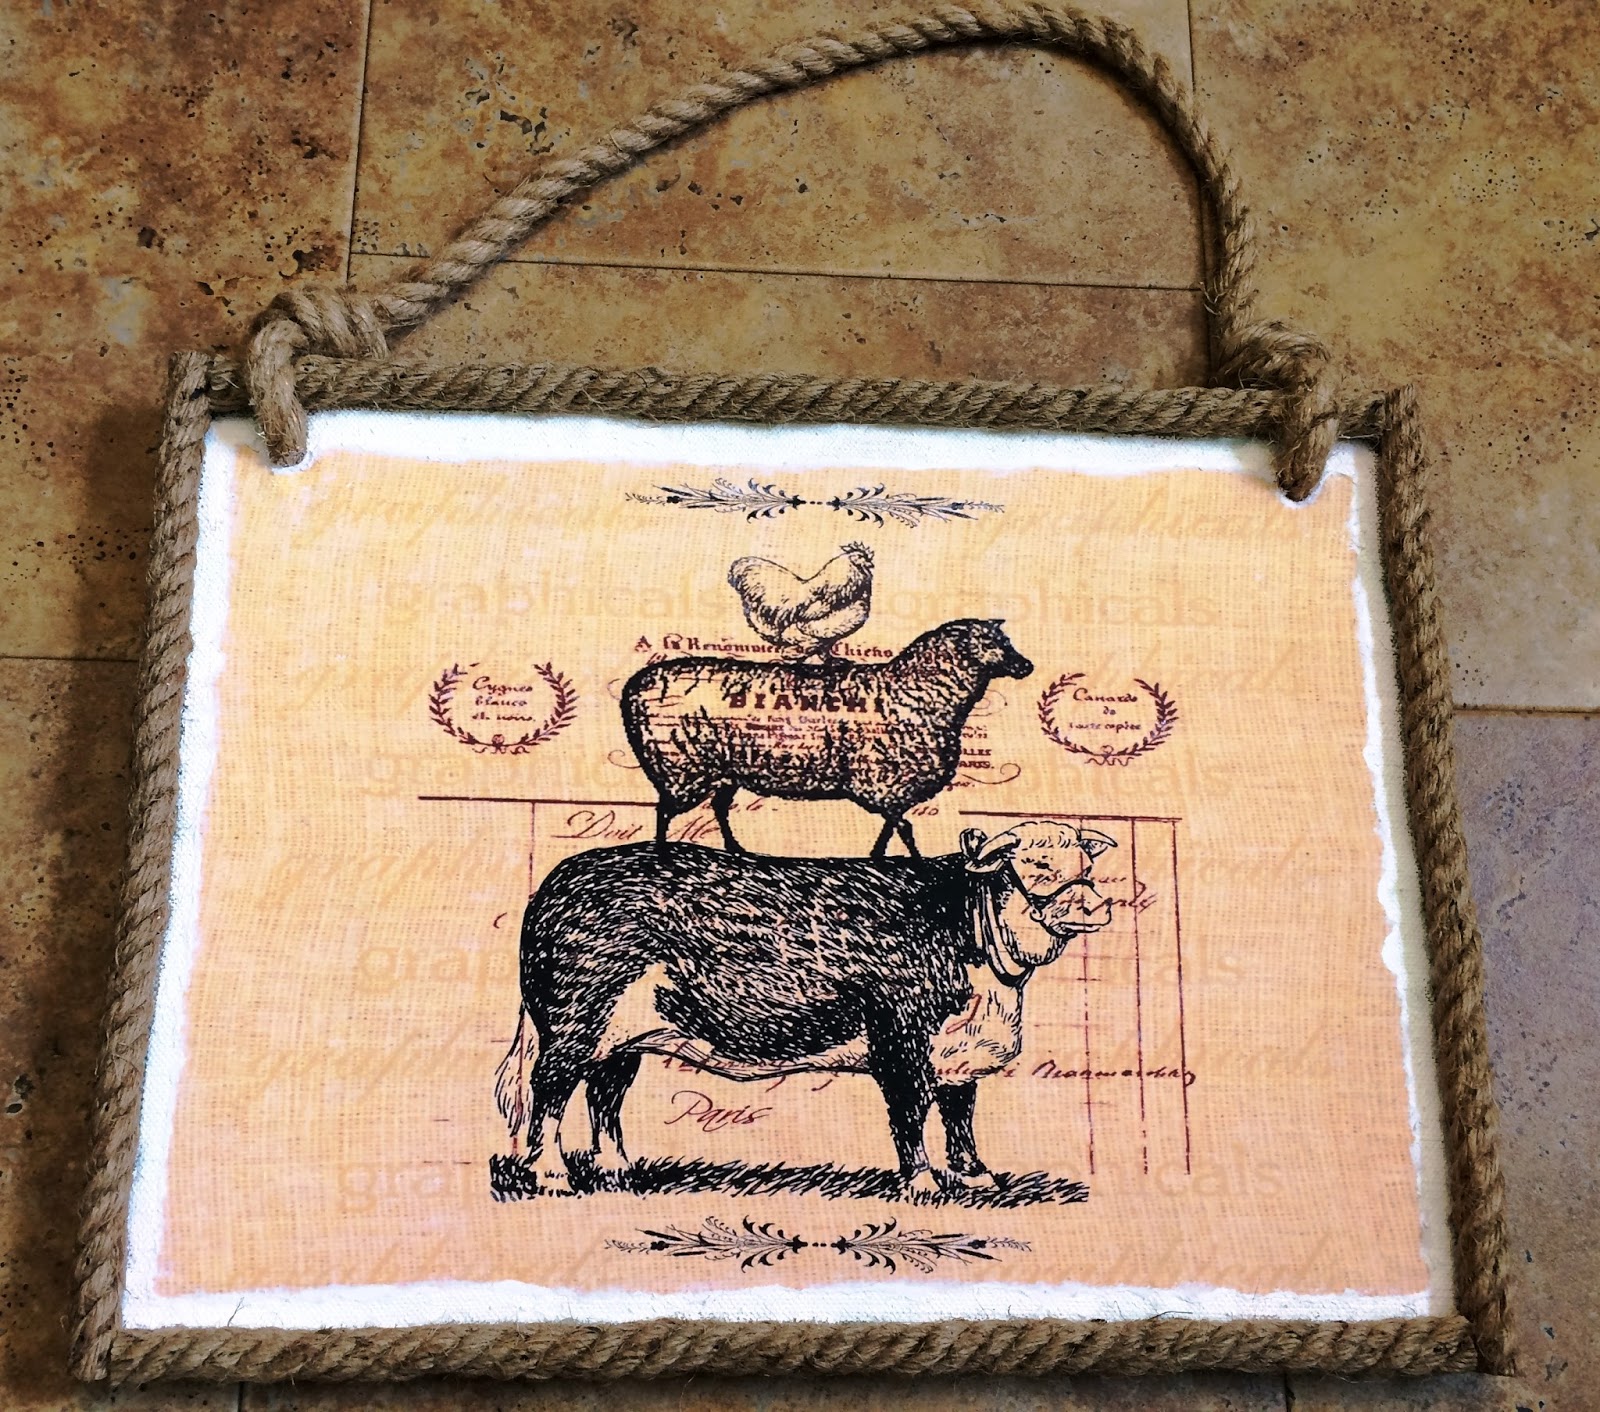
Mod Podge Photo Transfer - Sign

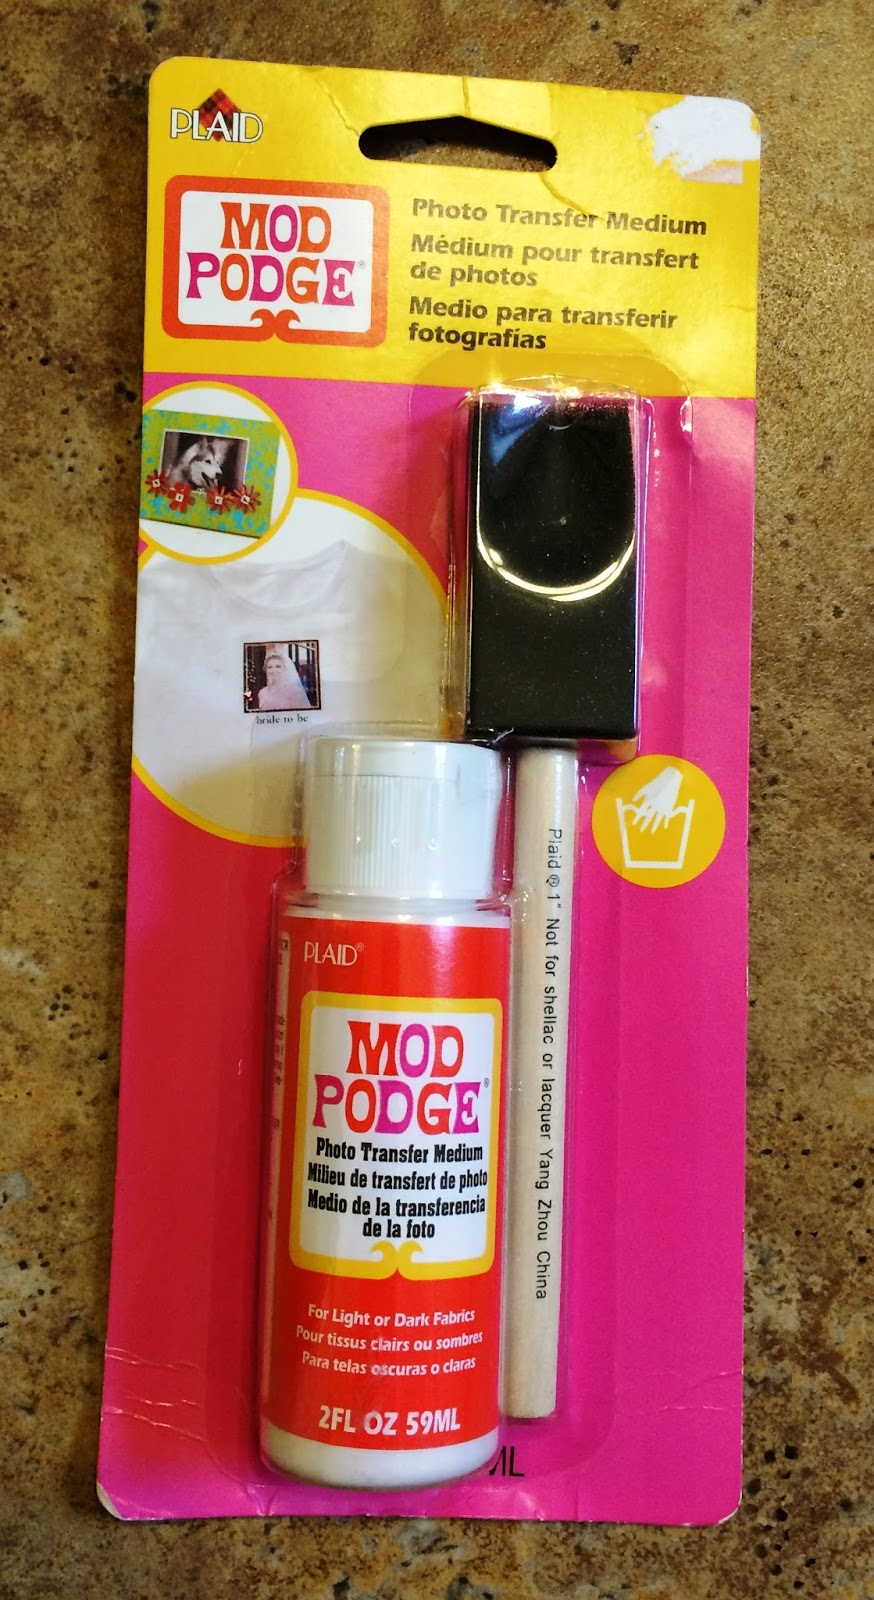
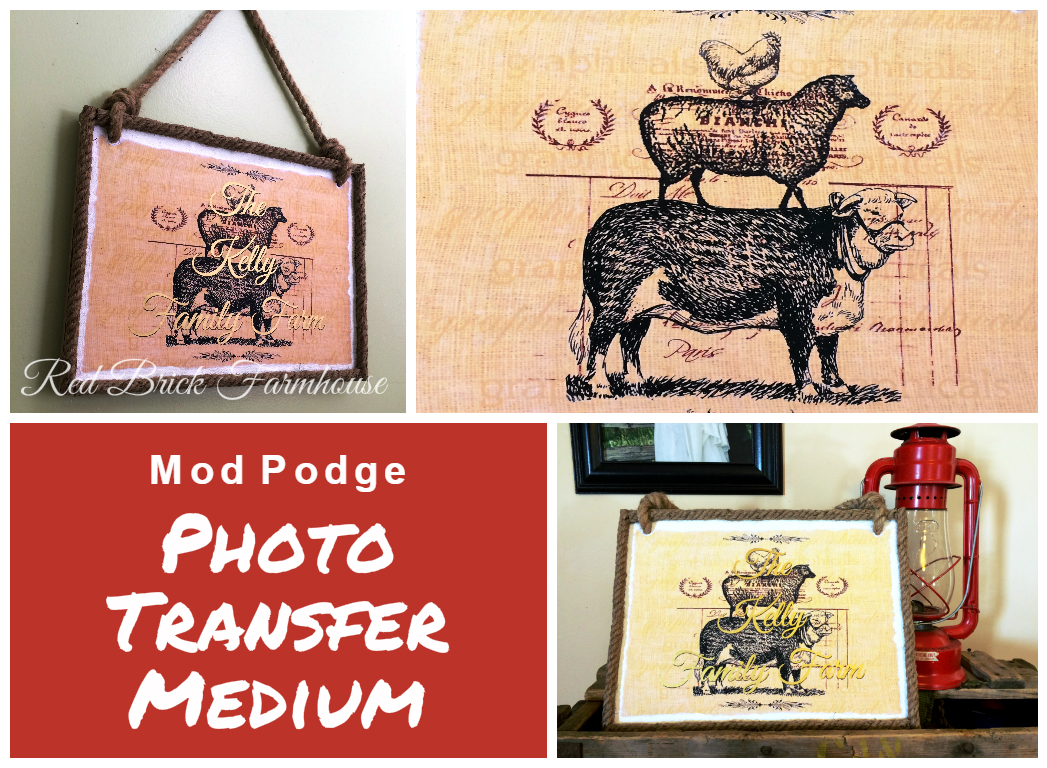
So I recently discovered the amazing Mod Podge, and in particular, Mod Podge Photo Transfer Medium. It's a glue type substance that transfers images to almost any smooth surface.


Mod Podge Photo Transfer:

What you need:

1. Mod Podge Photo Transfer Medium. You can find this at almost any craft store.

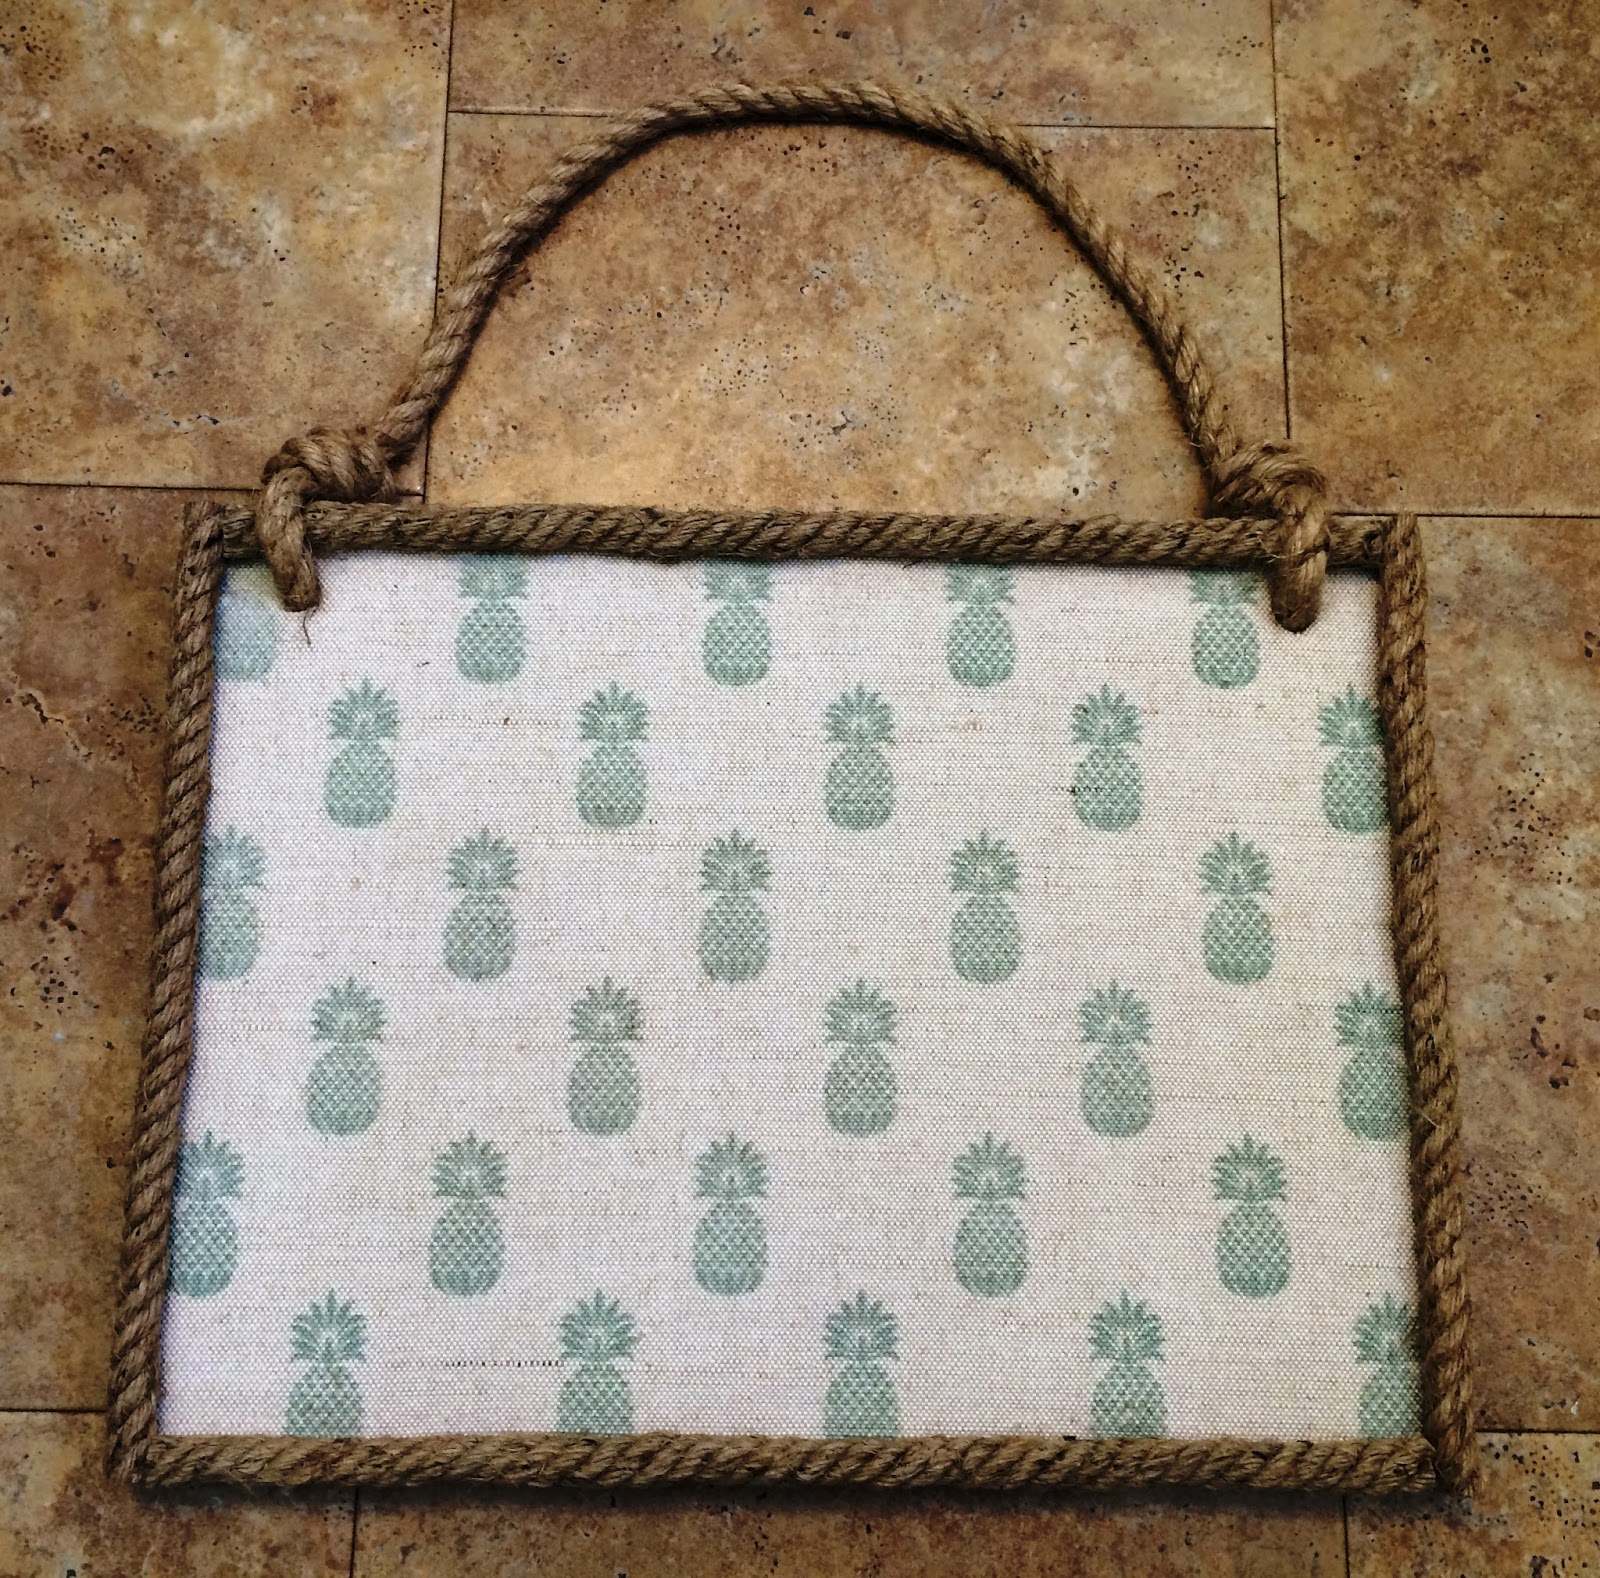
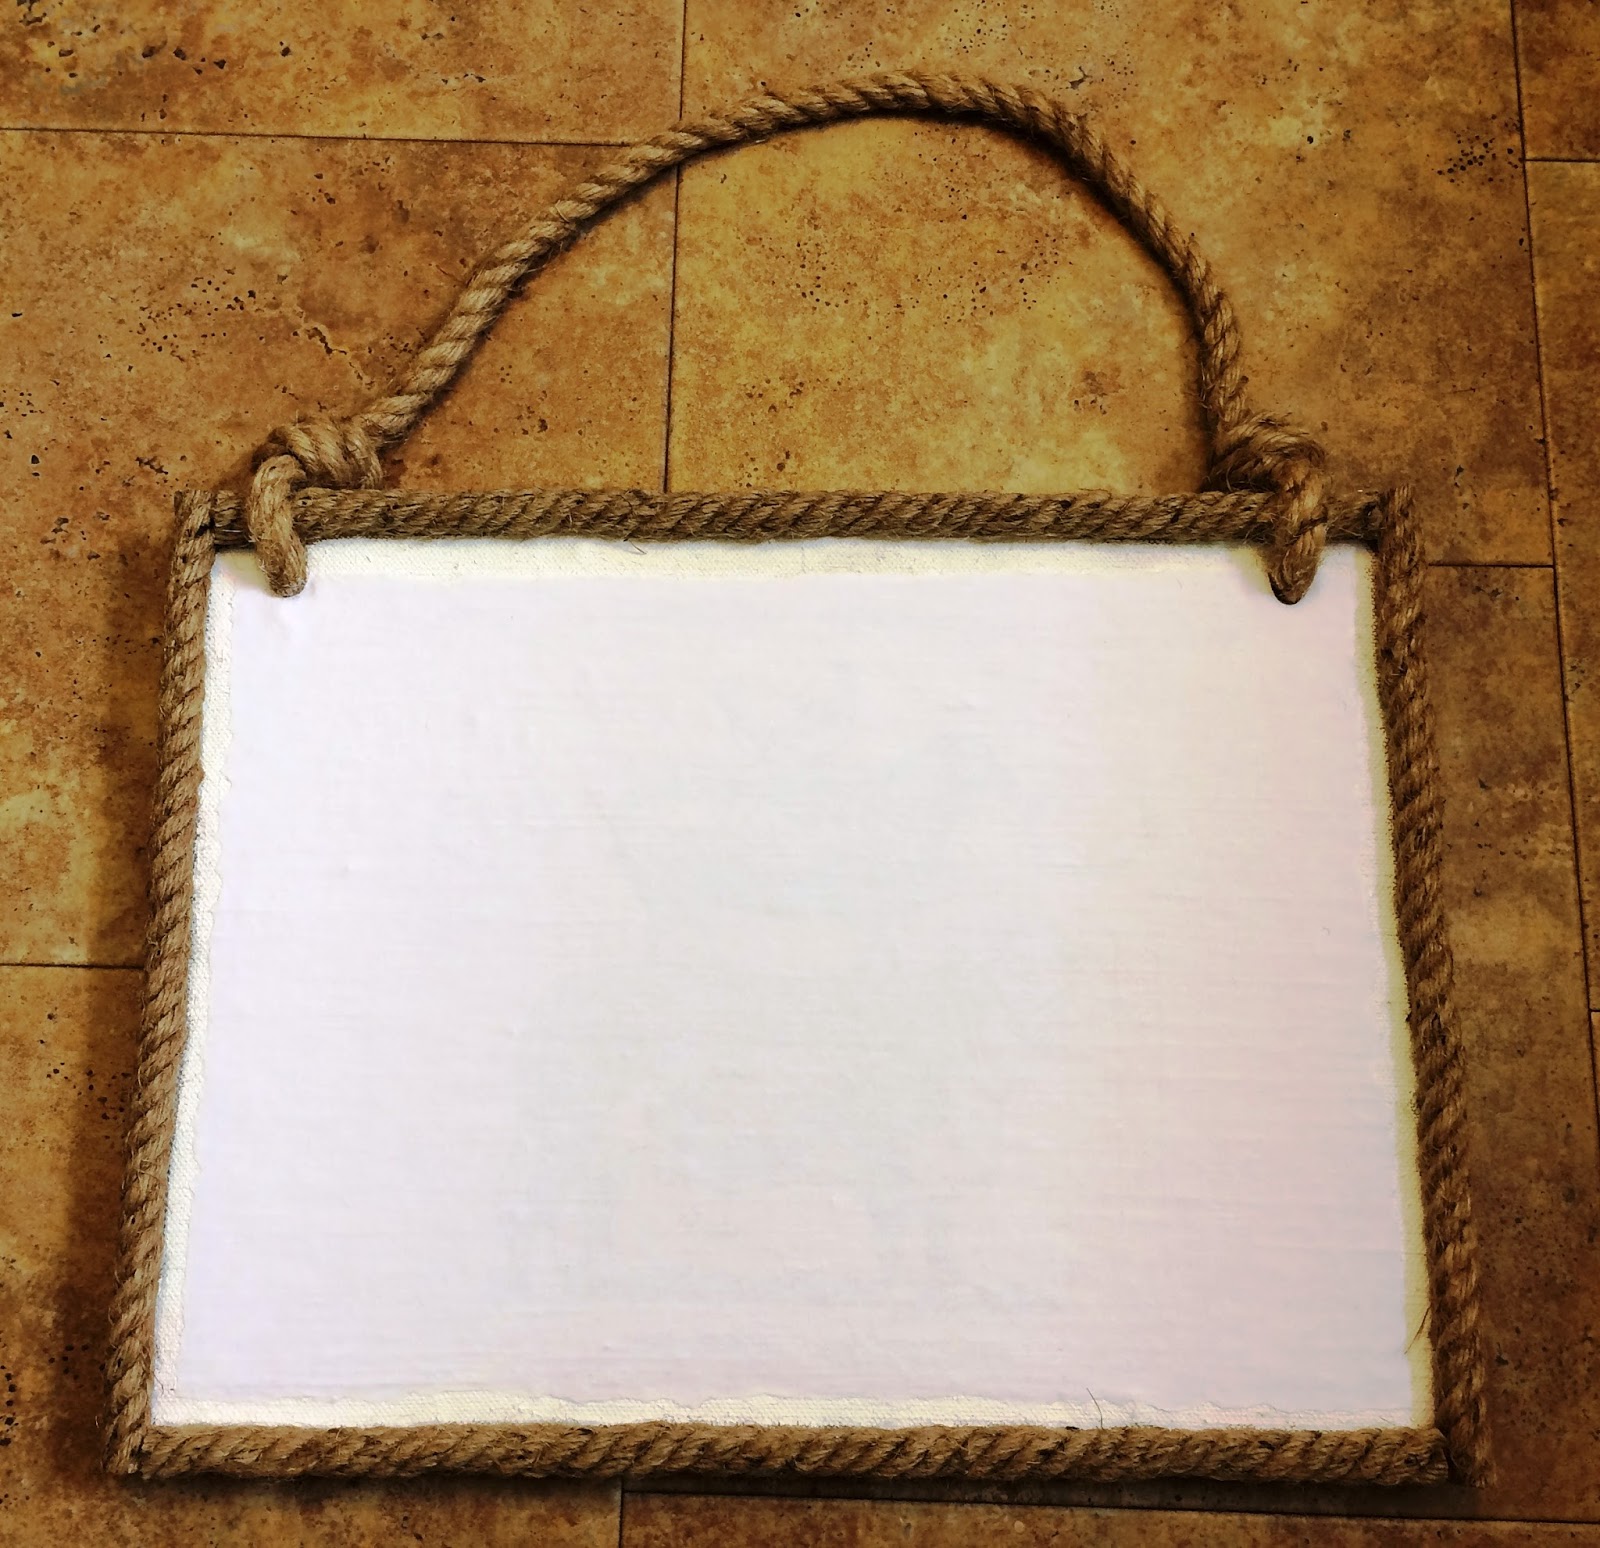
2. Something you want to transfer onto. Almost any surface will work - wood, glass, metal, clothing material, etc. I found this peg board note organizer at Homesense. It has a burlap backing on it and it was exactly what I was looking for.

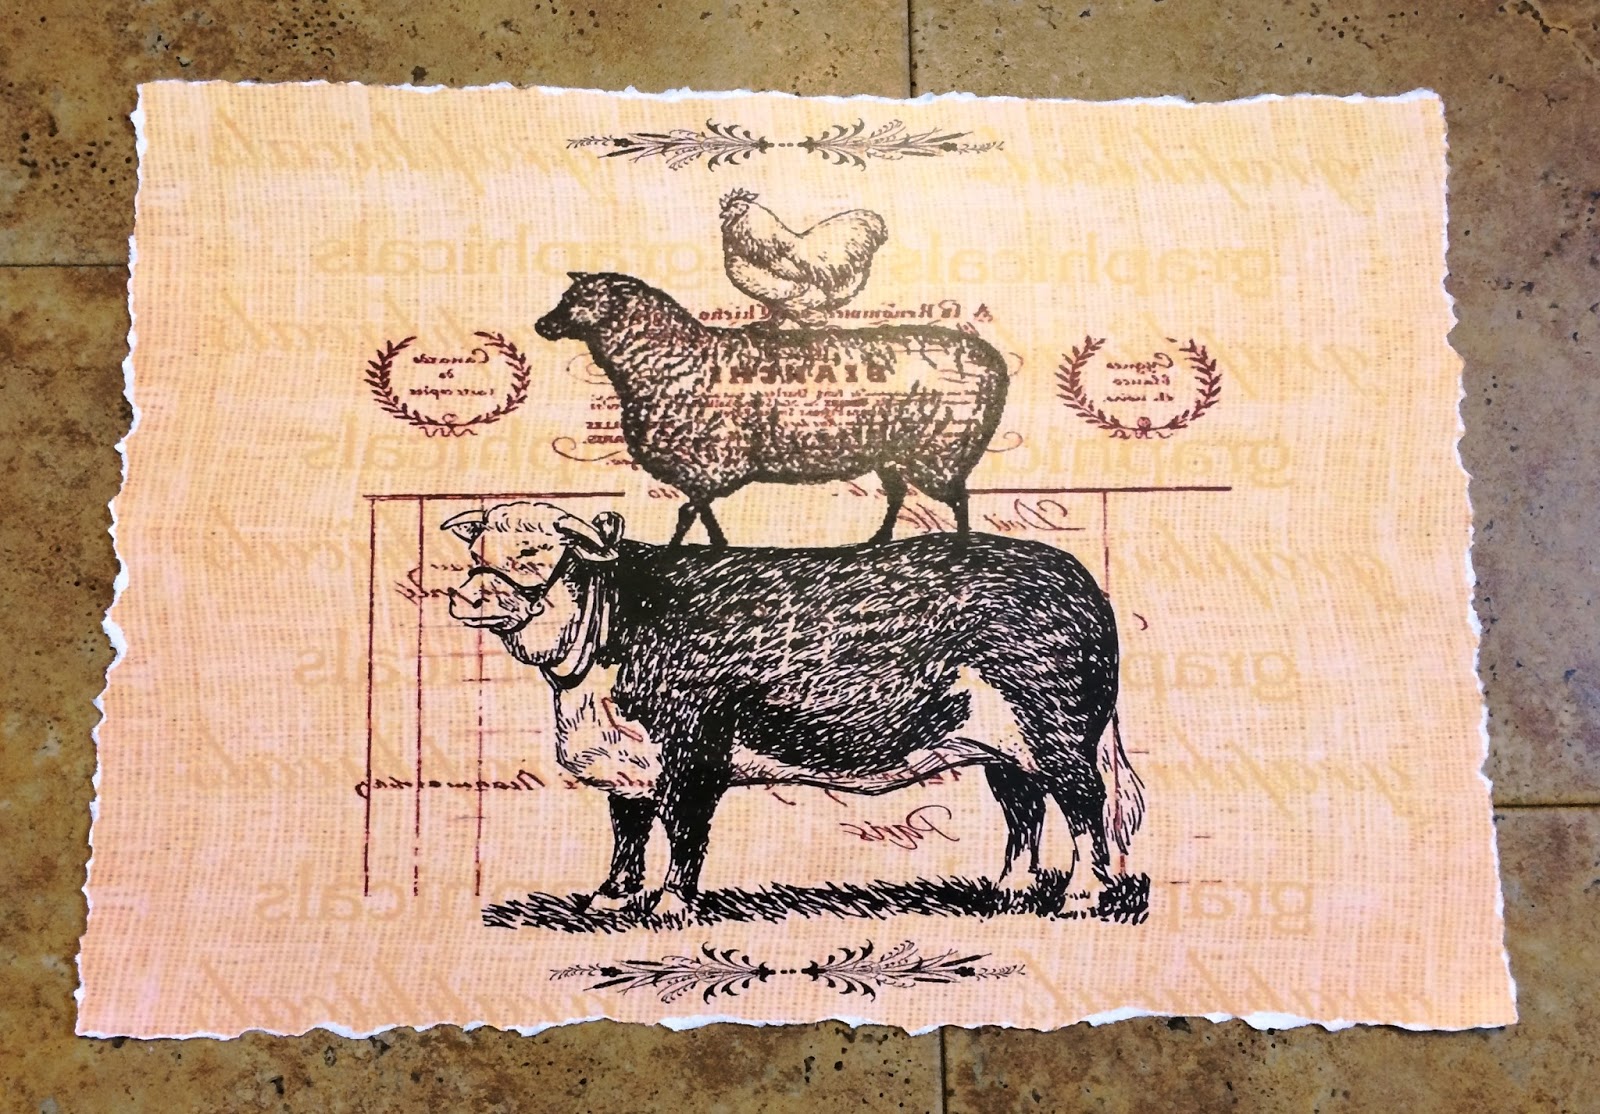
3. An image cropped and scaled to the size you need. If there are any words or letters on the picture, you will need to make a mirror image before printing. You will also need to have it printed with a dry toner printer (laser printer), NOT ink jet. For a rustic look, I teared the edges of the image.

4. (optional items):
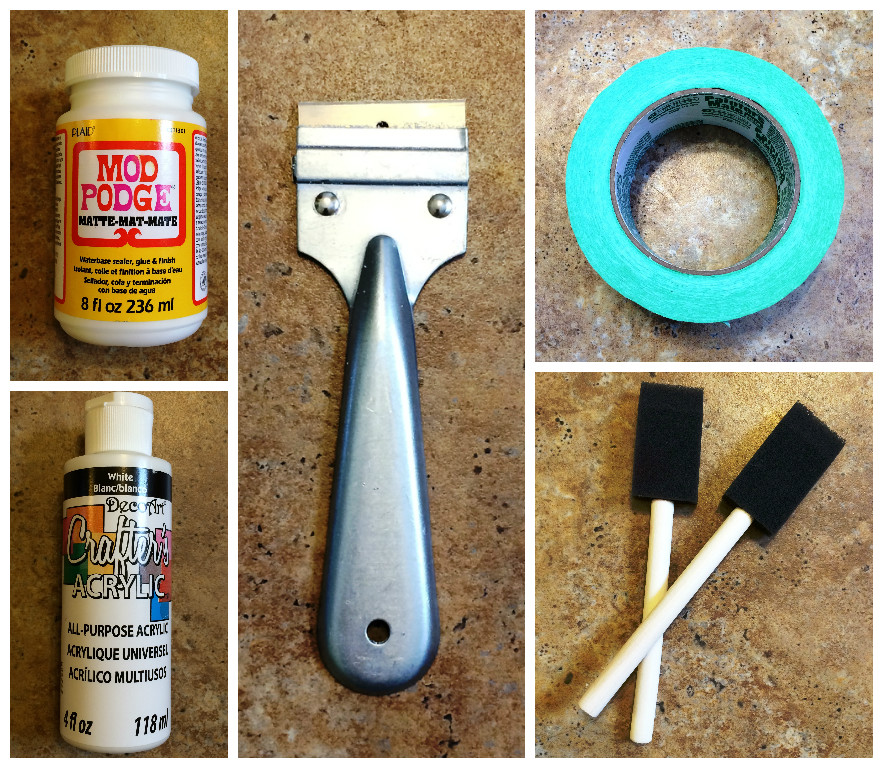
Mod Podge Sealer; acrylic paint; razor blade; painters tape; extra brushes.

The Steps:

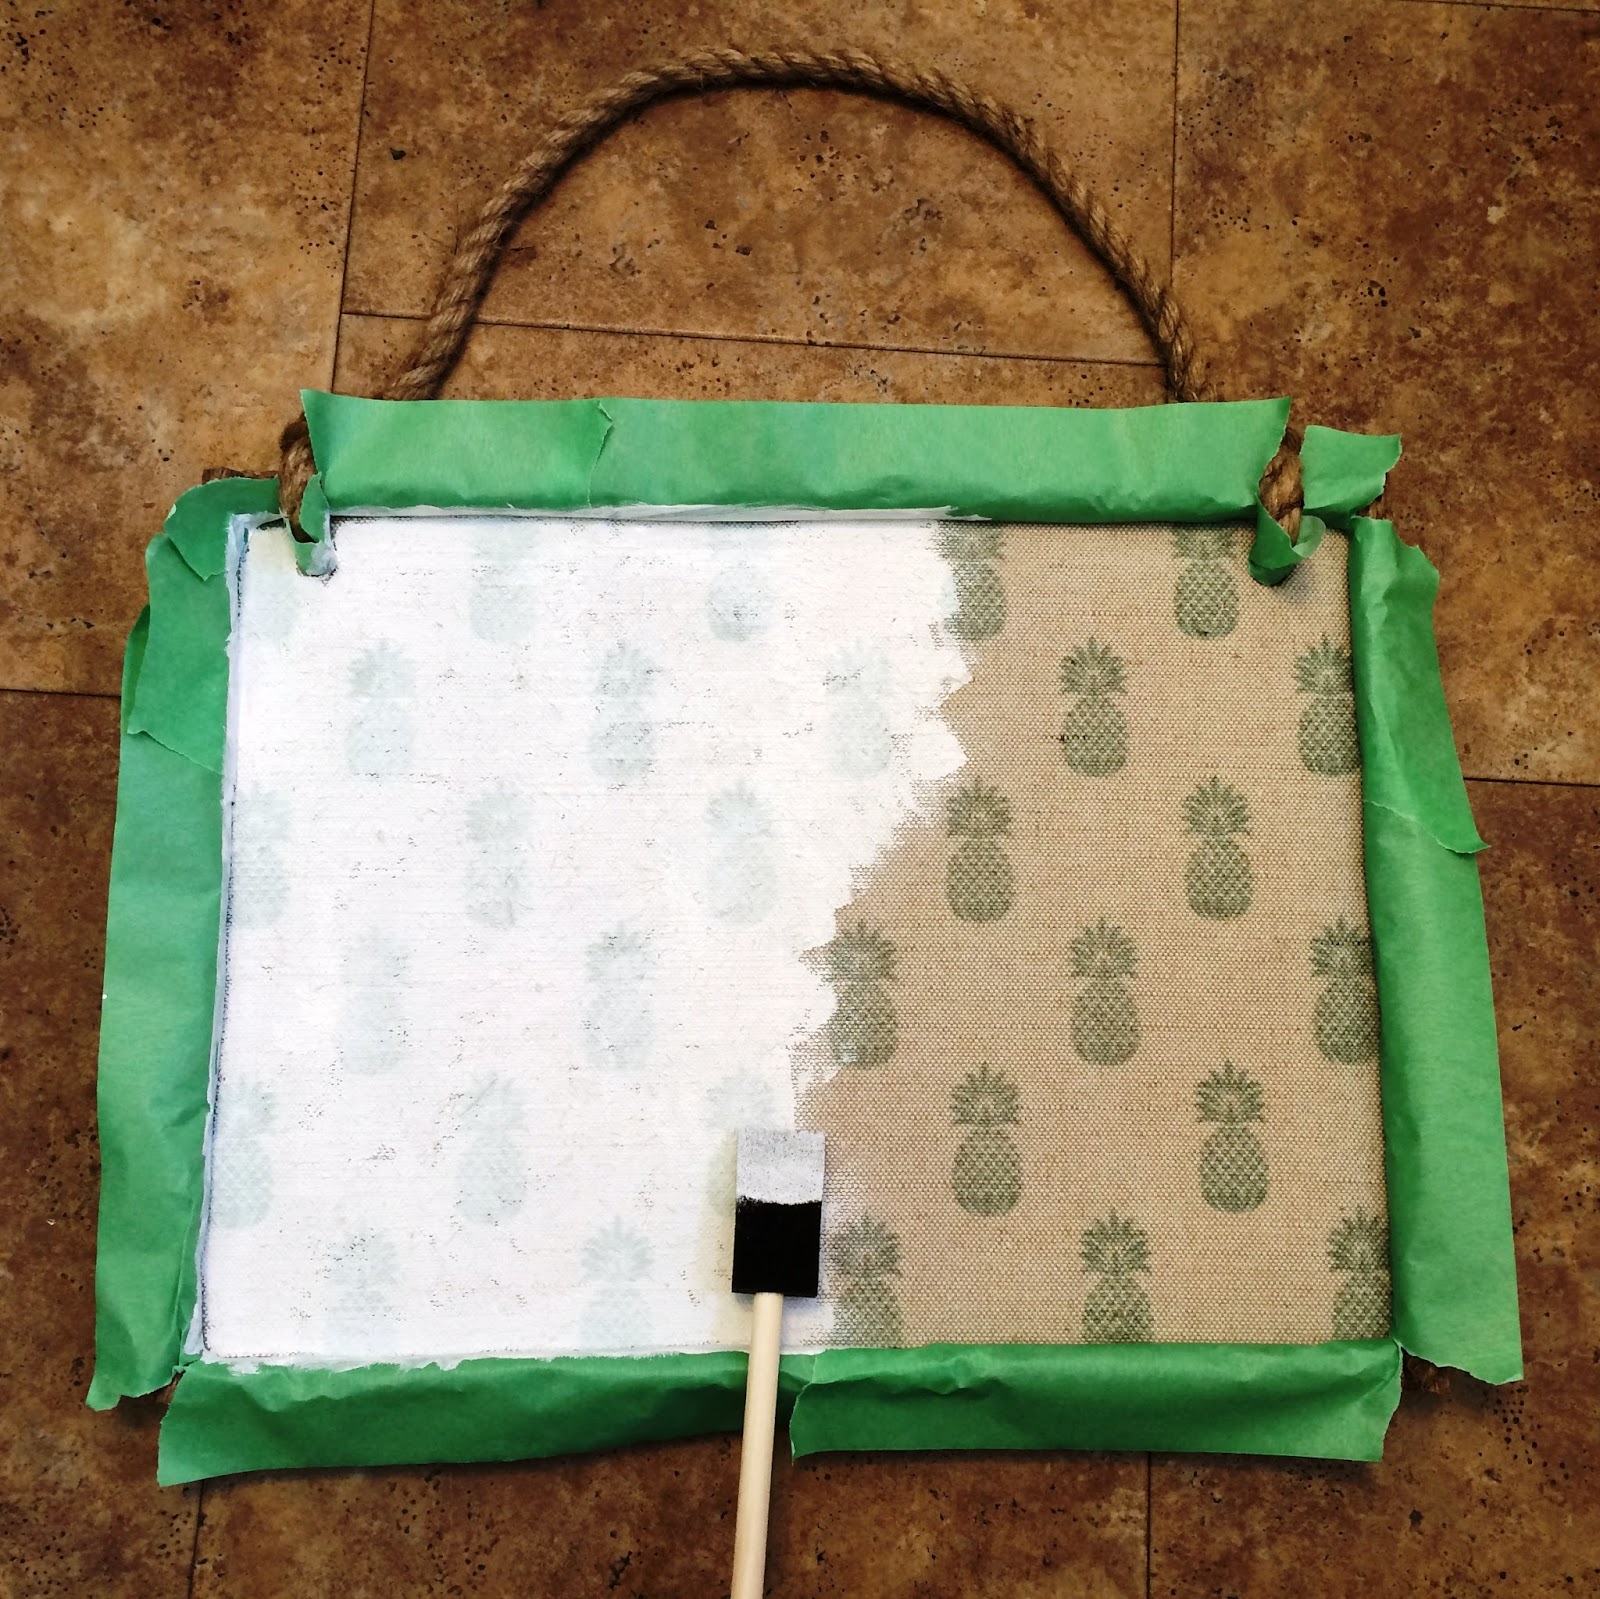
1. (optional): paint the item you will be transferring onto with acrylic paint in the colour you choose. I did two coats.

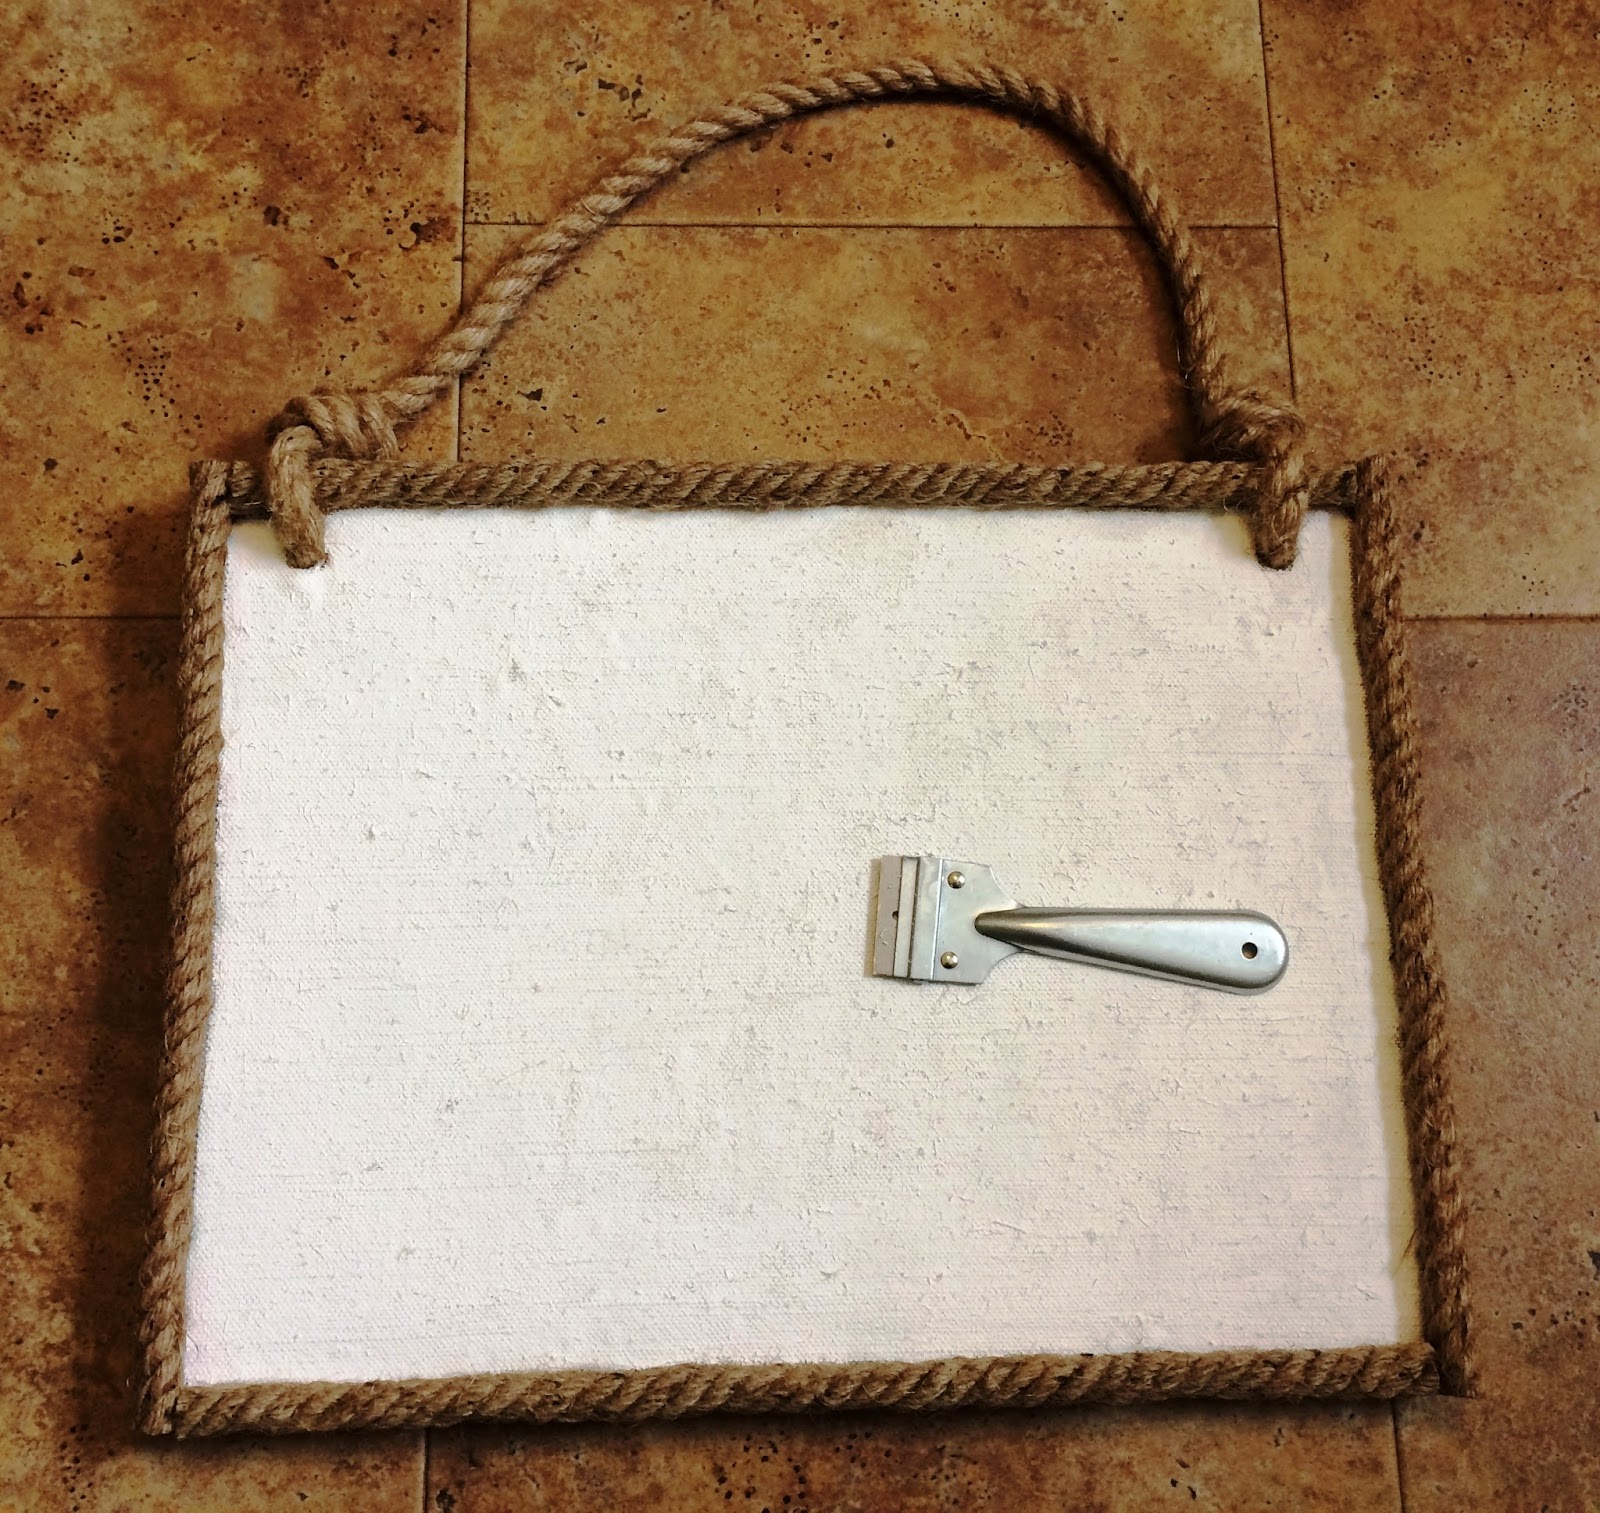
Painting the burlap left it sharp and bumpy. Scraping with a razor and then vacuuming it off made it smooth.

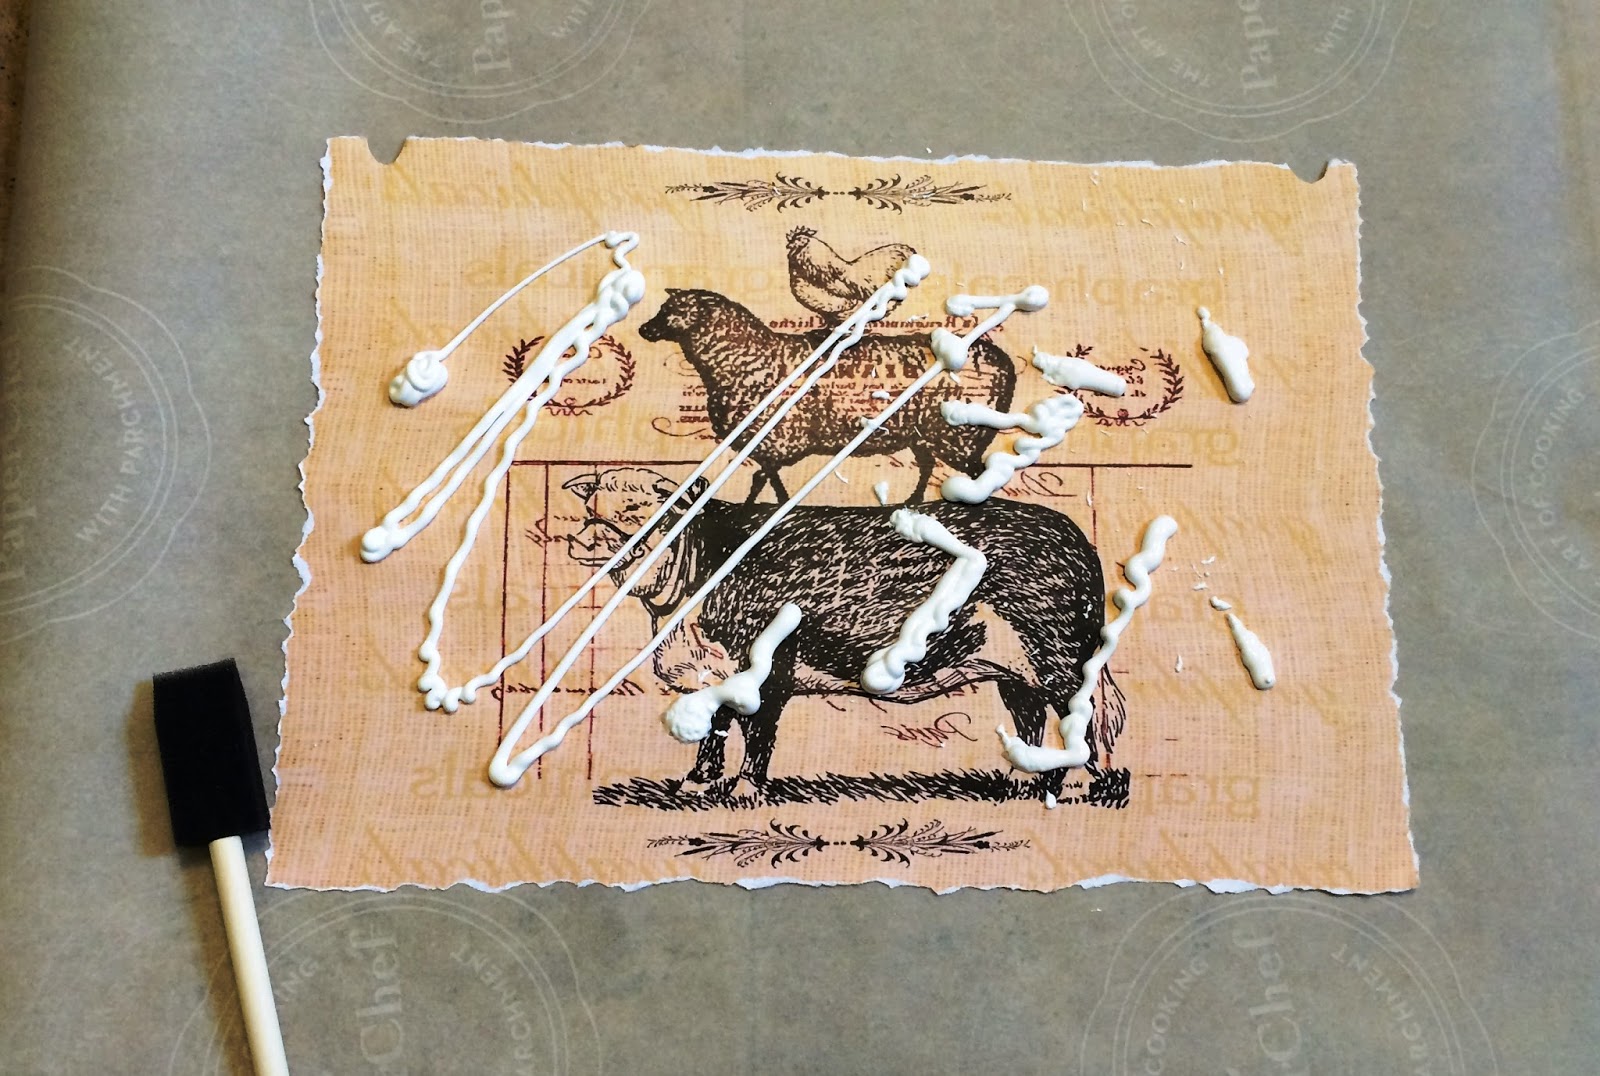
2. Prepare your image and cover with Photo Transfer Medium. I cut out two semi-circles for the image to fit centered on the board. (*remember, to make adjustments like this, you'll need to lay the image face down and measure or cut because that's how it will be transferred).

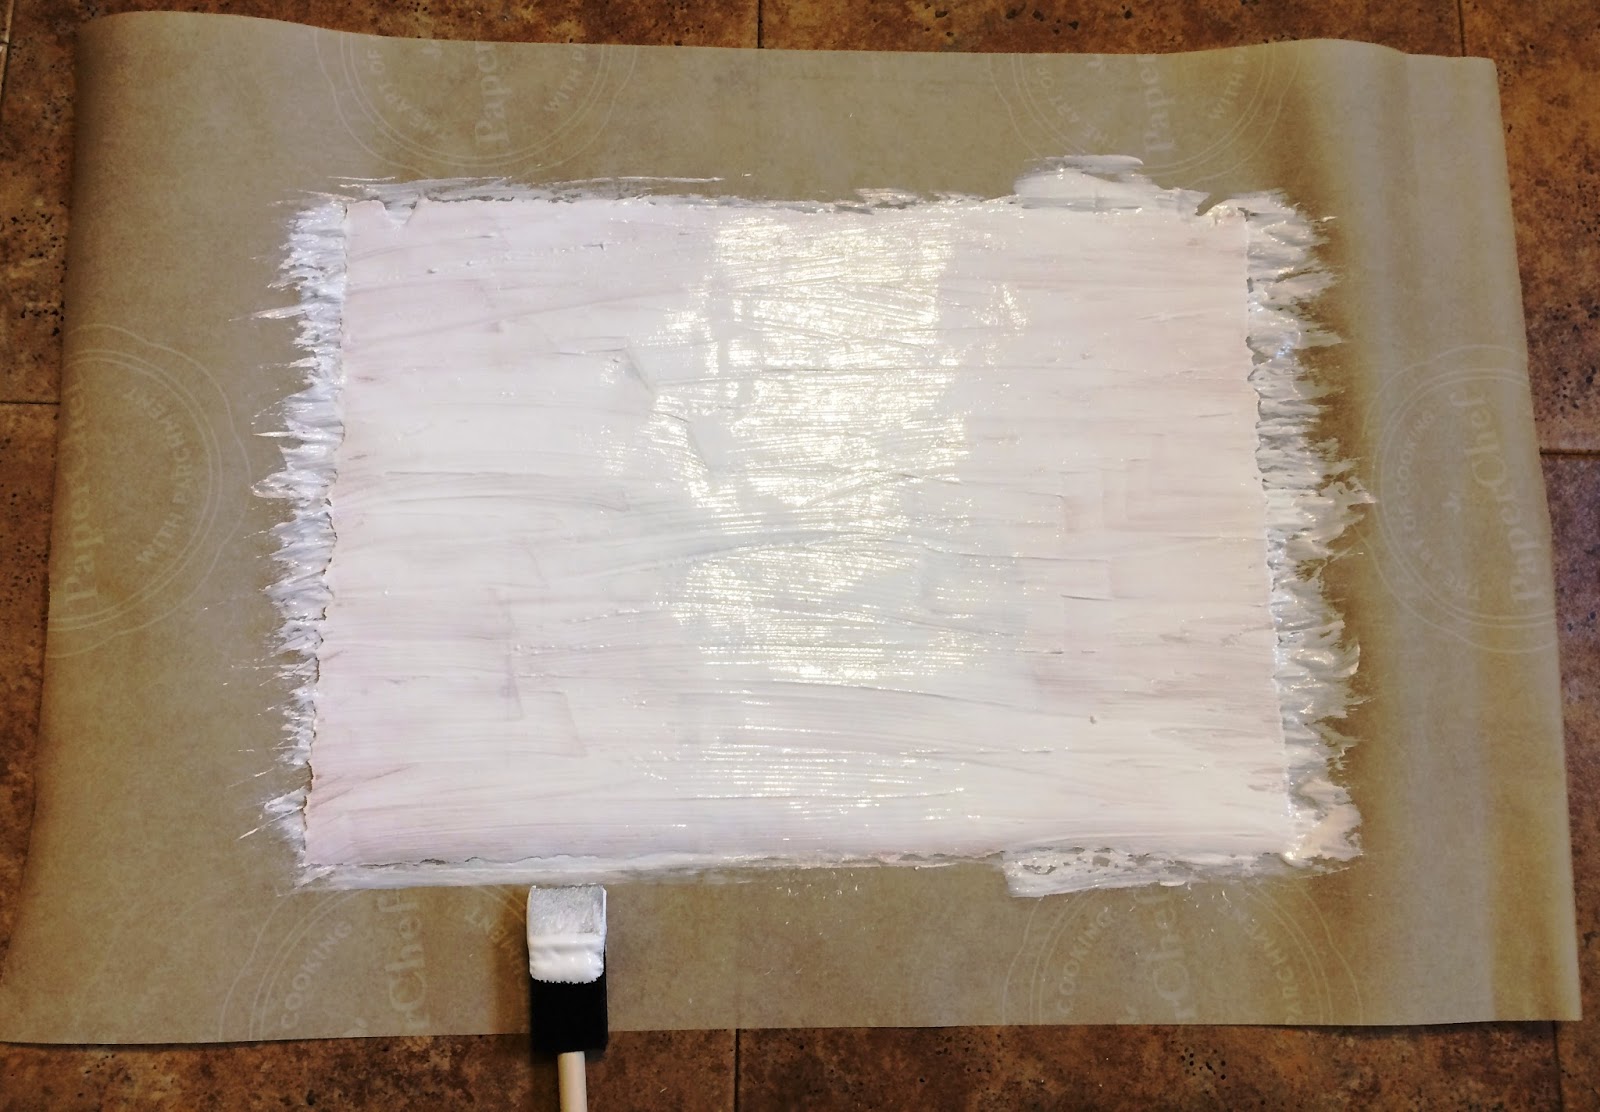
Lay newspaper or parchment paper down and spread the Medium over all edges. You need to spread down enough to cover the image completely - you shouldn't see much of the image through the Medium. My image was about 11"x17" and I used almost a whole bottle of Medium.

3. You may need help if you have a large image like mine, but carefully lay the transfer face down on the object, being careful not to touch the image side that has the Medium. Gently smooth out air bubbles and wipe off excess Medium with a paper towel. Let it sit for AT LEAST 12 hours, 24 hours if you live in high humidity.

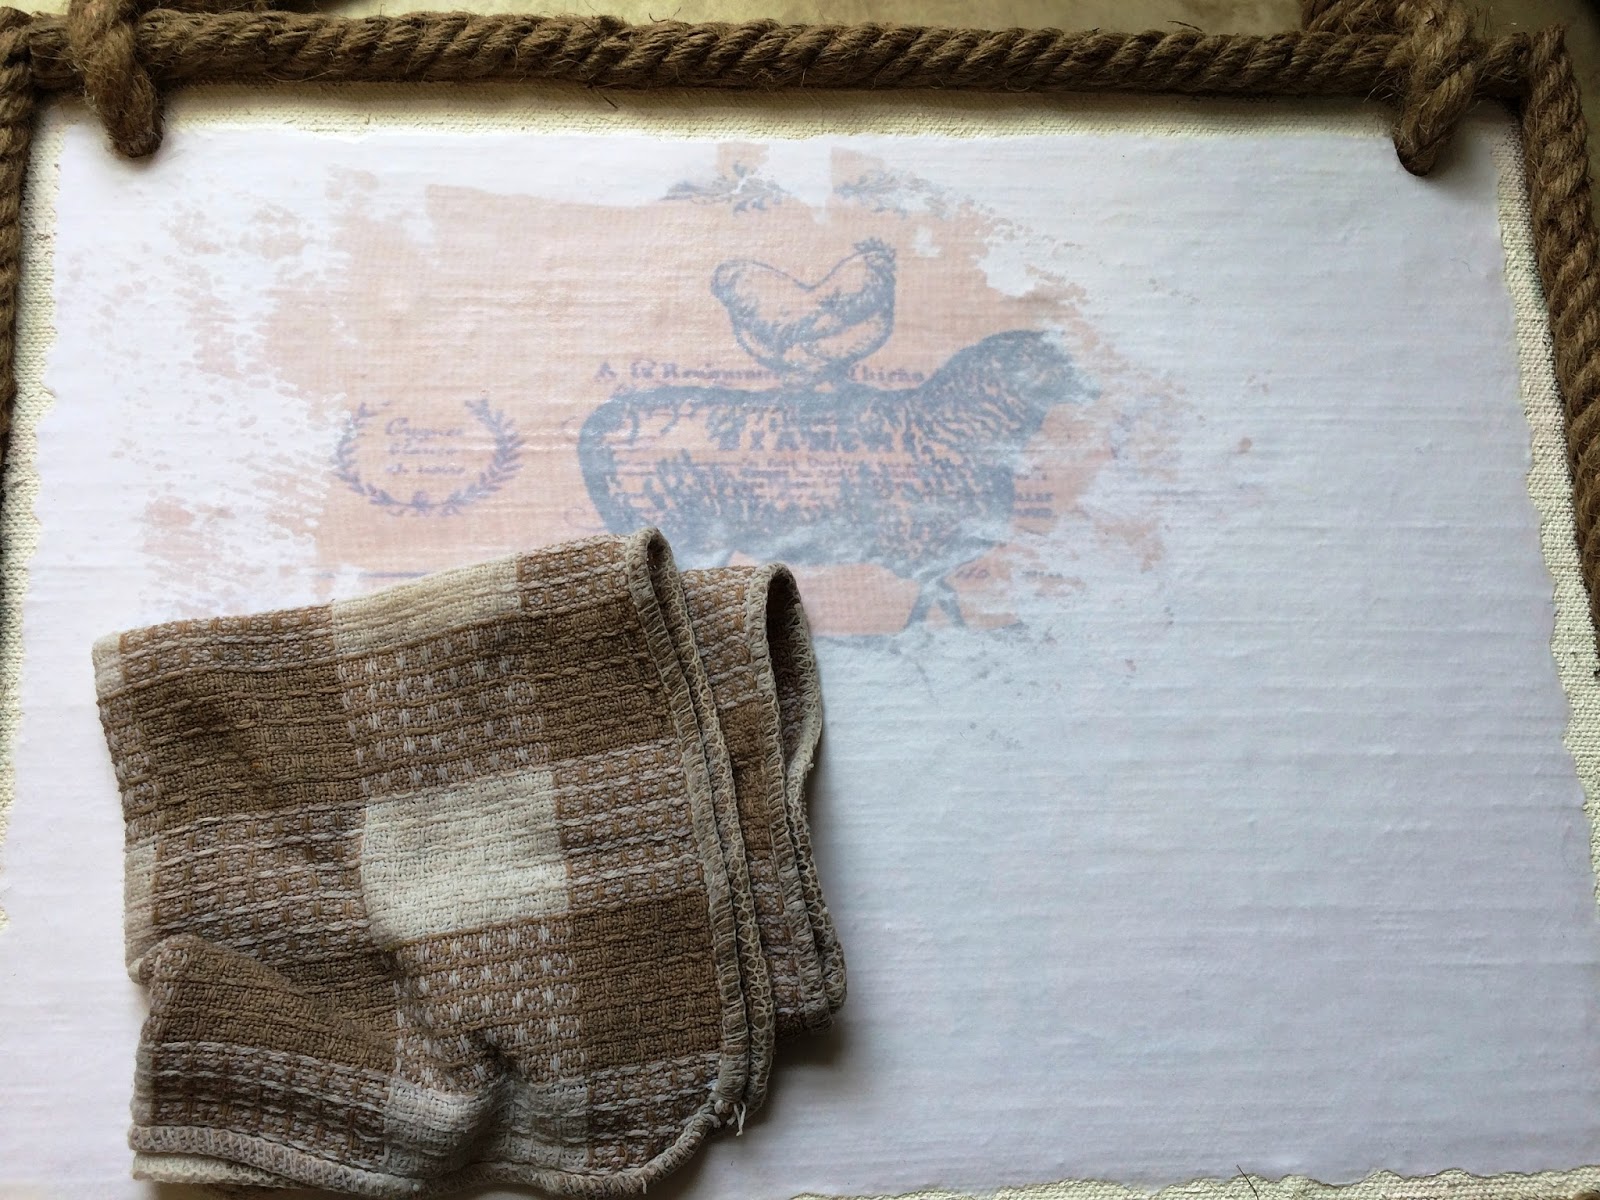
4. After you've left it to completely dry, dampen the entire area with a clean cloth or sponge and let sit for 1-2 minutes.


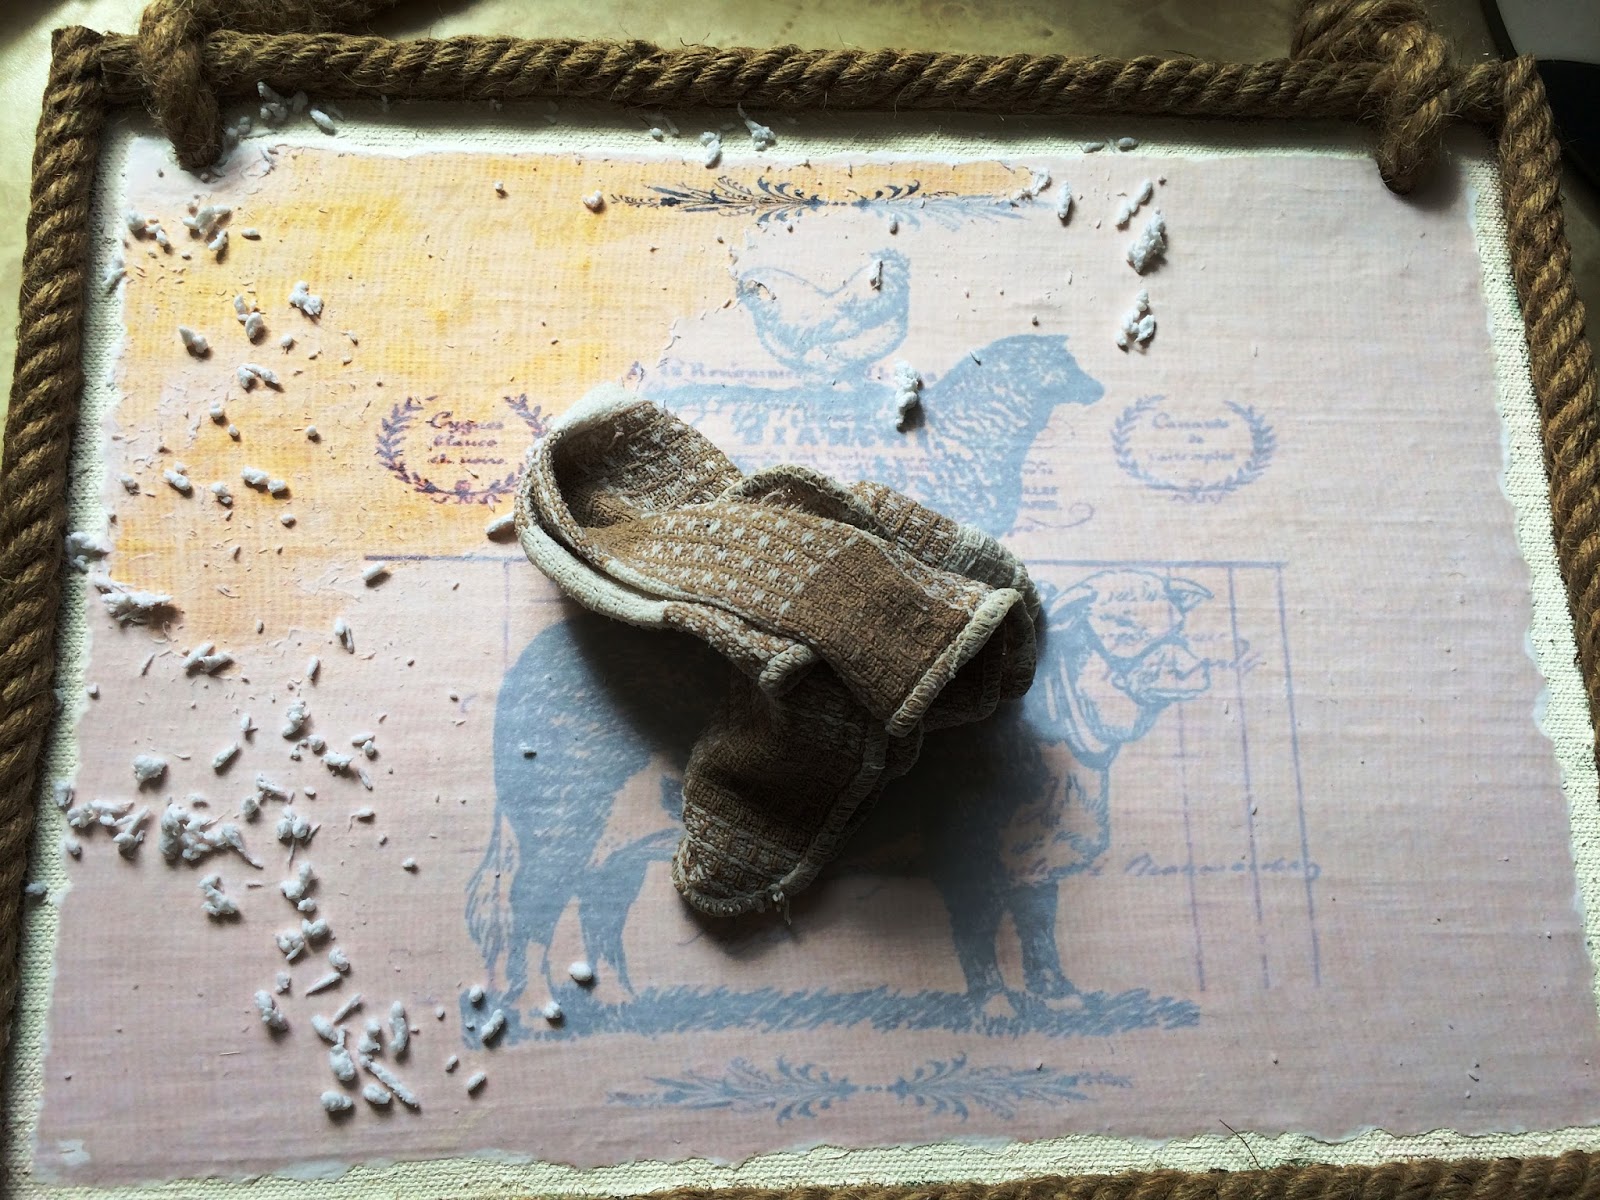
5. Using a gentle, circular motion, start rubbing the paper off the image with the damp cloth or sponge. If you don't get it all off completely at first, dampen the areas and rub again. You'll be able to see any spots you missed.

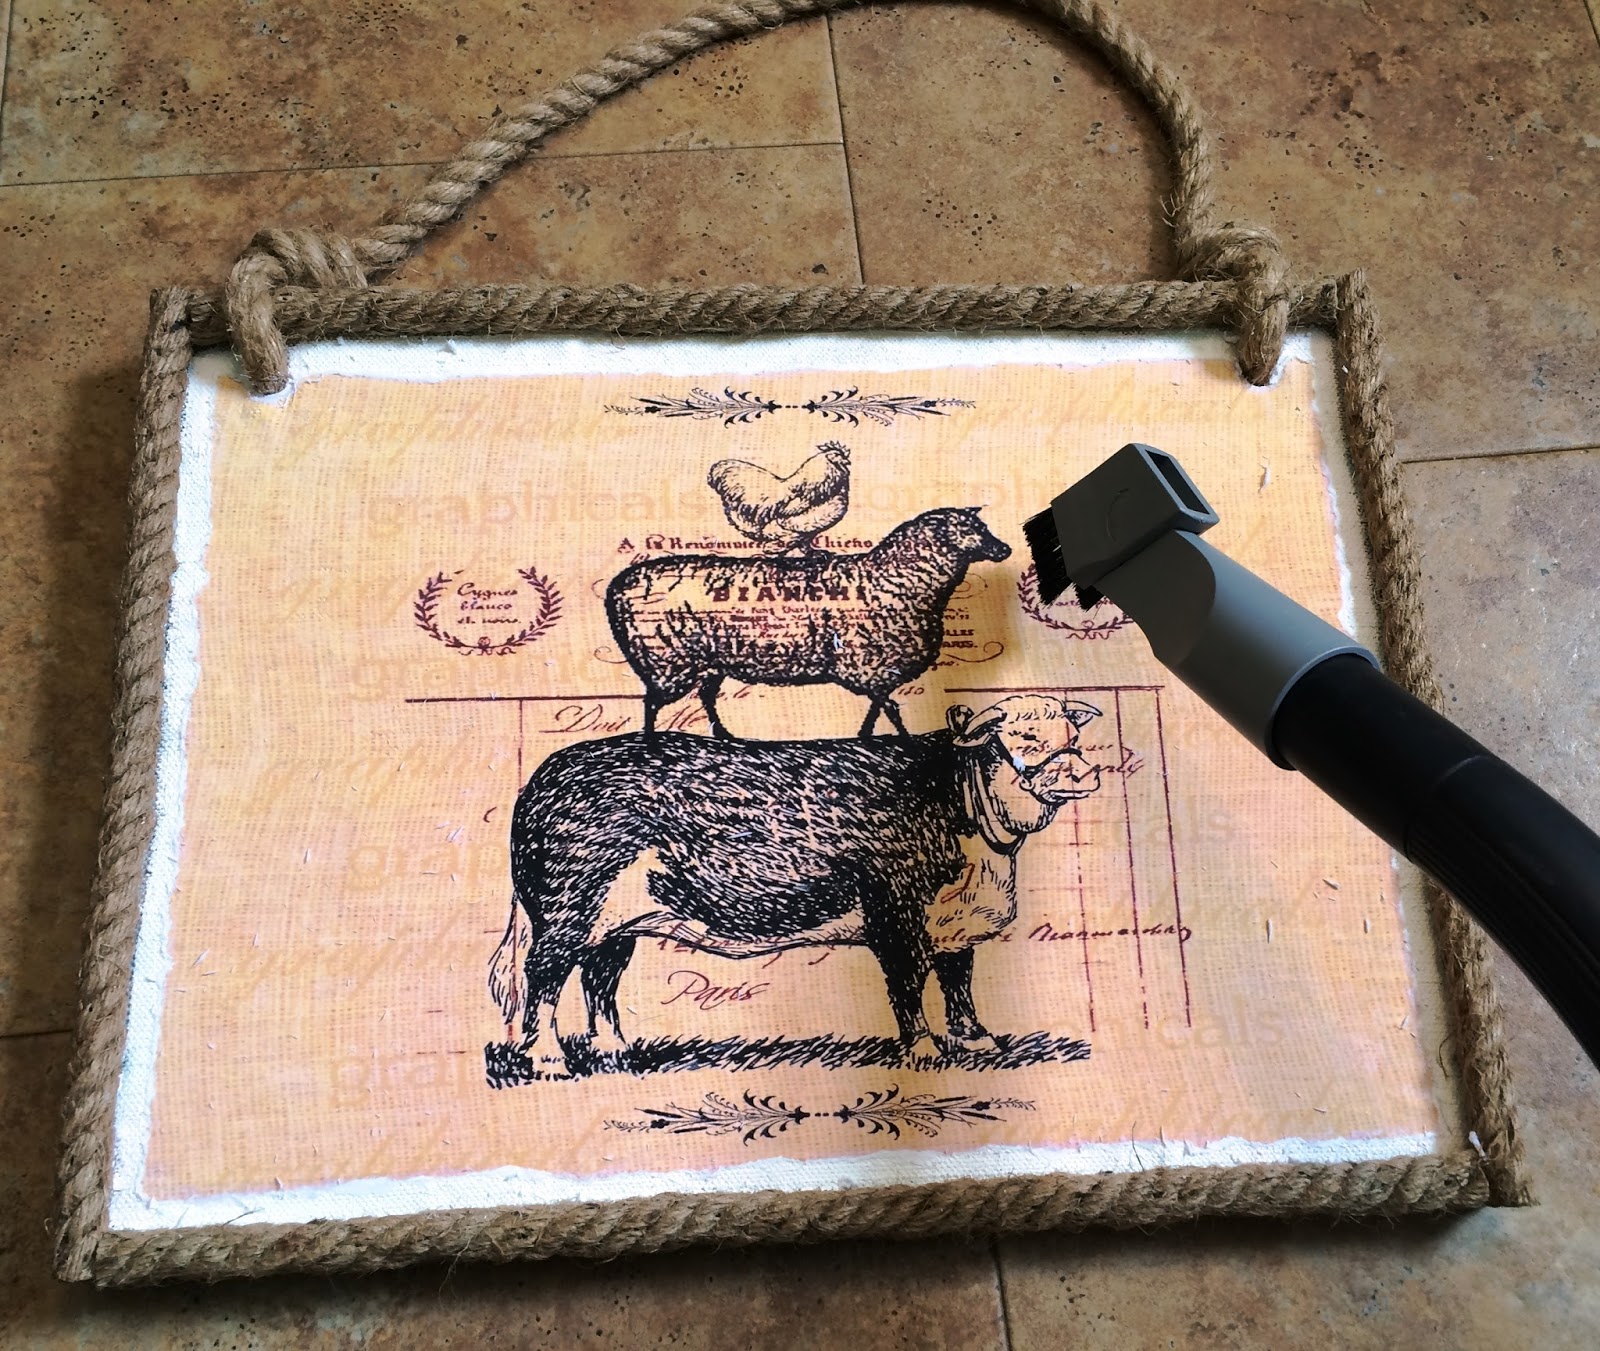
6. Wipe completely clean with a soft cloth or vacuum with a brush (I had to vacuum because of the rope frame). Make sure you use a clean, soft vacuum brush and that the transfer is mostly dry.

7. And that's it, it's done. You could coat it with a thin layer of Mod Podge Sealer for extra durability.

8. I made this as a gift and to add a personal touch to it, I ordered a metallic gold decal from Bright Swan Creations and stuck that over the photo transfer. Then I added in shadow lines with a black Sharpie to make the words pop.
Note:
If you didn't tear the edges of the image and still want a rustic look, this can be done at the rubbing stage. Just rub extra hard and the image will come off.

This was a fairly big project to use Photo Transfer Medium with, and I wouldn't recommend it unless you were wanting it to look like it was made as part of the object you were transferring to. I could have just used Mod Podge Sealer over the image and that would have likely done the job. But it was still fun to experiment with Photo Transfer Medium! There are so many techniques for sign making, and it's really just trial and error.

And, if you're really good with computers, you could edit the image in Photoshop to have a watercolour paint look to it and transfer onto canvas. Experiment with the image and objects you can transfer to.

Thursday, April 21, 2016

Where Have I Been?

So WHERE have I been? That's an excellent question. And I've been here, busy with mommy, wife and farmer-"ish" things.


In October I turned 30 and my husband and I took our first long distance trip together - to Saskatoon, Saskatchewan to visit my aunt and uncle and cousins (who we hardly ever see because flying within Canada is unbelievably expensive). I've been on an airplane before, but not my husband. That part was easy. Navigating the airport and getting to the terminal we were supposed to be at was not. But we made it there and back safe and sound and had a great time exploring "Toon Town." Thanks to our awesome family for trading kids around and baby sitting!
The Prairies

Figure skating lessons started up again shortly after that for Jenna. She's improved so much since starting four years ago.

Jacob and I finished up music class in November and a took a break over the winter from it. We just started a new spring semester a few weeks ago. Even after being away from class over the winter, Jacob picked things up again very quickly.

Also in November, Jacob started a new block of speech therapy. He has made such amazing leaps and bounds with his speech. Communicating with him now is 100 times better. Tantrums are to a minimum, and he's more patient when trying to explain or ask me something. Over this past March break we got him potty trained! It took a few weeks but we think he's got a good handle on it.

December and January was filled with Christmas celebrations with our families. Throughout the winter I did a lot of downhill skiing on Jacob's daycare days. We're so lucky we live close to a great resort. And illnesses were luckily kept to a minimum so I was able to ski about 8 times over the season.
Christmas Day 2015 - Dad and Jacob went for a ride

Any X-Files fan was excited in January when Season 10 was broadcast. Although only 6 episodes were aired, it was great to see my favourite characters back on TV. Over the next few months, before the kids got up and after they went to bed, I watched the entire series from season 1 to 9 on DVD. There was quite a few I had never seen and It was exciting to watch my favourite episodes again.

In February and March, the routine was fairly normal. I kept busy billing out snow removal invoices. Buses were cancelled off and on over February and March. It seemed like only on the days Jacob had to have speech therapy. And if the buses get cancelled, then so does his speech therapy. And we missed his last session 5 times over those two months because of weather. It was actually quite crazy if you think about it - buses were cancelled due to bad weather every Wednesday for about a month and a half! And then our area had a major ice storm hit the end of March. We lost power off and on for a few days, but for no longer than 5 hours at a time. That's incredible for a family that lives in a rural area. We had neighbours without power for 3-4 days, and even homes within town for much longer than that. It was very touching to hear stories of neighbours helping neighbours, and even strangers helping strangers in their times of need. We were also lucky we didn't lose many trees from the heavy ice but we heard about and saw lots of damage to homes and property. The clean-up is still ongoing.
The ice on everything made for some beautiful scenery the days following the storm


Near the beginning of March I was lucky enough to experience pneumonia. What a horrible week I had - unable to get off the couch or sleep or eat well. By the Thursday I had had enough and the doctor put me on some strong antibiotics. I got well enough in time for March break thank goodness. March break came, and the weather was off and on, but Jenna had an amazing time at a week-long outdoor adventure camp. She made friends, created things, and got muddy. We finished off the break with a trip to Ripley's Aquarium in downtown Toronto and went with Jonathan's step-sister. It really is a neat place with lots to see and learn!
....but she had fun!

Ripley's Aquarium, Toronto

And here we are now, nearing the end of April. I have been busy the last two weeks with the wonderful world of accounting. Over the last 10 years, I have been doing our book keeping all by hand and our accountant recommended we switch over to a computer program. It's been a learning curve, but I think I'm getting it now. It should make things a lot easier for everyone now.

Our seasonal hired help has come back now and they have started working ground and planting a few days ago. Seeding time will be our busy season until harvest and we're hoping the weather cooperates at both times,

So that's it, that's what's been going on here. Warmer weather is here to stay, and I can't wait to get out in the garden, planting flowers and watching things grow.
This awesome weather is here to stay!


Saturday, September 19, 2015

Banana Blondies Recipe

This recipe works so well and it's so tasty and addictive (but sweet!). It's also a great way to use up ripe banana's if you're sick of chocolate chip banana bread (like our family is). Sit down with a friend and a cup of tea on a rainy day and enjoy a few of these squares. Recipe by Cookies and Cups.


Banana Blondies
Makes 16 blondies

Ingredients
Blondies:
  • 1/2 cup butter, melted and if desired browned
  • 1 cup light brown sugar
  • 1 egg
  • 1 1/2 tsp. vanilla extract
  • 1/4 tsp. salt
  • 1 cup flour
  • 1/2 cup mashed banana (1 medium banana)
Brown Sugar Frosting:
  • 1/4 cup butter
  • 1/2 cup light brown sugar
  • 2 Tbsp. milk
  • 1 cup powdered sugar

PREHEAT oven to 350°F. Line an 8x8 baking dish with foil and spray with cooking spray. Set aside.

MIX in a bowl or stand mixer, melted (or browned) butter and sugar. Mix until combined. Add in egg and vanilla and continue mixing until incorporated. Stir in salt, flour and banana until batter is smooth and even. Spread in prepared pan.

BAKE for 25-30 minutes until center is set.

TRANSFER pan to wire rack to cool.

FROST the blondies when they are mostly cooled

Frosting:
1. In a medium saucepan melt butter. Add brown sugar and milk and stir until mixture comes to just a boil. Remove from heat, allow to cool for 5 minutes.
2. Stir in powdered sugar with a whisk adding more or less for desired consistency.
3. Spread on top of blondies and allow frosting to set and blondies to cool completely before cutting into squares.

NOTE: If you choose to brown the butter, melt butter in saucepan and continue cooking, once it's melted by swirling the butter in the pan until butter reaches a deep golden brown colour.
You can double the recipe and frosting easily if you need to use more than one banana. Just line a 9x13 pan with tin foil.