


So don't forget we live on a farm and we have an endless supply of pallets at our disposal. There's lots of ideas out there for what you can do with them. Last summer I tried a pallet garden (it worked, well, just okay). I happened to remember I kept an old piece of plywood around for covering a window where we stack firewood, put two and two together, and came up with this idea. The kids also have absolutely nowhere to use sidewalk chalk because we have a gravel lane. This option allows me to set the chalk board wherever I want (I can even lay it down); I can tie it to something for extra support; it's heavy enough it won't blow away (it's windy up here!) - but not too heavy so I can bring it in out of the rain and snow.
Here's how I did it:
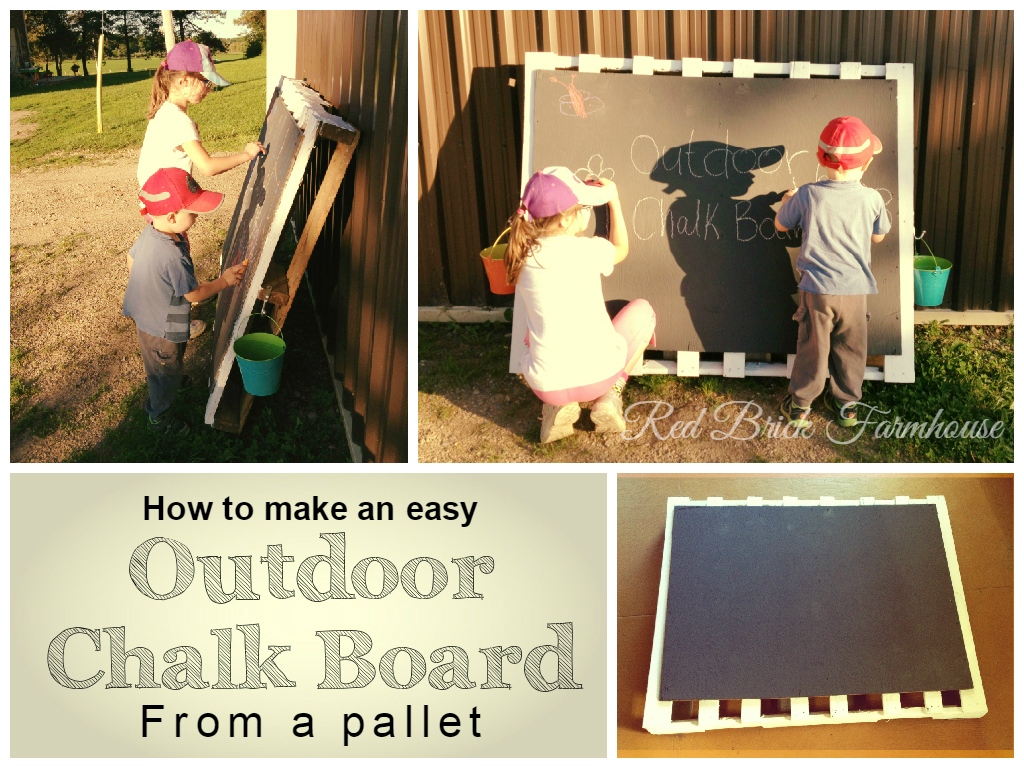
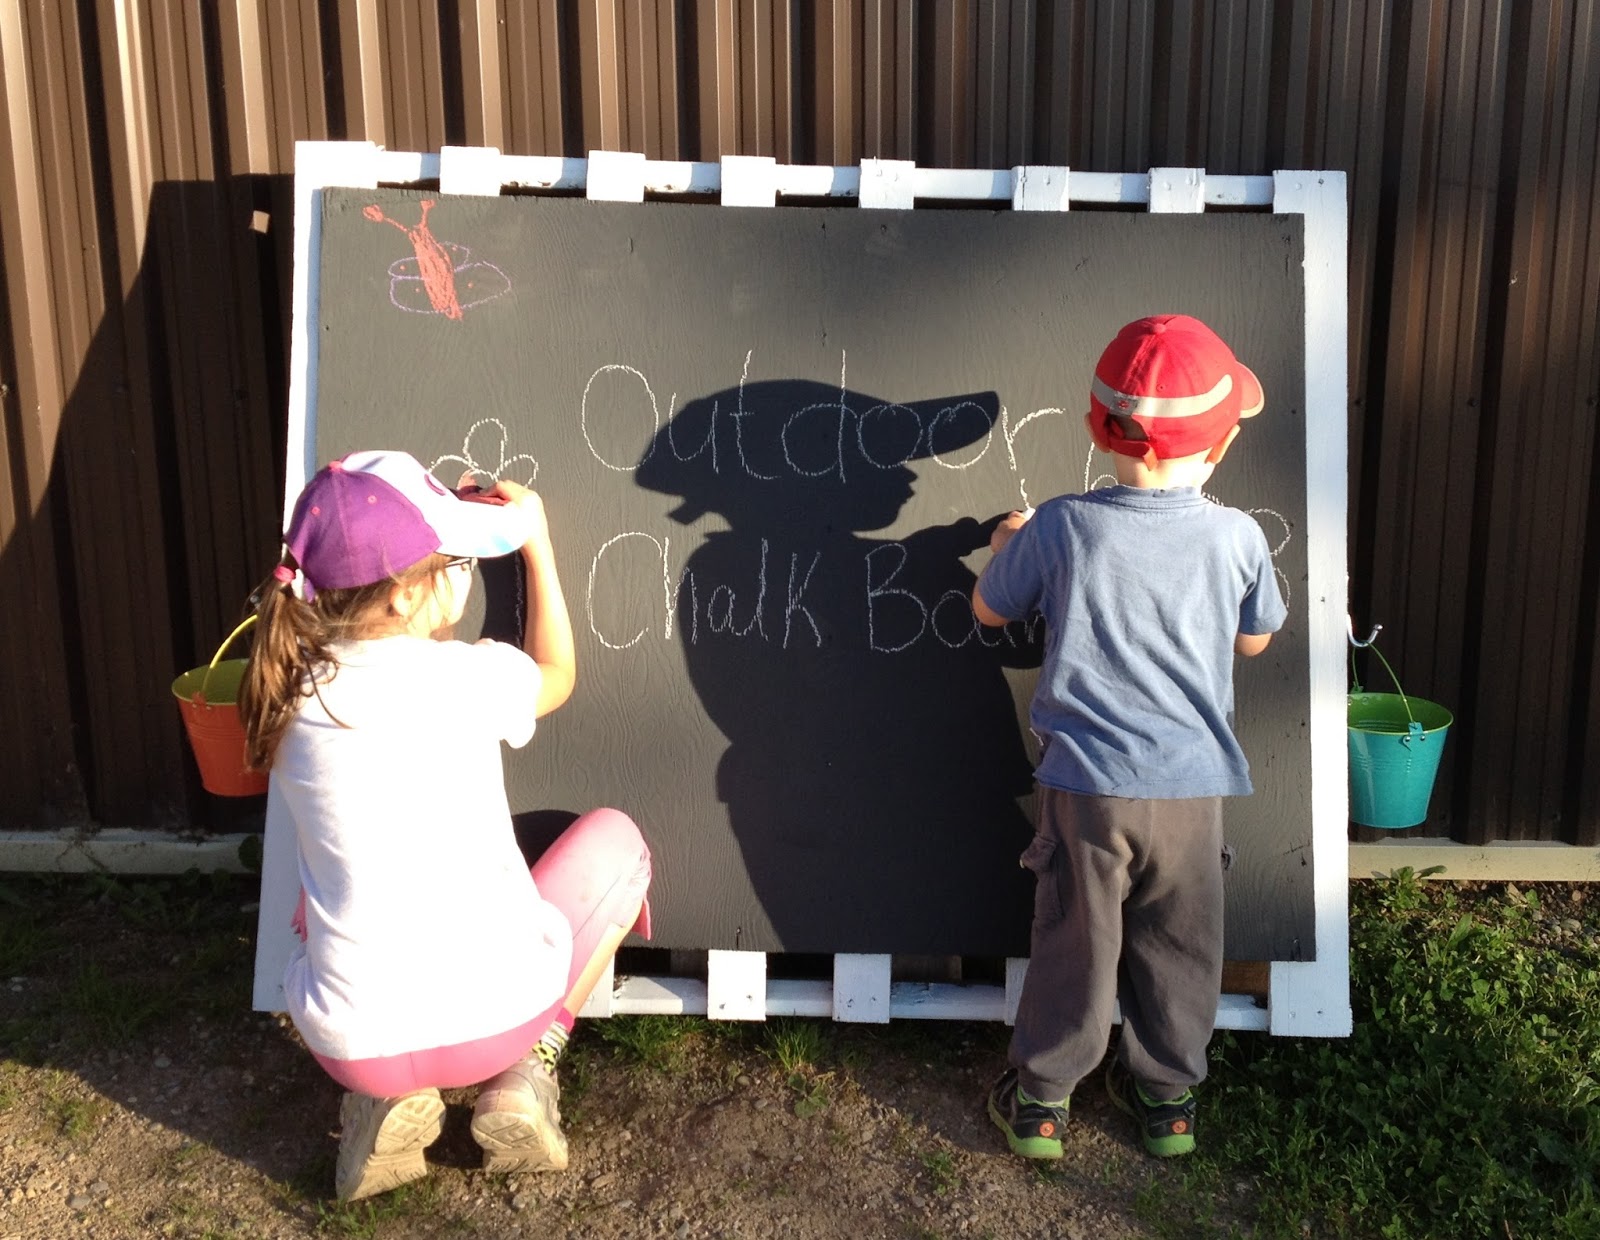
Outdoor Chalk Board from a pallet:
What you need:
1. A space to paint or something to cover your space with
2. An old pallet. Scrub it with soap and water and a brush if needed.
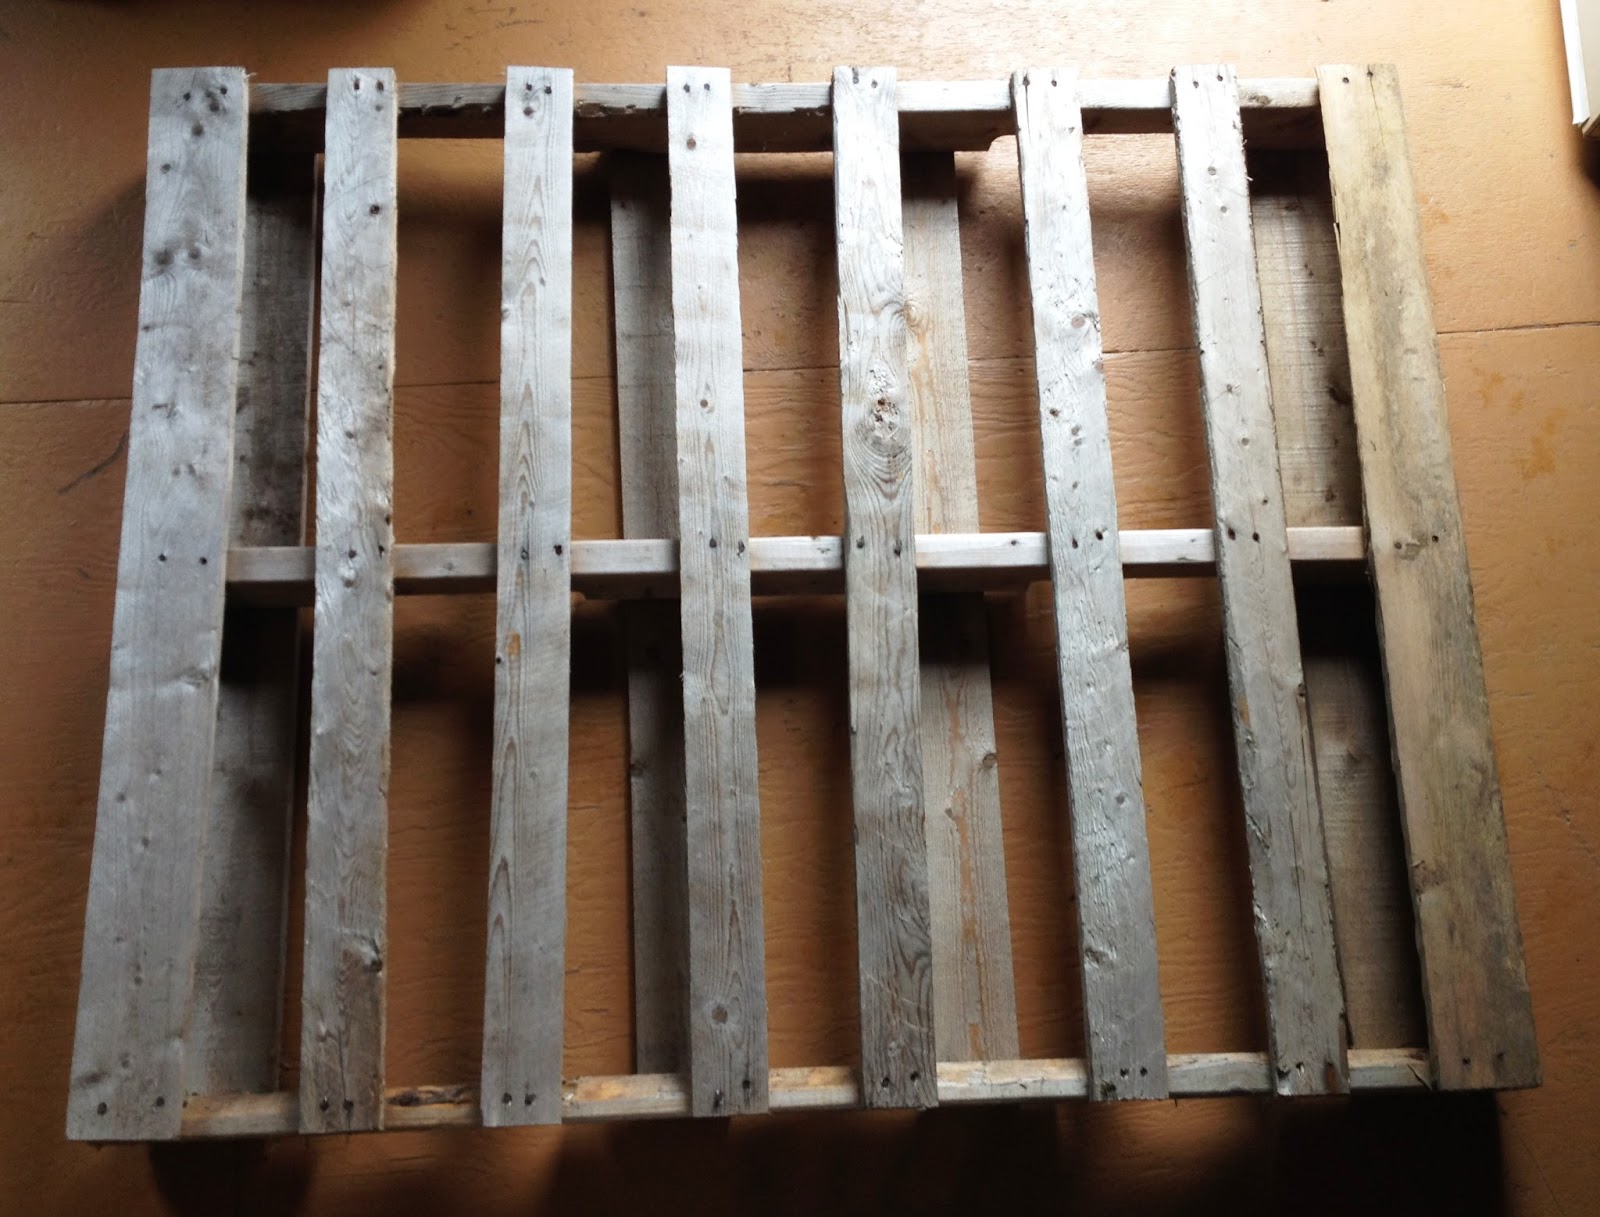
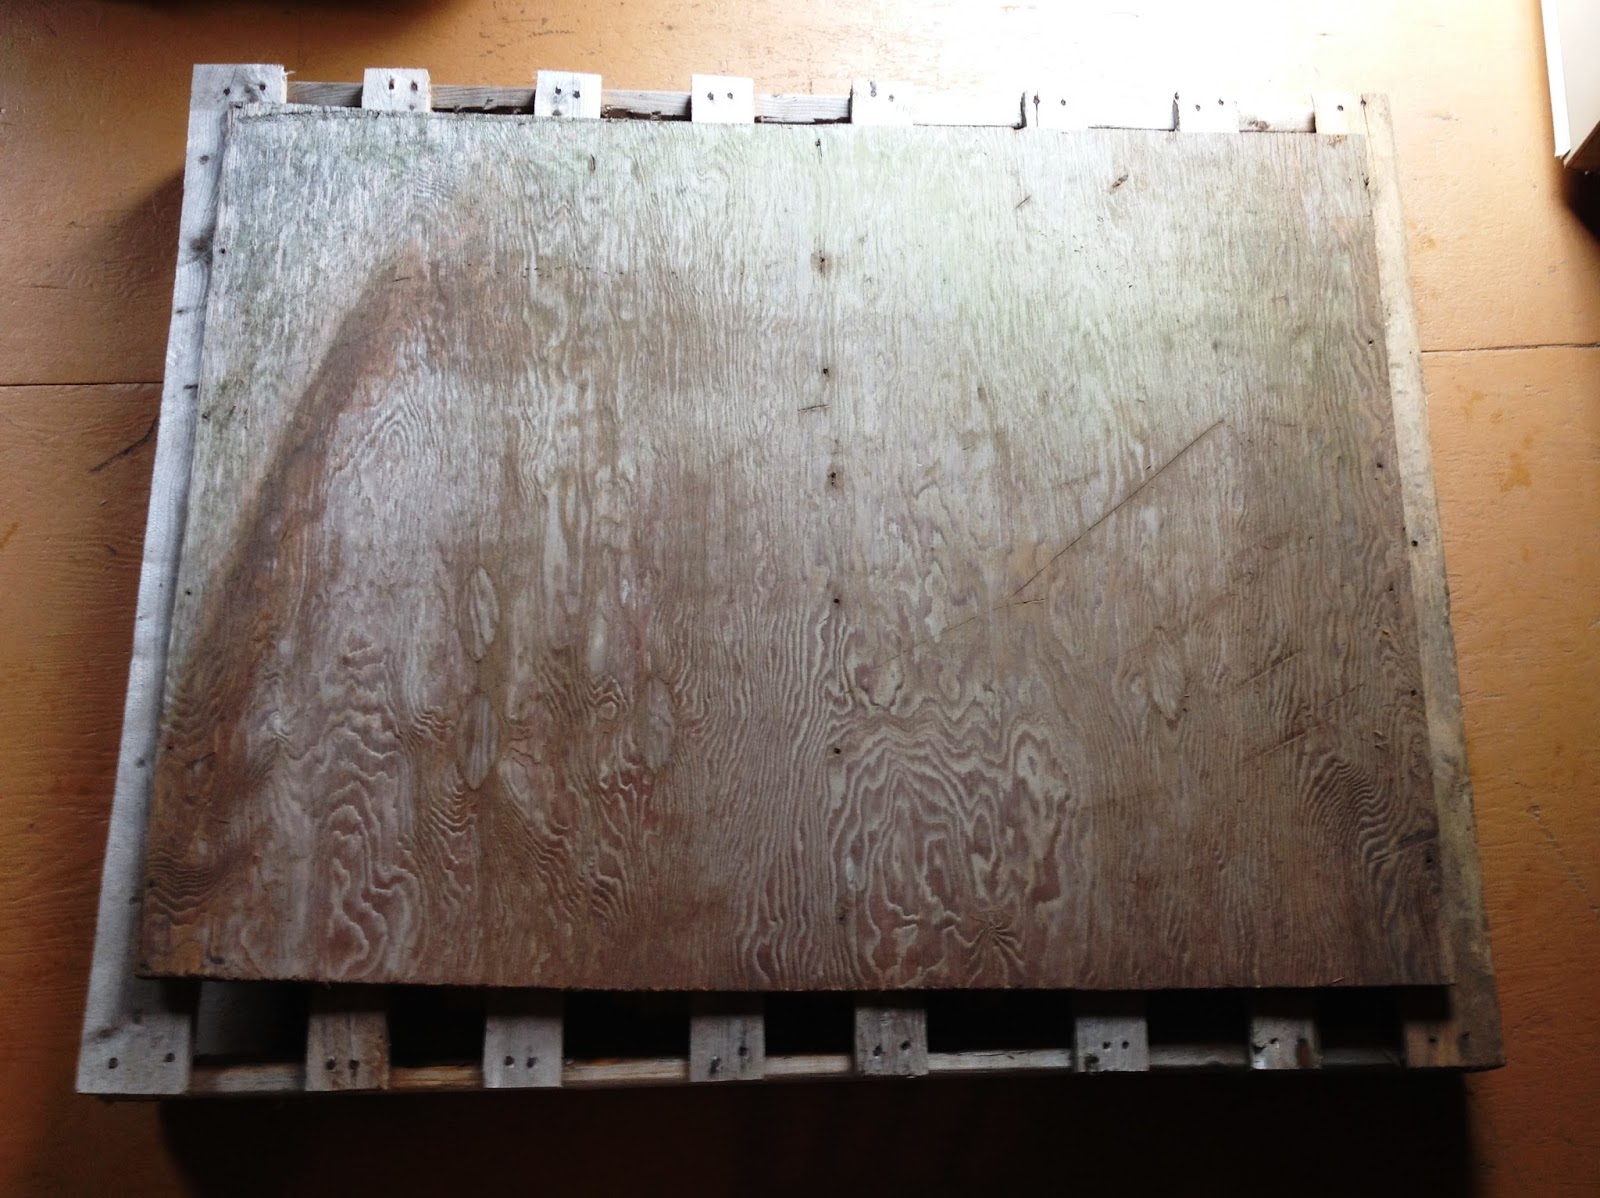
3. A piece of plywood to fit on the pallet. I was lucky and this one just fit. You may have to cut one to size. Sand rough edges if needed. Plywood is the least expensive material to use, but it is rough. Particle board may also work if you can find one big enough.
4. An exterior primer paint for longevity. I used Zinsser Peel Stop Plus - it helps to seal the old plywood; And a chalk paint in whatever colour you want. I found both of these at Canadian Tire.

Or for a homemade chalk paint option, go here for instructions.
5. Paint roller (see next photo) and roller frame; medium size paint brush; stir sticks; painter's tape and paint can opener.

The other how-to's I looked at recommended a rough service paint roller to help get the paint in all the nooks and crannies of the plywood. I found this one at Canadian Tire:

6. A cordless power drill and wood screws long enough to go through the plywood and pallet. I happened to have these screws from a previous project.

7. Two hooks (from Canadian Tire); two buckets (from any Dollar Store) and side walk chalk. I found this huge box of chalk at WalMart for only $6!!! The hooks will hold the buckets where the chalk will go. One bucket will do fine if you're making it for one child to use.

8. (Optional) Plastic wrap to wrap brush and roller between coats of paint; hammer to help close paint can lids.

The Steps:
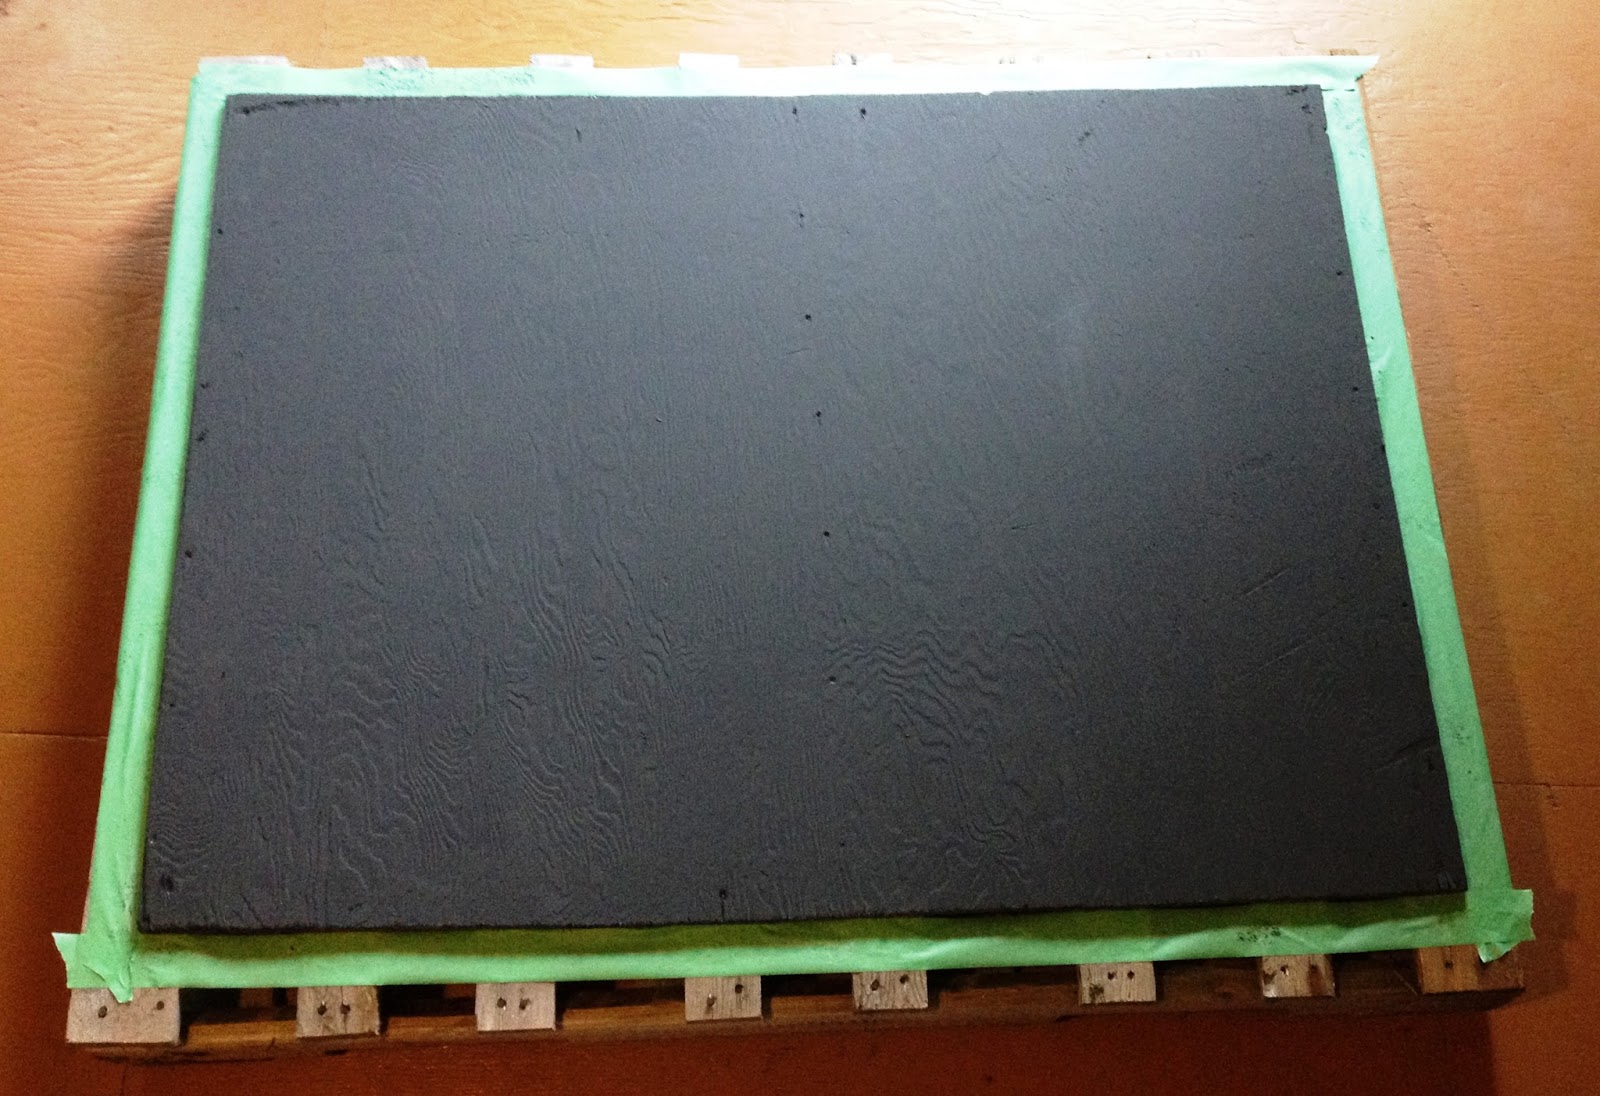
1. Tape around the plywood and paint on two coats of primer with the roller, waiting the recommended time between coats.

2. Paint two to three coats of chalk board paint with the roller, waiting the recommended time between coats.
For the primer and the chalk board paint, I never used a paint tray, I just poured it on the plywood:
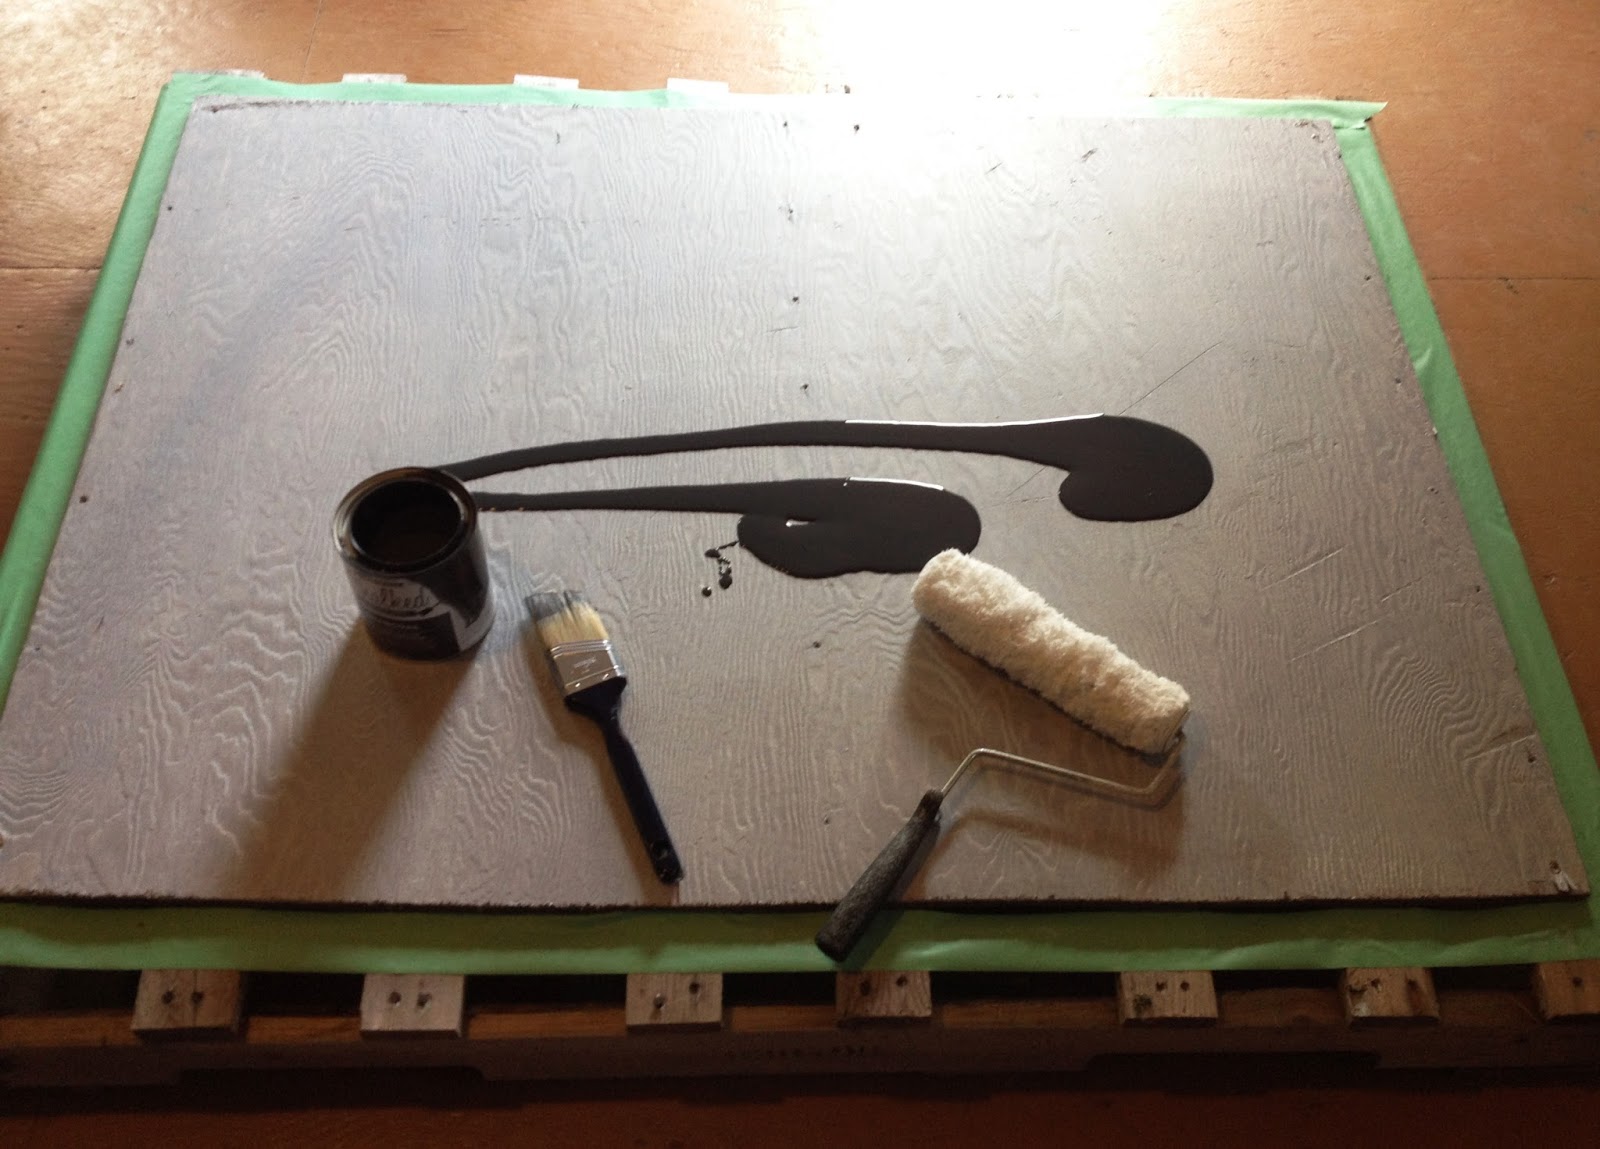
TIP: Just make sure you pour out onto the French side so you don't cover the English instructions:

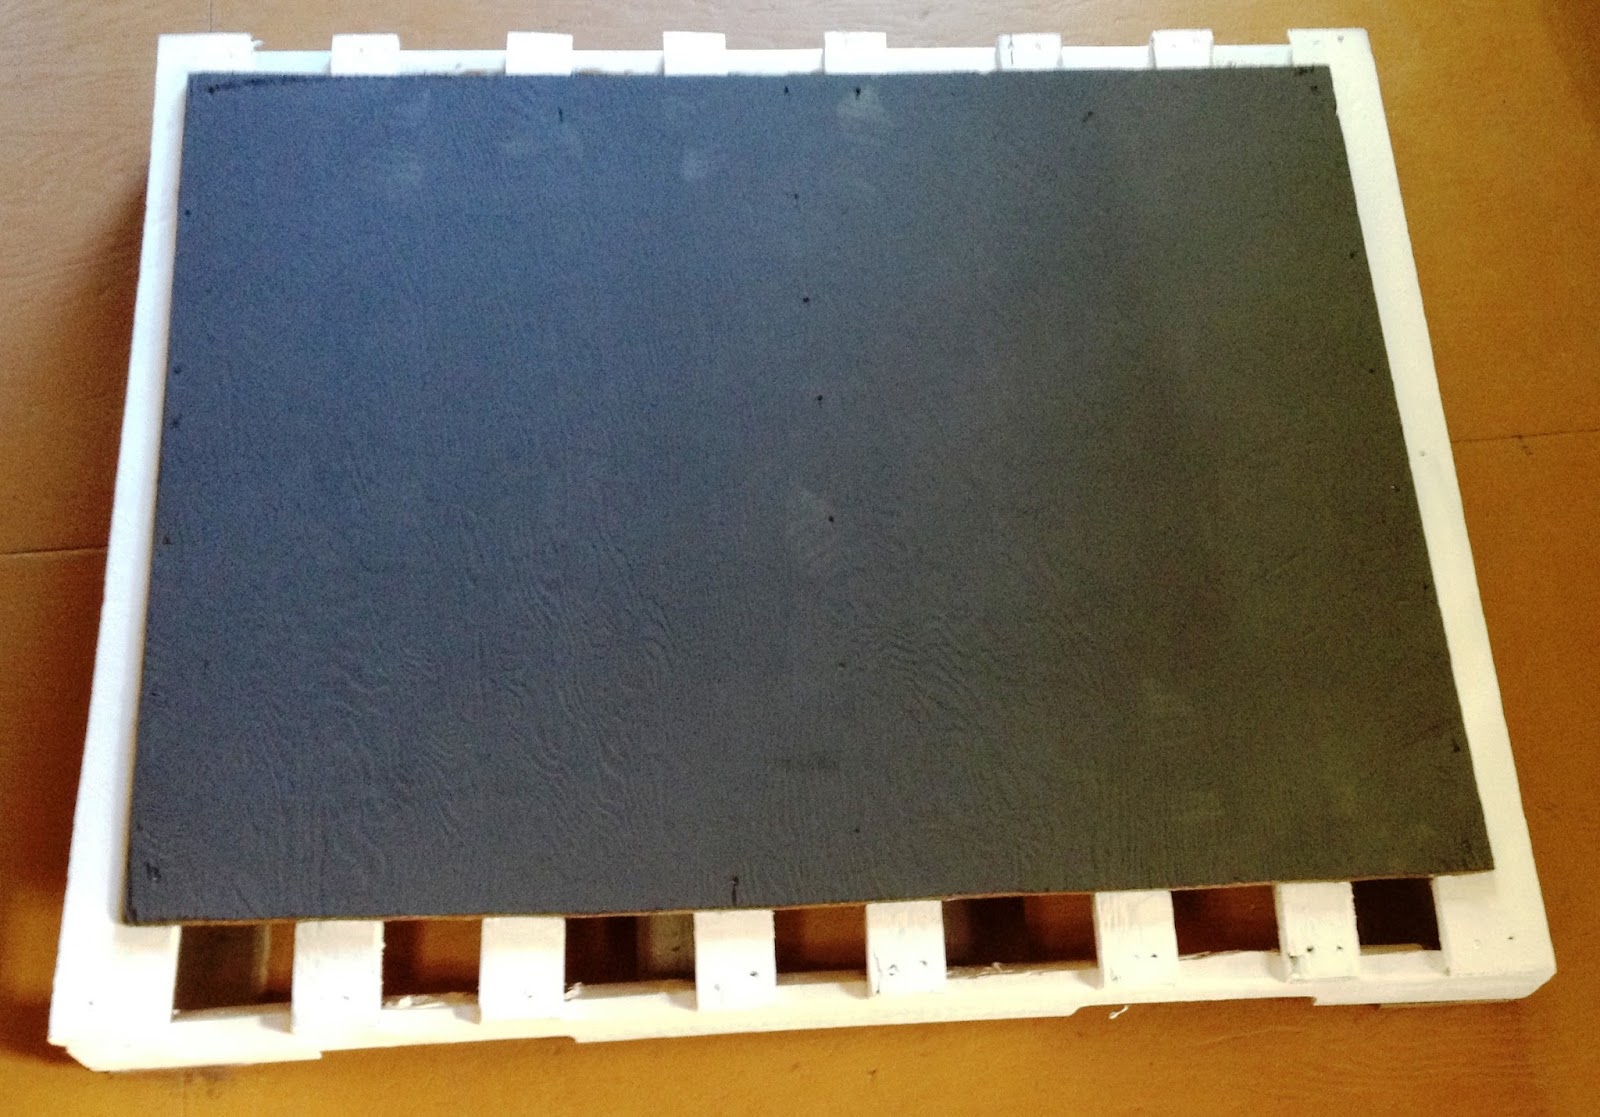
3. Remove the painter's tape, paint with brush around the space left on the pallet with the primer (I did one coat). Then I painted two coats of a leftover white exterior paint. You can use whatever colour you want, or leave this step out completely (your plywood may fill the whole pallet).
4. Set up in an area where your kids like to play. You could hammer some steel bars into the ground and wire the chalk board to that. You can also lay it flat on the ground. I could also see it working as a restaurant sign/menu board!
UPDATED:
Ideally, you should wait 12-24 hours before using the chalkboard. Some people say 48 hours. After this period you should prime it. Do this by laying a piece of chalk on its side and cover the entire board with chalk. Wipe with a dry rag and then erase. If you leave out this step, it's possible the chalk you first write with will not erase. I didn't wait quite 12 hours nor did I prime it before we used it. This step is entirely up to you, but I have read that the longevity and durability increases if you follow the above steps. And as long as there is no dirt on the chalkboard, you can cover with another coat of paint if there is chalk staining you want to hide.