


So I'm forgetful and whoops: forgot I picked a ton of strawberries last year and found them in the freezer. And I needed to make something for a potluck at church so it was perfect timing. But I have no idea why I was originally digging through the freezer. So anyway, here's a recipe I came up with by combining a few other recipes to suit my needs.
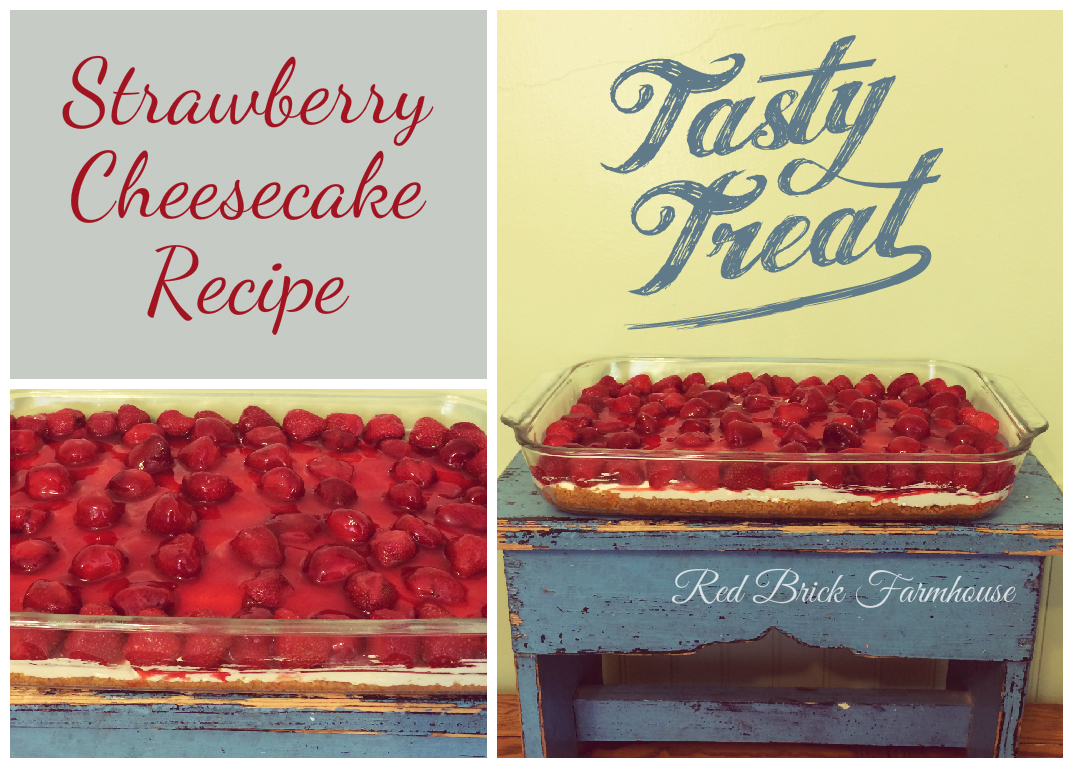
Strawberry Cheesecake
Makes a 9x13 panYou need to start by preparing the fruit topping and allowing it to cool completely. While you wait for it to cool, you can start on the other layers. If the fruit topping is ready before the layers, store it in an airtight container and refrigerate if needed but bring to room temperature before spreading on the cream cheese layer.
...................................................................................................................................................................
Fruit Topping:
6 cups frozen and thawed strawberries, reserve the juice
Approx. 3 cups strawberry juice from thawed strawberries (you can also get juice from fresh strawberries by following the instructions below)
4-6 tbsp. sugar
2 tsp. cornstarch
4-6 tbsp. water
1 part package of pectin
Instructions Follow all steps for fresh or frozen berries
1. (fresh berries): cut strawberries into halves and add to a pot along with sugar; (reserved juice): add the sugar to the juice and stir
2. Cook over medium-low heat until the sugar melts, then turn up the heat to medium and bring to a boil.
3. (fresh berries): once it boils, remove from heat and lightly mash the strawberries using a potato masher, or a fork or wooden spoon.
4. (fresh berries): return to heat and bring back to a boil; (reserved juice): continue boiling.
5. Dissolve 1 tsp. of cornstarch in water and add to the pot. Stir continually so it doesn't burn while it boils.
6. You can stop here if you would like a runny syrup to pour over the cheesecake.
7. Continue boiling and stirring, add another 1 tsp. cornstarch dissolved in water.
8. Sprinkle in pectin and boil until desired consistency is reached.
Note: the topping will thicken as it cools.
...................................................................................................................................................................
Crust:
2 cups graham crumbs
1/4 cup sugar
1/2 cup melted butter
Mix all ingredients until crumbly and press lightly with a fork into a greased 9x13 glass pan.
Bake at 350°F for approx. 15 minutes. Allow to fully cool. While you're waiting for it to cool, remove cream cheese for filling from fridge and bring to room temperature to soften.
................................................................................................................................................................
Cream Cheese Filling:
2 packages 250 g. cream cheese
1 cup powdered sugar
1 tsp. vanilla extract
1 carton whipping cream, whipped or 1 L tub of pre-made whipped cream
Beat cream cheese, sugar and vanilla in a bowl until smooth. Fold in whipped cream until combined. Spread onto prepared crust and smooth evenly. Refrigerate 1-2 hours.
When the fruit topping has cooled, carefully spread over cream cheese filling. Place reserved strawberries on top. Refrigerate until ready to serve; cut into squares.
NOTE: You will have lots of berries left. These work well in milk shakes and on ice cream. (YUM!)
You can also substitute blueberries or cherries (frozen or fresh) and get the same result.