


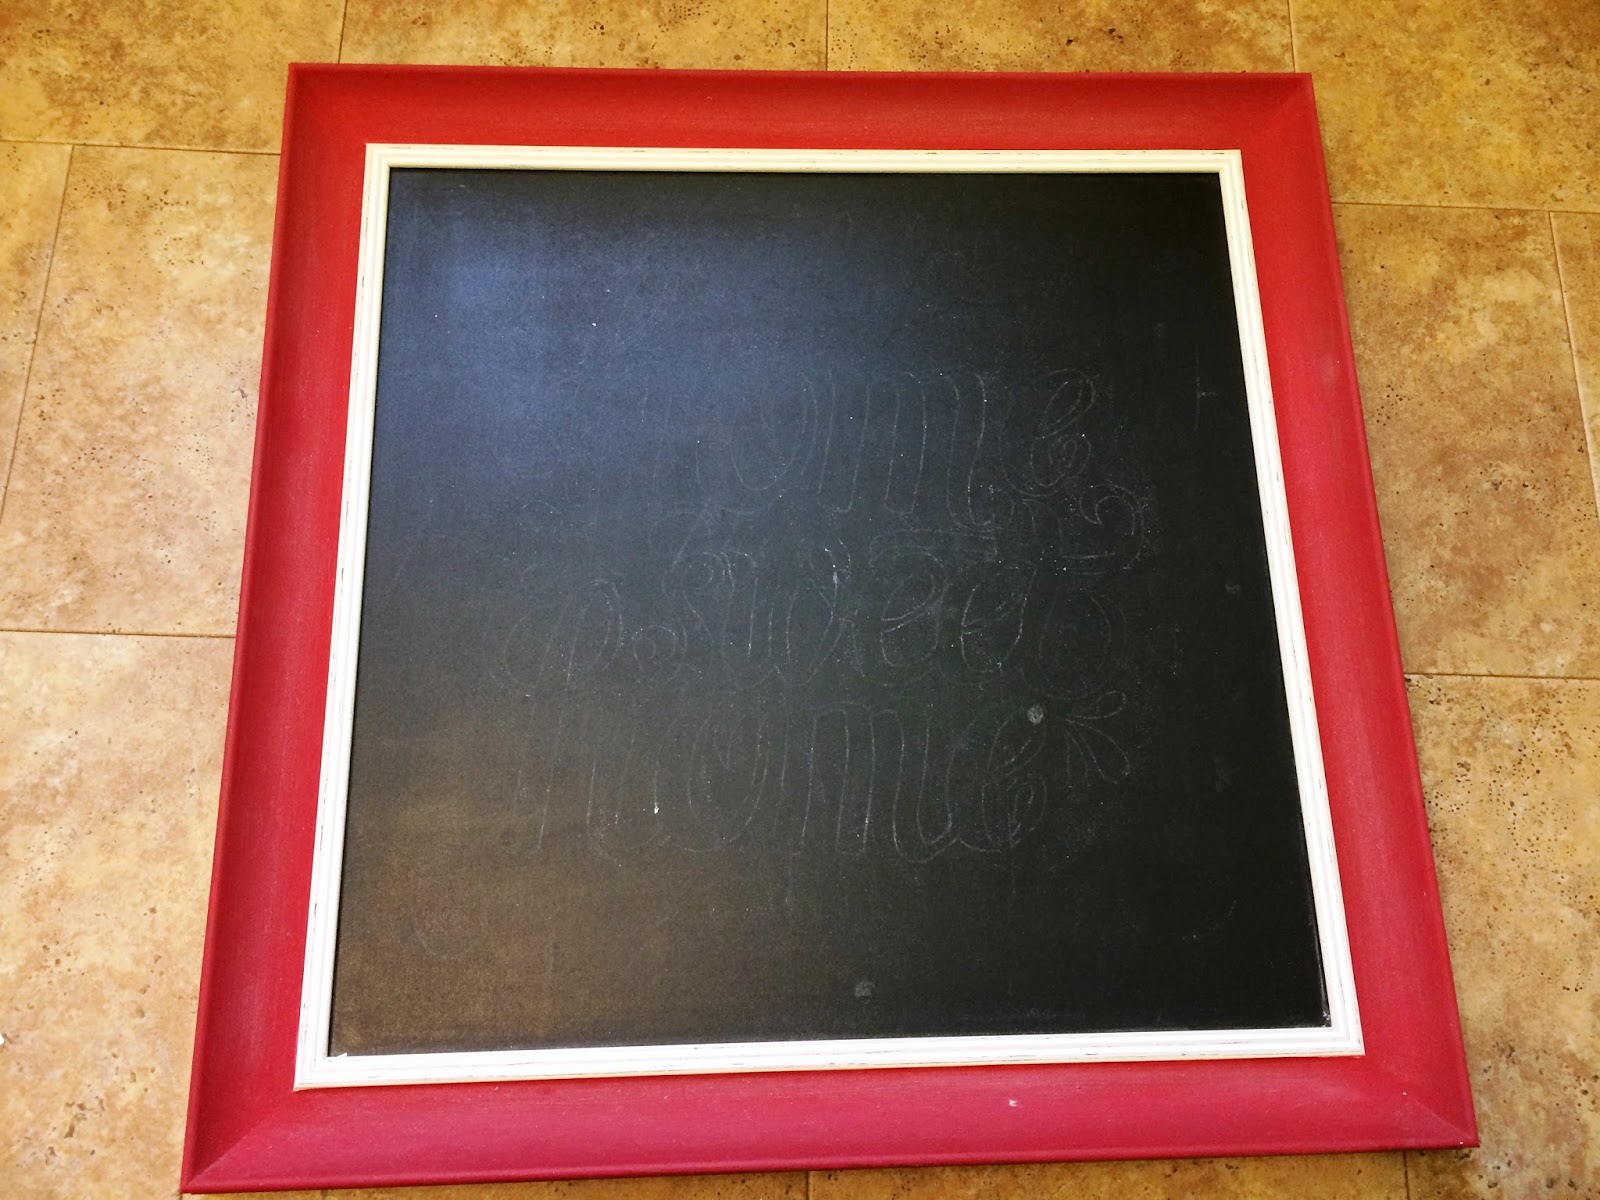
I purchased this great framed chalkboard second hand and instantly knew it needed to go in my kitchen. The kitchen also happens to be the entrance to our home, so I loved the idea of hanging something customizable and to have it where people can see it.
You have to be a bit computer savvy to create the template for the chalkboard in the way I have. I'm using simple and common software programs that most people should know enough about. If you have Photoshop, you're using more advanced programs than I am and should know what you're doing. I also did also look at stencils in stores and either couldn't find what I wanted, or they were too expensive. You do have the option to shop for one if you wish. My way also allows for customization of the size according to the dimensions of your chalkboard (you can't with a pre-made stencil). You can also reuse the designs with the way I'm going to show you.
 |
| Step 1: Preparing the template - create a Word document |
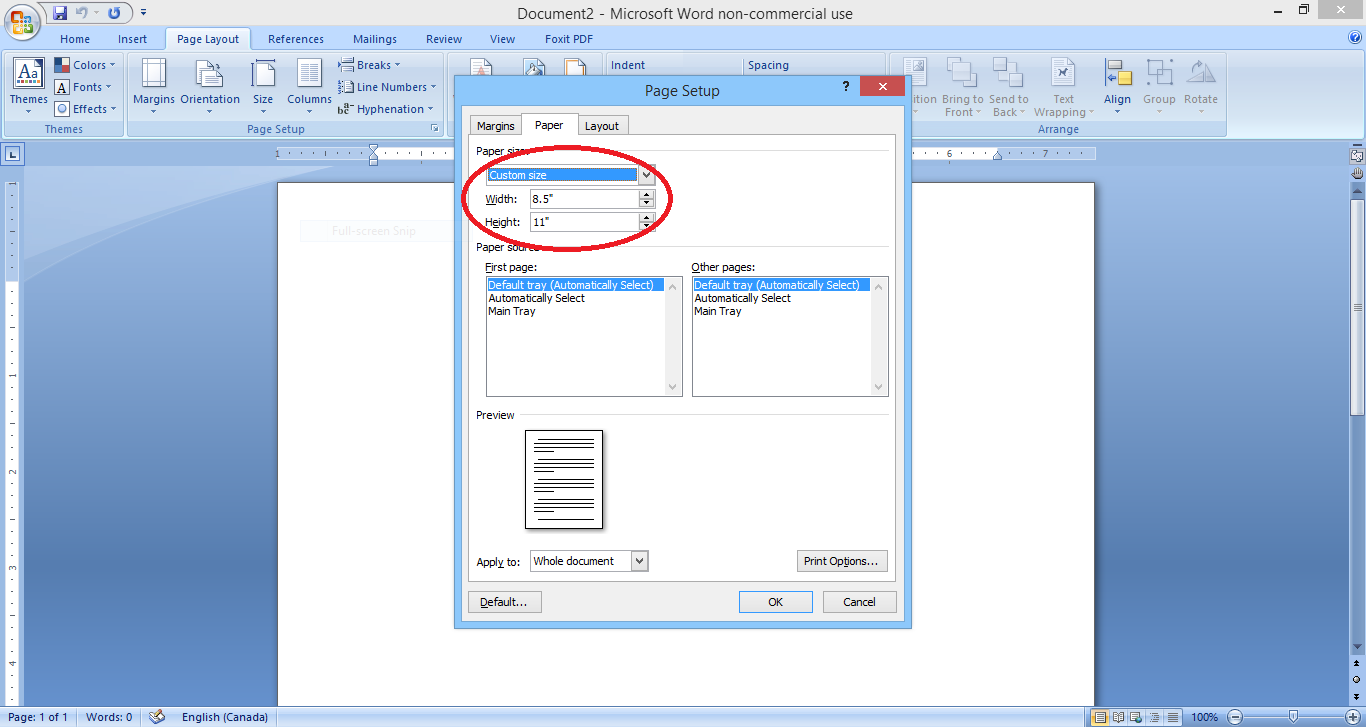
First you need to start by measuring your chalkboard area. Create a new Word document and size the document to match the size of your chalkboard. Mine is 19"x19". When designing within the Word document, remember the edge of the Word page is also the edge of your chalkboard - you don't want the design to be too big/too small.

Search the Internet for chalkboard design templates and ideas, making sure to find some fairly large in size and resolution. Some designs come outlined already. The design I liked was filled with black and I needed to print it to a fairly large size, so I didn't want to waste black ink.
Crop any watermarks or borders you don't want and insert your template into Word and stretch it to size, remembering to not get too close to the edge. If you lose quality (lines become pixilated or blurry), you'll need to find a design in a larger resolution. Right click the image and find "Format Picture". You'll want to adjust the Brightness and Contrast until just the outline is left. You can ignore this step if your template already has an outline. Save the Word document as a PDF.
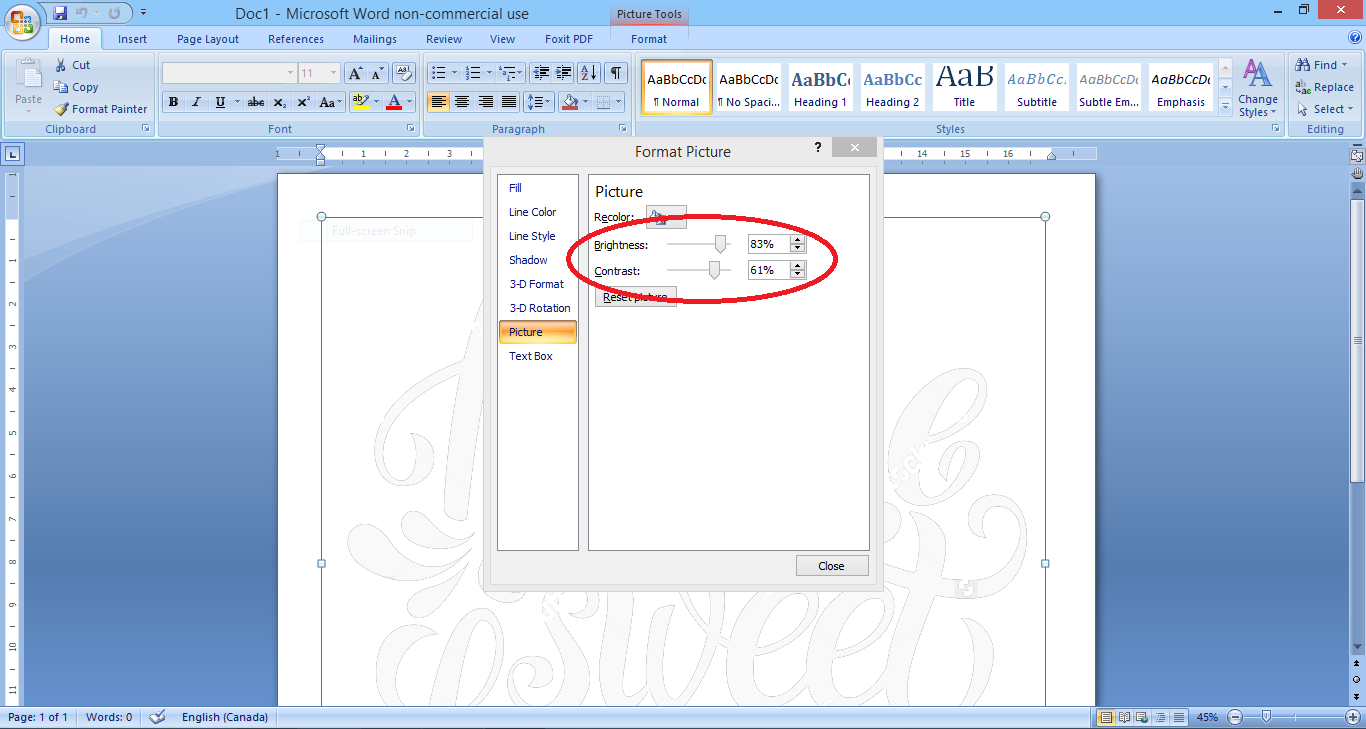 |
| Adjust brightness and contrast so just outlines are left. |
 |
| Template should look like this after editing. |
 |
| Step 2: Print the template and tile the pages for large chalkboards |
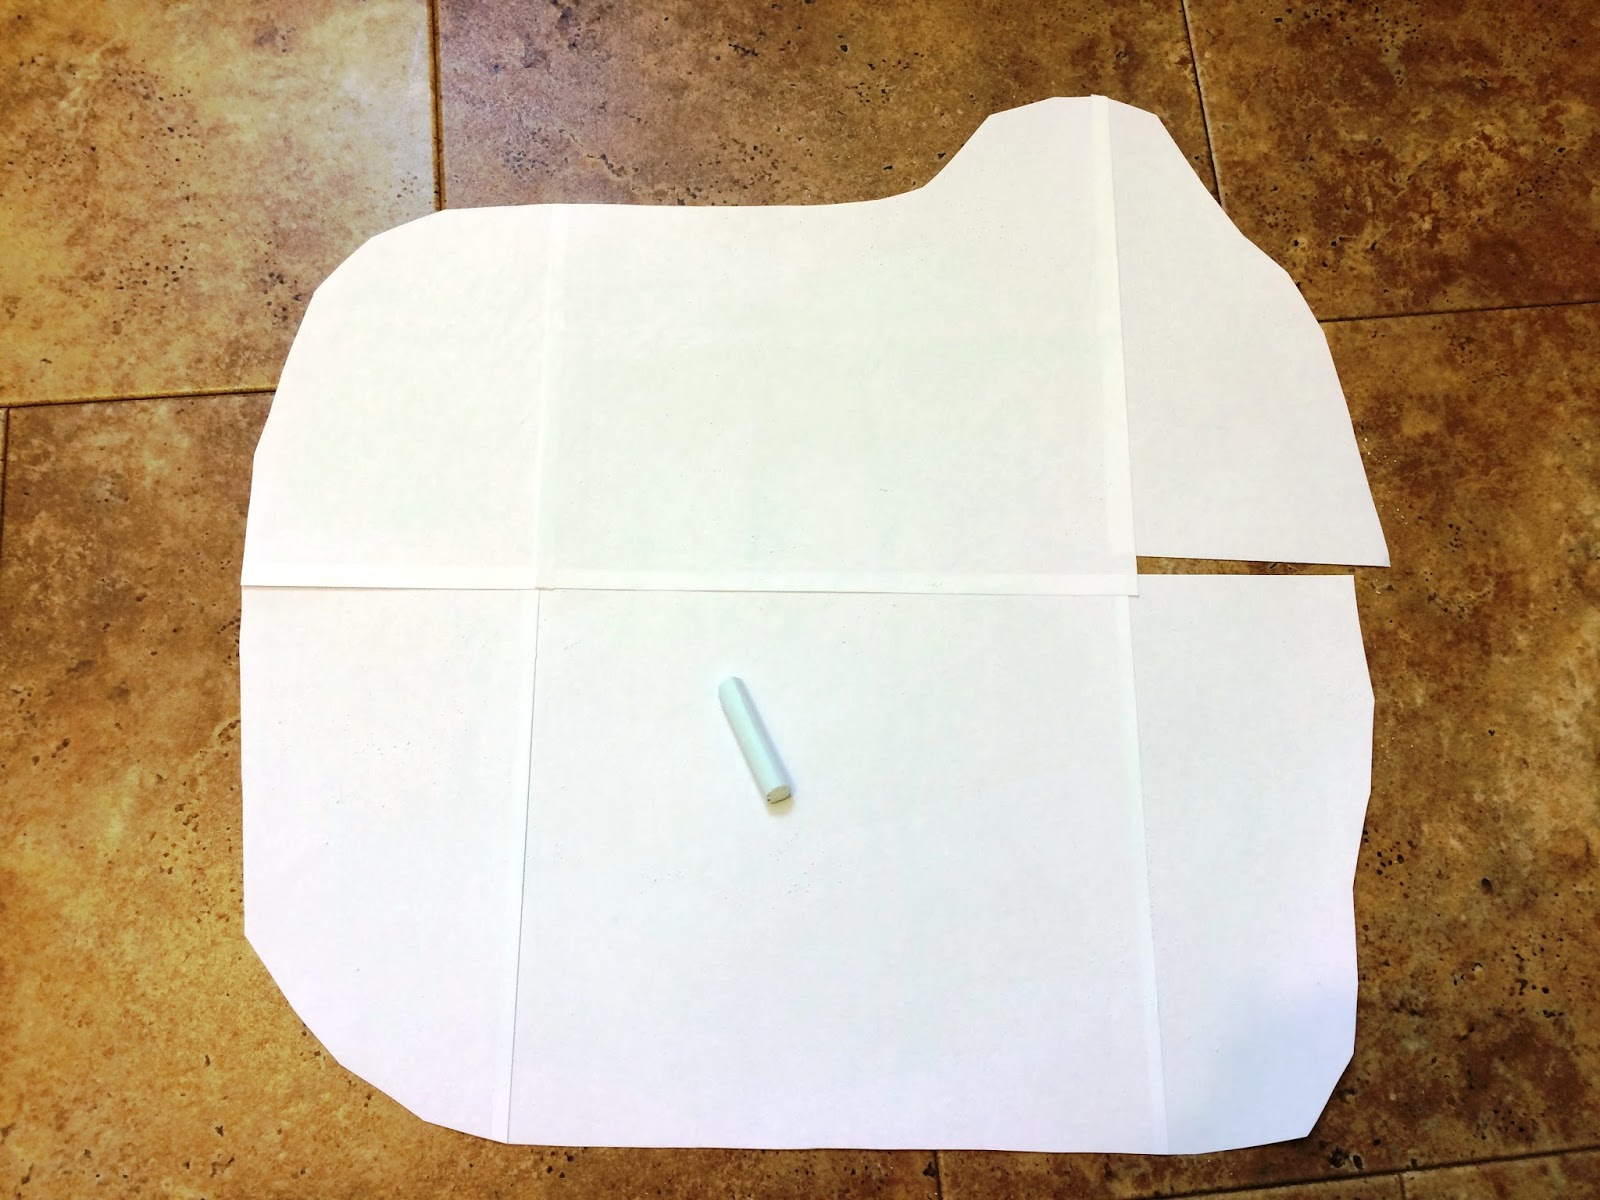
You'll need to print the PDF file and tile the pages if the design is larger than the paper size your printer can print. Arrange the tiled pages and put them together like a puzzle. There will be some cutting and taping involved and I suggest using scotch tape because you'll need to trace over the tape in a later step. Trim any excess paper from around the design and see if it will fit on your chalkboard.
 |
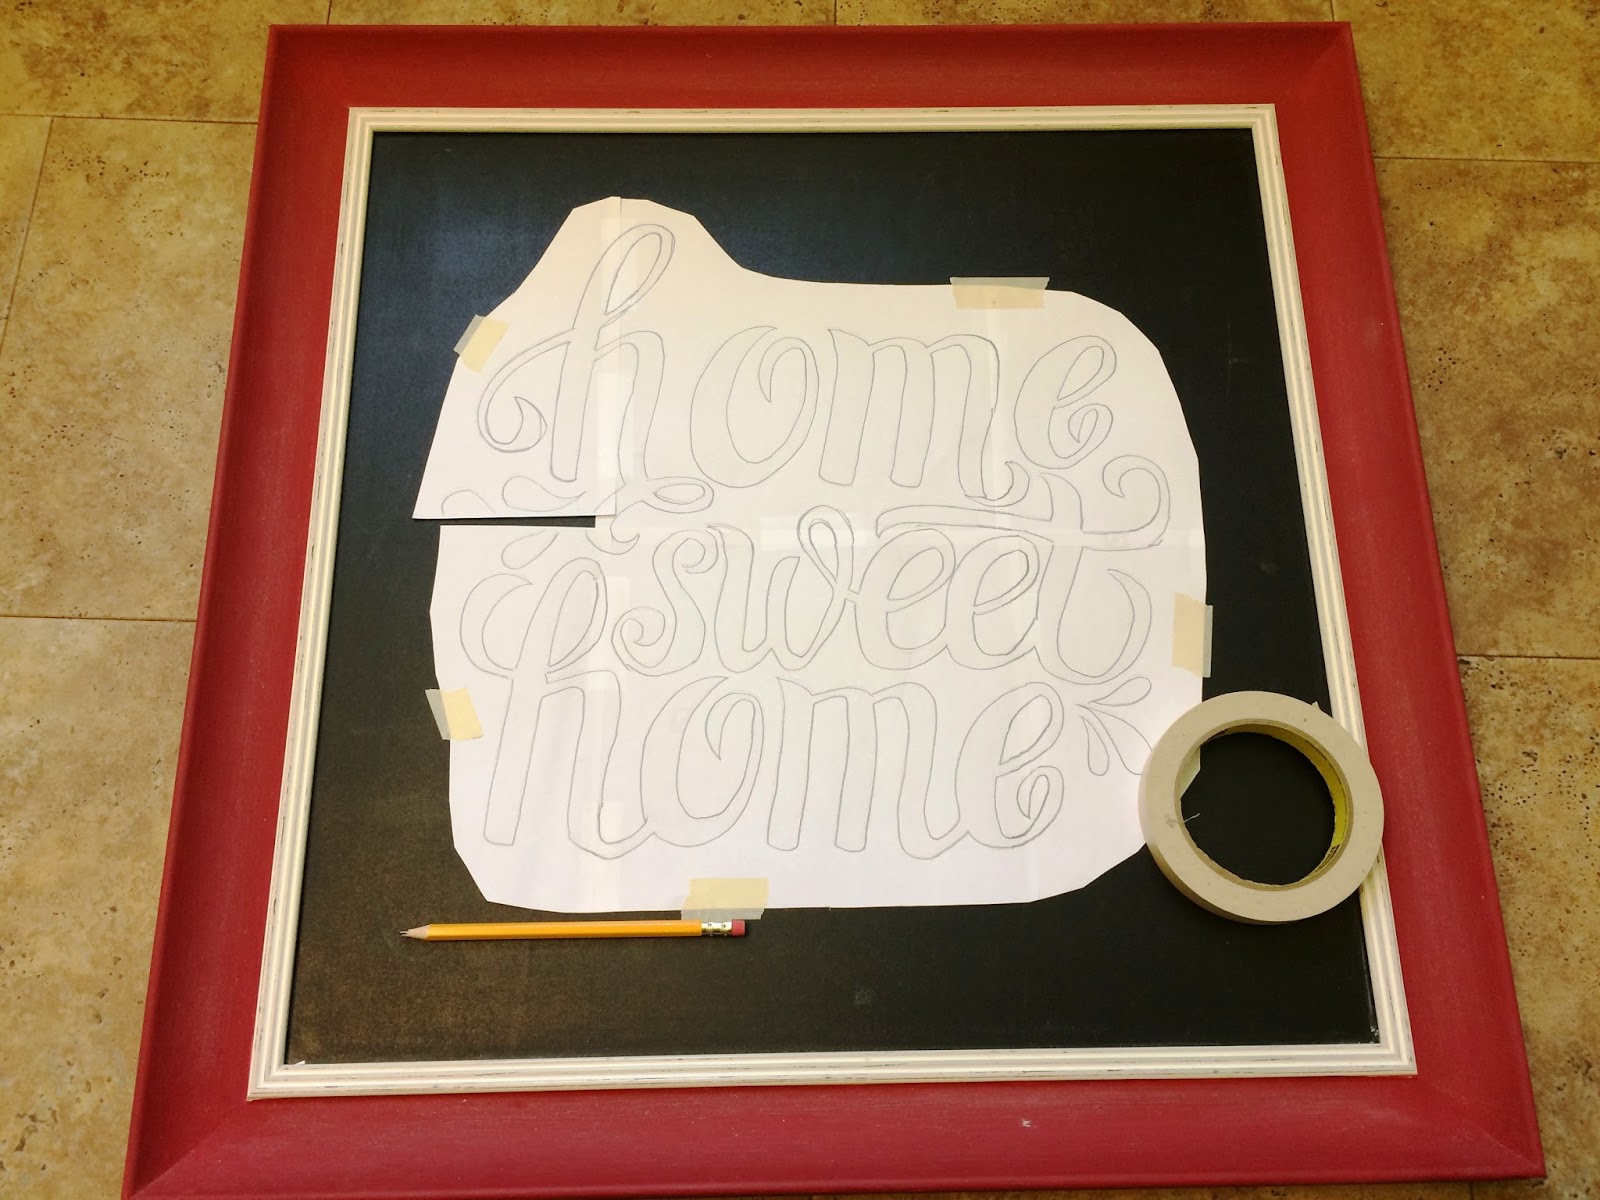
| Left: Taping and cutting the template; Right: It fits! |
Step 3: Next you'll need to have the design facing down and colour with a stick of chalk on its side, all over the back of the printed design. This is my easy way of making "carbon paper". Coat it really good and if you can, use a dark coloured chalk so you can see what you're doing. Place the design chalk side down, carefully where you want it on the chalkboard, and secure with masking tape or painters tape. With a pencil (not too sharp), you'll need to start tracing the entire design. Hopefully when the tracing is complete, you'll be left with a copy in chalk on the chalkboard. I could just barely make out my design but was able to freehand some missing spots by having a smaller version of the design beside me.
Step 4: Now for the fun part! I bought this (expensive enough) chalk marker at Michaels ($5.79) by Craft Smart and I have to say, I wasn't overly impressed with it. I would compare it to using paint - you need to keep fluid motions and not stop when drawing or it's hard to make end and beginning lines look similar. I'm right handed, and I had to work from left to right and top to bottom because chalk pens do smudge. It did the job fine but maybe a bit more practice and I can get it to look the way I want. I also decided to not fill my design in with this chalk marker because I didn't want to "waste" it. I opted to fill in the words with plain old chalk and used a blow dryer to remove the excess chalk. For colouring the shapes, I tried the very inexpensive chalk crayons I bought from a dollar store ($2.50), and they worked the best of everything and next time I'd like to fill letters with these. The colours came out vibrant and with nice textures. Using my fingers I smeared chalk from my "carbon copy" template around the outside of the chalkboard to finish the look. All the chalk pens and crayons claim to be washable from a chalkboard with a bit of soapy water, so we shall see about that.

I'm sure there are other techniques you can try to create chalkboard art. I had fun doing this anyway and can't wait to change my chalkboard in a few months.

